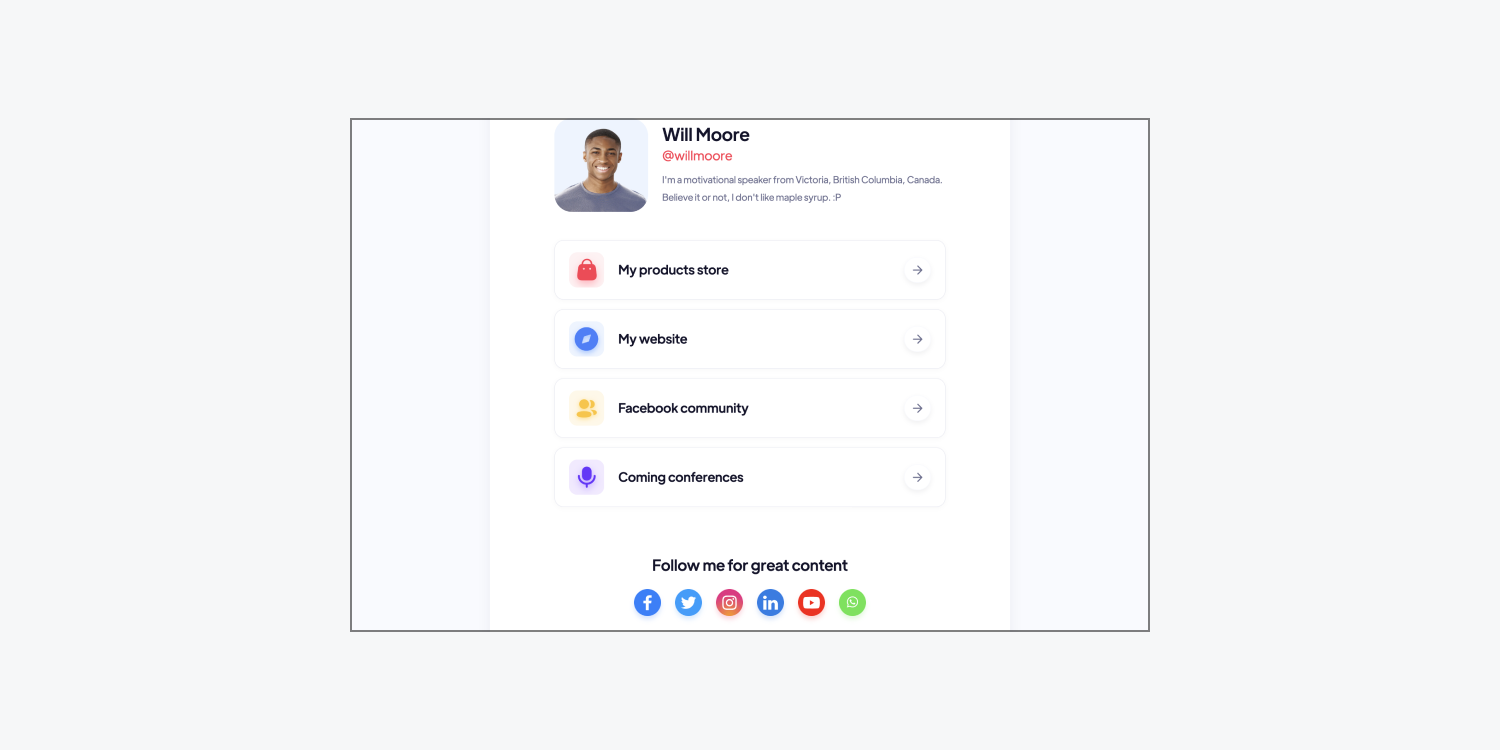
Getting started with a Webflow template may seem a little daunting at first, but we’ve covered the basics so you can get going — from purchasing and customizing your template, to publishing your creative content for the world to see.
In this lesson you’ll learn:
- How to purchase your template
- How to customize your site in the Webflow Designer
- How to work with a blog
- How to add or remove elements from your site
- How to publish your site
- How to connect a custom domain to your site
- How to set up Google Analytics
- How to get help with your template
How to purchase your template
Before you can start designing, you need to purchase your template and create a site from it in your Webflow Dashboard. You can purchase your creator template to use for only one person, business, or site.
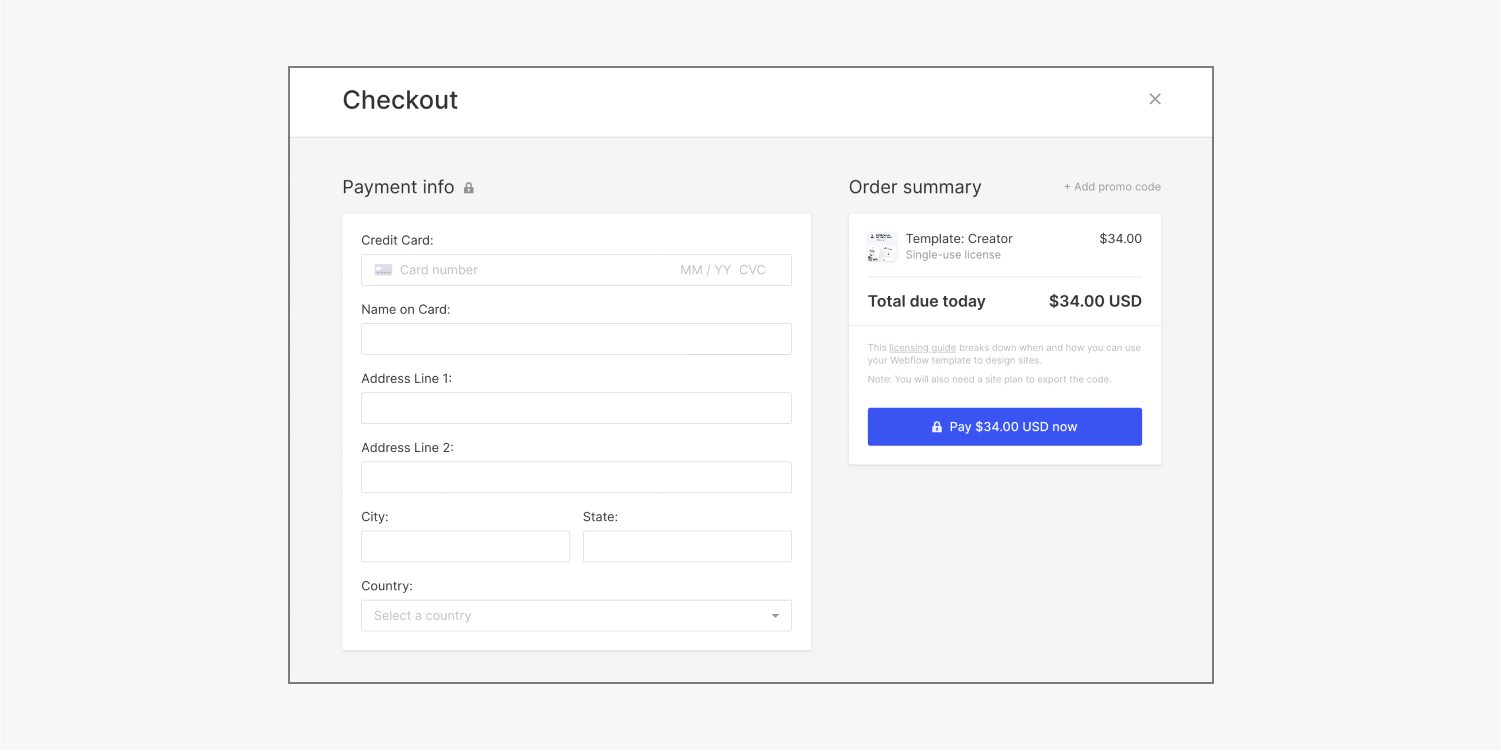
Note: When you purchase your template, you can add a promo code (if you have one) by clicking Add promo code from the checkout modal, entering the promo code in the input field, then clicking Apply.
To select and purchase your creator template:
- Go to Webflow’s Template marketplace to find a premium template you'd like to use for your site (e.g., Links X template, Links App template, Socialite's Social template)
- Click Buy on the template's landing page (you’ll be prompted to sign up for a free Webflow account if you don’t already have one or you can log into your existing account if you’re logged out)
- Type your payment information into the checkout modal (or click “Edit credit card” to update your payment information if you’ve added it previously)
- Click Pay now button to complete your purchase
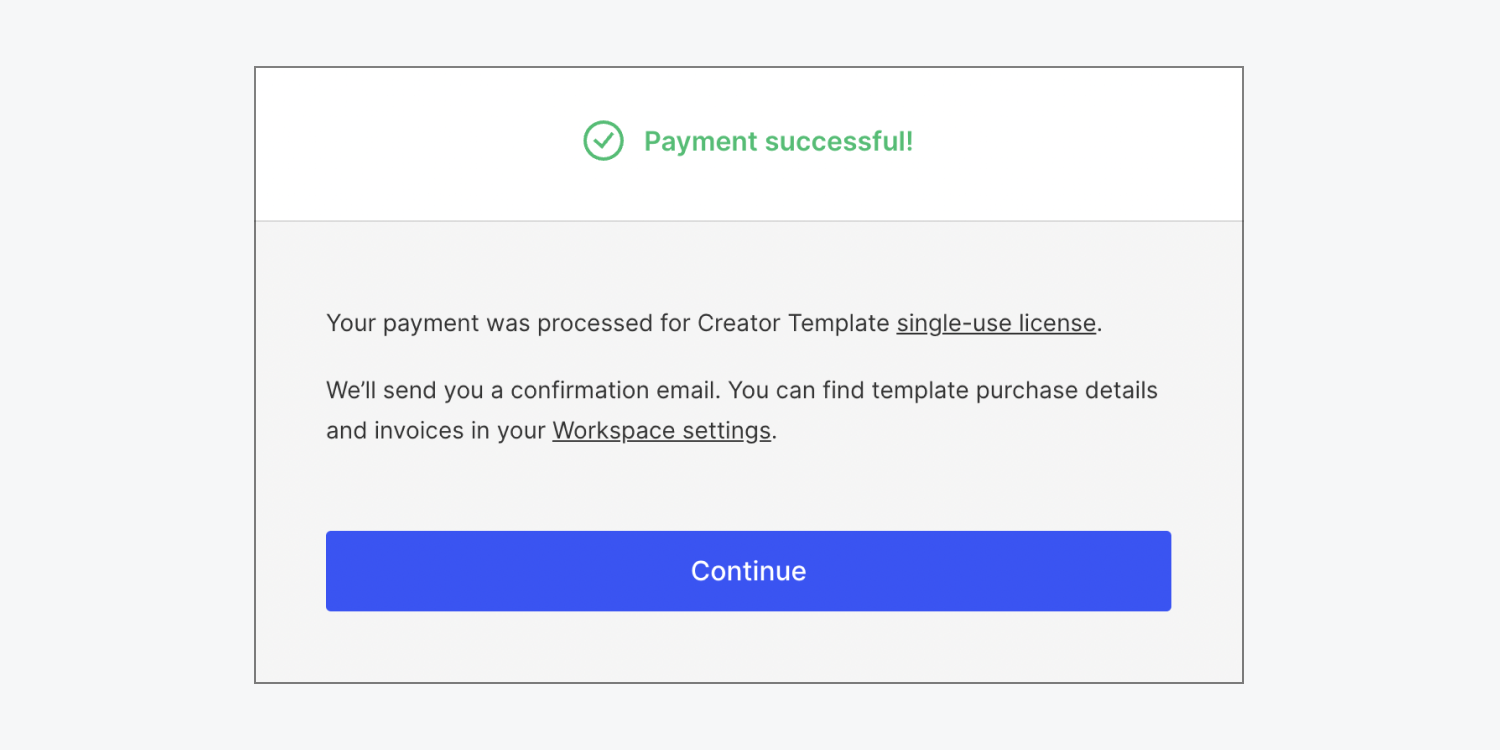
- Click Continue after reviewing your payment confirmation
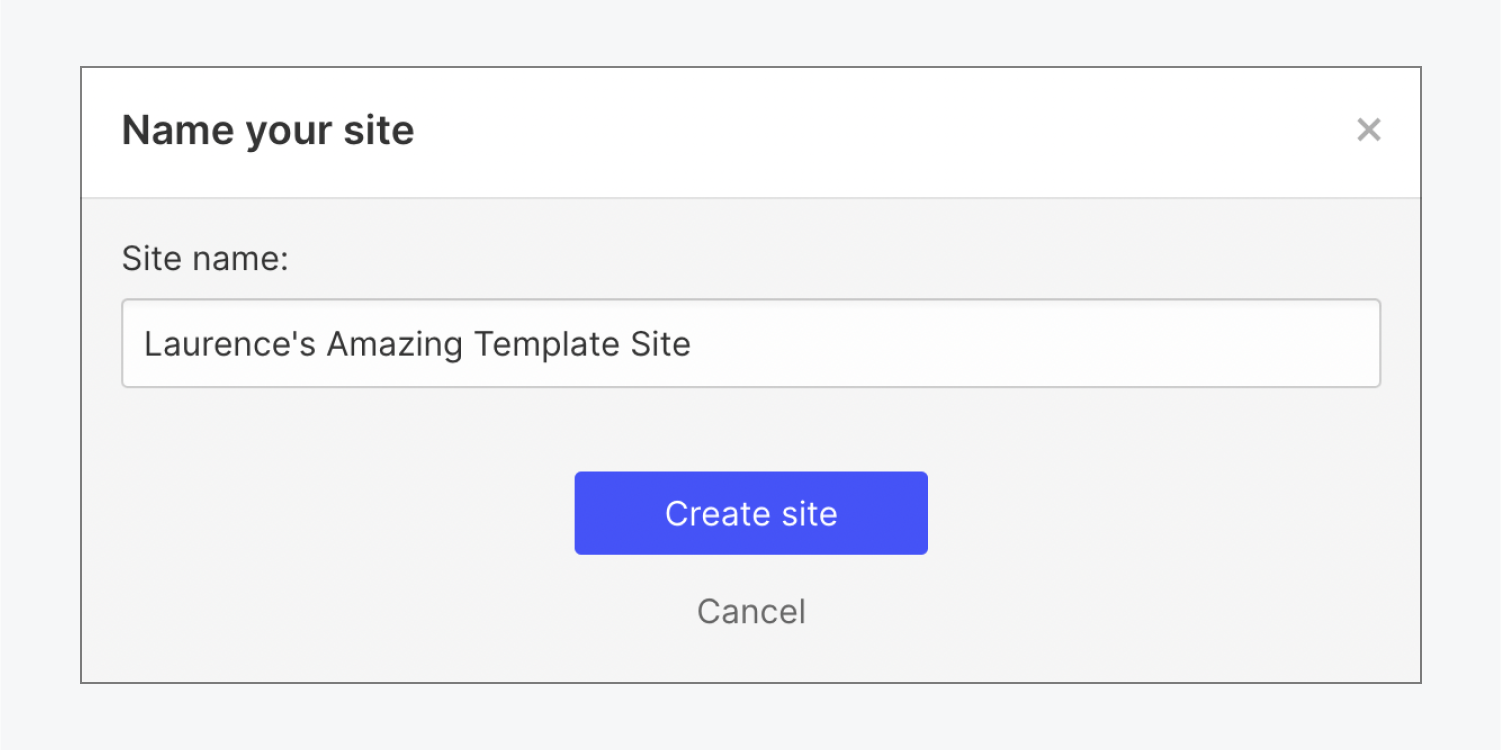
- Give your new site a name and press Create site to open your newly purchased template in the Webflow Designer
Note: You can find template purchase invoices in Workspace settings > Templates tab > Purchased templates. Click Download invoice to download the invoice for a specific template you’ve purchased.
Later, you can access your template-based site from your Webflow Dashboard.
How to customize your site in the Webflow Designer
After you’ve purchased your template, you can start customizing it to make it your own.
Your template may have opened up directly in the Webflow Designer, or you might prefer to open your site from your Webflow Dashboard. Either option will take you to the same place — the Designer — which is where all your custom design magic happens!
Before you begin customizing your template, you can familiarize yourself with the different panels in the Designer, as well as the Webflow canvas itself:
These panels give you access to your pages (Pages panel), the hierarchical structure of the elements in your pages (Navigator panel), an overview of assets you’ve added to your site (Assets panel), and the ability to adjust the style of the elements on your pages (Style panel). The canvas is where you can interact with the elements in your site.
You can also preview your design in your browser before you publish it by clicking the “eye” icon in the upper left corner of the Designer.
It’s a good idea to periodically check different breakpoint views of your site’s design, to ensure that your website is responsive on multiple devices. Learn more about breakpoints.
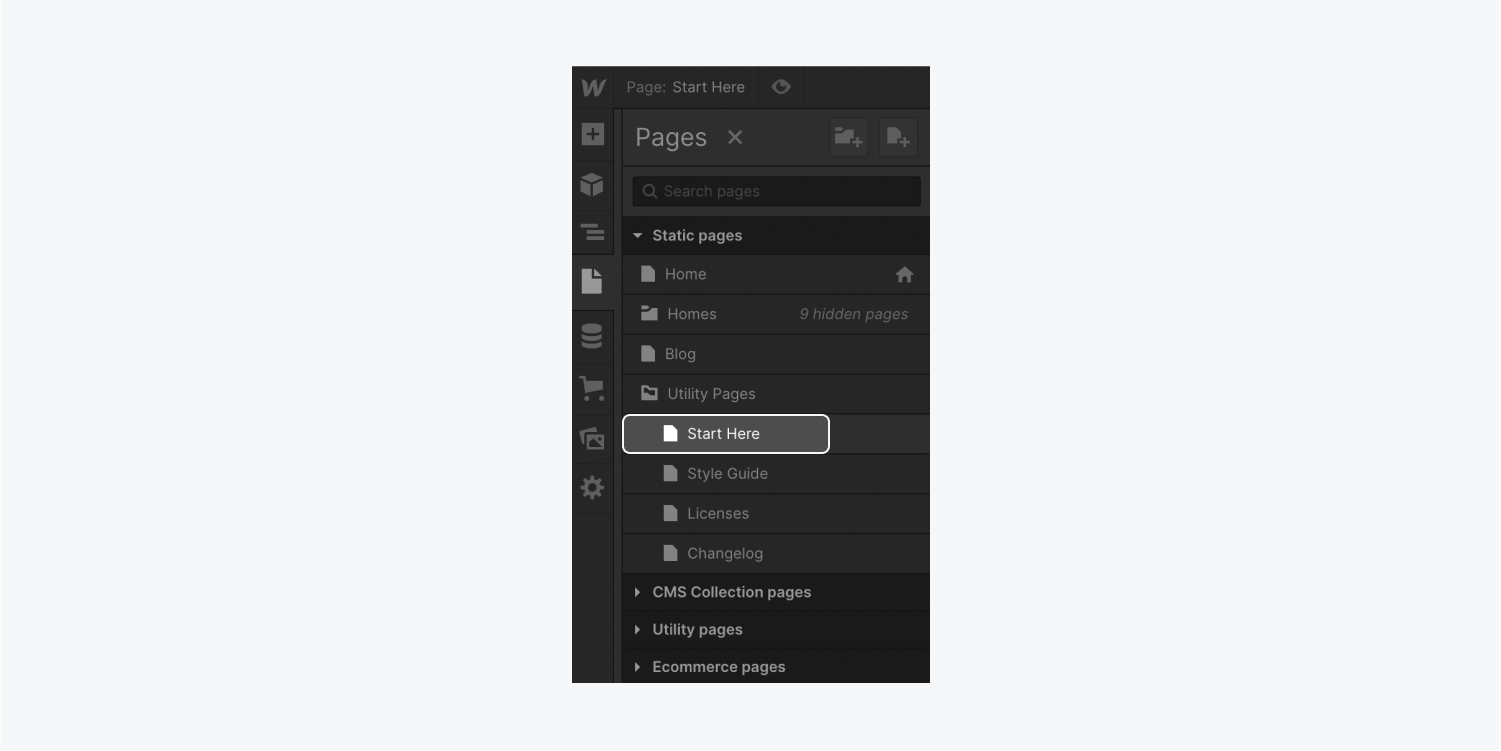
In addition to the information we’ve included in this lesson, the template designer may have provided a “Start Here” guide as one of the pages in the template. If one of these exists in your site, you can use it to learn tips and tricks specific to the template you’ve purchased.
If you’re using Webflow’s Starter site plan, you’ll be able to edit all the pages within your template, but you will not be able to add additional pages or duplicate a page without first upgrading to a paid Workspace plan or paid site plan.
Note: Before you start making changes to your site it’s a good idea to backup your site and create manual backups (in addition to Webflow’s auto-backups) before you make any big changes to your site.
Let’s walk through how you can use the Designer to:
- Edit text
- Change colors
- Customize backgrounds
- Replace images
- Update links
- Collect site visitor information
- Modify SEO settings
Note: If you encounter an element that’s also a Symbol, double click it to edit the elements within the Symbol. Symbols are reusable components that can be used in many instances across your entire site (e.g., you can have the same contact form on several different pages). Each time you update one instance of the Symbol, it updates in all other locations. Read more about Symbols.
Edit text
To edit text in your template, double-click a text element or select it and press Enter/Return. Then, select the placeholder text and replace it with your own content.
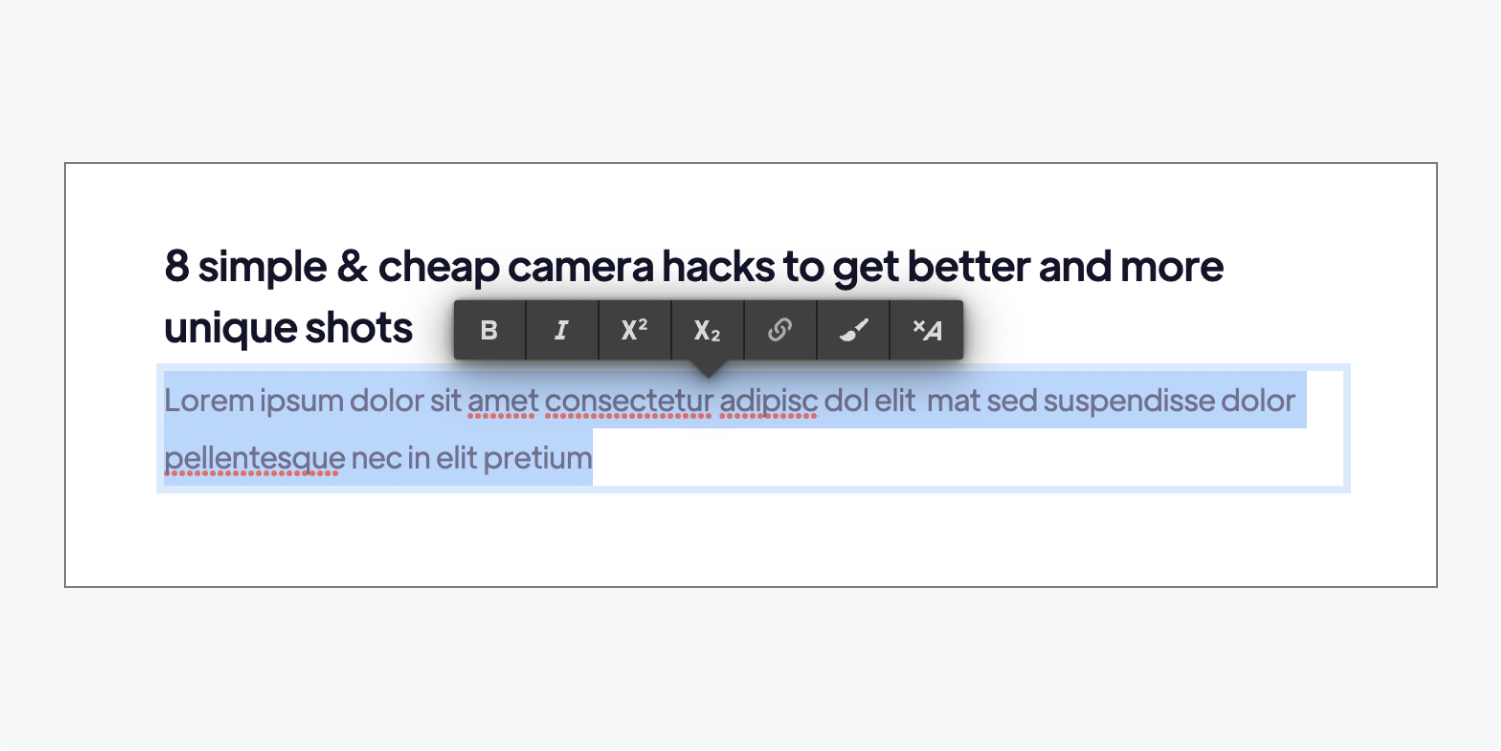
You can also change your text’s font, weight, color, etc. Typography style properties are located under the Typography section of the Style panel.
Good to know: If you want to quickly change your text’s style across your entire site, you can select the Body (All pages) tag and adjust the text’s font family, font size, and line height. Learn more about typography.
Related reading:
Change colors
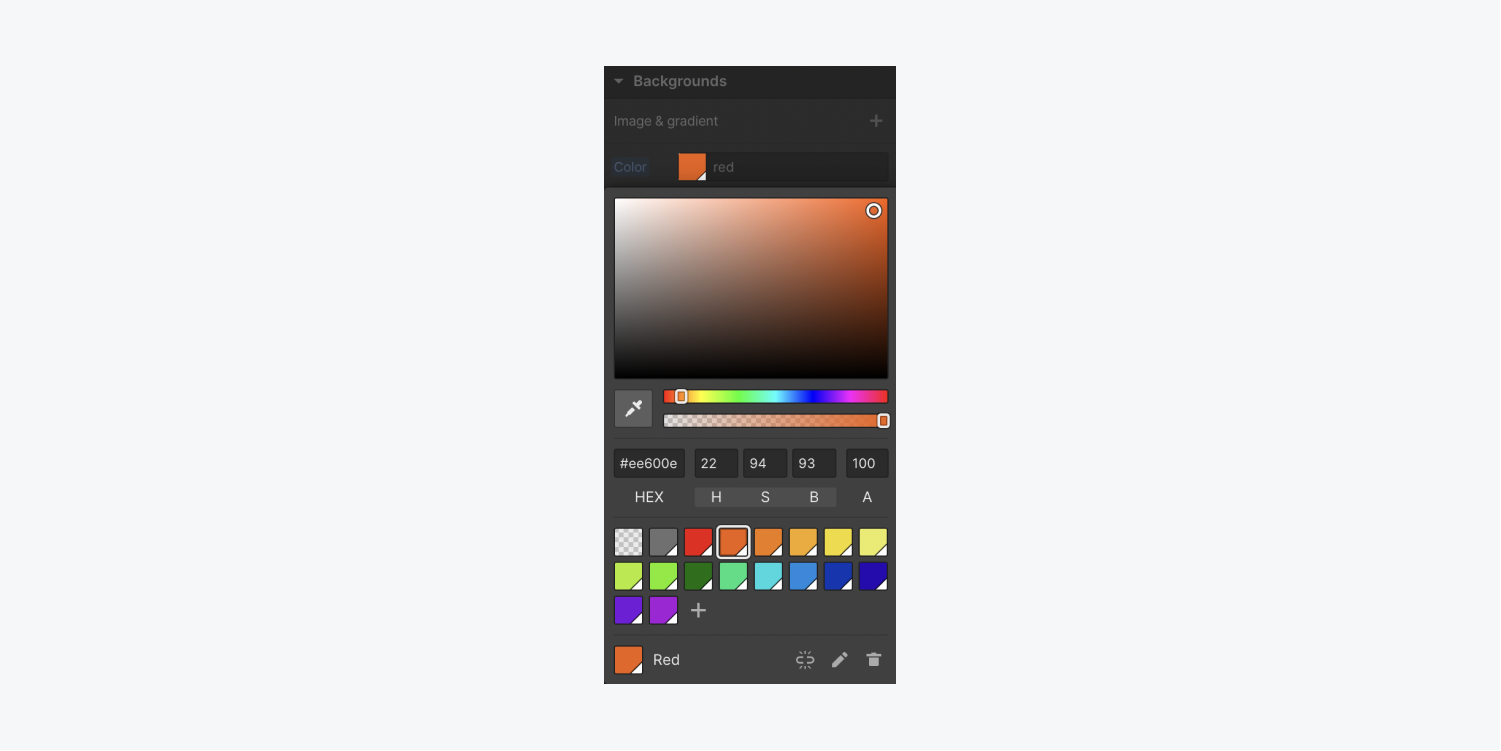
If your template’s color scheme was built using color swatches, you can easily edit a color swatch to update it sitewide (e.g., switching a red color swatch to purple changes all red colored elements to purple).
Customize backgrounds
Some elements use a background color, image, or gradient to add visual interest.
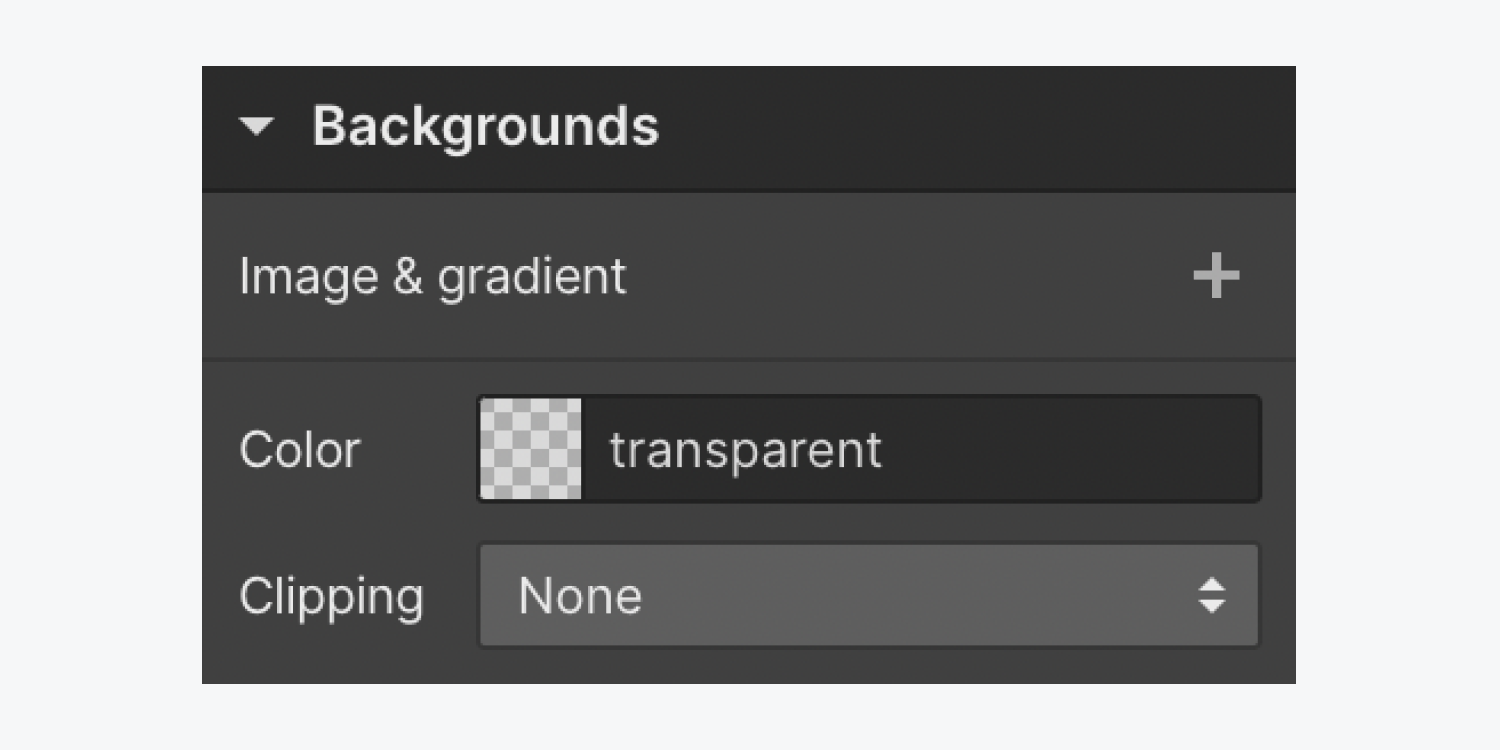
Setting the background on an element gives you control over appearance and legibility. In the Style panel > Backgrounds, you can add a background image, gradient, or color to most elements (except media elements like video and image). Learn how to adjust background styles.
Related reading:
Replace images
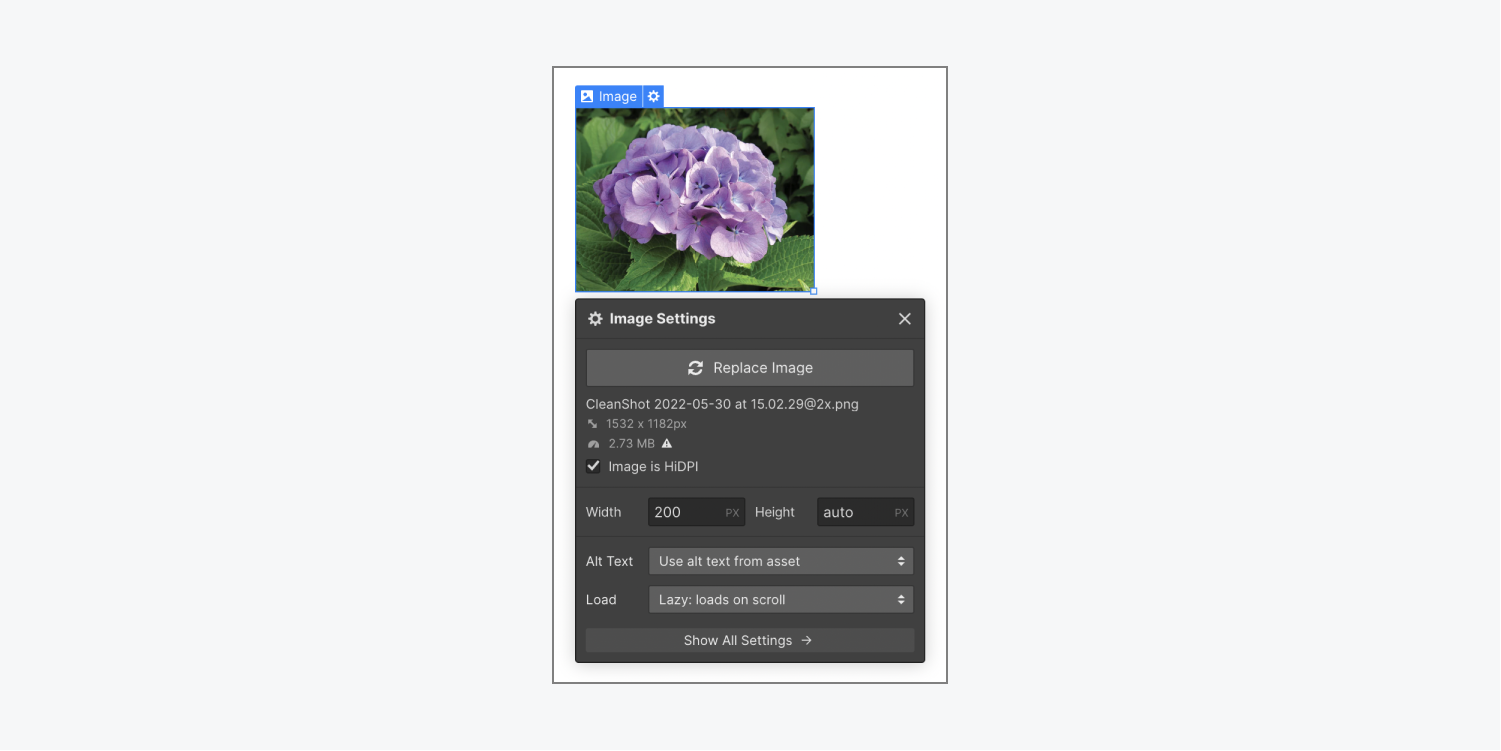
You can replace placeholder images in your template with other images you upload yourself. You can upload images and access previously uploaded images via the Assets panel. Learn how to replace images.
Related reading:
Update links
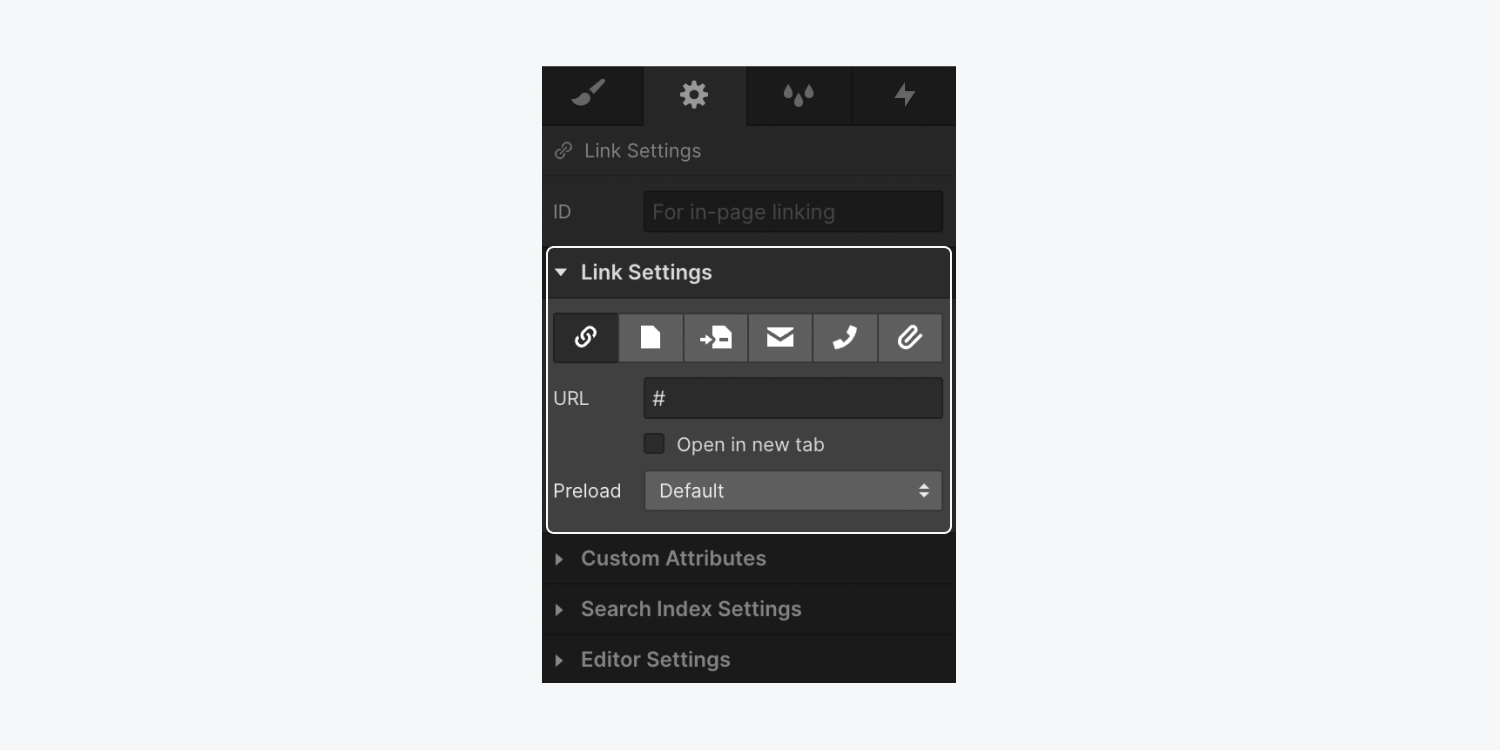
You’ll also want to update any links in your chosen template design. To quickly update a link, select the element that contains the link, then open the Settings panel > Link settings and make adjustments as needed. Learn how to set a link and adjust its settings.
Related reading:
Good to know: You can also embed videos hosted on a third-party site like YouTube or Vimeo. Learn how to use Webflow’s video element.
Collect site visitor information
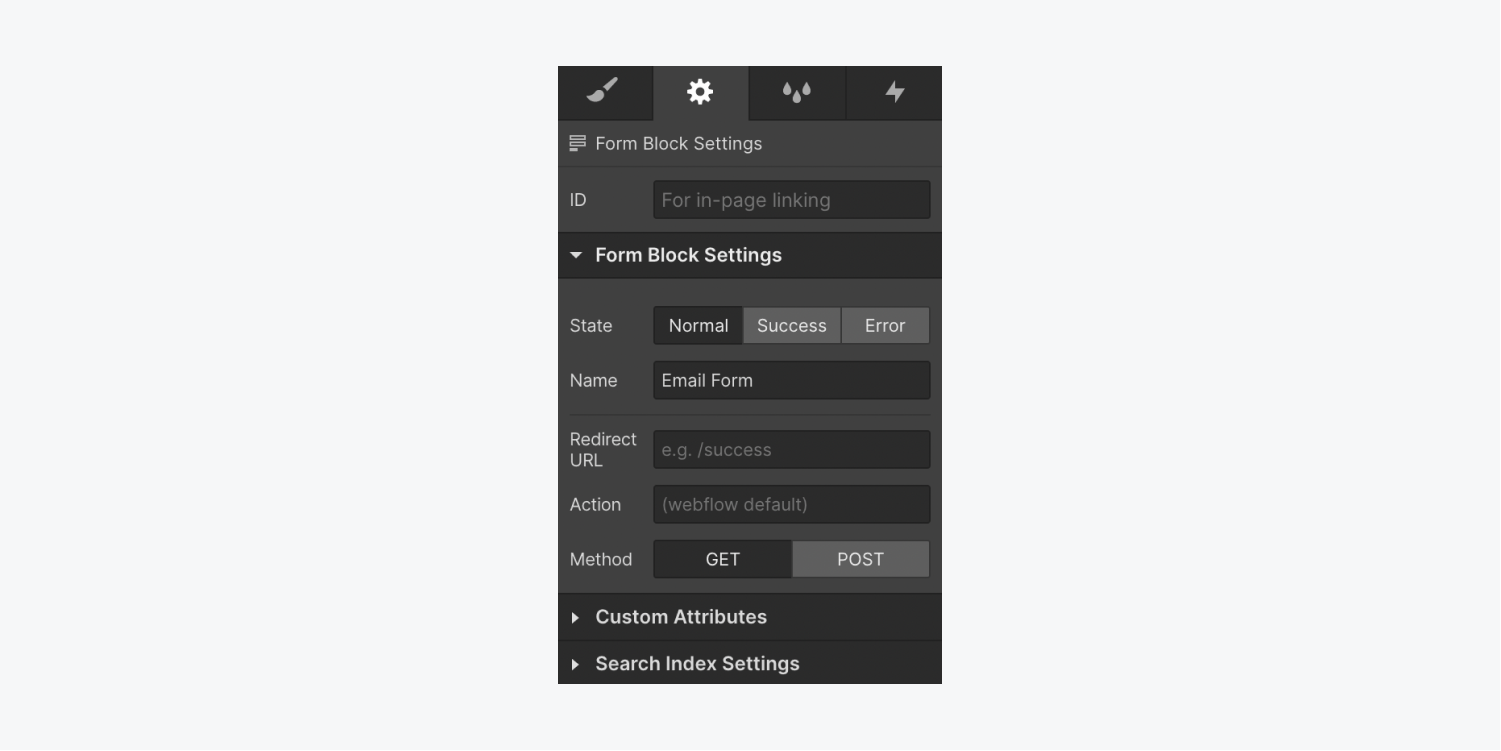
To collect site visitor information (e.g., sign ups for your newsletter, etc.) or to allow visitors to submit messages to you via a contact form, you can configure your form to accurately collect this information and send it to you.
You can collect this information directly in your Site settings, or you can use third parties like MailChimp or Zapier to collect form data for you. Learn how to manage form submissions and notifications.
Modify SEO settings
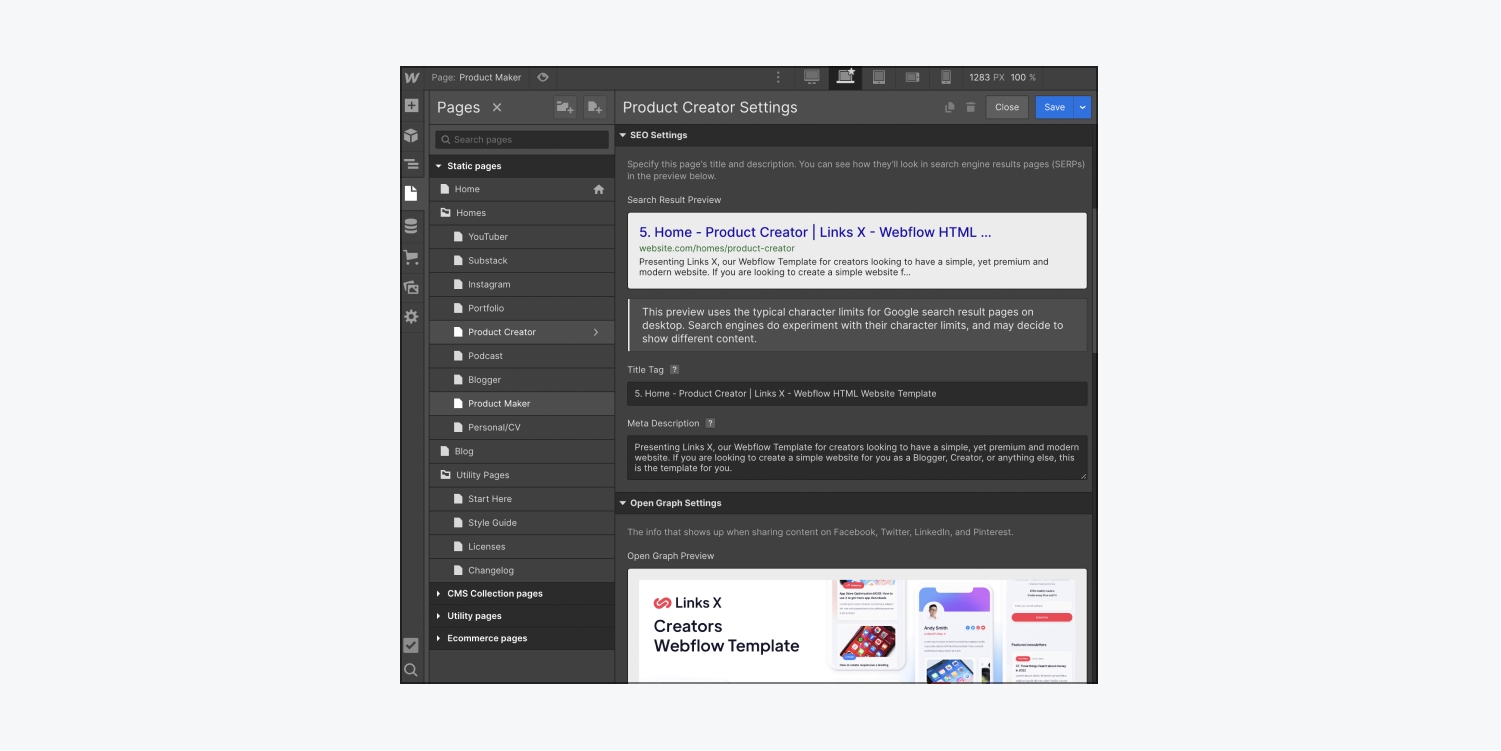
To modify the title, image, or description that appears when you share your site or when someone searches for your site, you can adjust SEO settings and Open Graph settings within your page’s settings. Learn more about SEO in our SEO fundamentals course.
To access SEO settings and Open Graph settings:
- Open the Pages panel
- Click the “cog” icon next to the page whose settings you want to update
- Update information in SEO settings or Open Graph settings
How to work with a blog
If your template came with a built-in blog, you can quickly create new posts featuring your very own dynamic content — all by using Webflow’s built-in content management system (CMS).
A CMS is where dynamic content is stored and maintained. Your website references that dynamic content on different pages, so anytime you create or change any content in the CMS, it instantly updates all the pages where that content is referenced.
Webflow's "visual" CMS enables you to create structured content, design around that content, and update it all — without touching a line of code. Read more about the Webflow CMS and how to work with individual Collection items.
You can identify dynamic CMS elements by their purple colored outlines or by selecting the element and going to the Style panel. If a Dynamic style settings section is visible, the element is a dynamic CMS element.

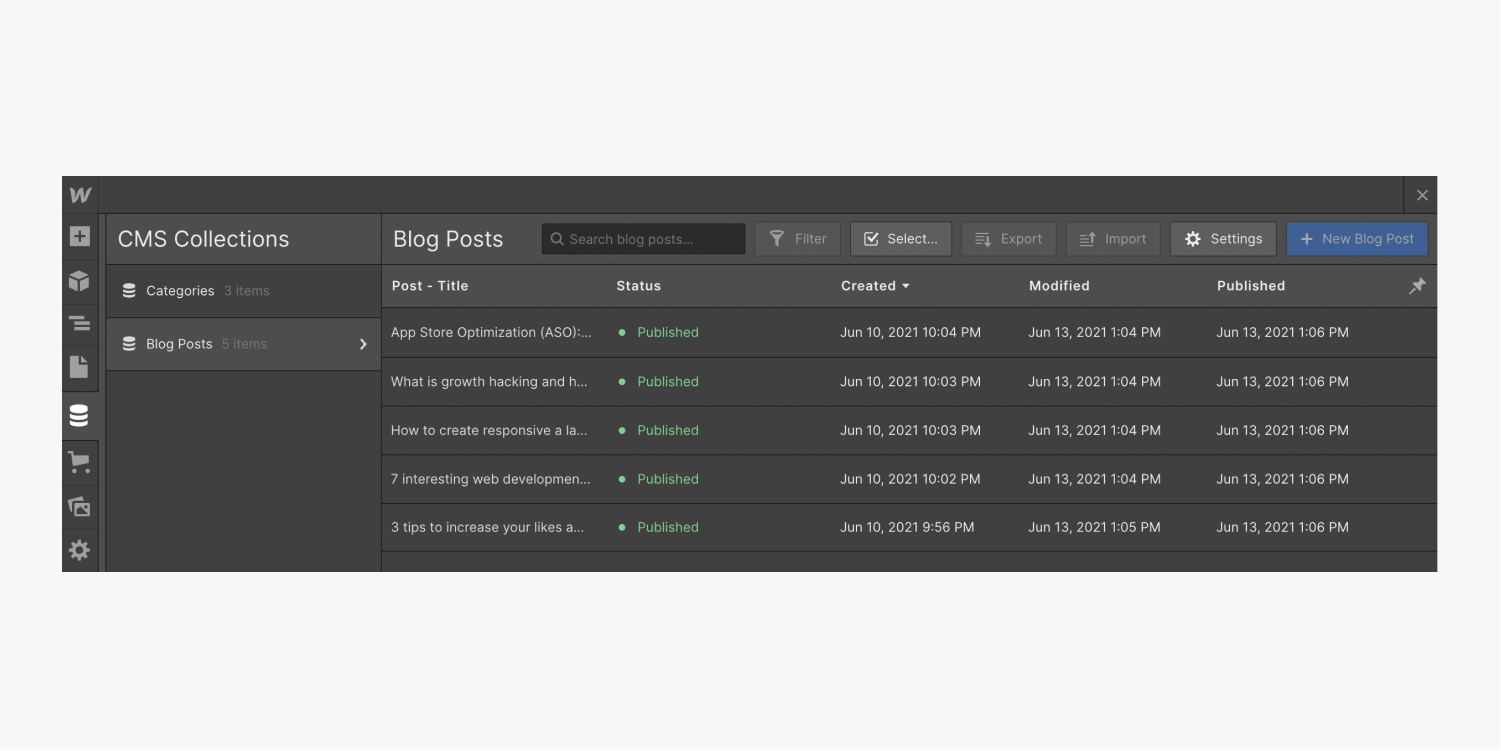
Let’s walk through how you can:
- Customize your individual posts
- Add and delete blog posts and categories
- Save a draft of a blog post
- Schedule a blog post
Customize your individual posts
You can customize a blog post from within the Webflow CMS. A CMS in a template site will likely contain 2 (or more) CMS Collections with some sample content (e.g., a “Blog posts” Collection and a “Categories” Collection). You can update the sample content with your own information.
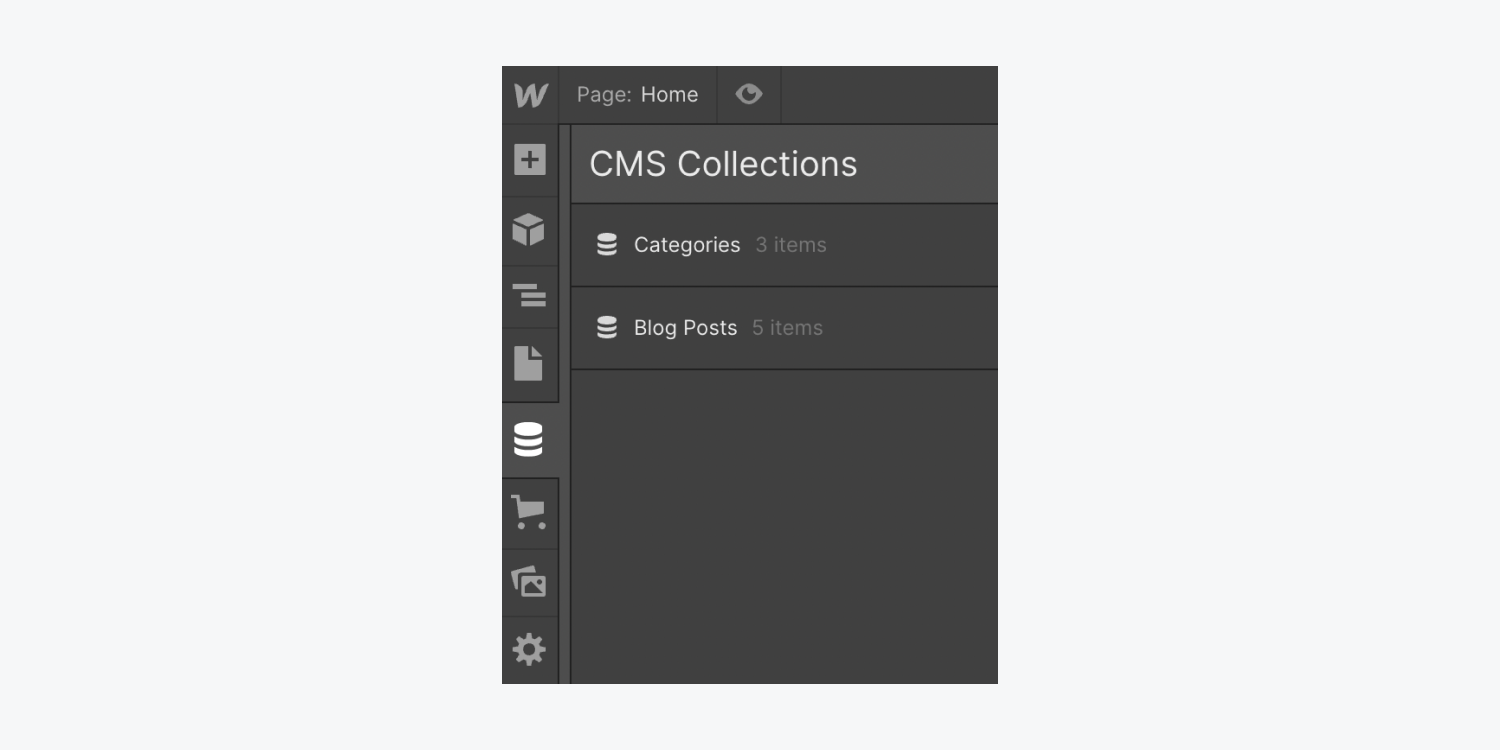
A Collection is a collection of similar items. For instance, you might have a Collection called “Blog posts.” The “Blog posts” Collection contains individual Collection items — individual blog posts.

Each Collection item (e.g., each blog post) contains fields for your data. For instance, you can add a blog post title, the blog post content, the blog post’s featured image, the blog post’s category, etc.
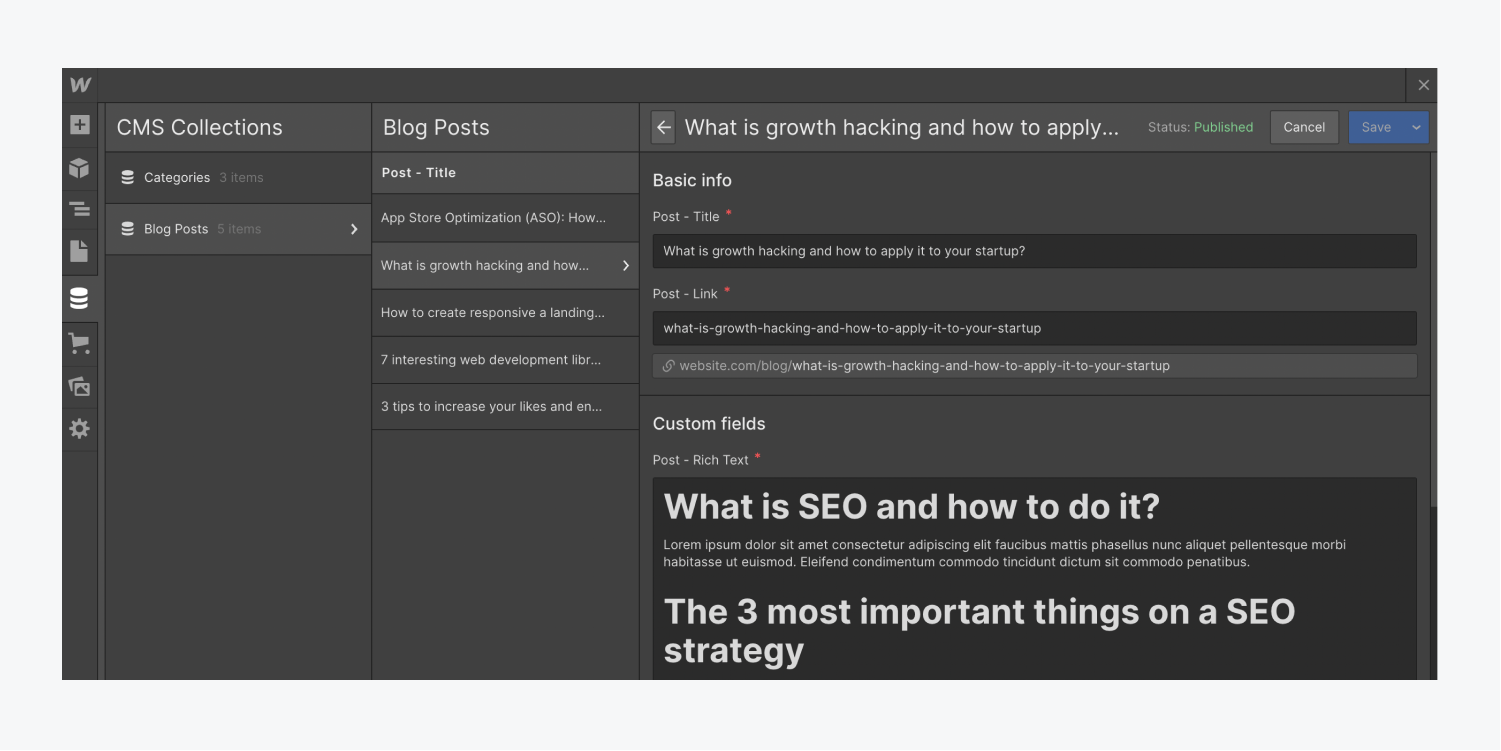
To update the sample content with your specific information:
- Click the CMS icon in the left toolbar of the Designer to open the CMS panel
- Click the Collection you want to update (e.g., “Blog posts”)
- Click a Collection item (e.g., one of the individual sample blog posts)
- Add your information to the included fields
Then you can:
- Save your changes
- Click the dropdown arrow to Publish your single blog post right away (without waiting for the next site-wide publish to take place)
- Click the dropdown arrow to Save as Draft if you aren’t quite ready to publish your post.
Repeat the above steps for any other Collection item you want to update. The changes you’ve made will automatically update on the canvas (unless you’ve set your post as a “Draft”, which will hide it from view on your site). Learn more about how to update Collection items.
Important: If you change the blog post’s title, make sure you update the URL slug as well.
Add and delete blog posts and categories
To add a Collection item (e.g., a blog post or a blog category) you can create new items manually, import items from a CSV file, or import them through the CMS API using Zapier or webhooks. Learn how to create new Collection items.
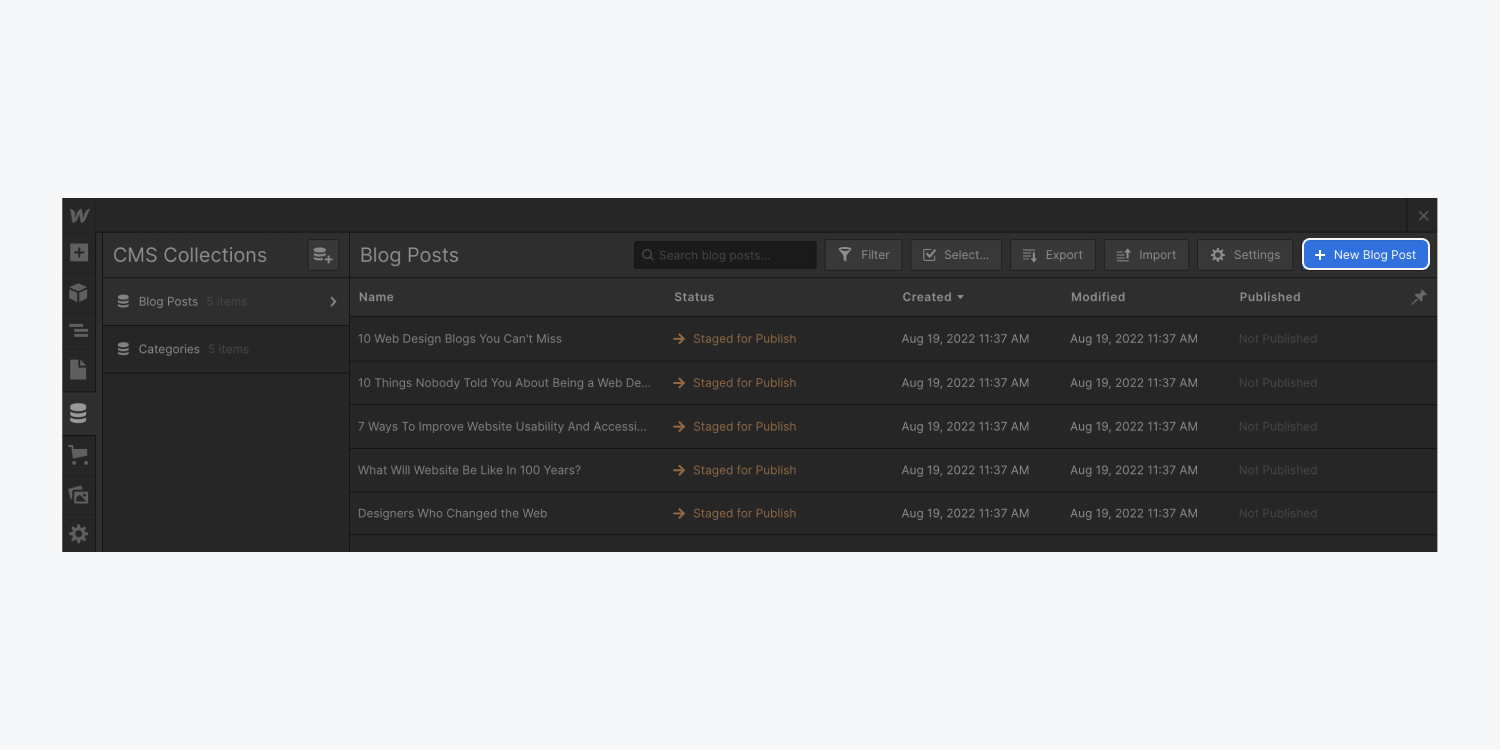
You can delete many Collection items at a time or you can delete an individual Collection item.
To delete a single Collection item:
- Click the CMS icon in the left toolbar of the Designer to open the CMS panel
- Click the Collection you want to update (e.g., “Blog posts”)
- Click a Collection item (e.g., one of the individual blog posts)
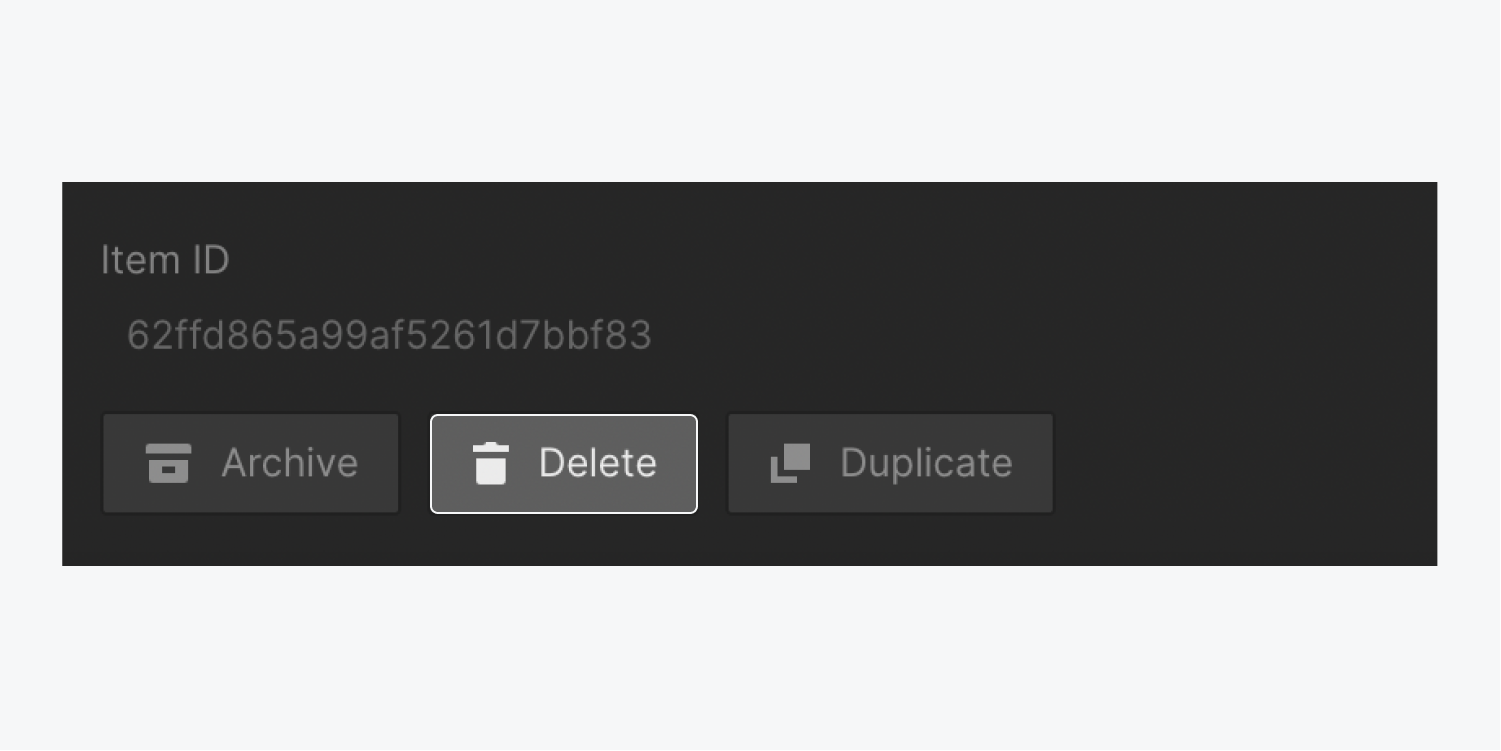
- Scroll to the bottom of the Collection item and click Delete
- Click Delete again to confirm
Save a draft of a blog post
Instead of publishing a blog post to your site, you can save it as a draft first.

You can edit draft items as many times as you need and continue to save them as a draft until you’re ready to publish them. Once you’re ready, the item can be staged for publish or published to your site. Learn how to edit draft items.
Schedule a blog post
Scheduled publishing lets you prepare content releases in advance and have it pushed live automatically. This feature is only available on Hosted CMS, Business, and Ecommerce site plans.
Learn how to schedule your blog posts.
How to add or remove elements from your site
You’ve chosen your desired template to customize, but maybe you want to add a new image to the homepage or you have a new link to feature in your links list. Or maybe you don’t have a Twitter account link or a product store and you’d prefer to remove these elements from your design. You can add or remove elements from your site to perfectly customize your content.
Good to know: If you need to add or remove blog posts, you’ll want to do this a little differently since blog posts are managed by the Webflow CMS. Check out how to work with a blog for blog-specific instructions.
Let’s walk through how you can:
Note: It’s a good idea to make a manual backup point prior to making any significant changes in your site.
Add elements to your site
You can reuse elements and components in your site. For instance, if you want to add another link, you can copy the link you want to duplicate and paste it right into your site:
- Select the element you want to duplicate (e.g., a link)
- Copy the element with Command + C (on Mac) or Control + C (on Windows)
- Paste the copied element with Command + V (on Mac) or Control + V (on Windows)
You can also undo the paste action by pressing Command + Z (on Mac) or Control + Z (on Windows).
Remove elements from your site
You can also remove elements from your site. For example, you may not use a certain social media platform and would like to remove the link to it. To remove an element:
- Select the element you want to delete (make sure you’ve selected all of its related components so you’re not leaving any elements behind after you delete it)
- Press Delete on your keyboard
You can also undo the delete action by pressing Command + Z (on Mac) or Control + Z (on Windows).
How to publish your site
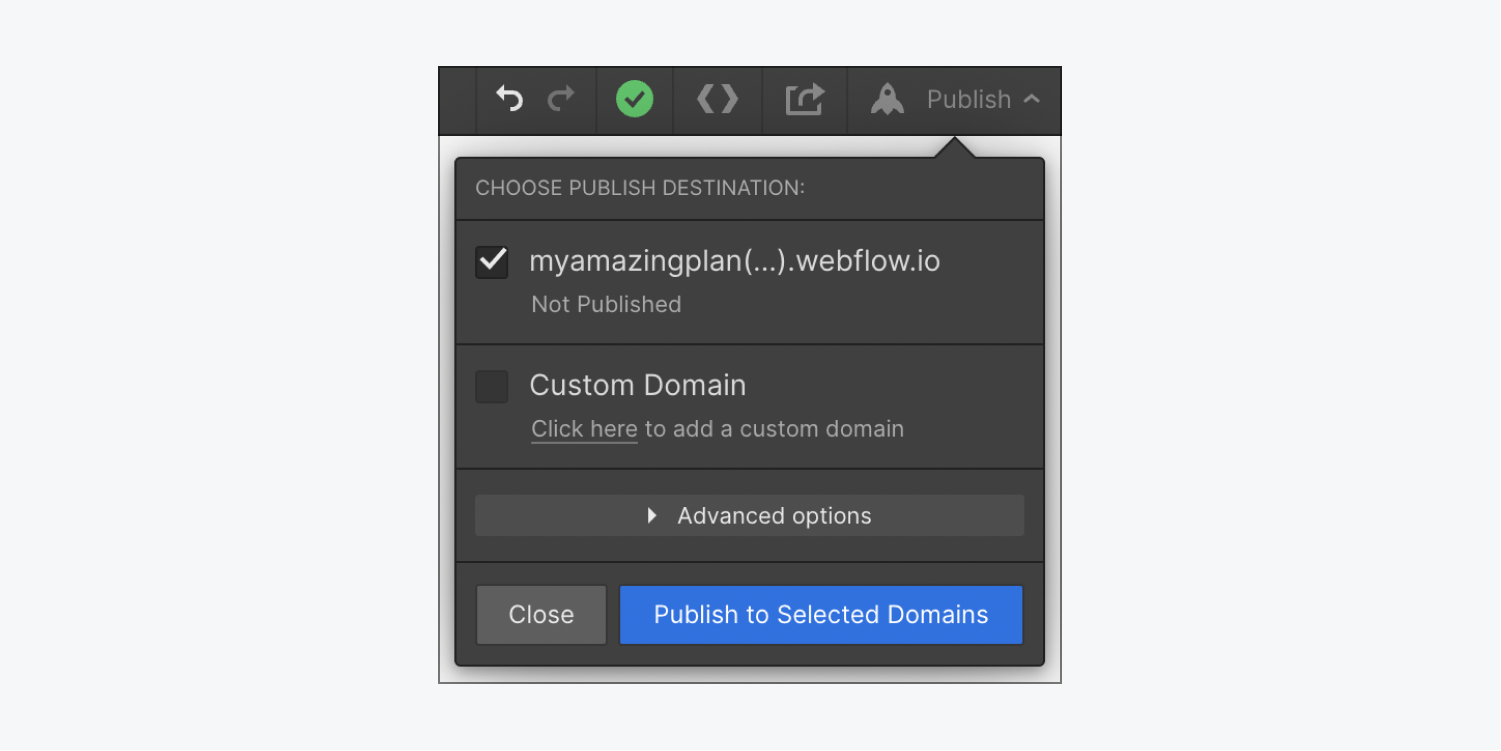
As you customize your design, you can publish your site to Webflow’s native domain for free (e.g., “www.myamazingplants.webflow.io”) to get a feel for what your site looks like on the web. Learn how to publish your site.
How to connect a custom domain to your site
While you can always publish your site to Webflow’s native domain for free (e.g., myamazingplants.webflow.io), you also have the option to connect your own custom domain to your site and publish it there instead (e.g., myamazingplants.com).
We’ll walk through how you can:
Purchase a site plan for your site
If you’d like to use a custom domain with your site or set up a more robust blog, you can purchase a site plan for your site. Learn how to manage your site plans.
If your template uses the Webflow CMS (e.g., for a blog), you will not be able to purchase a Basic site plan until the CMS has been removed from your site. In some instances, this may break portions of the template design, so be sure to back up your site prior to removing the CMS.
Learn how to apply a promo code to your site plan purchase.

Connect your custom domain to your site
Once you’ve purchased a site plan for your site, you can publish your site to any custom domain you own (e.g., myamazingplants.com). Learn how to connect your custom domain.
How to set up Google Analytics
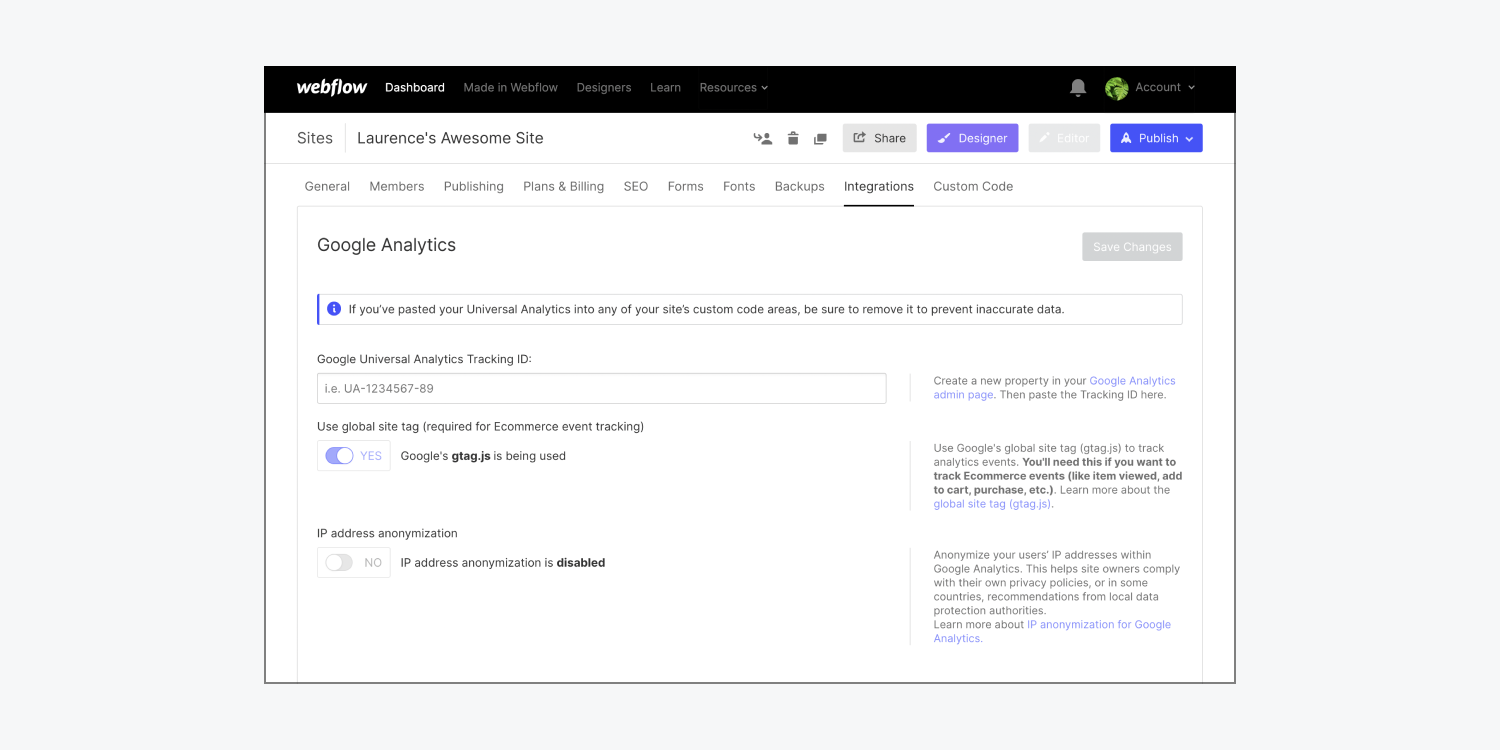
You’ve created a sweet site. Now it’s time to add Google Analytics to track powerful metrics like how many users and pageviews your site is getting, how long people are spending on your site, and how many of them are leaving the page without clicking other links (bounce rate). Google Analytics also allows you to see where the traffic to your site is coming from. You can even narrow these parameters down to the city. Learn how to set up Google Analytics for your site.
How to get help with your template
If you’re new to Webflow, you might find that templates with lots of interactions, custom menus, and popup modals can be challenging to customize. However, if you need support for your template, you can reach out to the template designer for help (and many template designers include help documentation within their templates).
Pat yourself on the back for making such a cool, custom site, and share that creative content with the world!


