By default, the Editor is branded with the Webflow logo. For sites on Growth or Agency Workspaces, you can whitelabel the Editor with your own branding.
In this lesson, you’ll learn:

Important: Whitelabeling the Editor is not supported for Ecommerce sites.
How to add your own Editor branding
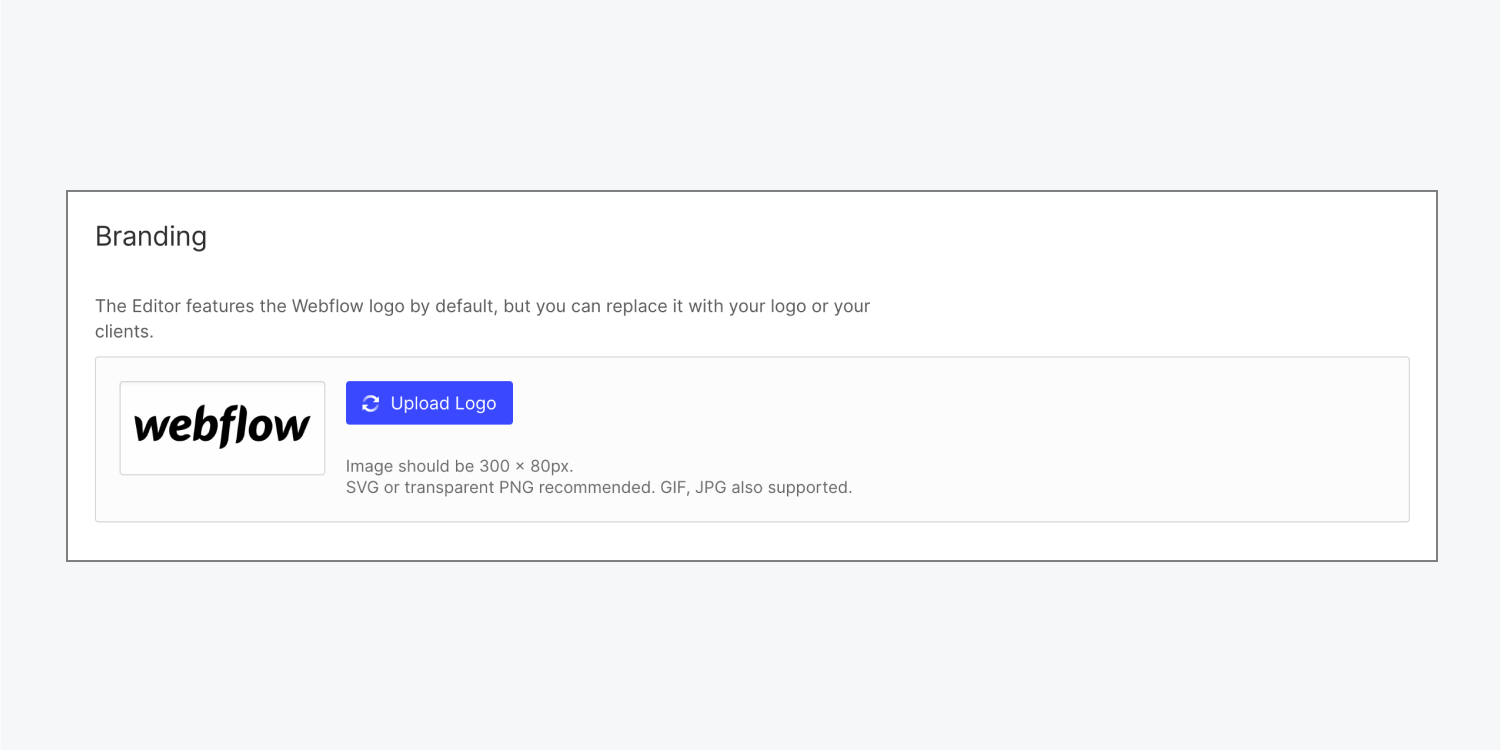
To upload your own logo to the Webflow Editor, go to Site settings > Members tab > Branding and click Upload logo.
Important: When you enable whitelabeling (i.e., custom branding) on your site, any content editors you invite to your site will not receive an email invitation from Webflow. Instead, you’ll need to provide them with a direct link to edit your site. Learn more about inviting content editors.

How to reset or replace the Editor branding
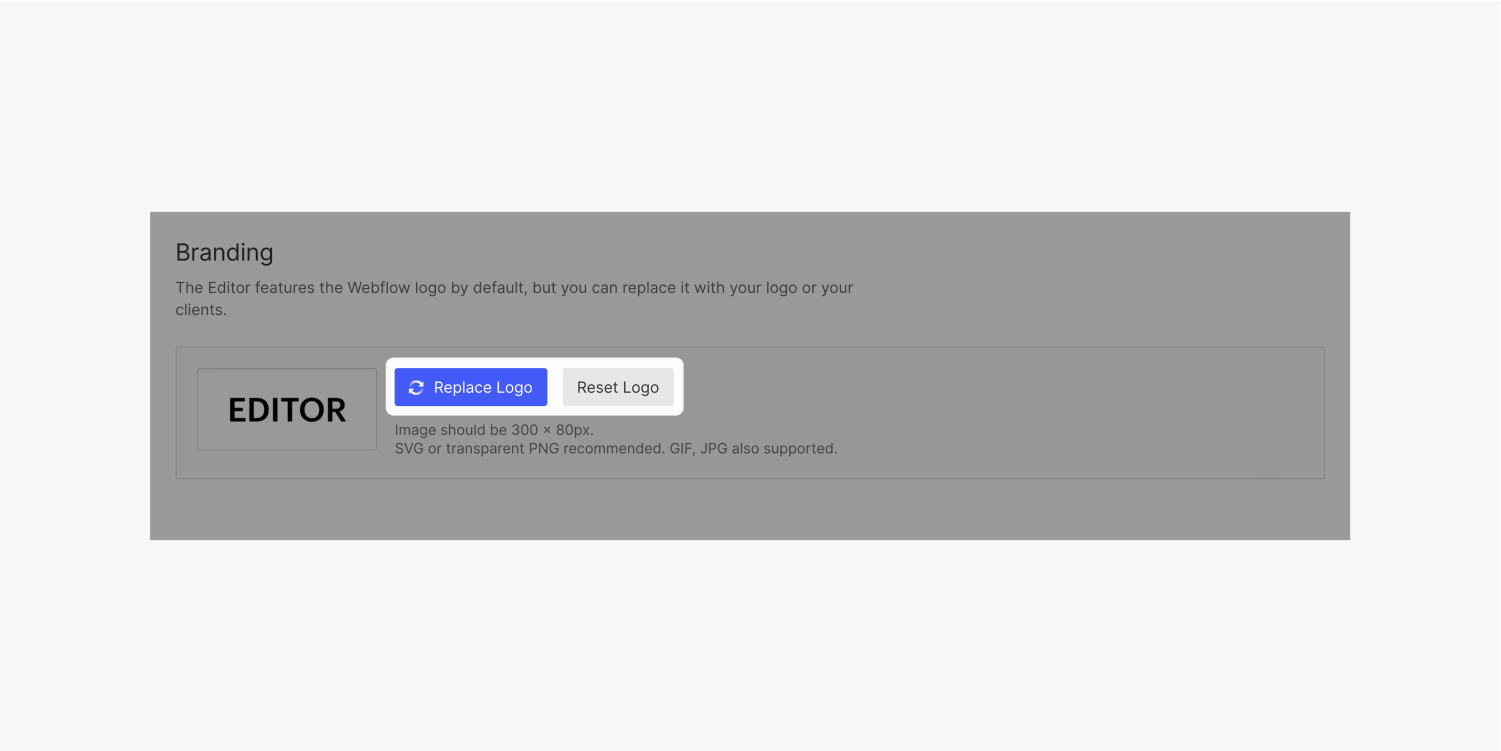
You can reset to the default Webflow logo at any time by visiting Site settings > Members tab > Branding and clicking Reset logo. You can also replace your custom logo by clicking Replace logo.


