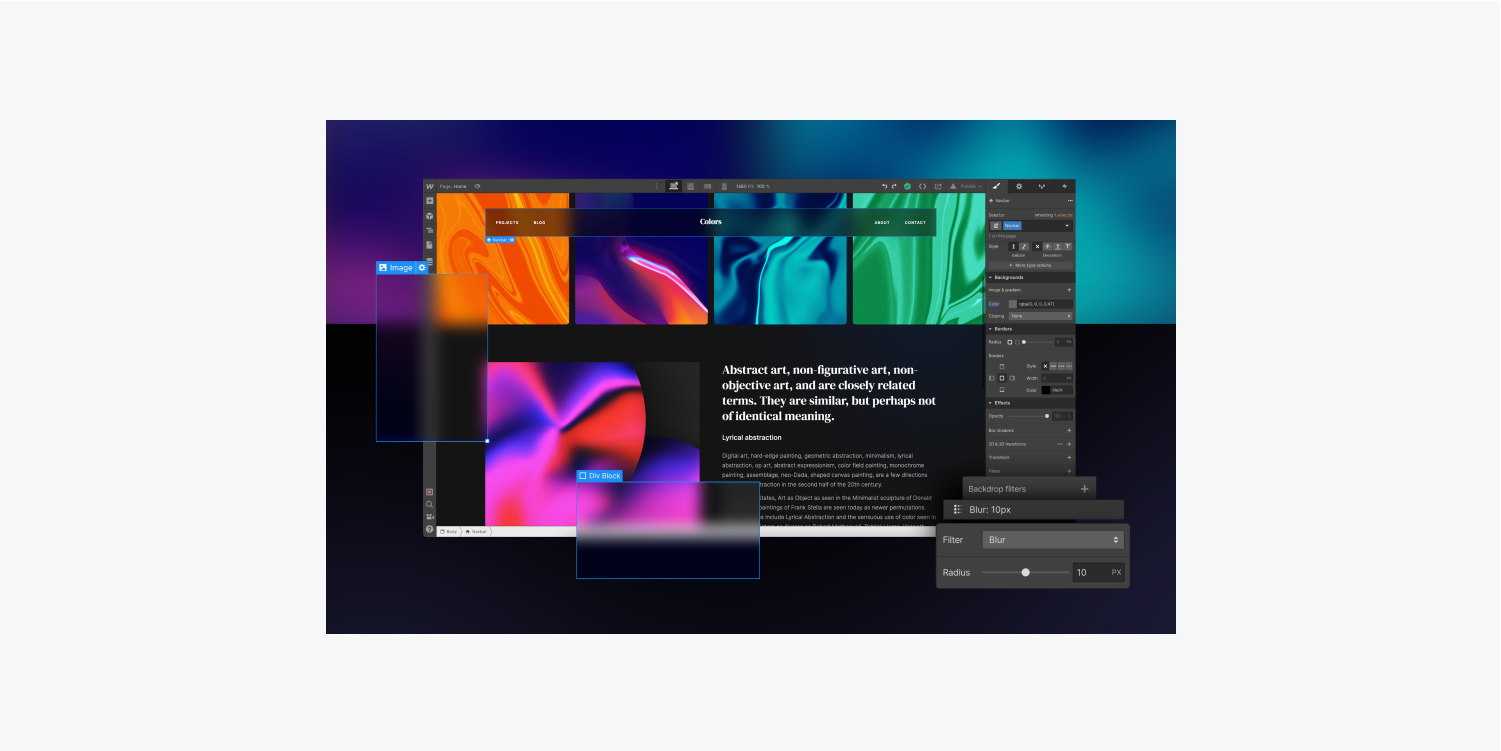
Make your foreground content stand out by applying and layering backdrop filters to create unique visual effects on your background elements. You can also live preview each backdrop filter in your design — all without having to use any custom code.
Important: Backdrop filters is currently in beta. These styles won’t display properly on Firefox in the Webflow Designer or published sites until support is added to Firefox. See current browser support.
In this lesson you’ll learn:
What a backdrop filter is
Adding a backdrop filter to any element lets you apply filter effects (e.g., blur, color shift, contrast, etc.) to transparent areas inside the element’s boundary. Anything behind the element that’s visible through the transparent areas is affected by the backdrop filter.
You can also apply multiple backdrop filters to a single element. You can layer and combine the backdrop filters together to create a variety of visual effects.
Good to know: Because the backdrop filter applies to everything behind the element, to see the effect you must make the element, portions of the element, or its background at least partially transparent.
How backdrop filters differ from filters
Backdrop filters have the same effect as filters, with one notable difference — backdrop filters apply only to areas behind the element instead of to the element and its children. Filters, on the other hand, apply directly to the element and its children, and don’t affect anything behind the element.
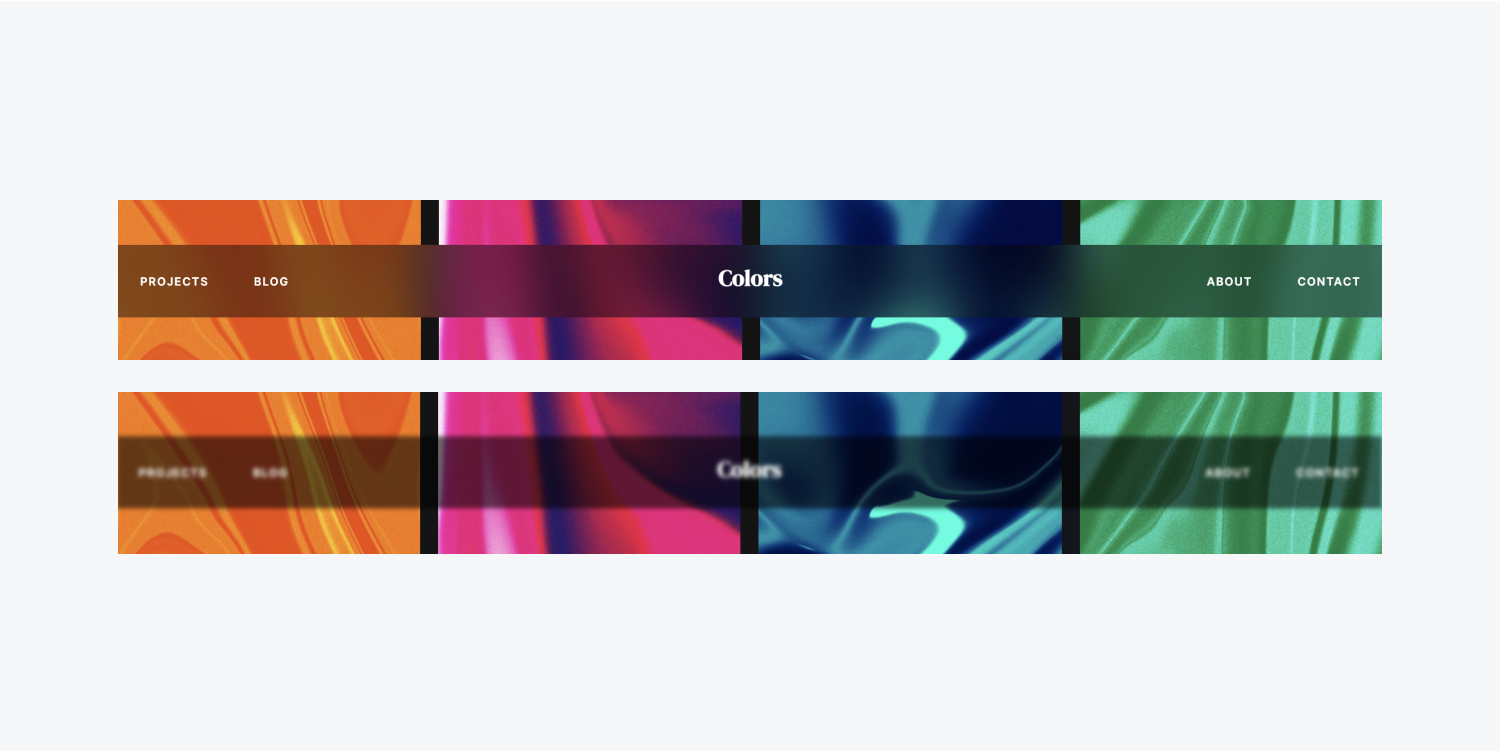
How backdrop filters behave
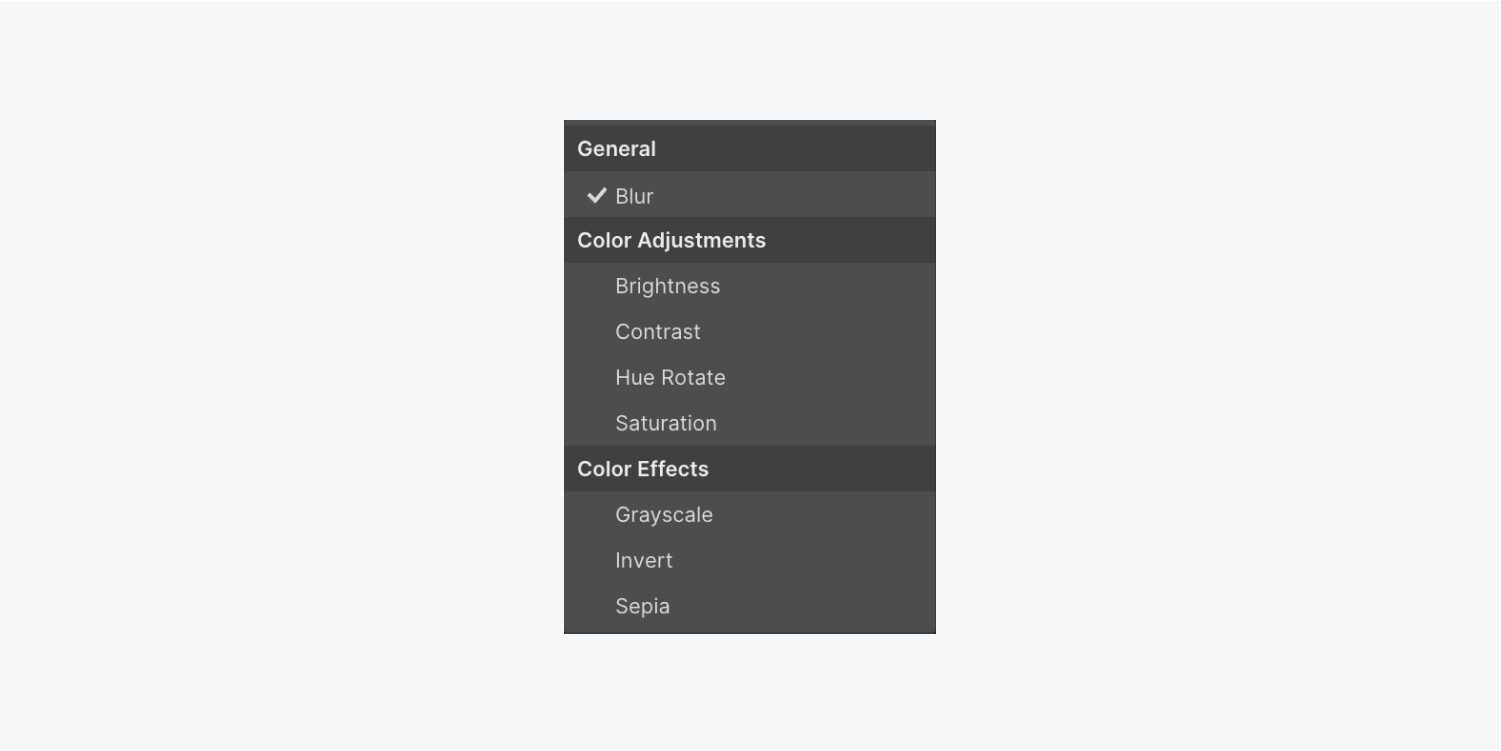
There are 8 Backdrop filters in Webflow’s Effects section of the Style panel. Filters that behave similarly are placed next to each other in the Backdrop filters dropdown. These filter groupings consist of:
- General (Blur)
- Color adjustments (Brightness, Contrast, Hue rotate, and Saturation)
- Color effects (Grayscale, Invert, and Sepia)
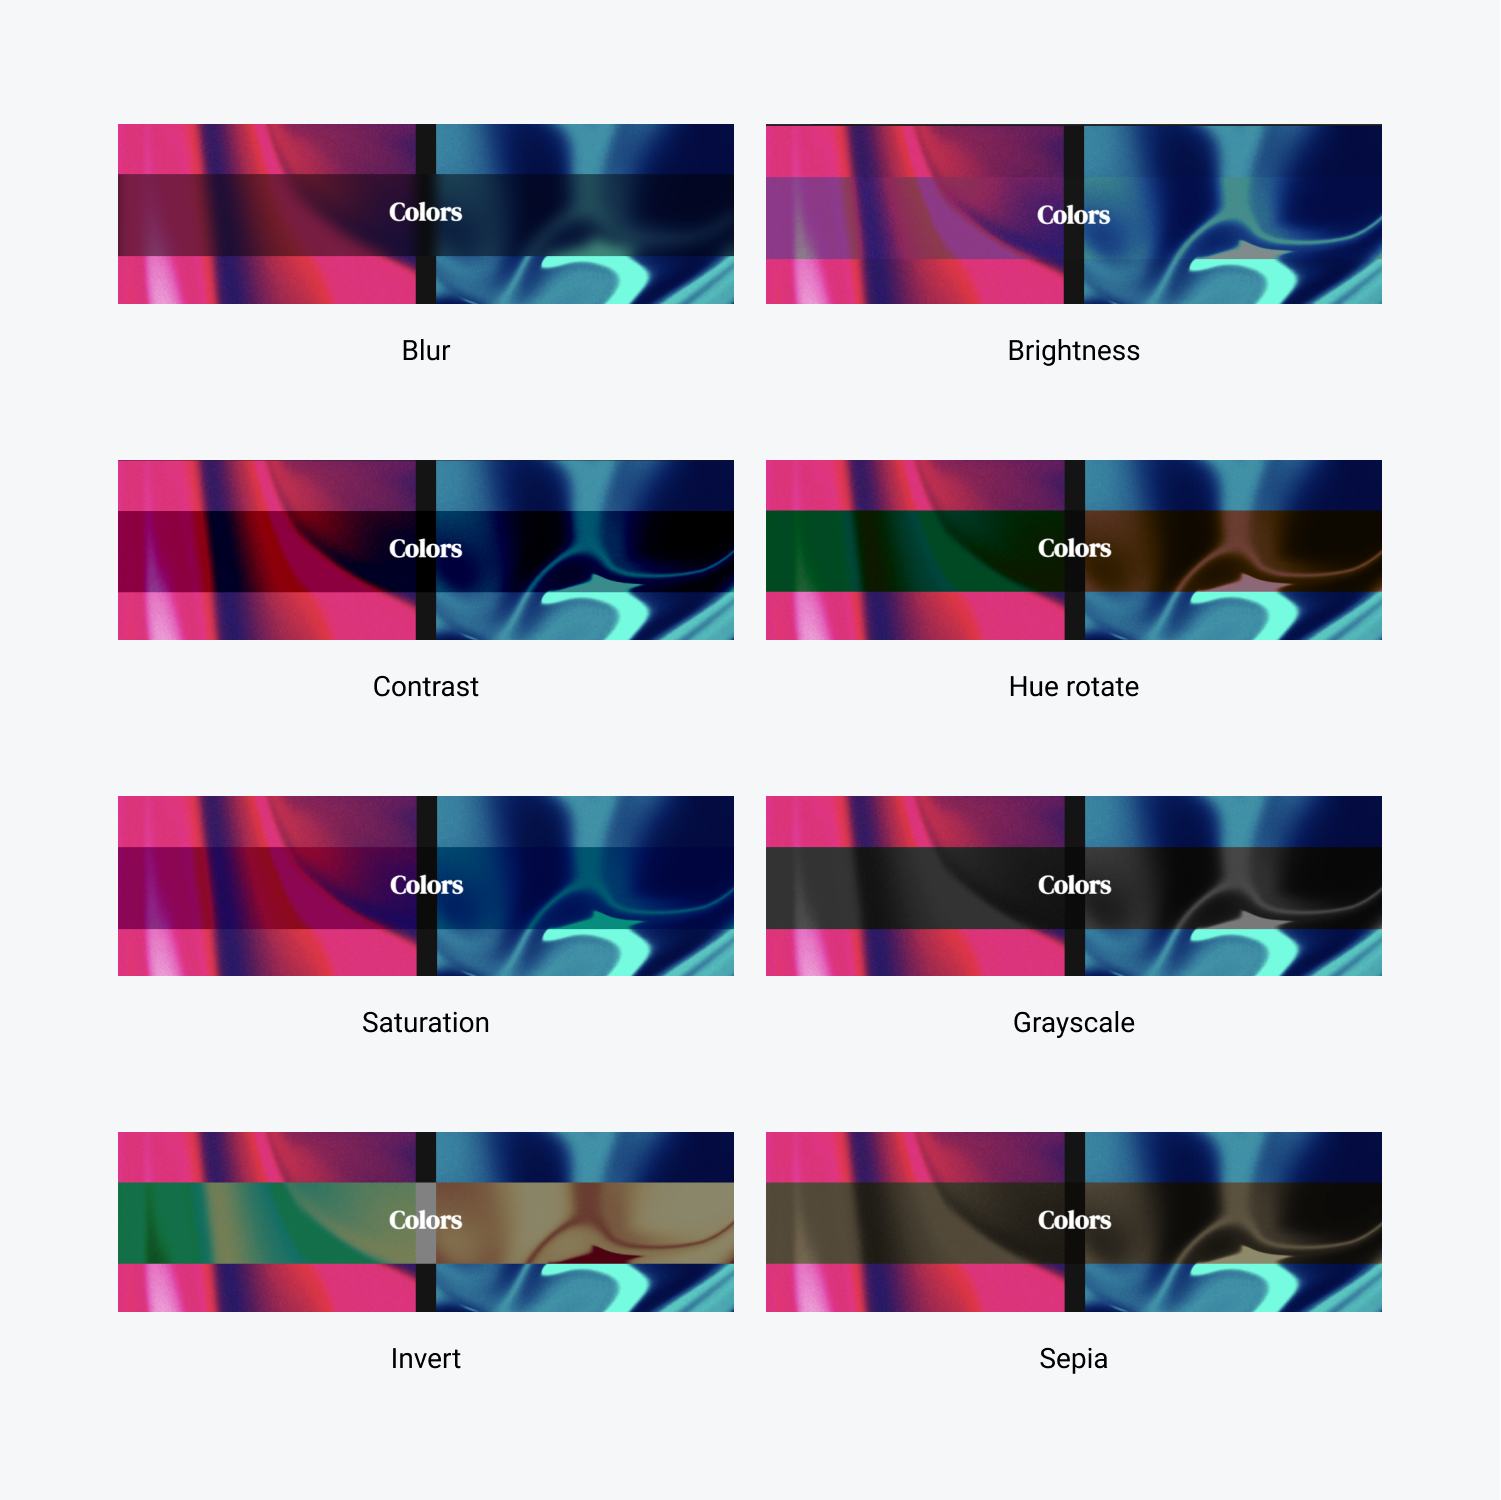
Let’s walk through how each backdrop filter behaves when you apply it to an element whose content has some level of transparency.
General
Blur
Blur applies a gaussian blur to your content. The blur radius adjusts the strength of the blur — larger values create more blur, and smaller values create less blur.
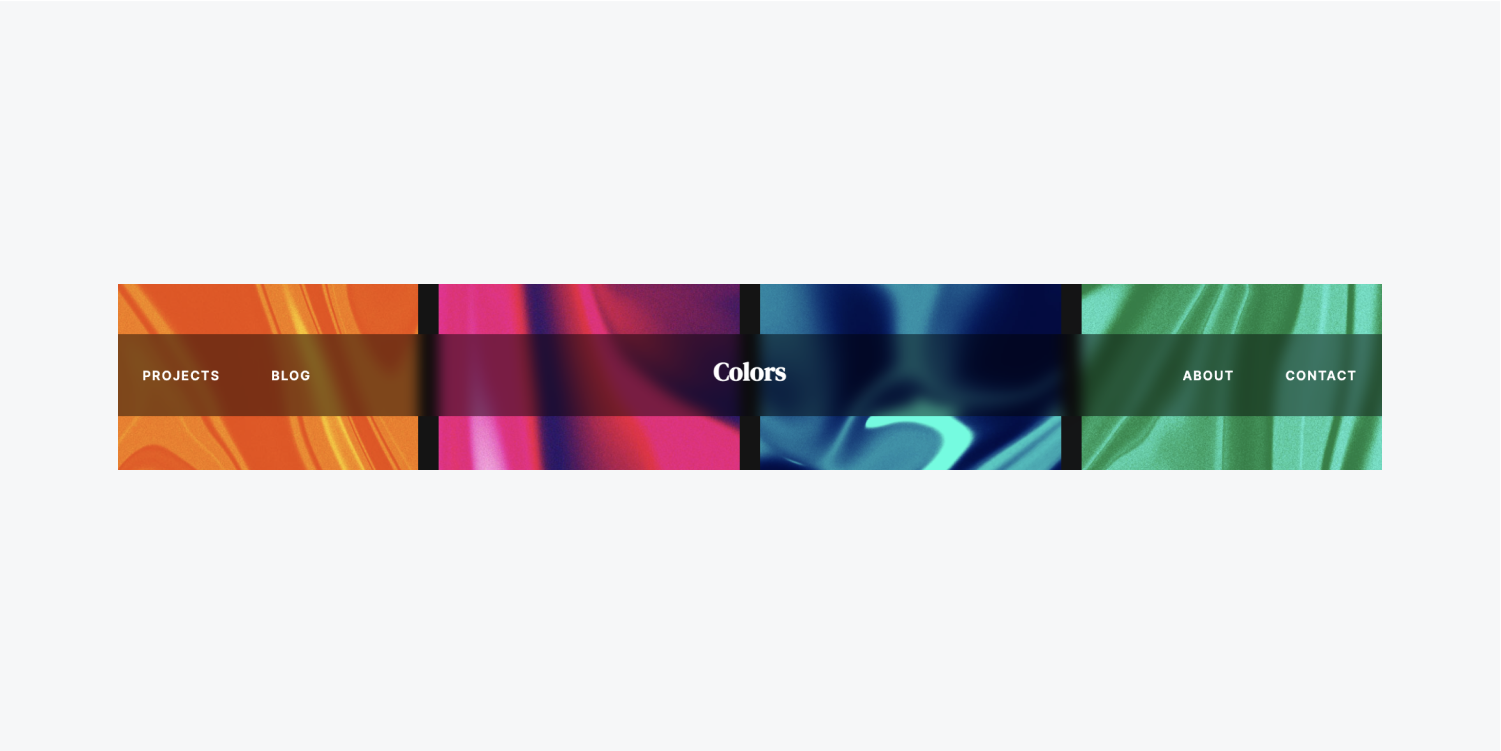
Color adjustments
Brightness
Brightness makes content appear more or less bright. You can adjust the amount — values below 100% decrease brightness, and values over 100% increase brightness.
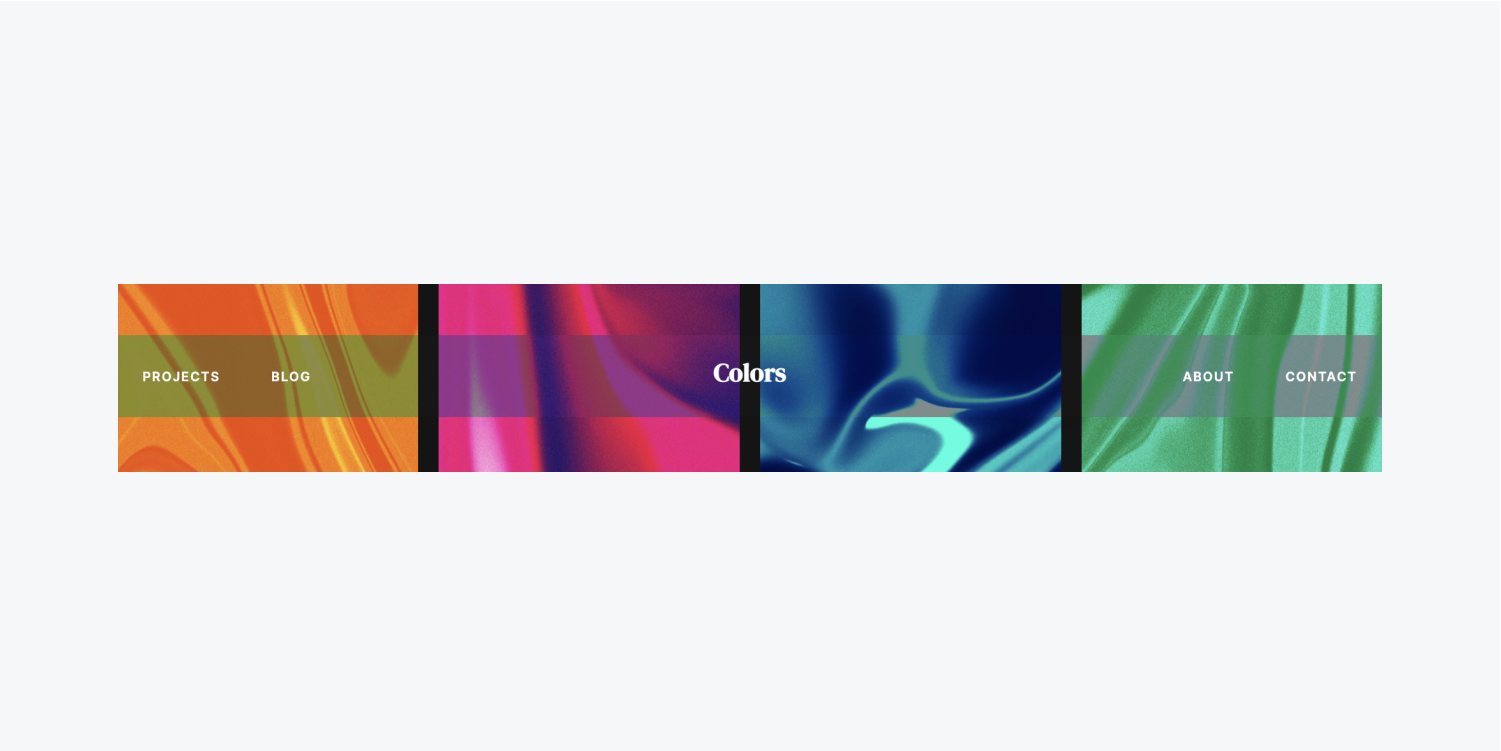
Contrast
Contrast increases or decreases contrast of your content. You can adjust the amount — values below 100% decrease contrast, and values over 100% increase contrast.
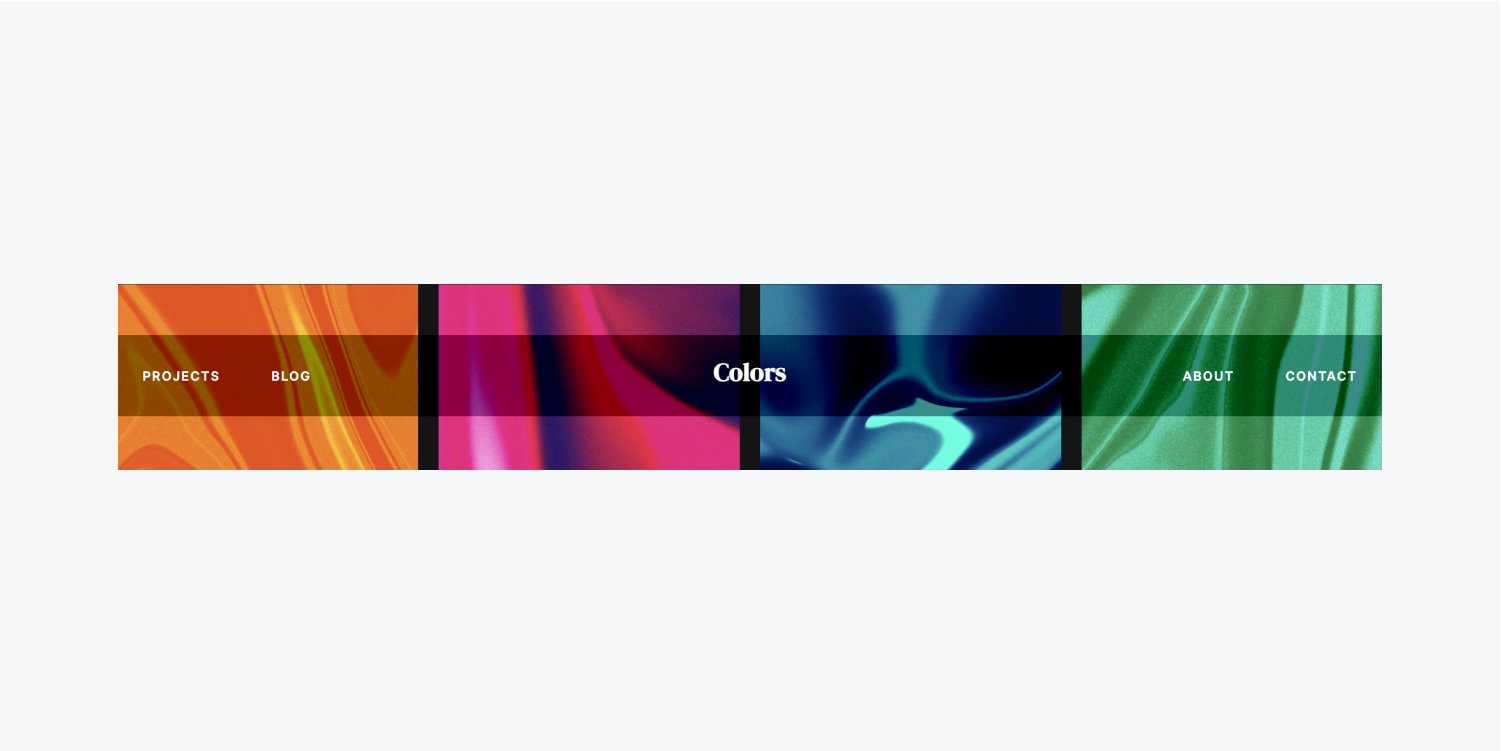
Hue rotate
Hue rotate changes the overall hue of your content, based on hues found around a standard color circle. You can set the angle at which the number of degrees around the color circle the hue will be shifted or rotated. Smaller angles (e.g., 10 degrees) display cool colored hues, and larger angles (e.g., 340 degrees) display warm colored hues. You can manually enter degrees past 360 degrees, which has the effect of wrapping around the color circle again (e.g., 400 degrees displays the same result as 40 degrees).
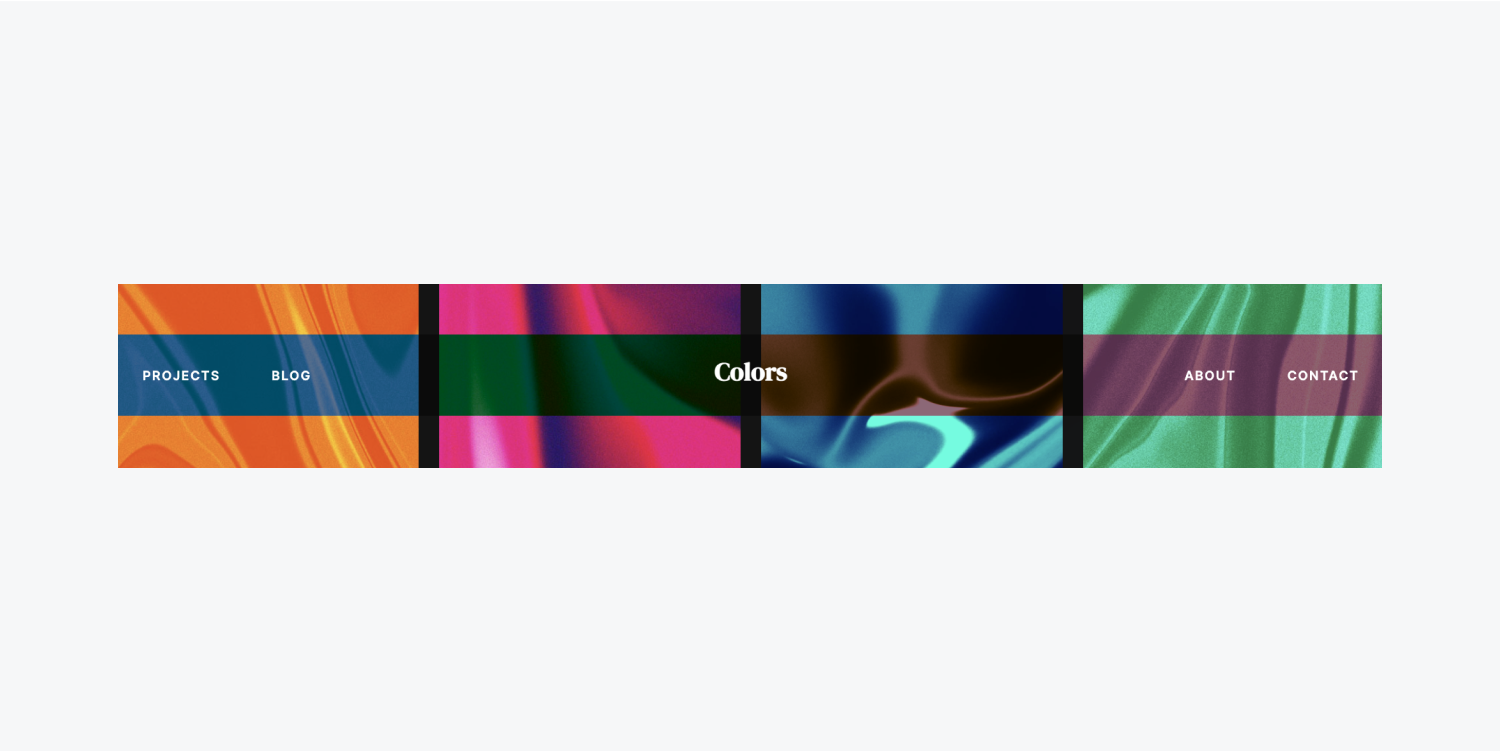
Saturation
Saturation increases or decreases the saturation of your content. You can adjust the amount — values below 100% decrease saturation, and values over 100% increase saturation.
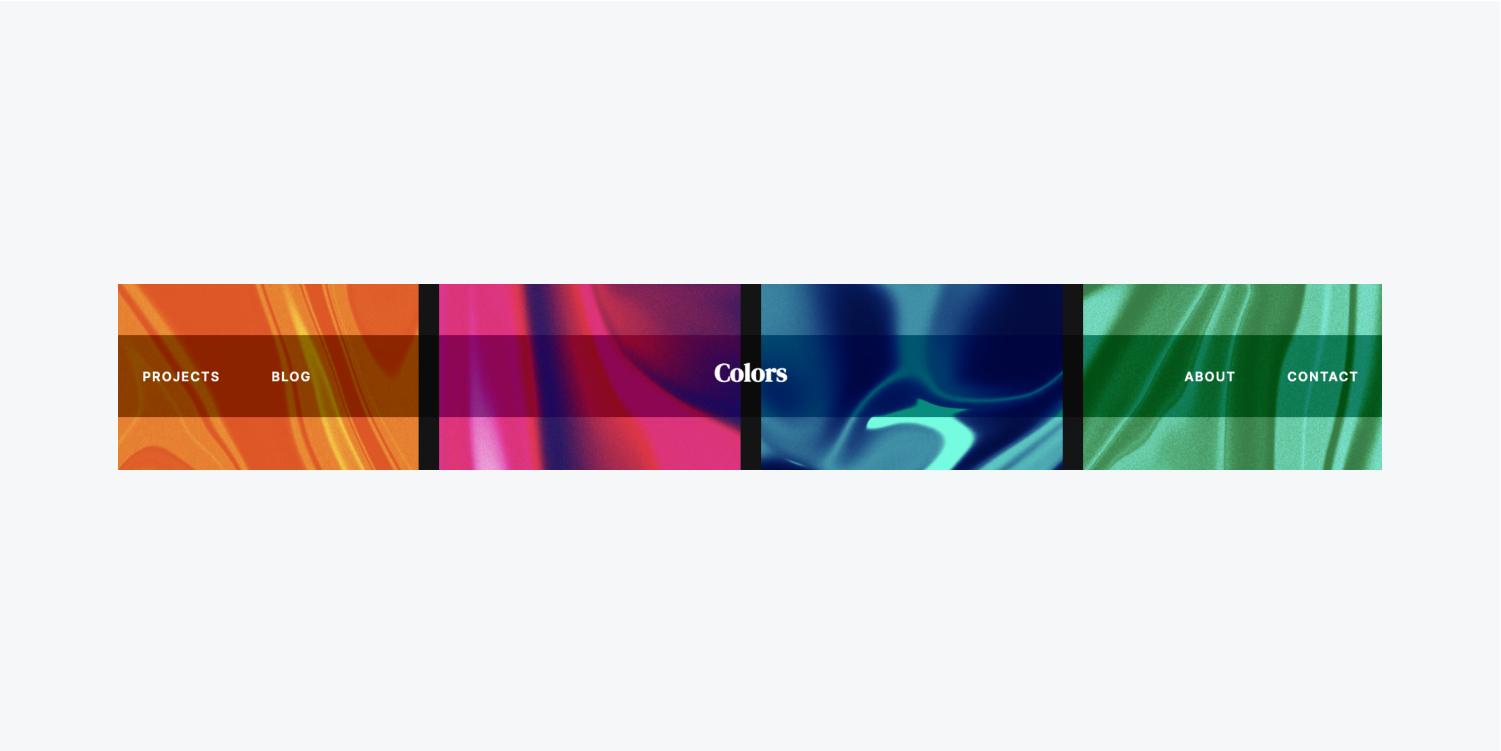
Color effects
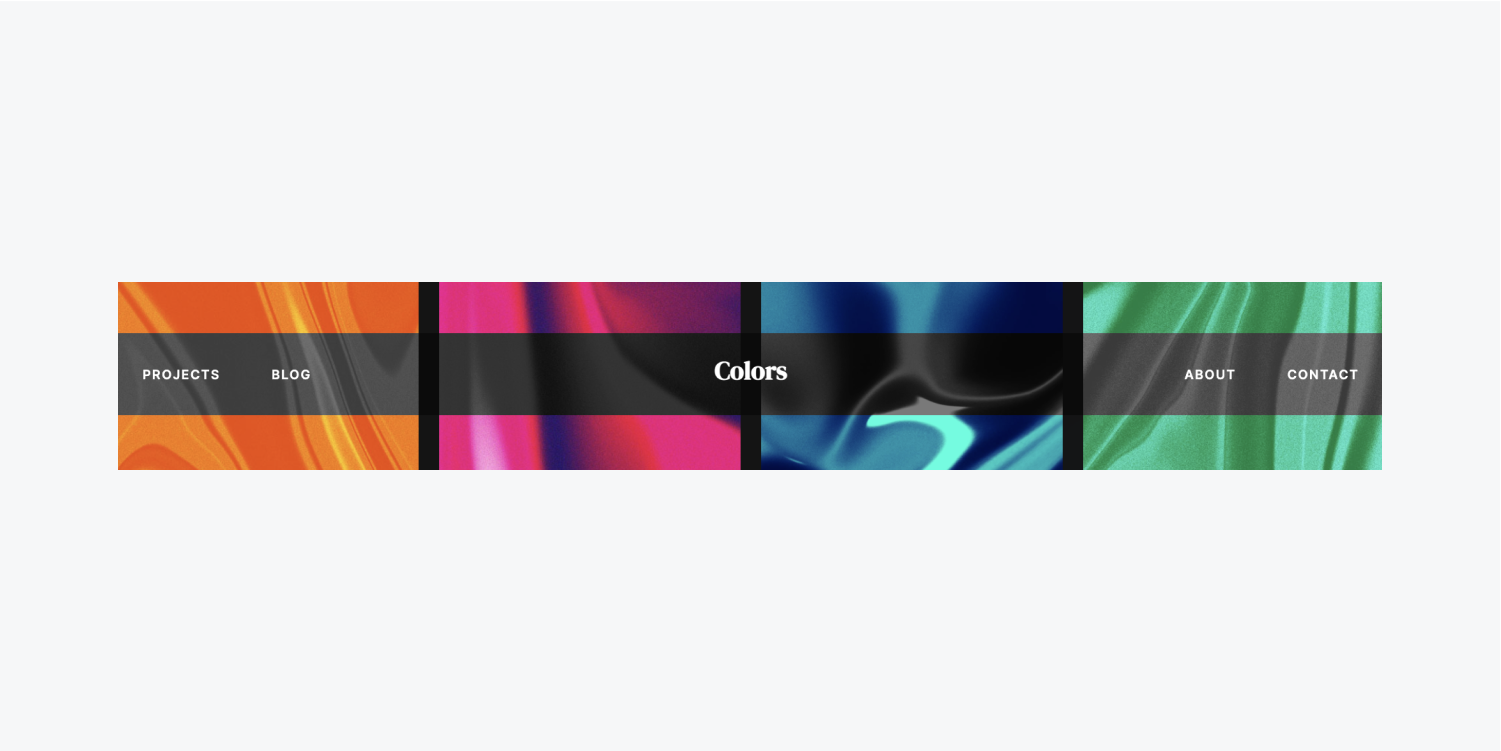
Grayscale
Grayscale converts your content to grayscale. You can adjust the amount — values below 100% decrease the grayscale effect, and values at or over 100% display complete grayscale of your content.
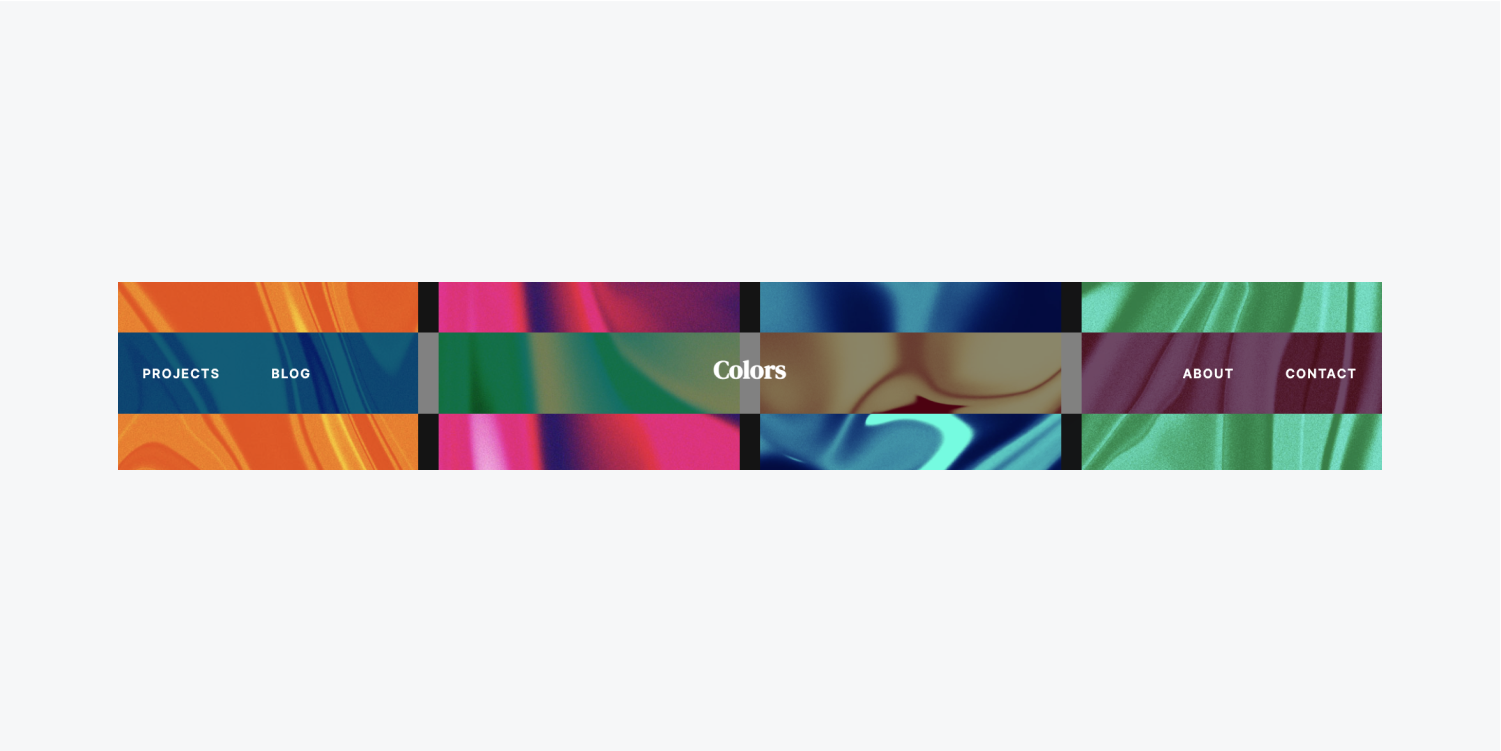
Invert
Invert reverses the colors of your content by inverting them. You can adjust the amount — values below 100% decrease the inversion effect, and values at or over 100% display completely inverted content.
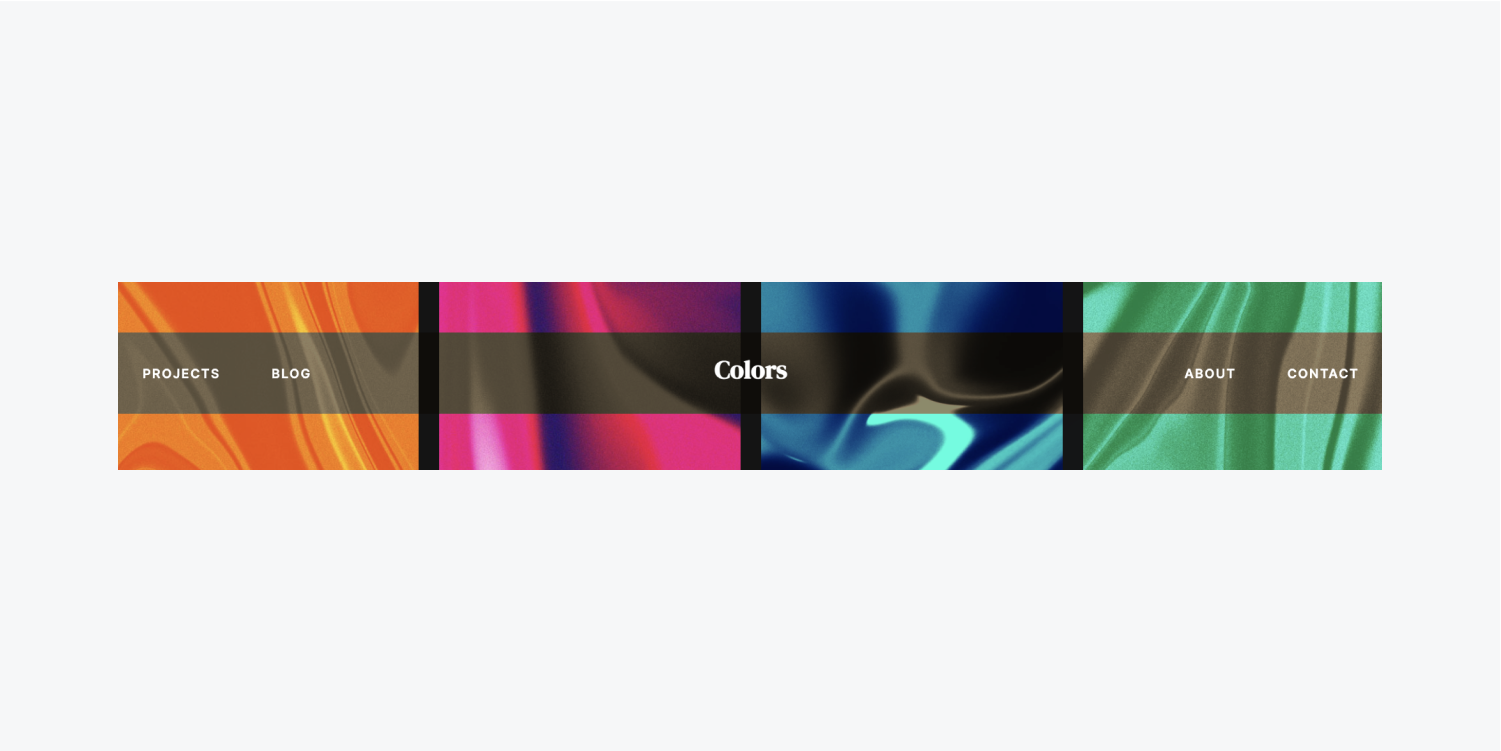
Sepia
Sepia converts your content to a sepia tone. You can adjust the amount — values below 100% decrease the sepia effect, and values at or over 100% display completely sepia-toned content.
How to add backdrop filters to an element
You can add backdrop filters to any element in your design. However, to be able to see the effect, you’ll need to make sure your element’s content is partially transparent. You can do this by using SVG or PNG image files, setting a transparent background on the element, or reducing the element’s opacity.
Let’s set a blur backdrop filter on an element:
- Select your element
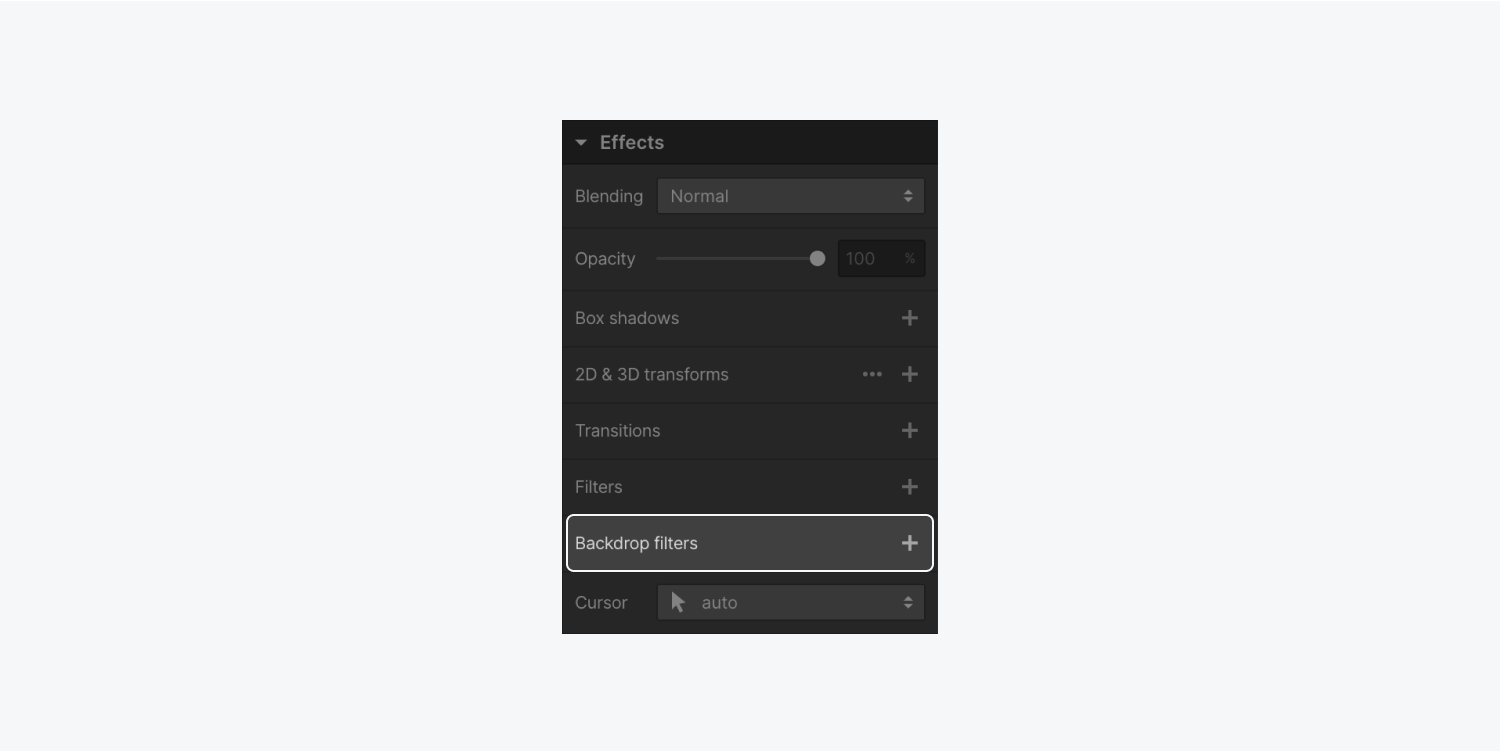
- Go to the Style panel > Effects > Backdrop filters
- Click the “plus” icon to the right of Backdrop filters
- Click the filter dropdown menu to view your filter options
- Hover over any filter in the dropdown to live preview the filter effect
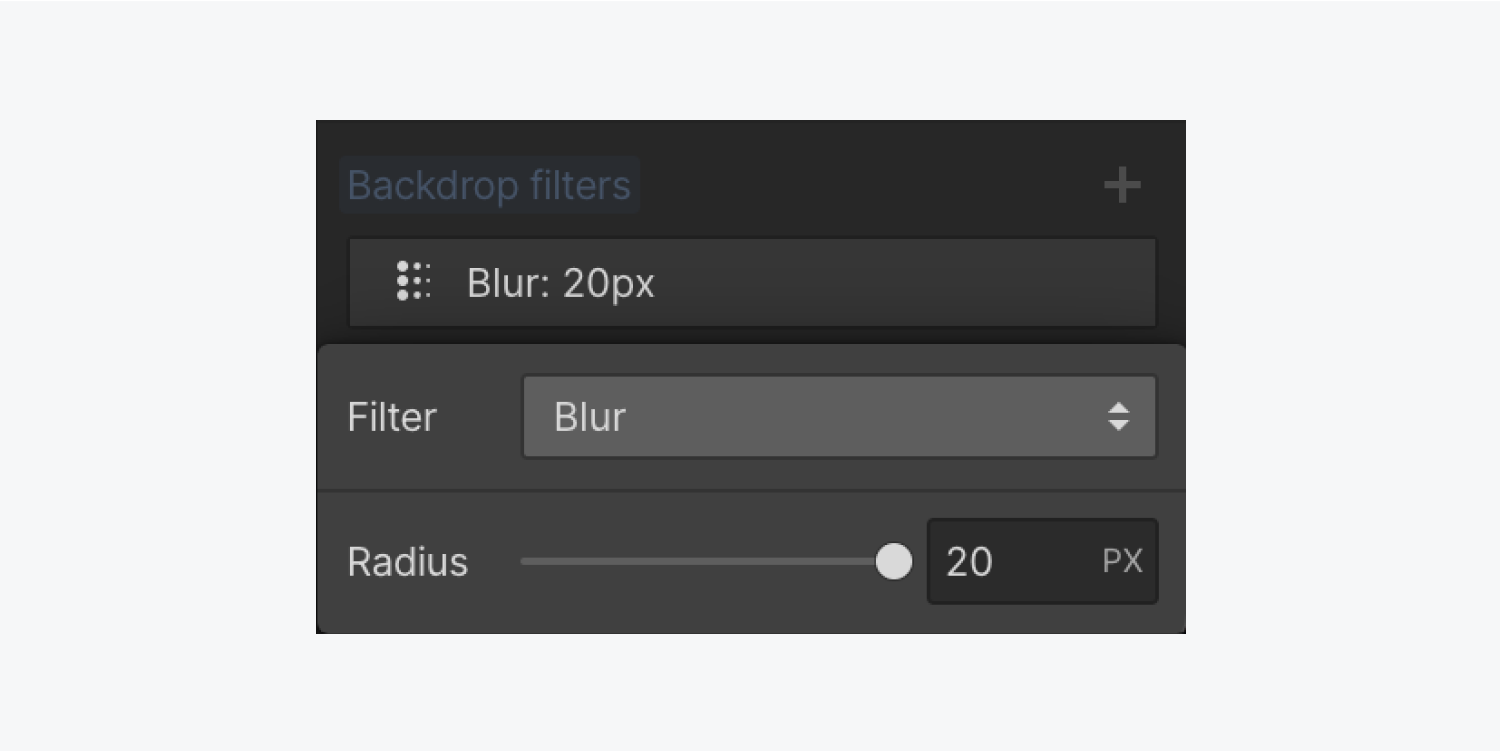
- Choose Blur from the dropdown menu
- Adjust the blur radius to control the level of blur on your element
- Click out of the backdrop filter settings to save your changes
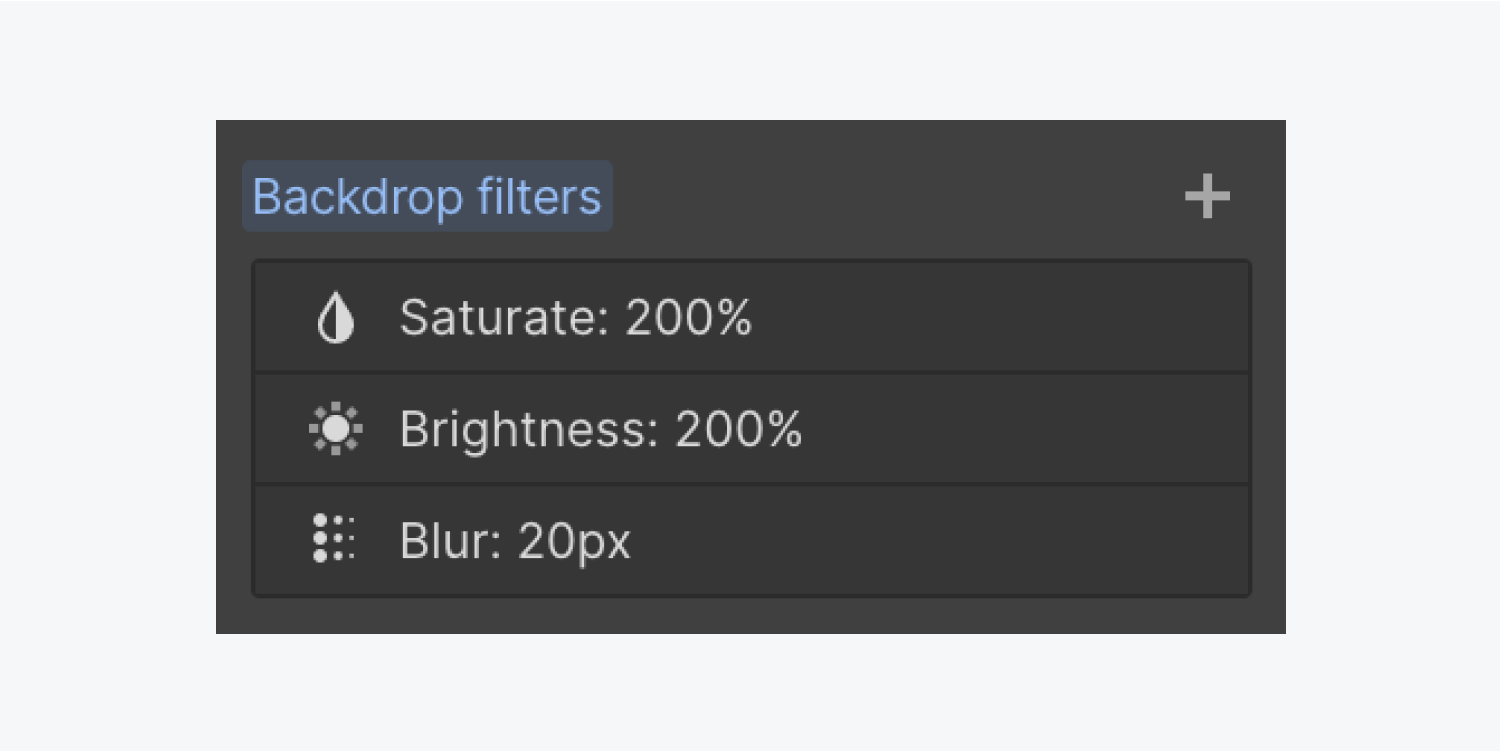
Repeat the above steps if you’d like to stack multiple filters together. Multiple filters behave like layers — you can click and drag each filter layer to change their order.
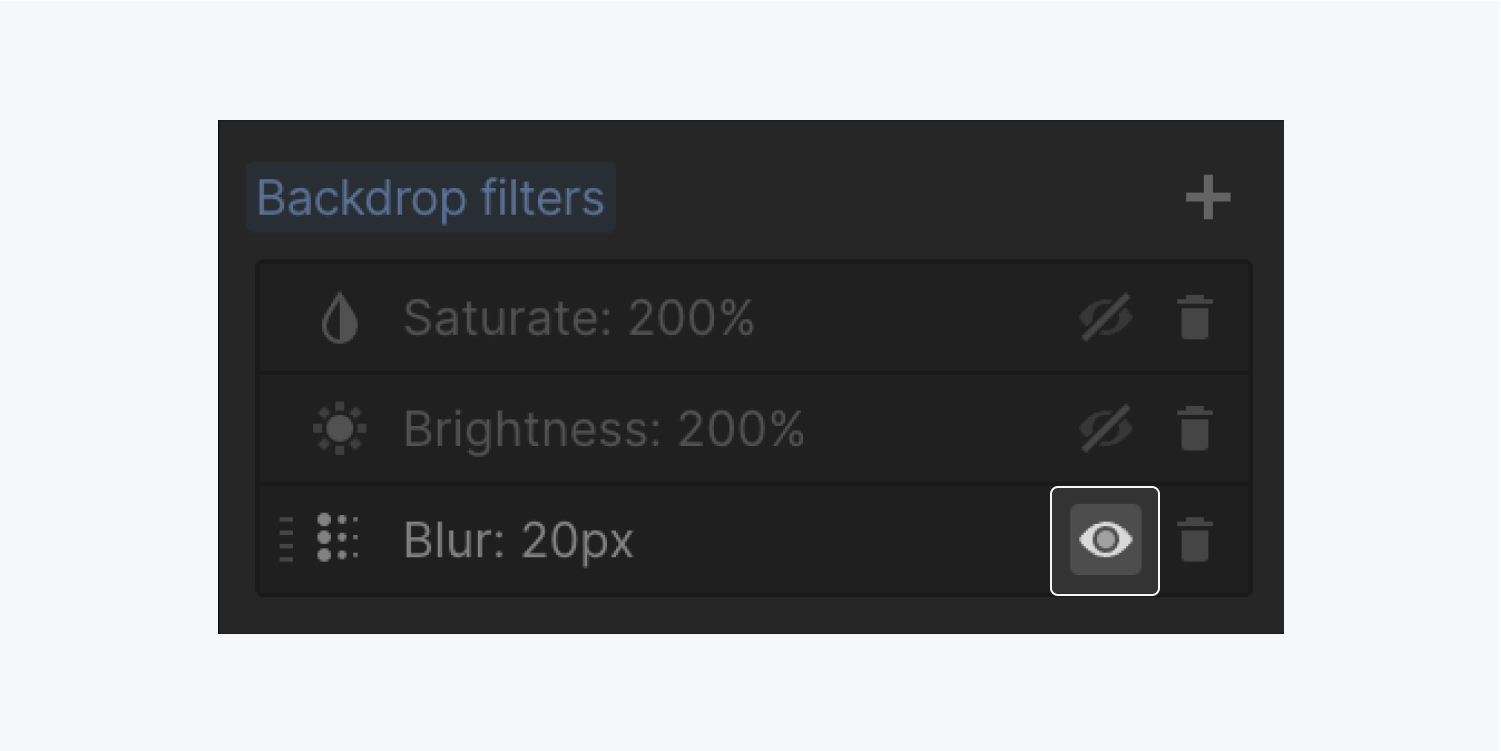
To switch between visible and hidden for each backdrop filter effect:
- Go to the Style panel > Effects > Backdrop filters
- Hover over the filter you’d like to hide or make visible
- Press the “eye” icon to toggle the filter’s visibility
To edit your filter’s settings:
- Go to the Style panel > Effects > Backdrop filters
- Choose the filter you created to open its settings
- Make your changes and click out of the filter’s settings to save your adjustments
To delete a filter:
- Go to the Style panel > Effects > Backdrop filters
- Hover over the filter you’d like to delete
- Press the “trash” icon

Additional resources: Learn more about the Style panel.


