Libraries are collections of reusable layouts that you can add to your site. Libraries allow for rapid reuse of similar designs (e.g., navbars, CTAs, forms, etc.) to ensure continuity and efficiency when building sites. You can add Libraries to your site from the Webflow Marketplace, or use the pre-existing Starter Library.
In this lesson, you’ll learn about:
Types of Libraries
There are different types of Libraries, which differ on 2 characteristics: who creates the Libraries and where the Libraries are from.
The Library types include:
- Starter Library — A Library that contains Webflow-built layouts with basic, overridable styles
- Marketplace Library — Community-built Libraries that you can access through the Marketplace Libraries page
Starter Library
The Starter Library is a default, Webflow-built Library of 34 layouts that you can use on any site. The 34 layouts are divided into the following categories:
- Navigation
- Hero
- Team
- Logos
- Gallery
- Features
- Pricing
- Testimonial
- Footer
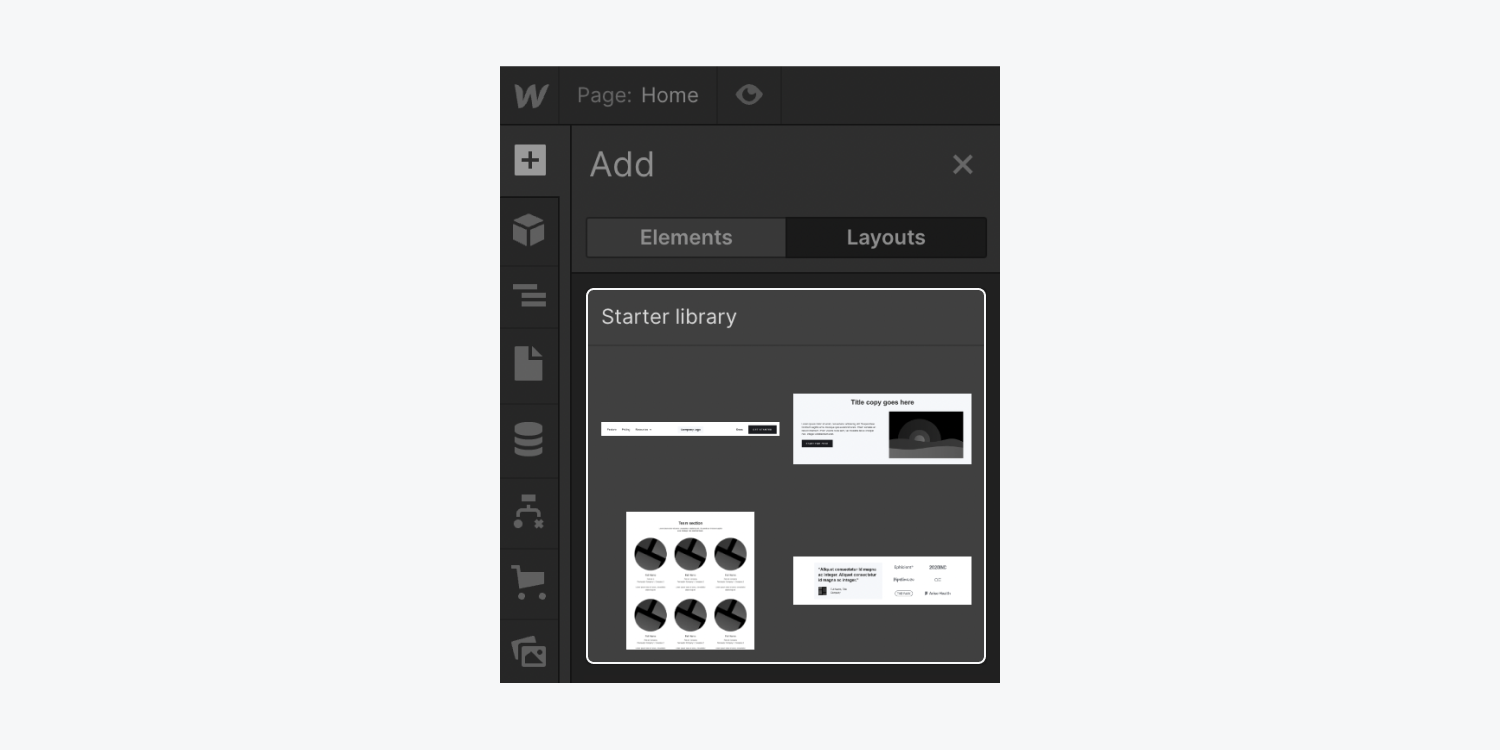
Learn more about the different layouts in our Starter Library article.
Marketplace Library
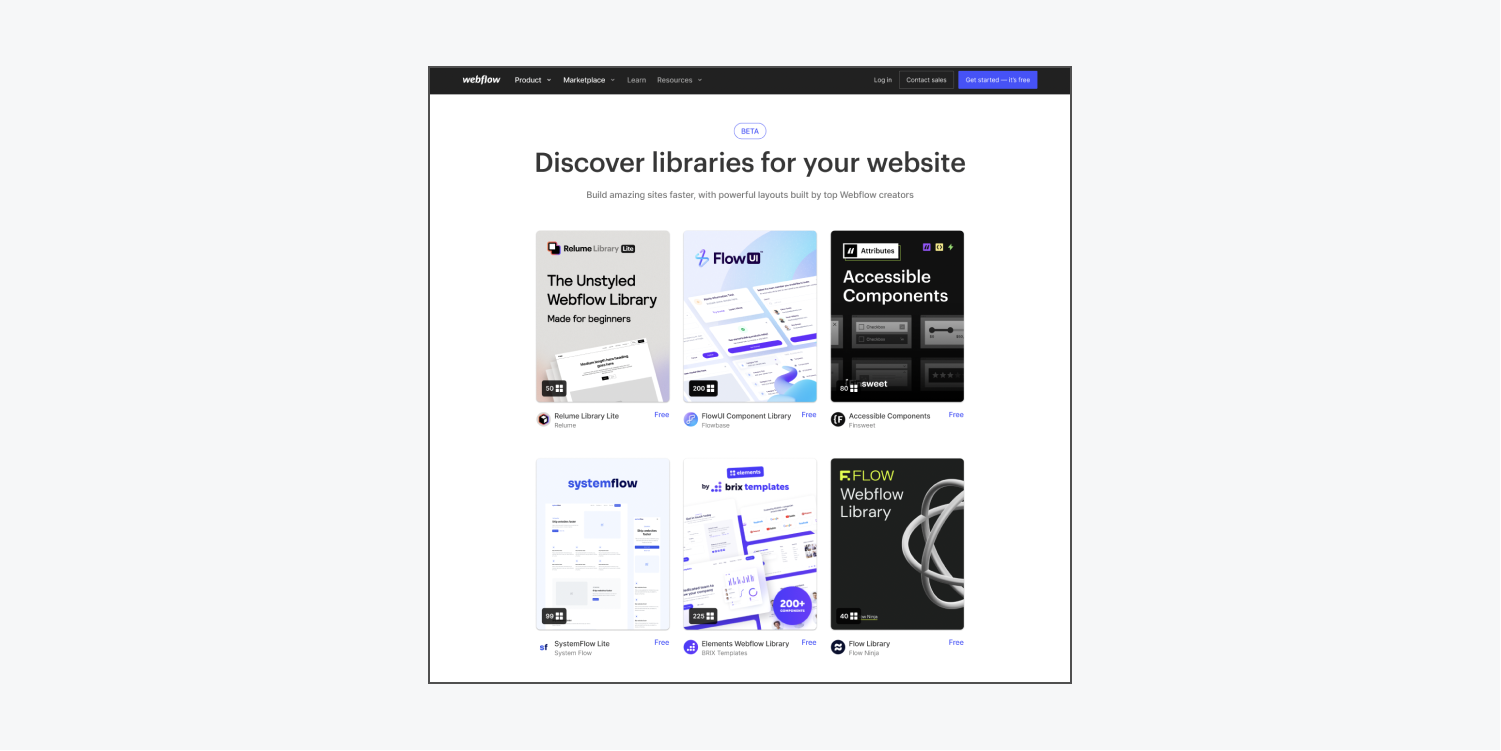
Marketplace Libraries are Webflow-reviewed collections of layouts made by top Creators in the Webflow community. You can access them from the Marketplace, or from the Add panel > Layouts tab, to add them to your sites. Learn more about adding a Marketplace Library to your site.
How to install a Marketplace Library
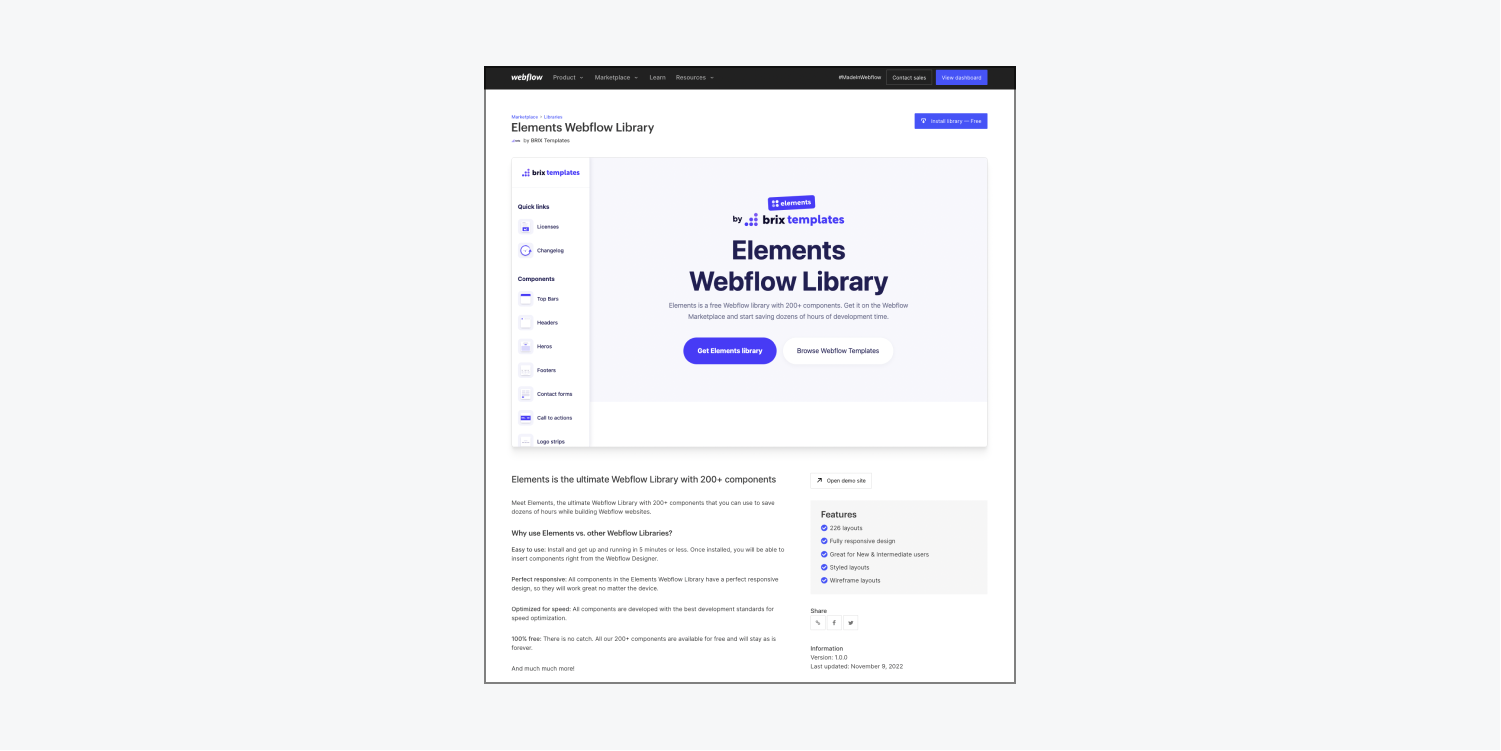
Once you’ve selected a Marketplace Library you’d like to use, you can add the Library to your site directly from the Webflow Marketplace. Keep in mind there is a limit of 5 Libraries per site.
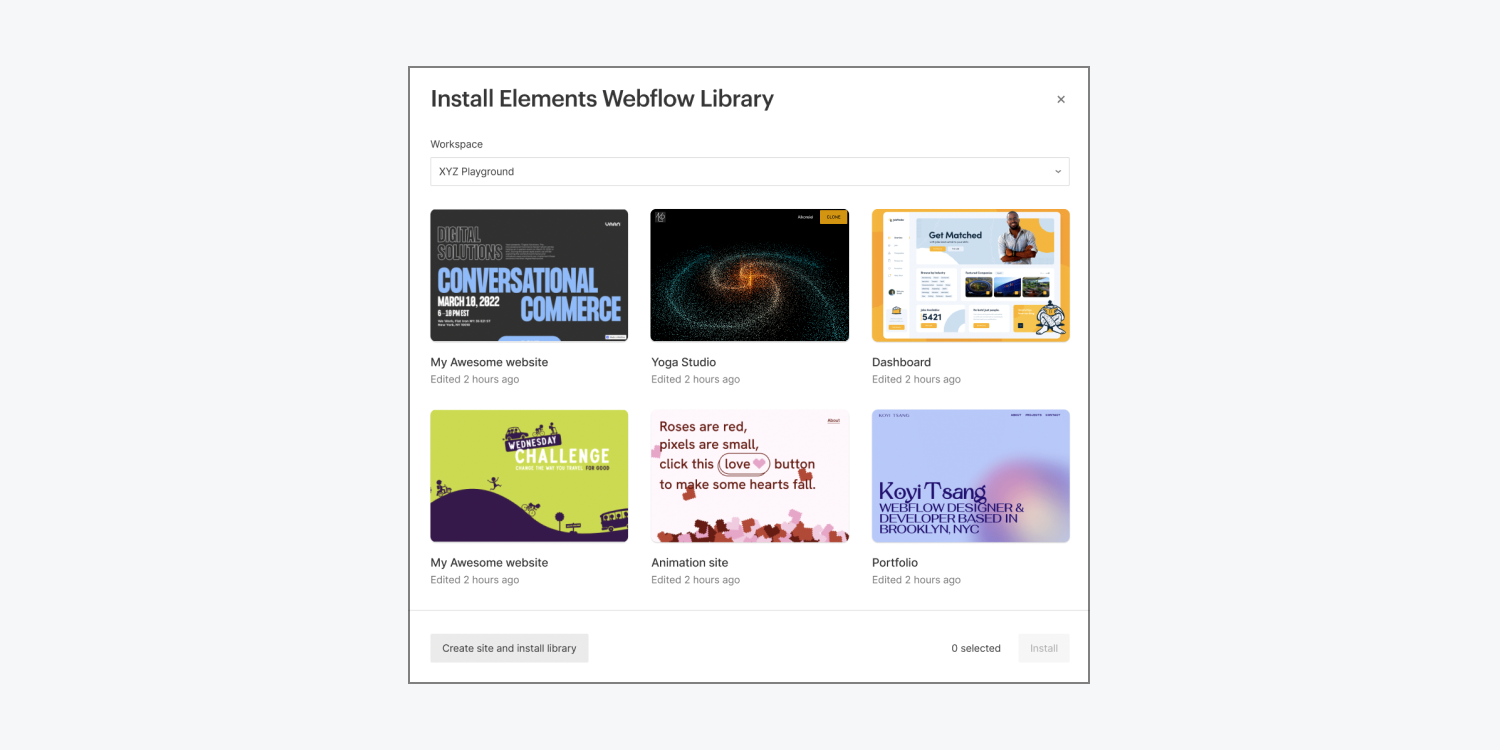
You can only install Libraries to sites in the same Workspace. To add a Marketplace Library to 1 or multiple existing site(s):
- Go to Marketplace > Libraries
- Click the Library you want to add to your site
- Click Install Library
- Select a Workspace from the Workspace dropdown
- Select 1 or multiple existing site(s) to add the library to
- Click Install
- Click Open in Designer in the popup modal window to open the site in the Designer
Then, you can access the Library in your site.
To add a Marketplace Library to a new site:
- Go to Marketplace > Libraries
- Click the Library you want to add to your site
- Click Install Library
- Select a Workspace from the Workspace dropdown
- Click Create site and install library
The Designer will automatically open to a new site with the Library installed. By default, the site will be named after the Library (e.g., if you install a library named “Cool library” to a new site, your site will be named “Cool library site” in your Dashboard). You can change your site’s name in Site settings > General tab > General settings > Name field.
Note: If you add a layout to the canvas that has a class already in existence on your site, the class name will appear with an incremented number. For instance, if you already have a “Button” class in your site and you add a layout that contains the same “Button” class, the layout class name will become “Button-2” in the Selector field.
Note: Marketplace Libraries may include custom code embeds or form file upload elements which are only available on some site plans. Make sure you have the correct site plan to ensure these elements function correctly.
How to use Libraries
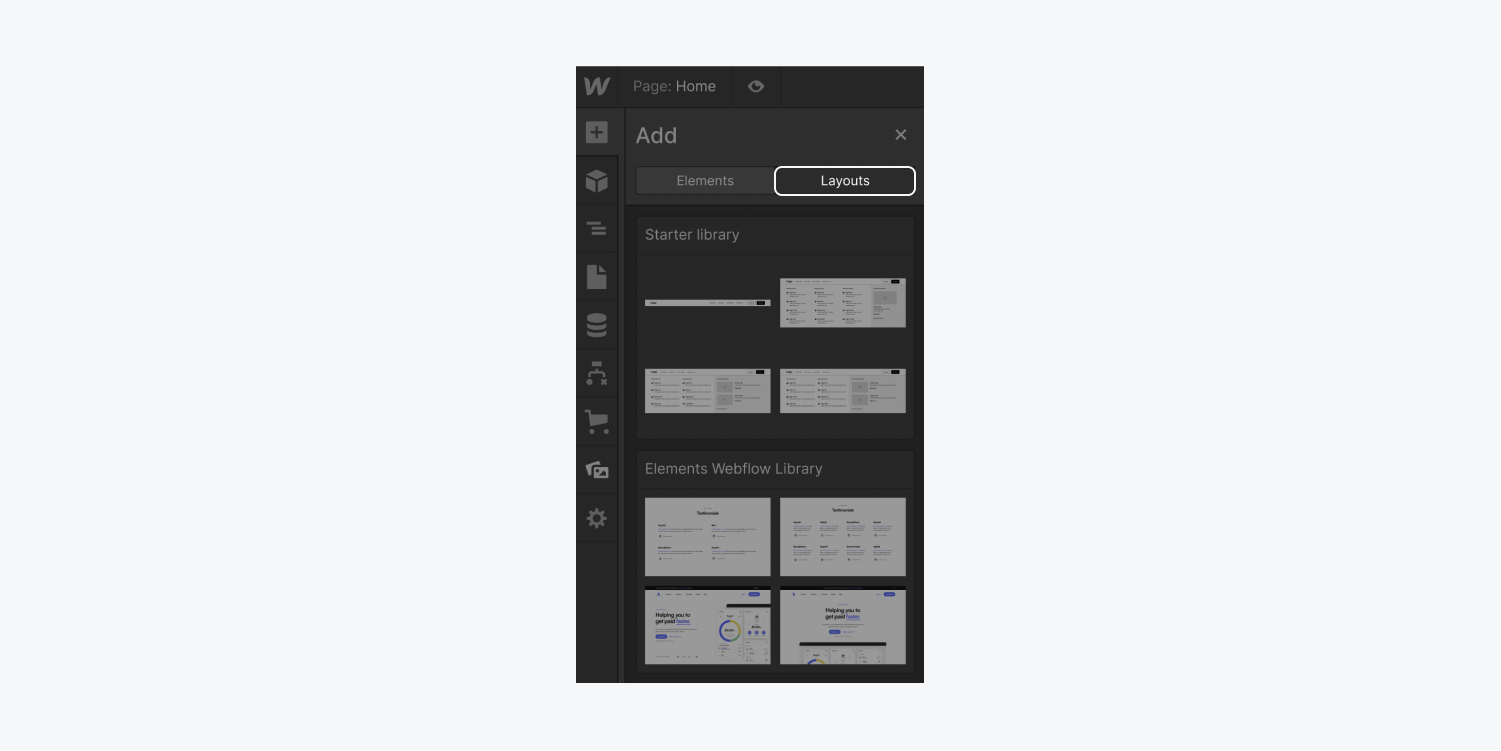
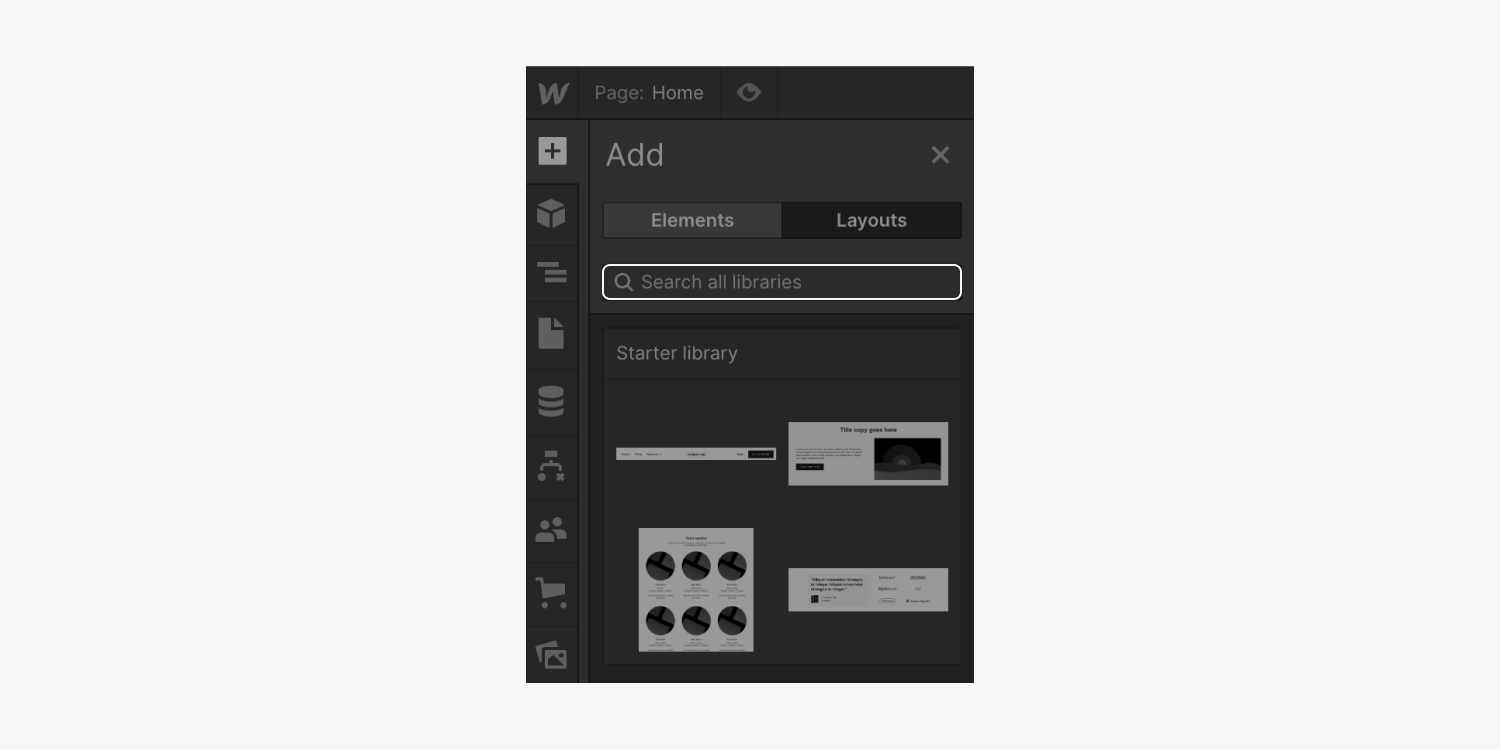
You can access Libraries in the Webflow Designer by going to Add panel > Layouts tab or by using Quick find. In the Add panel, you’ll find each Library labeled by name.
How to access the layouts in a Library
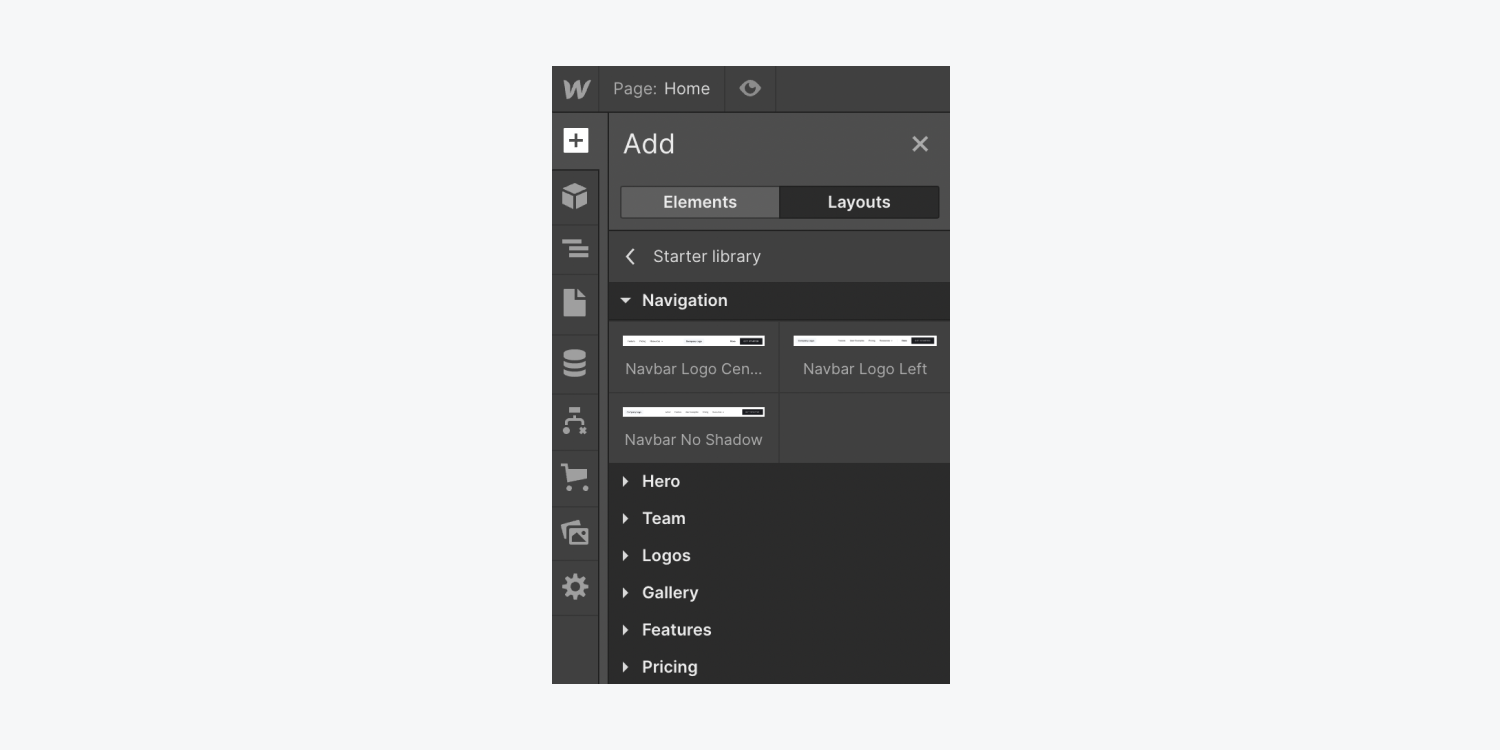
Each Library comes with layouts (e.g., navigation bars, hero sections, footers) that you can add to your site. To access the layouts within a Library:
- Open Add panel > Layouts tab
- Choose a Library whose layouts you want to use
- Click a layout category dropdown to display the layouts in that section (e.g., if you want to access the navigation layouts in the Starter Library, click Navigation)
Then, you can use the Library’s layouts like you would use any other element. To add a layout from your Library to the Webflow canvas, you can:
- Click on the layout in the Layouts tab to add it to the canvas
- Drag the layout onto the canvas
- Drag it into the Navigator
Note: If you add a layout to the canvas that has a class already in existence on your site, the class name will appear with an incremented number. For instance, if you already have a “Button” class in your site and you add a layout that contains the same “Button” class, the layout class name will become “Button-2” in the Selector field.

How to view a magnified version of a layout
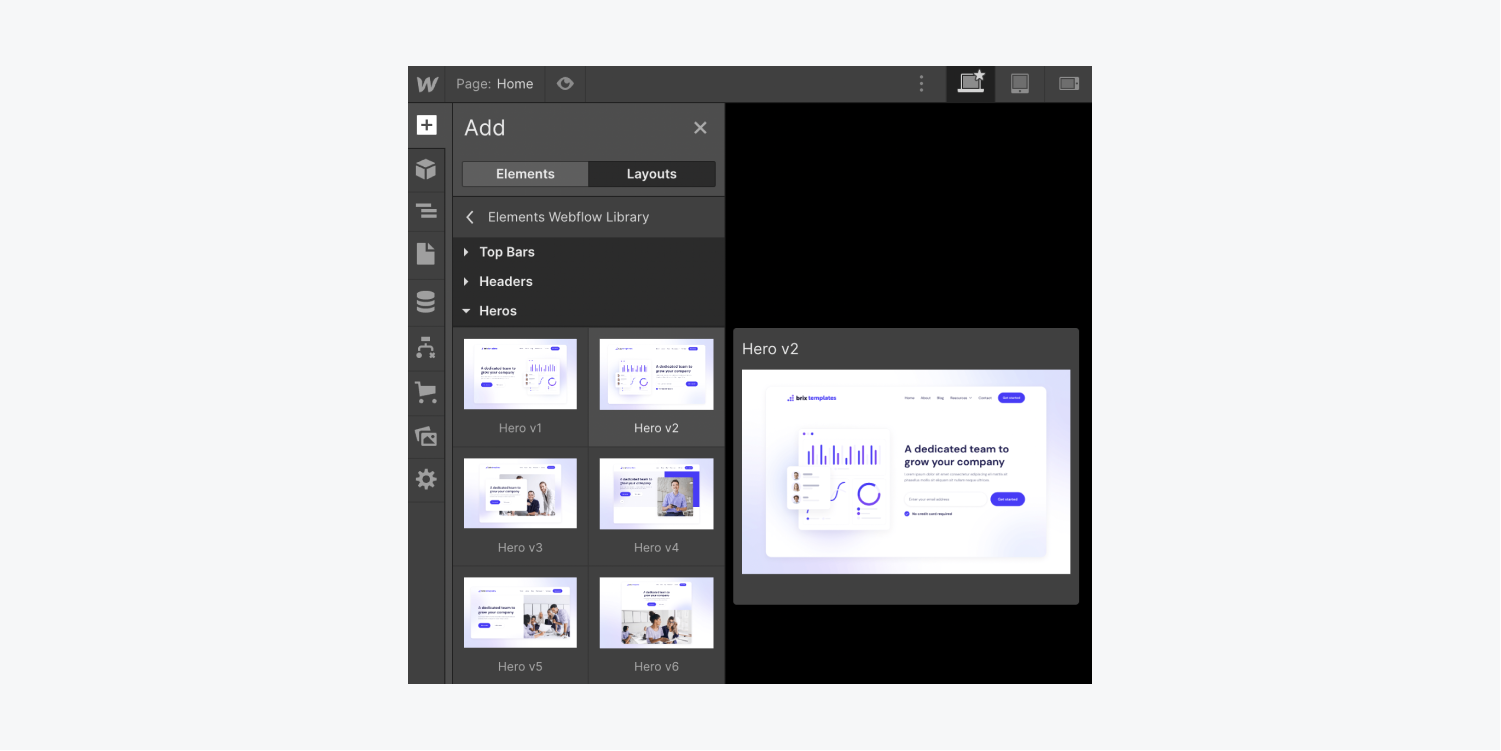
If you want to see a layout in a larger view before adding it to the canvas, you can view a magnified version. To view a magnified version of a layout from the Add panel:
- Open Add panel > Layouts tab
- Hover over the layout to see a magnified version
How to use a Library’s swatches
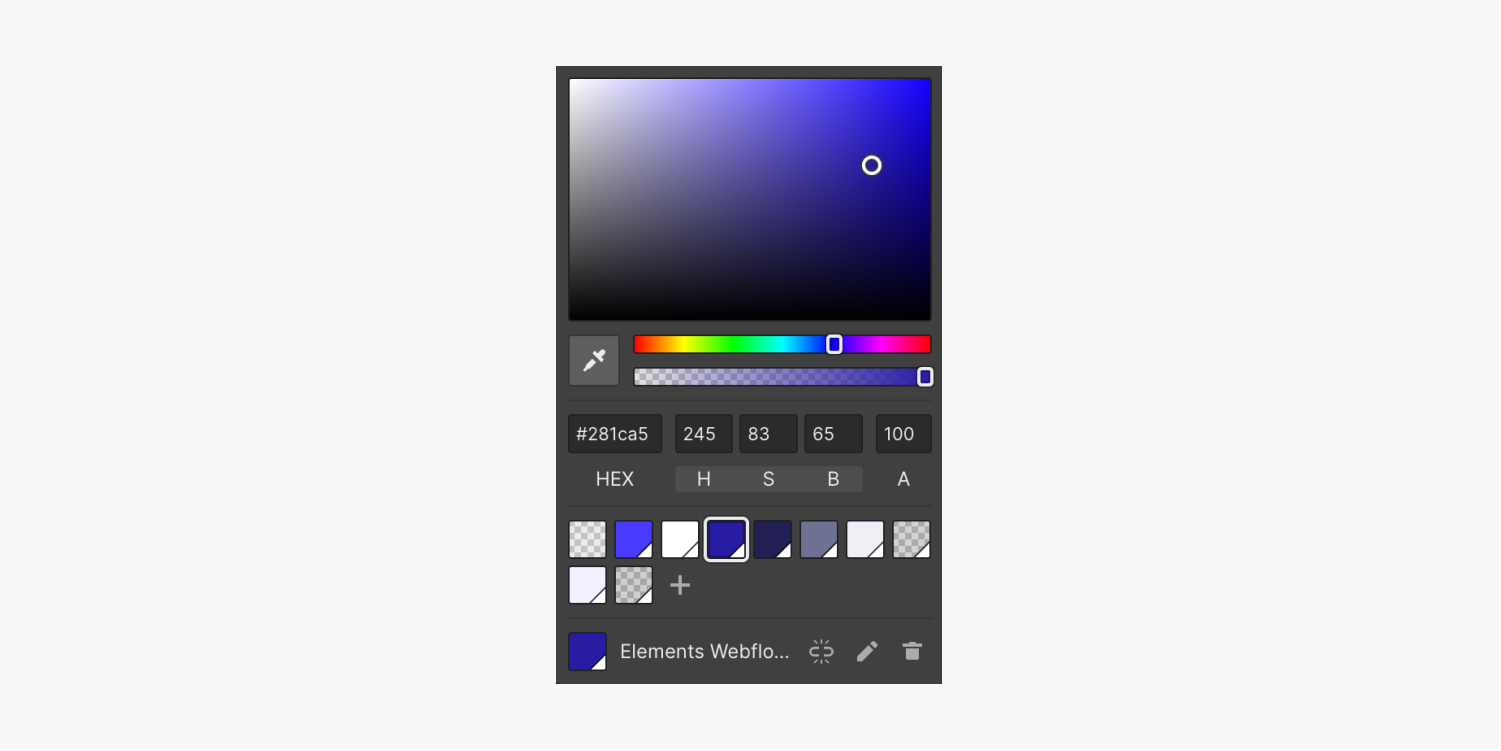
Many Library creators include color swatches in their Libraries, which let you reuse the Library’s color scheme in your designs. The swatches appear in the Style panel when you add a layout (with those colors) to the canvas.
To view a layout’s swatches:
- Open Add panel > Layouts tab
- Choose a Library whose layouts you want to use
- Click a layout category dropdown to display the layouts in that section (e.g., if you want to access the navigation layouts in the Starter Library, click Navigation)
- Drag a layout to the canvas
- Select any element in the layout
- Open Style panel > Backgrounds
- Click the color swatch
This opens the color picker, which displays the layout’s color swatches on the bottom of the panel.
How to edit a Library’s swatches
You can edit a Library’s swatch to change every instance of the color in that Library to a different color. This affects all elements using that swatch (including elements in layouts not currently added to the canvas).
To edit a swatch:
- Select an element using that color in a Library’s layout
- Open Style panel > Backgrounds
- Click the color swatch
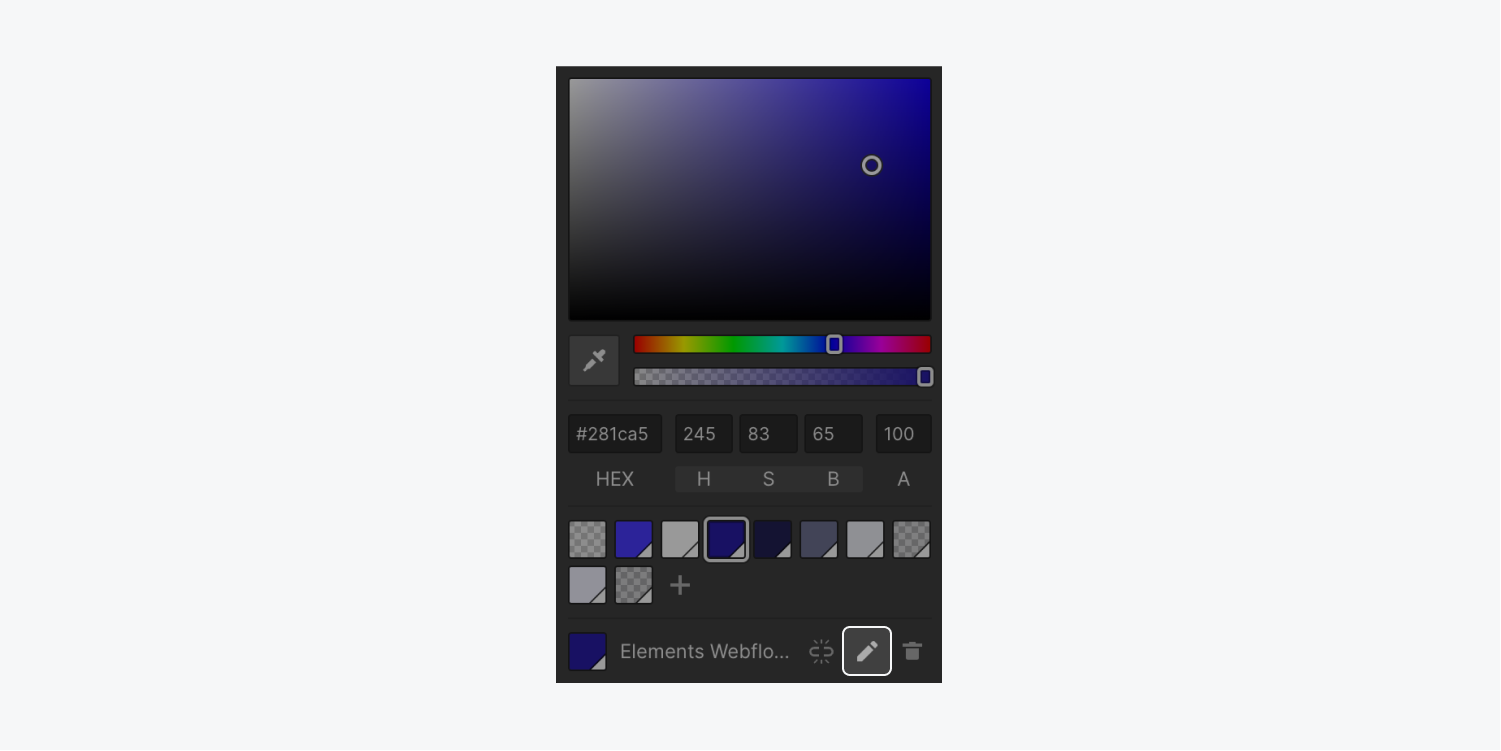
- Click the “pencil” icon next to the swatch
- Use the color picker or input a hex code to change the swatch color
- Edit the swatch’s name, if needed
- Click Save
Changing a swatch’s color only changes that swatch in your current site. If you add the same Library to a different site, the swatch will be the original color.
How to change the color of an element without changing the swatch
If you only want to change the color of 1 element (or all elements with the same class), and not all elements using the same color swatch, you can do 1 of 2 things:
- Select the element and use the color picker to choose a new color
- Select the element, open the color picker, unlink the swatch, and use the color picker to choose a new color
The color changes will only affect elements with that class applied that are currently on the canvas. Later, if you add a layout to the canvas with an element that uses the same class, the class name will appear with an incremented number (e.g., if you change the color of the “Button” class, then add an element using that class, the element will have the class “Button 2”).
How to search Library layouts
You can search for Library layouts within a Library, or across all Libraries installed on your site.
Some useful keywords to search for:
- Navbar
- Hero
- Tab
- CTA
- Footer
- Pricing
- Form
- Logo
- Testimonial
- Content
- Button
- Dropdown
- Contact
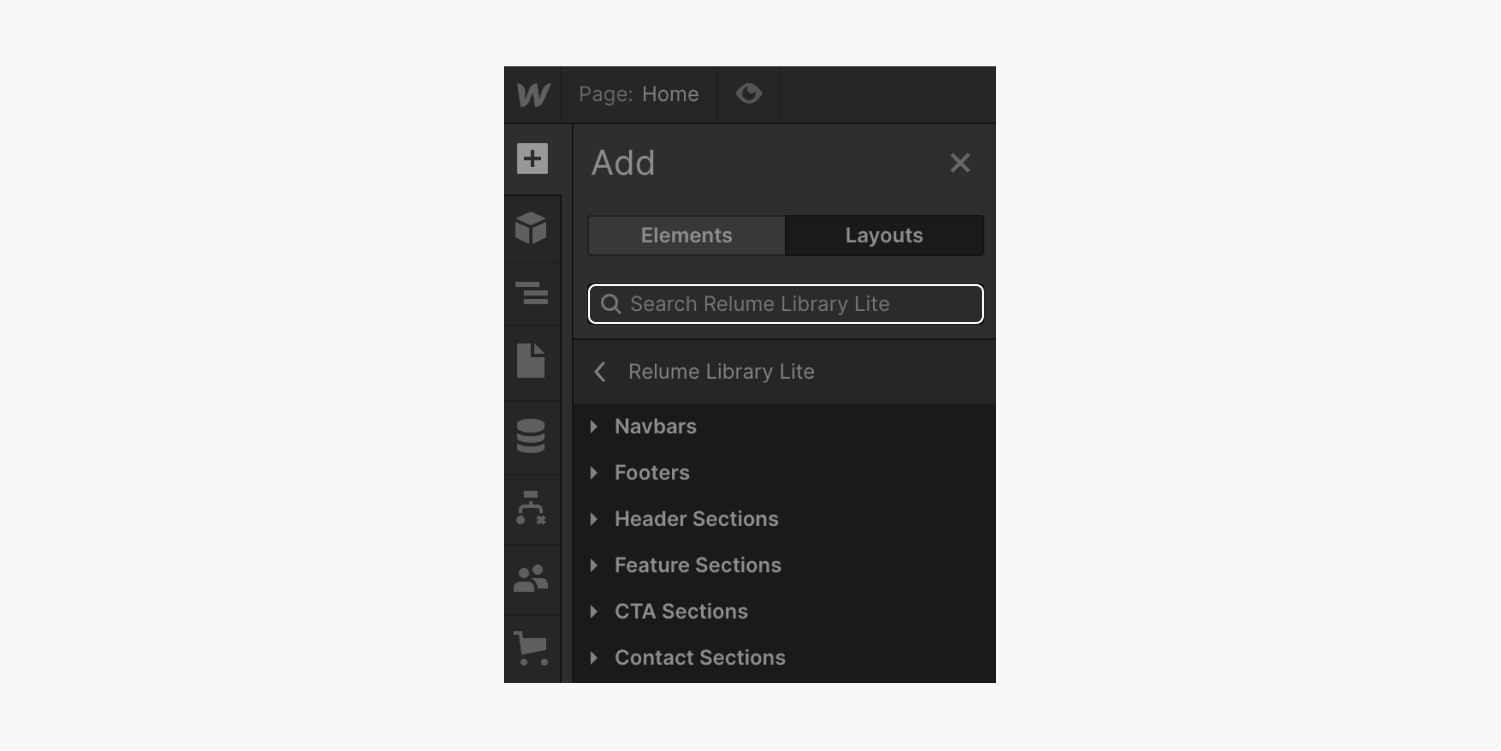
To search within a Library:
- Open Add panel > Layouts tab
- Choose a Library whose layouts you want to search
- Type a layout keyword into the Search library bar (e.g., “navbar”)
To search across all Libraries installed on your site:
- Open Add panel > Layouts tab
- Type a layout keyword into the Search all libraries bar (e.g., “navbar”)
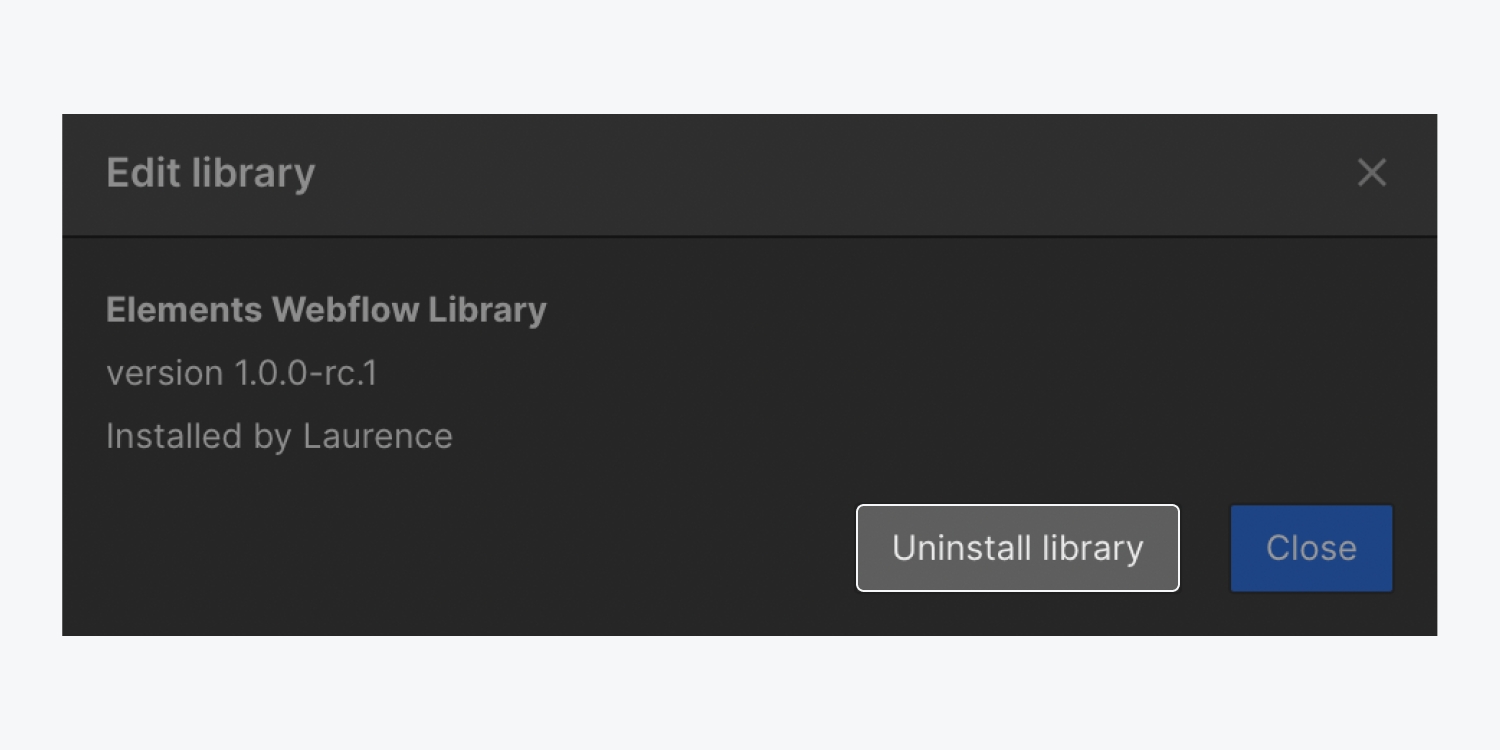
How to view information about a Library
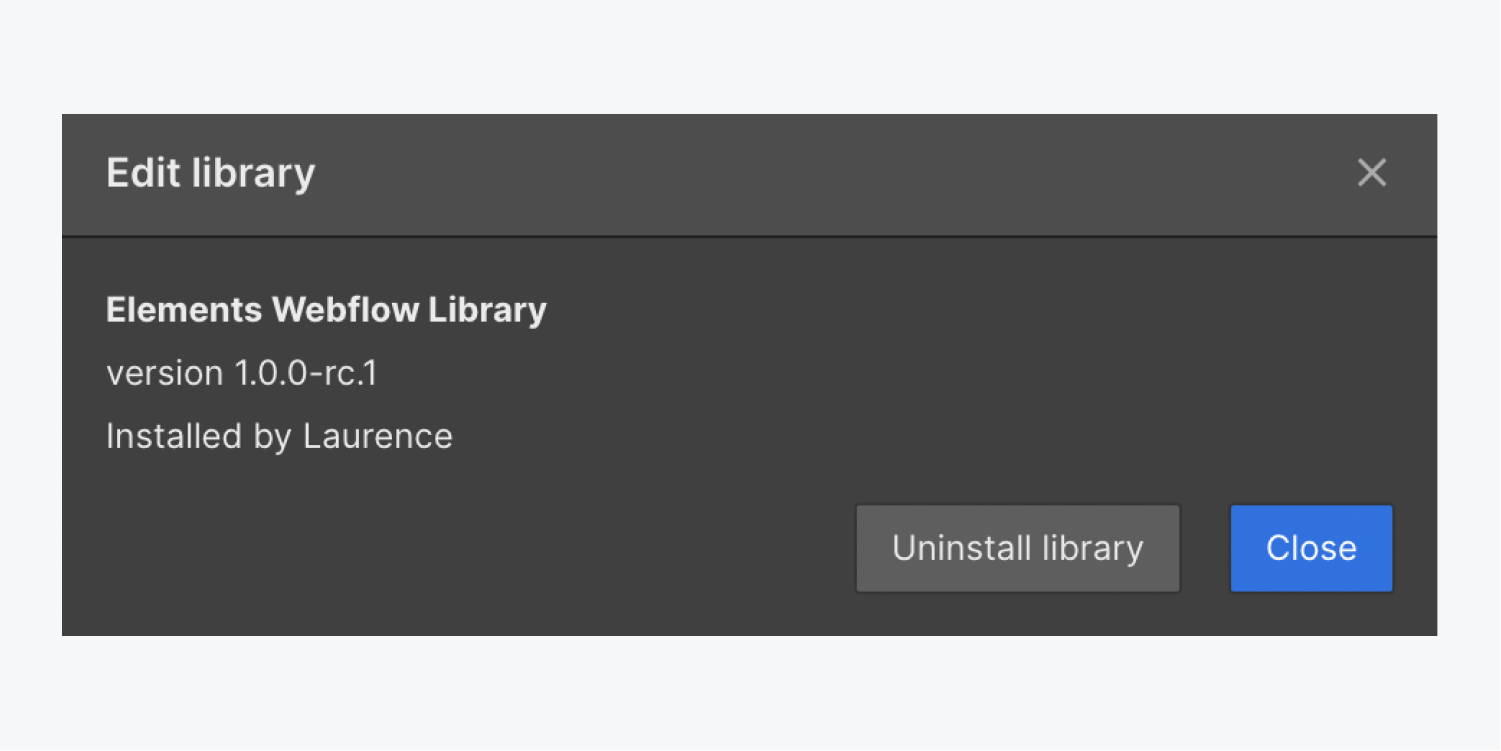
You can view information about a Library, such as its name, version number, and who installed it into the site. To view information about a Library:
- Open Add panel > Layouts tab
- Hover over the Library name and click the settings “cog” that appears to the right of the Library’s name
This opens a Library information modal window.
How to uninstall a Library
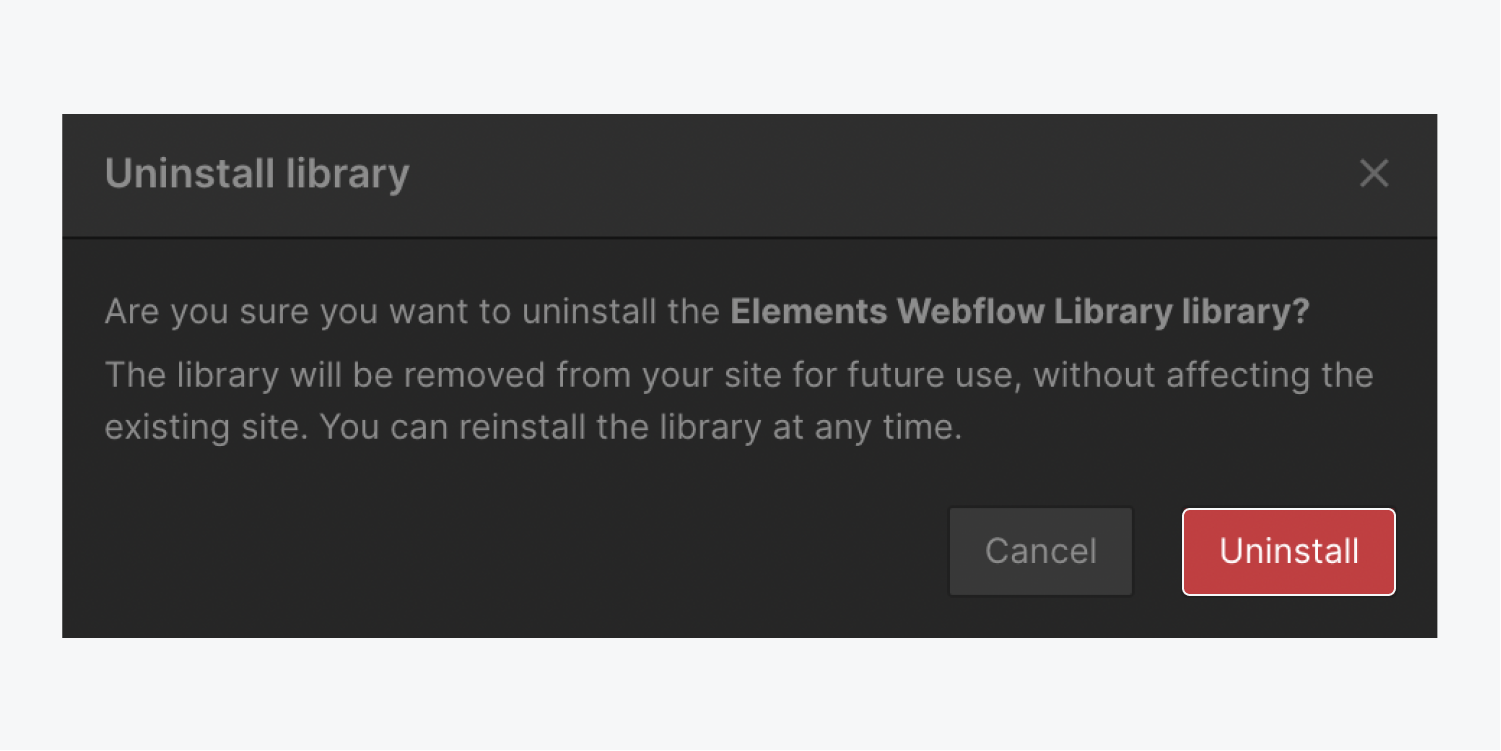
You can uninstall a Library from your site if you no longer want it available in your Add panel. Uninstalling a Library will not affect any of the Library’s layouts you have previously added to your site. You can reinstall the Library at any time.
To uninstall a Library:
- Open Add panel > Layouts tab
- Hover over the name of the Library you want to uninstall
- Click the settings “cog” to the right of the Library name
- Click Uninstall library in the “Edit library” modal window
- Click Uninstall in the “Uninstall library” modal window
