The lightbox element shows images (with or without captions) or videos inside a fullscreen slideshow modal window. Lightboxes are also responsive across breakpoints, making them useful for displaying media on desktop, tablet, and mobile screens.
In this lesson, you’ll learn:
How to create a lightbox
A lightbox is a clickable thumbnail nested in a link block. When site visitors click inside the link’s boundaries on the live site, the lightbox opens to display the media connected to it.
To add a lightbox:
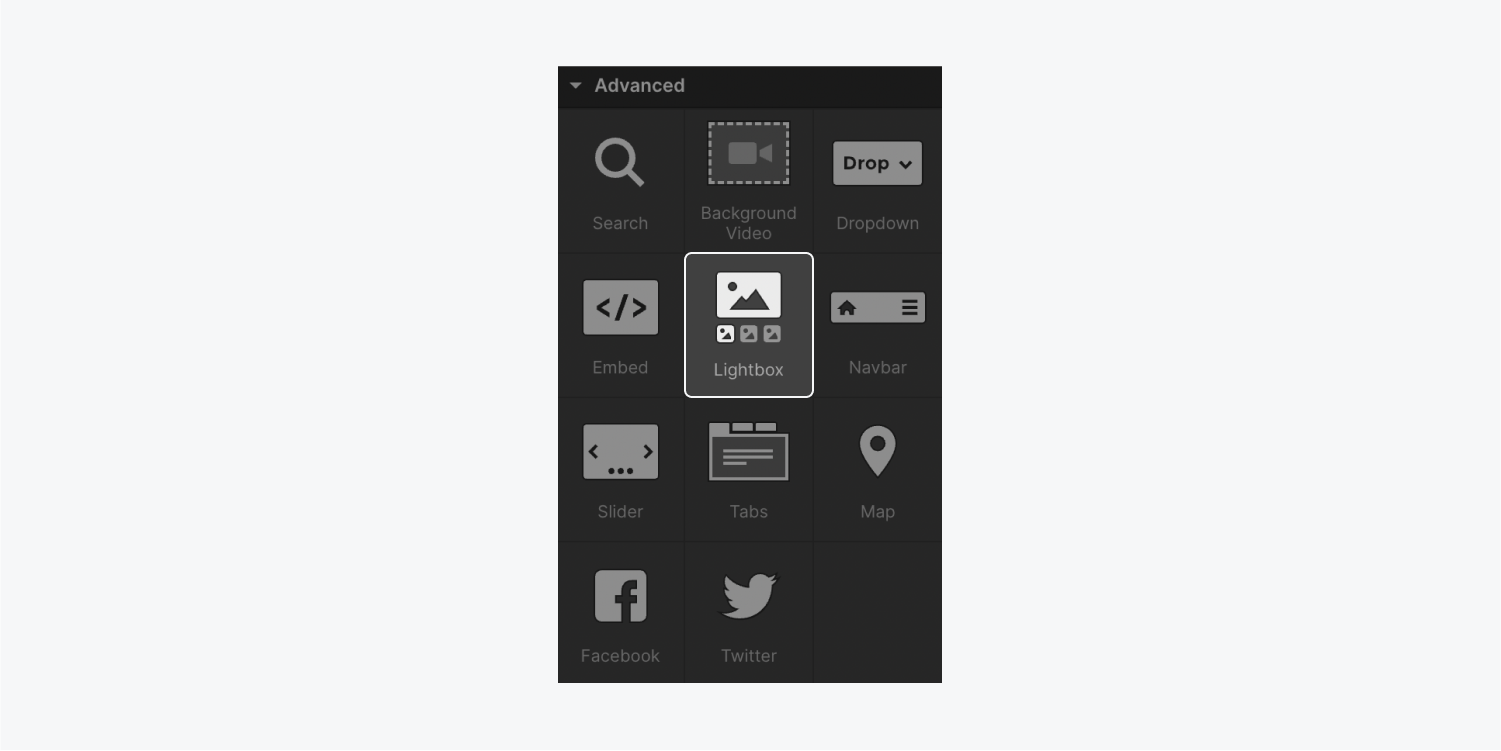
- Go to Add panel > Advanced
- Click the lightbox element or drag it into the Webflow canvas
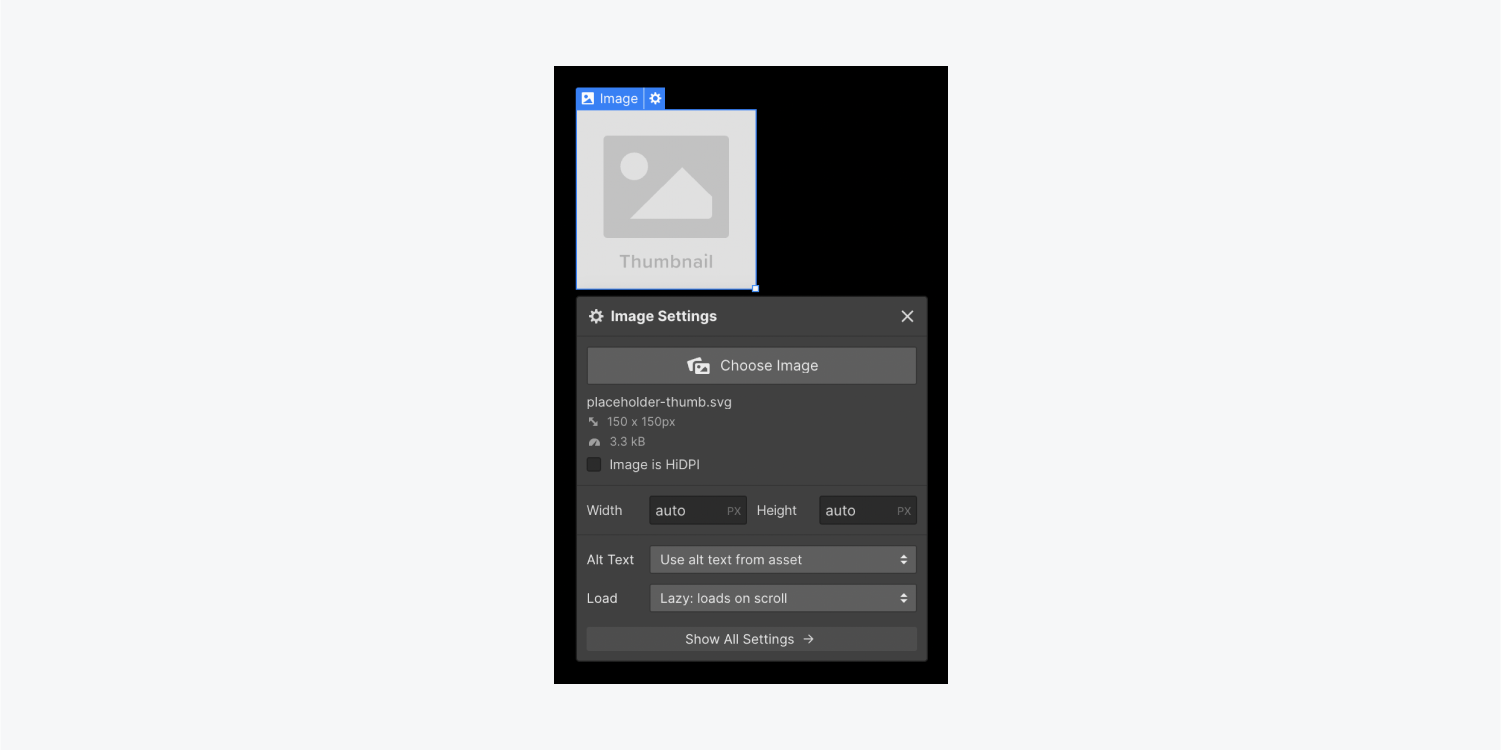
How the lightbox placeholder thumbnail image works
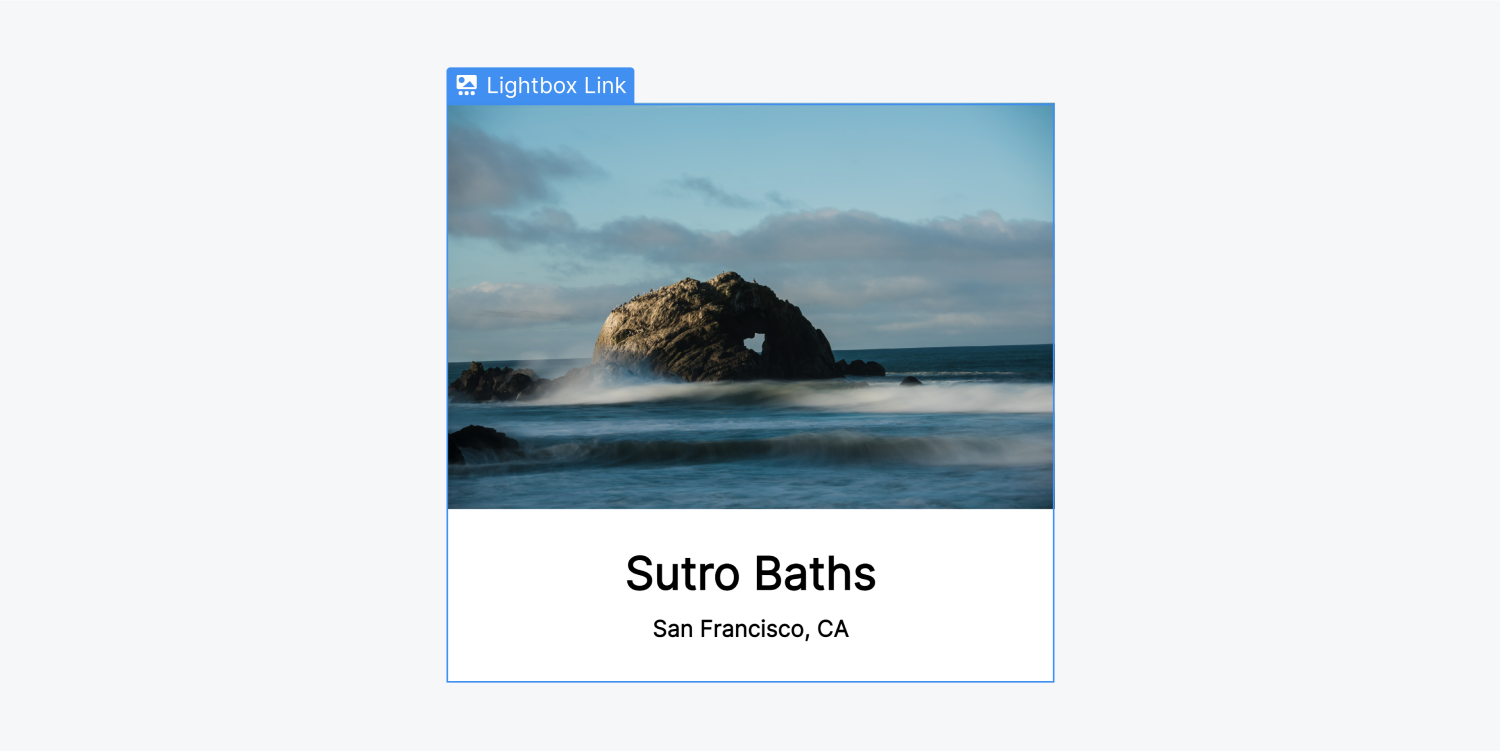
The lightbox contains an image element which behaves like any other image element. You can resize it, double-click to replace the placeholder thumbnail image, and add alt text. Learn more about image elements.
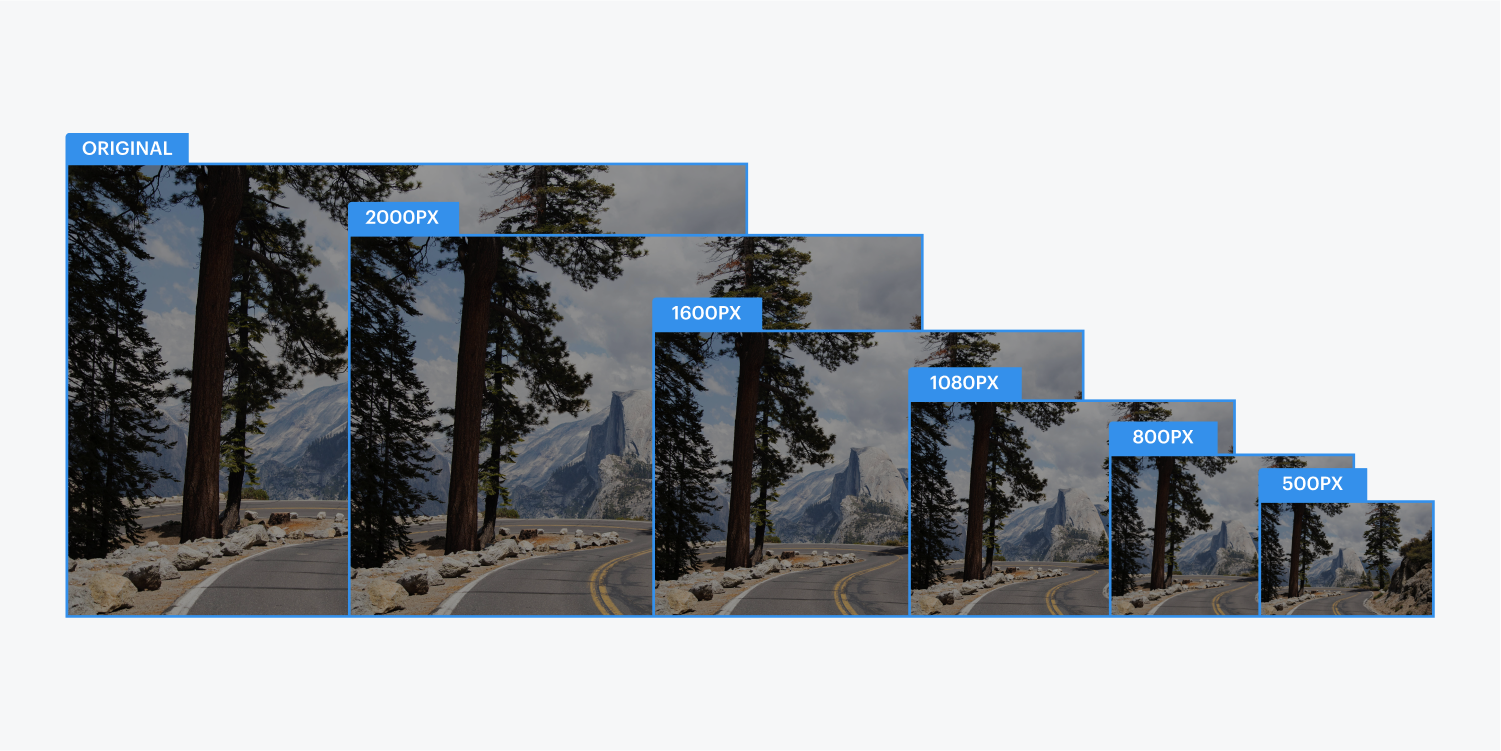
You can use the same image for the lightbox thumbnail and the larger lightbox modal window. Webflow automatically creates responsive variants for all inline images. Learn more about responsive images.
How to replace the lightbox thumbnail with other content
You replace the placeholder image element and drag and drop other content (e.g., a heading, or any other non-link elements) inside the lightbox link.
You can also use a div block and apply a background image to create equal-sized image thumbnails.
How to style the lightbox
You can style both the lightbox link and its content. For example, if you nest text elements in your lightbox link, you can style the lightbox link element's typography.
You can’t customize the background overlay in the modal window that opens when you click on the lightbox link. However, you can add an image or video and add an image caption if you want.
How to add lightbox media
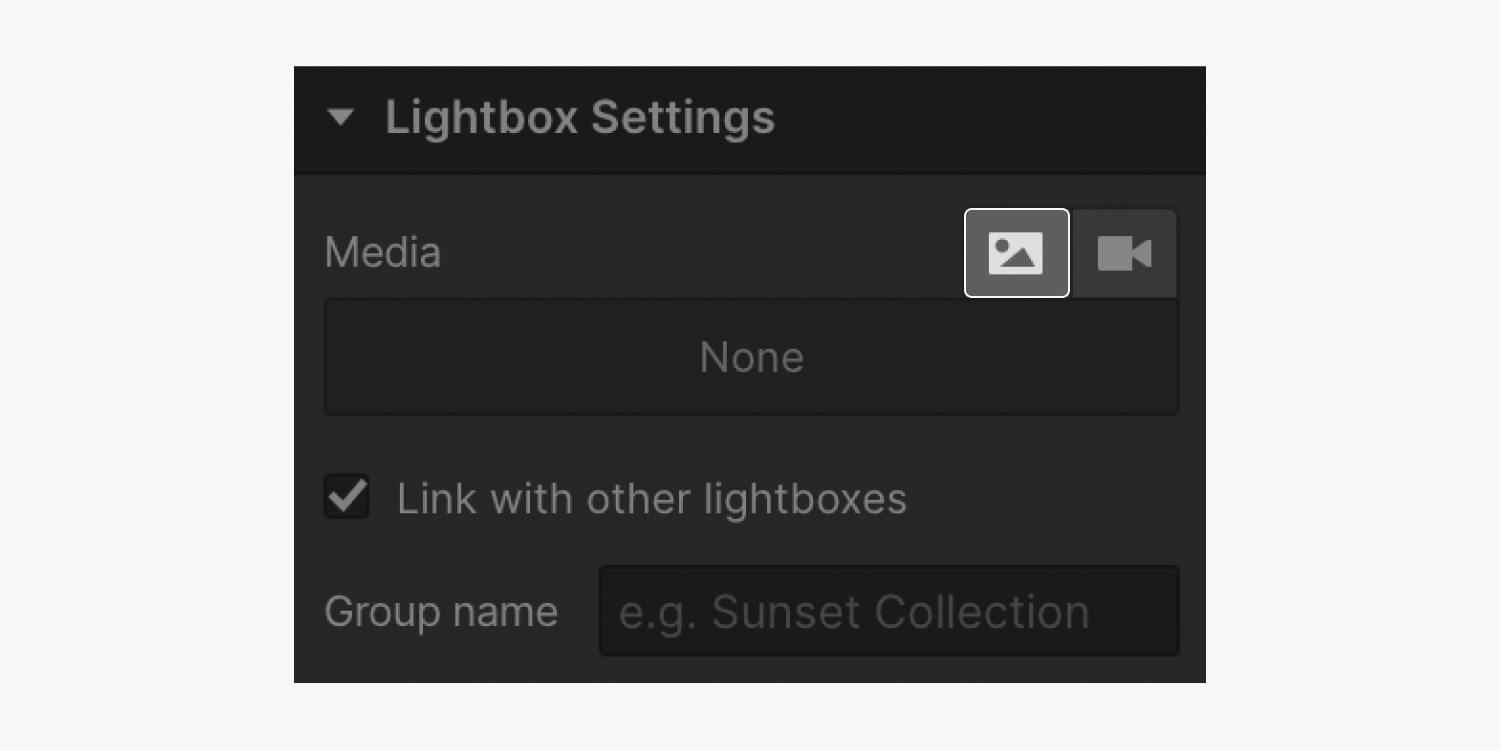
To add an image and caption to the lightbox modal window:
- Select the lightbox link on the canvas
- Go to Element settings panel > Lightbox settings > Media
- Click the “Add image” icon
- Click Choose image
- Select an image from the Assets panel
- Add a caption in the Caption field
- Click Save
You can add as many images to a lightbox link as you want. These images will be displayed as a slideshow inside the lightbox modal window.
Note: Currently, lightbox elements don’t support alt text for images within the lightbox.
To add a video to the lightbox modal window:
- Select the lightbox link on the canvas
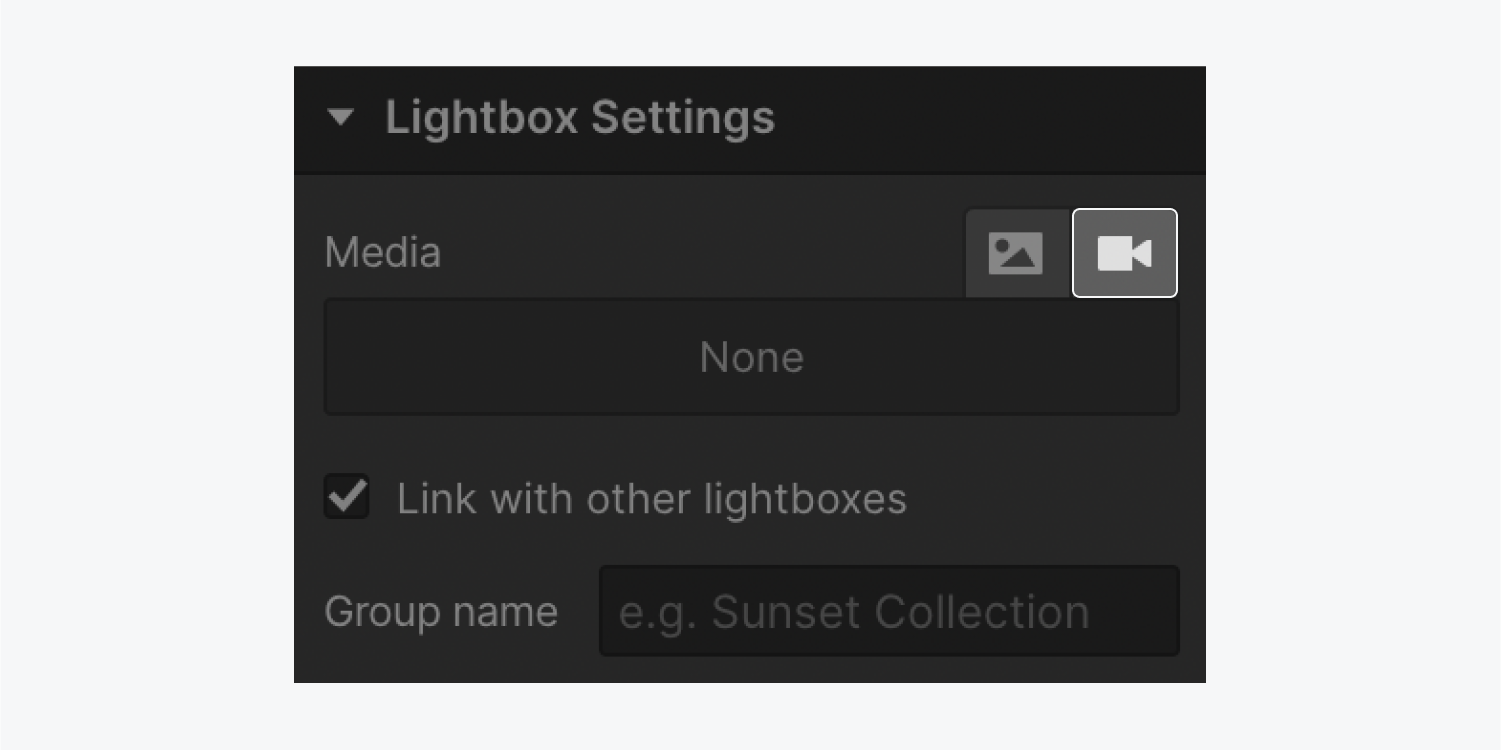
- Go to Element settings panel > Lightbox settings > Media
- Click the “Add video” icon
- Add the video’s URL to the URL field
- Click Save
How to create dynamic lightboxes from Collection field media
You can create dynamic lightboxes by pulling the thumbnail image and/or lightbox media from media Collection fields (i.e., an image field, multi-image field, or video field) in your CMS or Ecommerce Collections.
To connect a dynamic Collection field to the lightbox thumbnail:
- Add a lightbox to a dynamically-connected Collection list or a CMS Collection page
- Select the placeholder thumbnail image
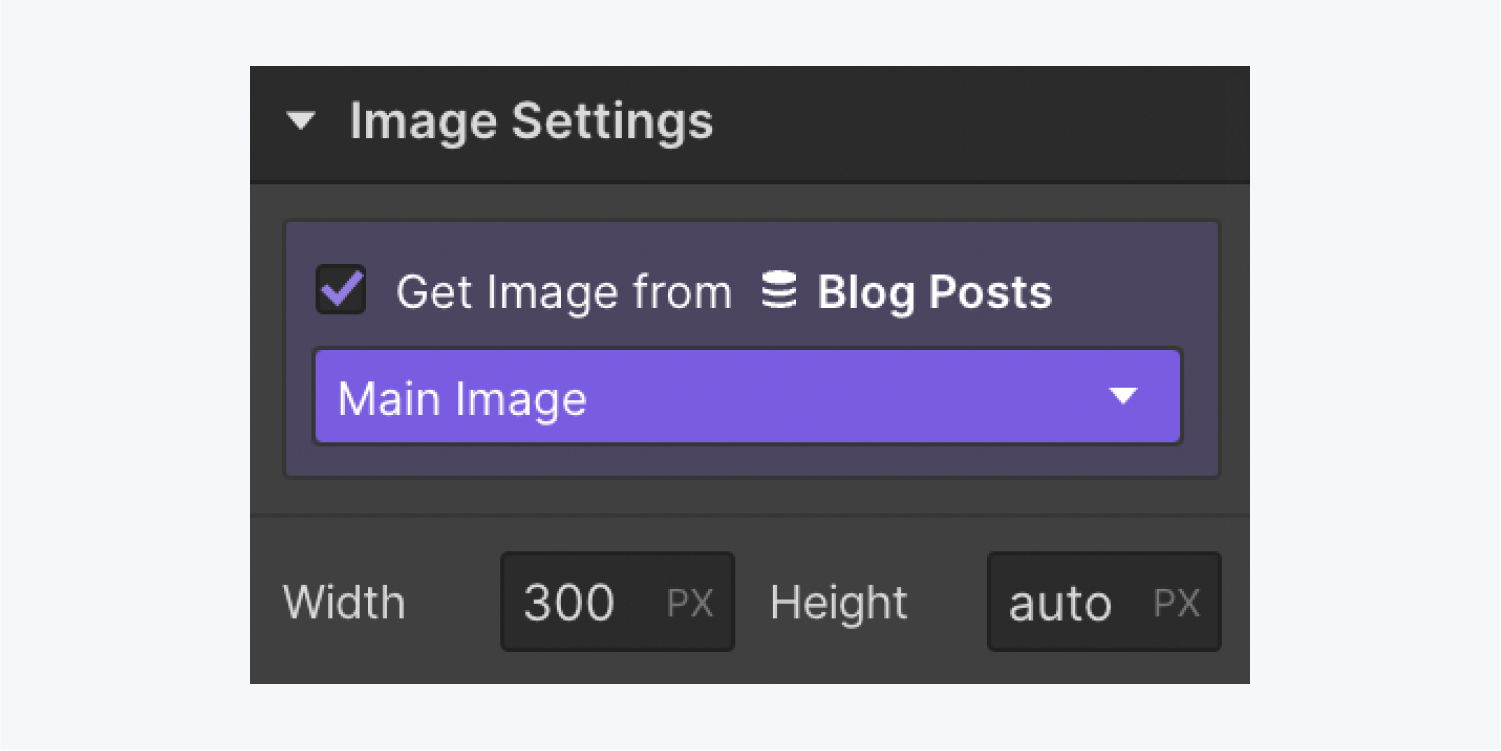
- Go to Element settings > Image settings
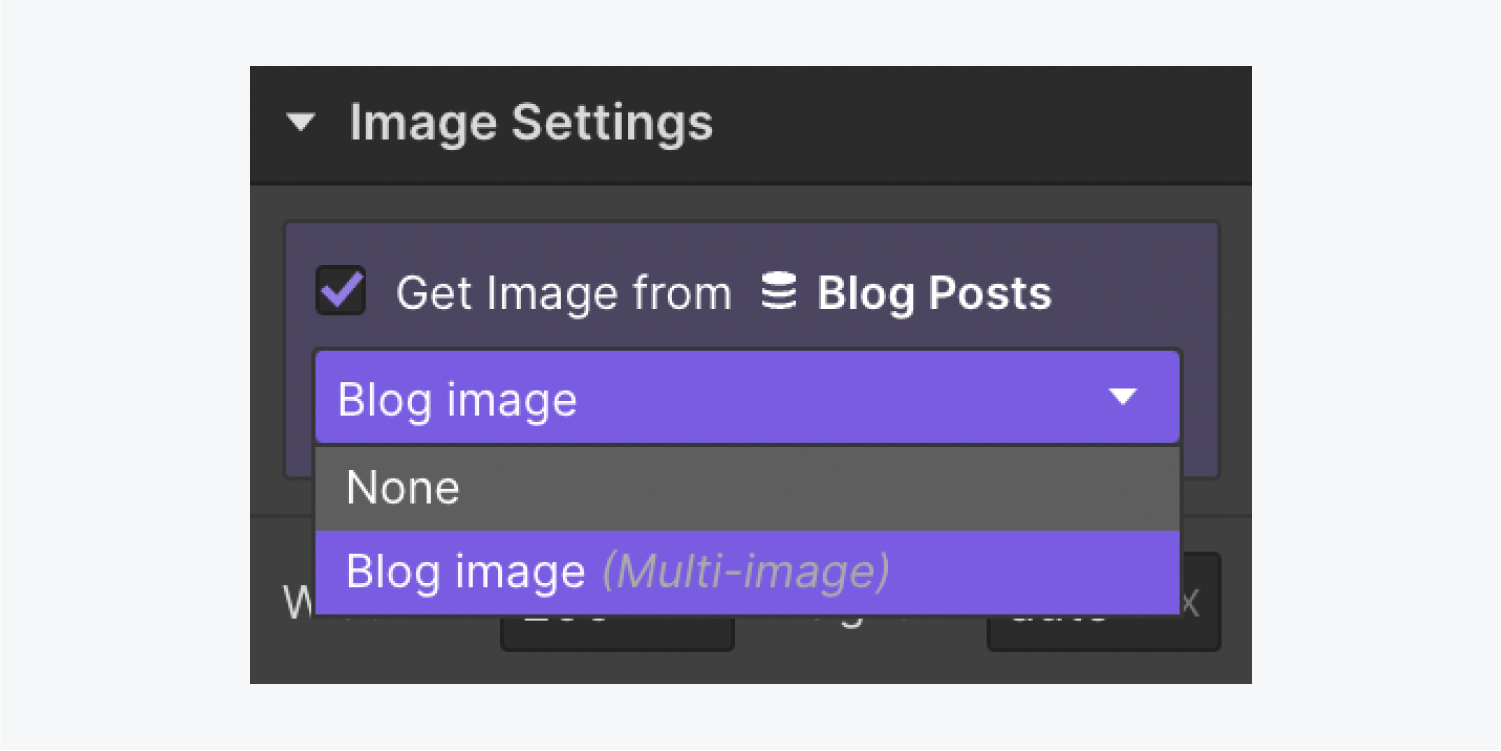
- Check the box labeled “Get Image from Blog posts” (the Collection name may be different depending on the Collection you’ve selected)
- Select an image Collection field from the Select field dropdown
Then, you can connect the lightbox to the Collection field, so your dynamic Collection images are available in the lightbox. To connect a dynamic Collection field to the lightbox media:
- Select the lightbox link
- Go to Element settings > Lightbox settings > Media
- Check the box labeled “Get Media from Blog posts” (the Collection name may be different depending on the Collection you’ve selected)
- Select a media Collection field from the Select field dropdown
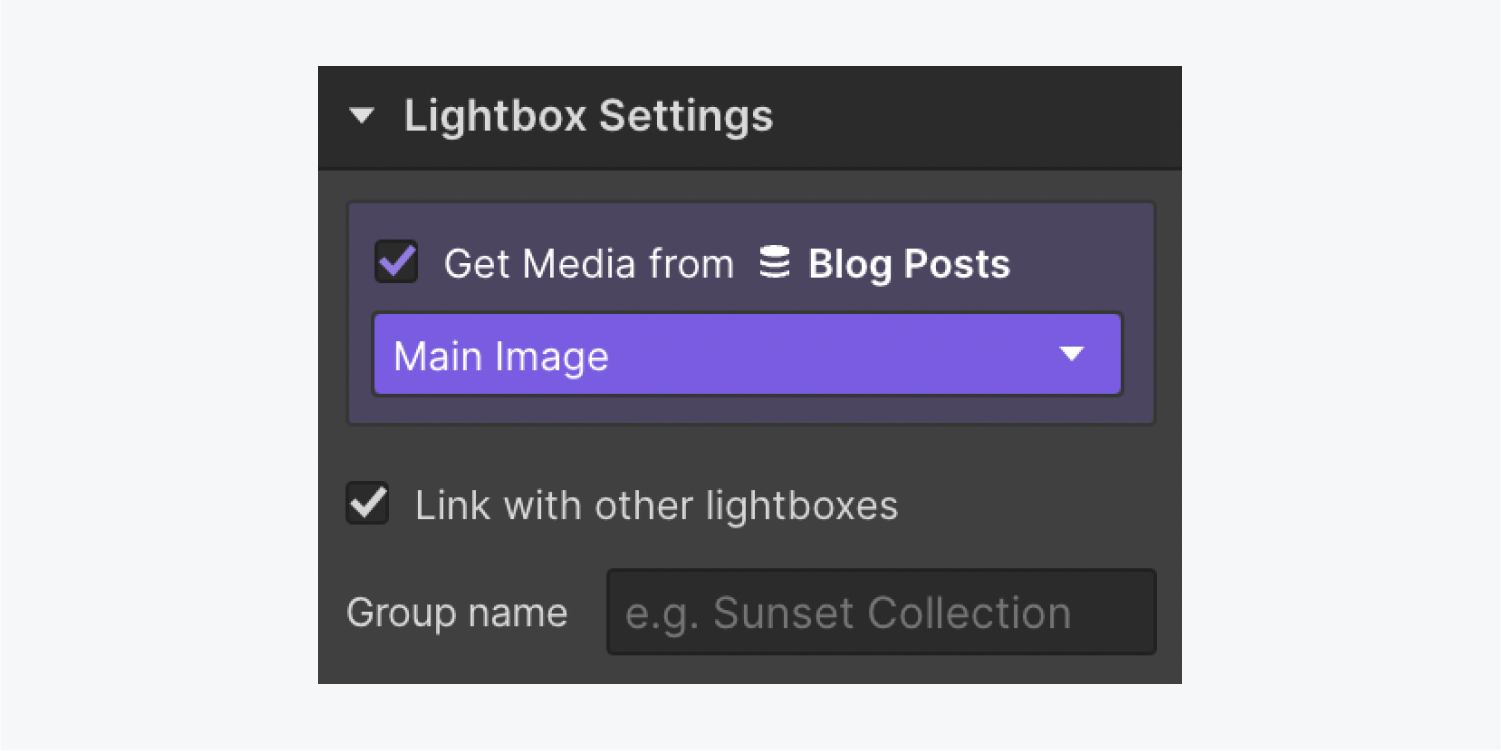
To connect a lightbox to a multi-image field:
- Add a Collection list to a Collection page
- Connect the Collection list to the multi-image field by clicking the Source dropdown and selecting the multi-image field
- Add a lightbox to the Collection list
- Select the image element in the lightbox
- Go to Element settings > Image settings
- Check the box labeled “Get Image from Blog posts” (the Collection name may be different depending on the Collection you’ve selected)
- Select the multi-image field from the Select field dropdown
- Select the lightbox link on the canvas
- Go to Element settings > Lightbox settings
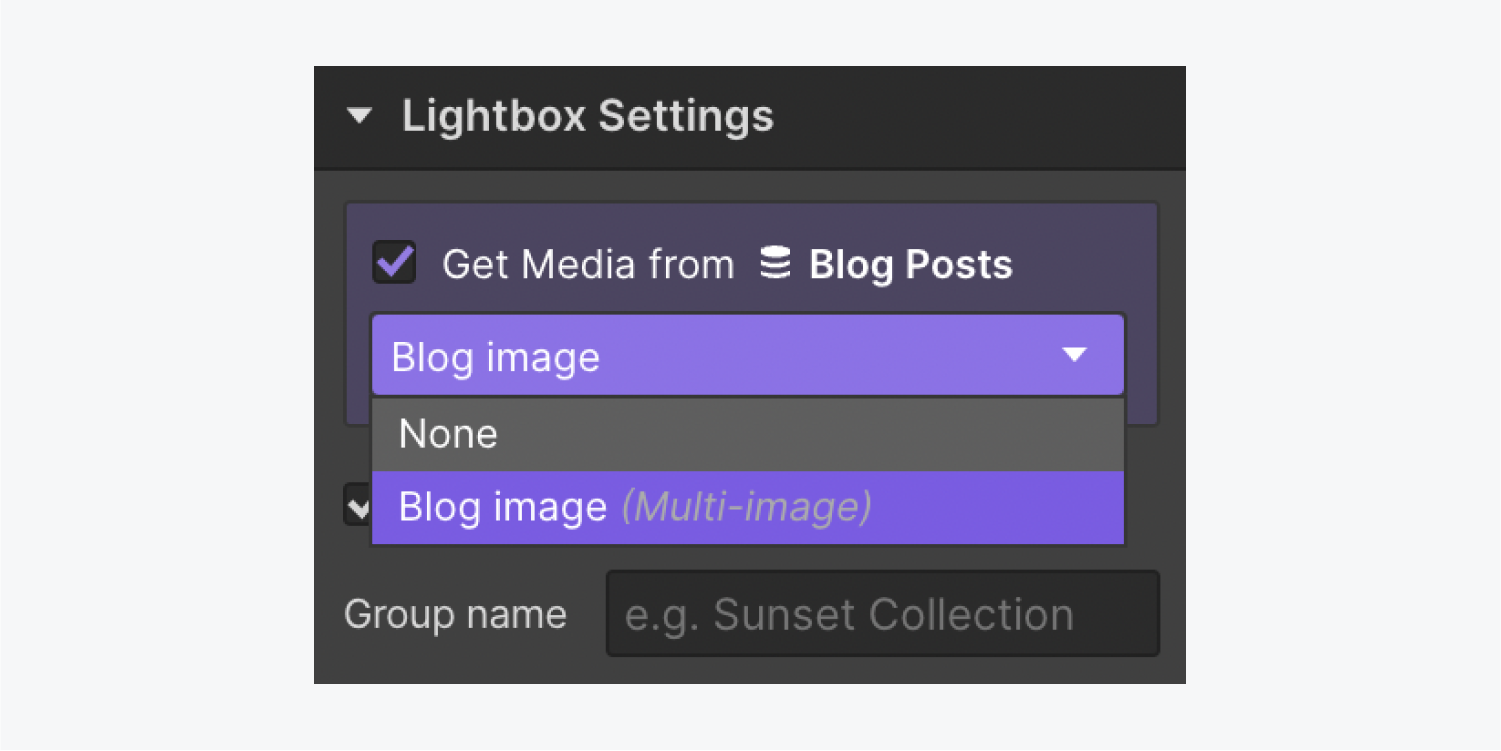
- Check the box labeled “Get Media from Blog posts” (the Collection name may be different depending on the Collection you’ve selected)
- Select the multi-image field from the Select field dropdown
Learn more about the multi-image field.
How to link lightboxes using lightbox groups
You can link multiple lightboxes together to create a slideshow gallery. When a site visitor clicks a linked lightbox, the lightbox will open all the media associated with the linked group.
How to create a lightbox group
- Select any element in a lightbox
- Go to Element settings > Lightbox settings
- Check “Link with other lightboxes”
- Enter a Group name
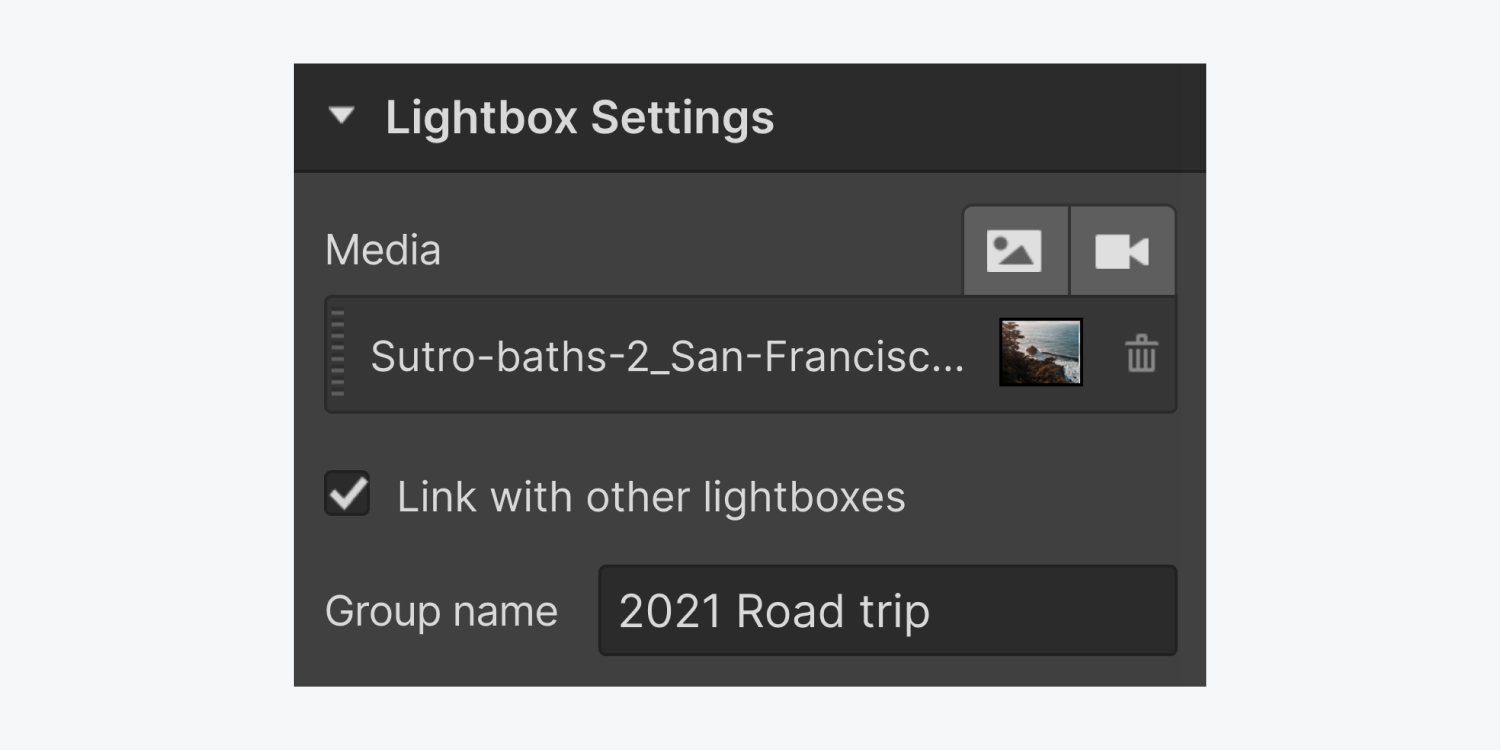
How to link other lightboxes to the same group
To link other lightboxes to the group, complete these steps for each lightbox:
- Select any element in the lightbox
- Go to Element settings > Lightbox settings
- Check “Link with other lightboxes”
- Enter the same Group name

For lightboxes in Collection lists, creating and linking 1 lightbox in a Collection item automatically links all lightboxes in the Collection list.
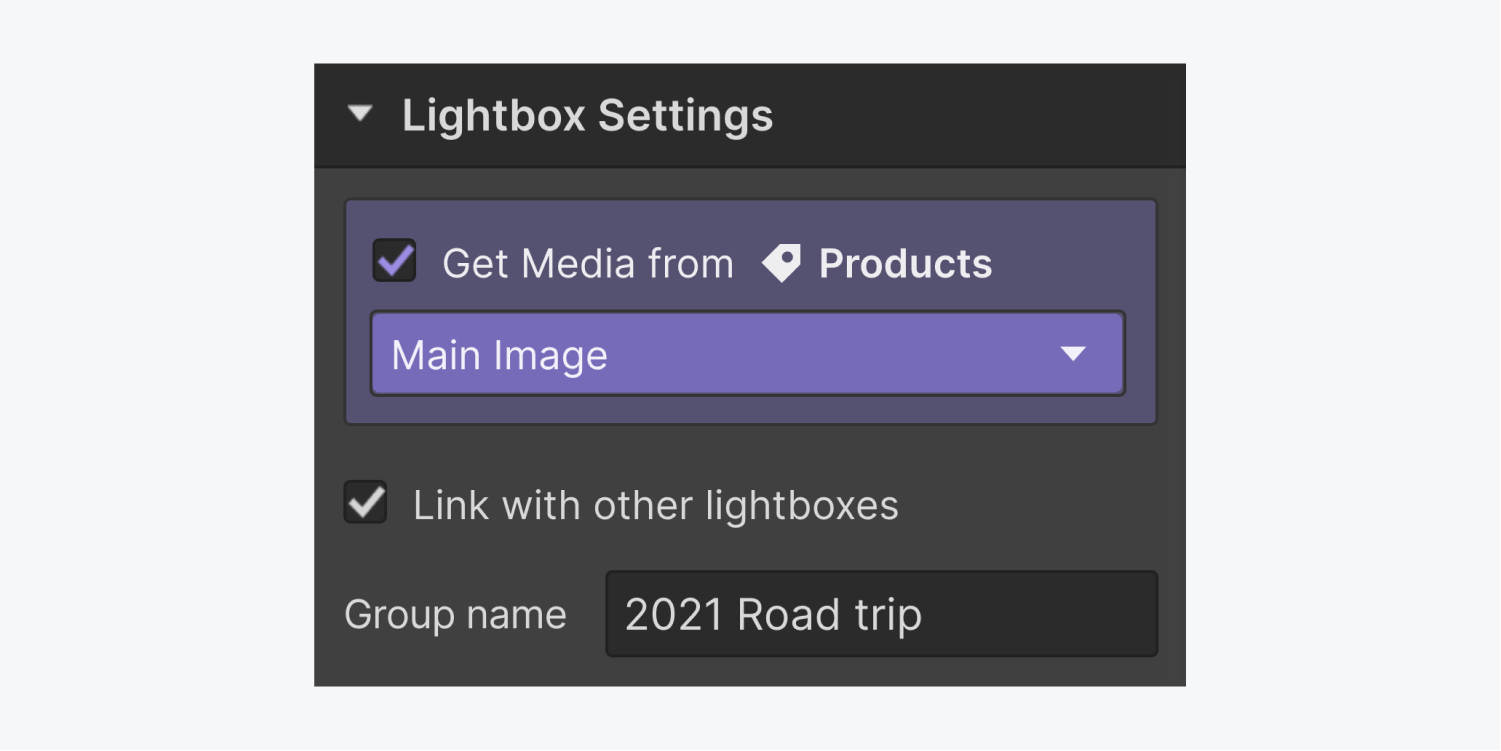
Create multiple lightbox groups on a page
If there are multiple lightboxes on the same page, you can separate them by assigning each lightbox group a different Group name.


