If you do not own a custom domain, you can purchase a domain from any domain name provider, or you can buy a Google domain or a GoDaddy domain from Site settings > Publishing tab.
Before you get started: Make sure you’ve added a site plan to your site. Learn more about Webflow site plans.
In this lesson, you’ll learn:
- How to choose a domain provider
- How to search for and buy a new domain
- How to set a default domain
- How to verify the domain and publish
How to choose a domain provider
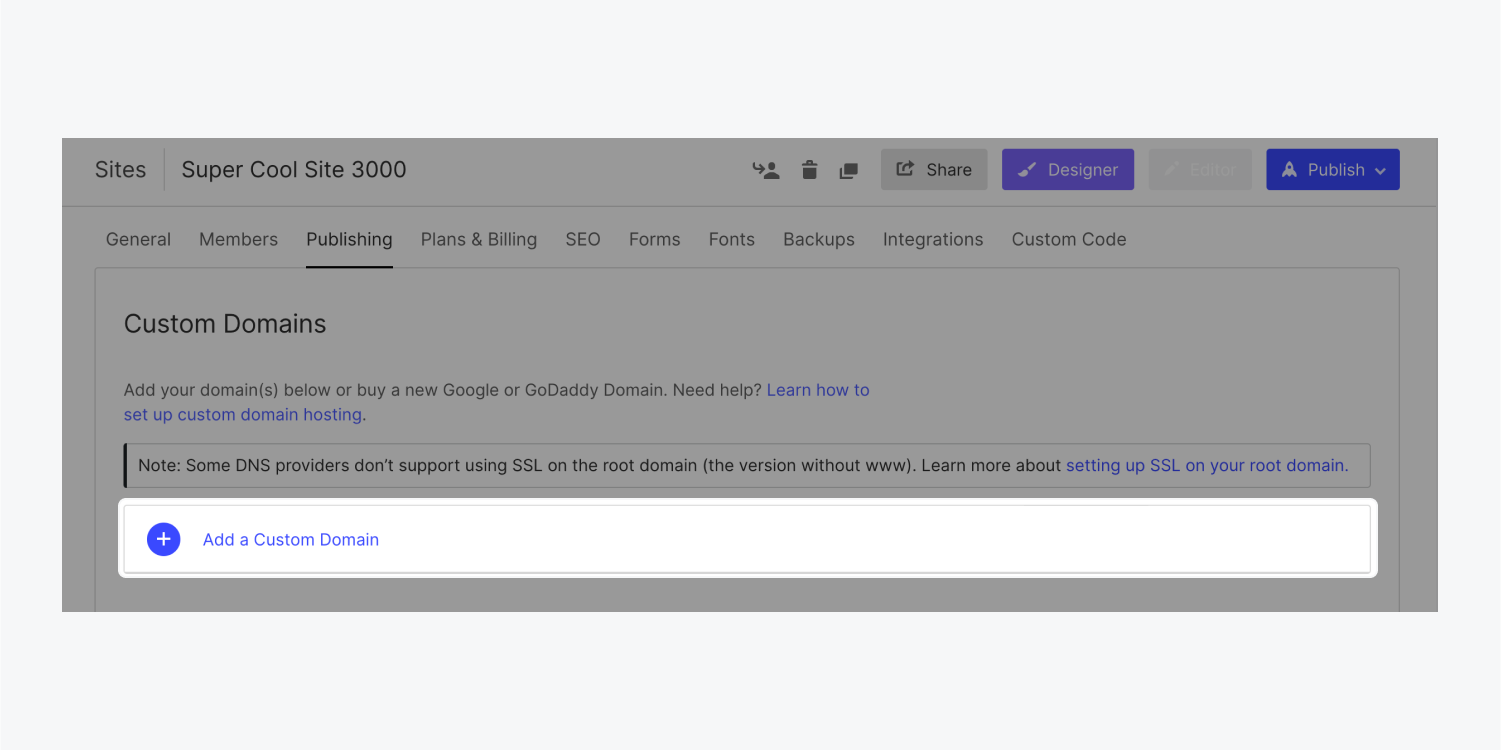
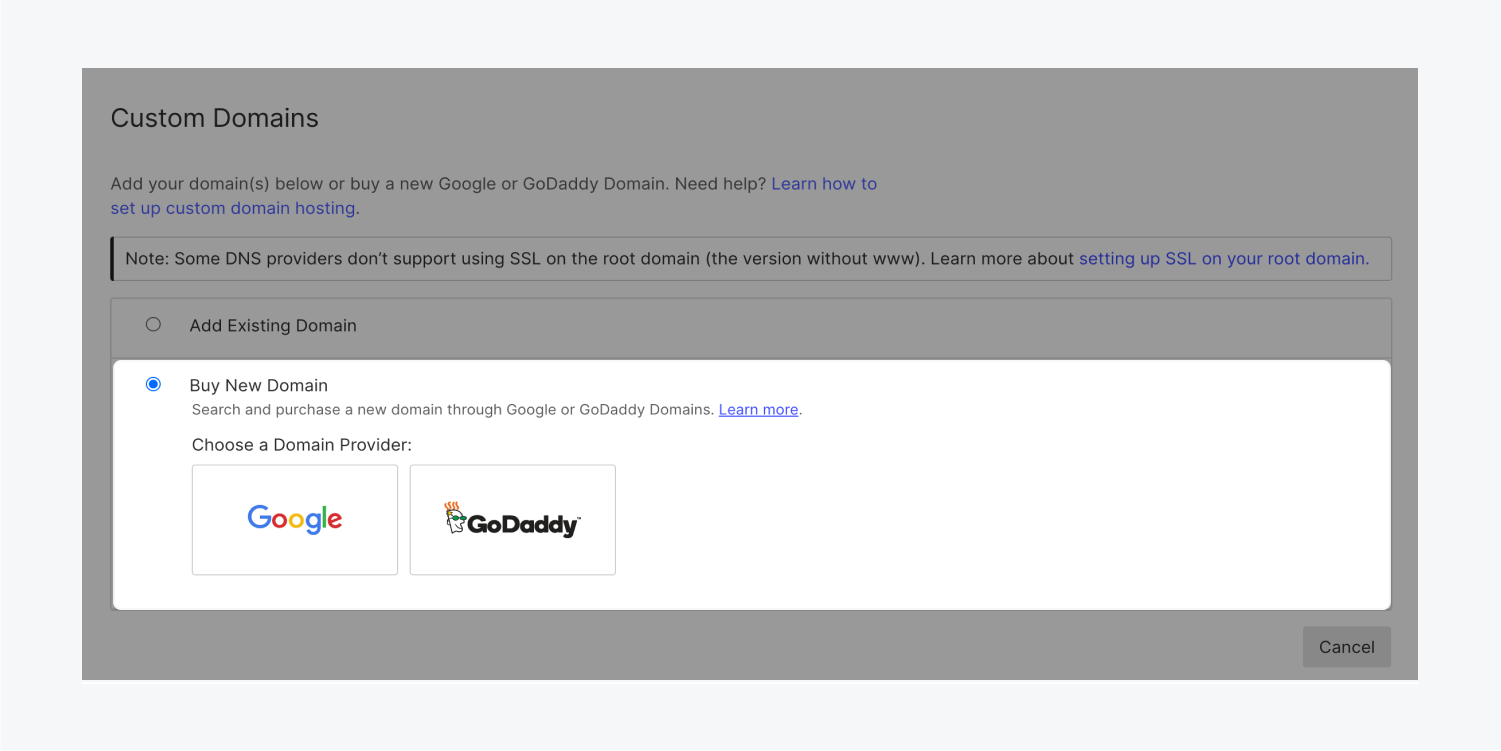
Once you’ve added a site plan to your site, visit Site settings > Publishing tab > Custom domains section and click Add a custom domain. Then, click Buy new domain and choose whether you’d like to purchase a Google or GoDaddy domain.
Note: Google Domains is currently available only for users in some countries. Learn more about the availability of Google Domains and supported countries.
How to search for and buy a new domain
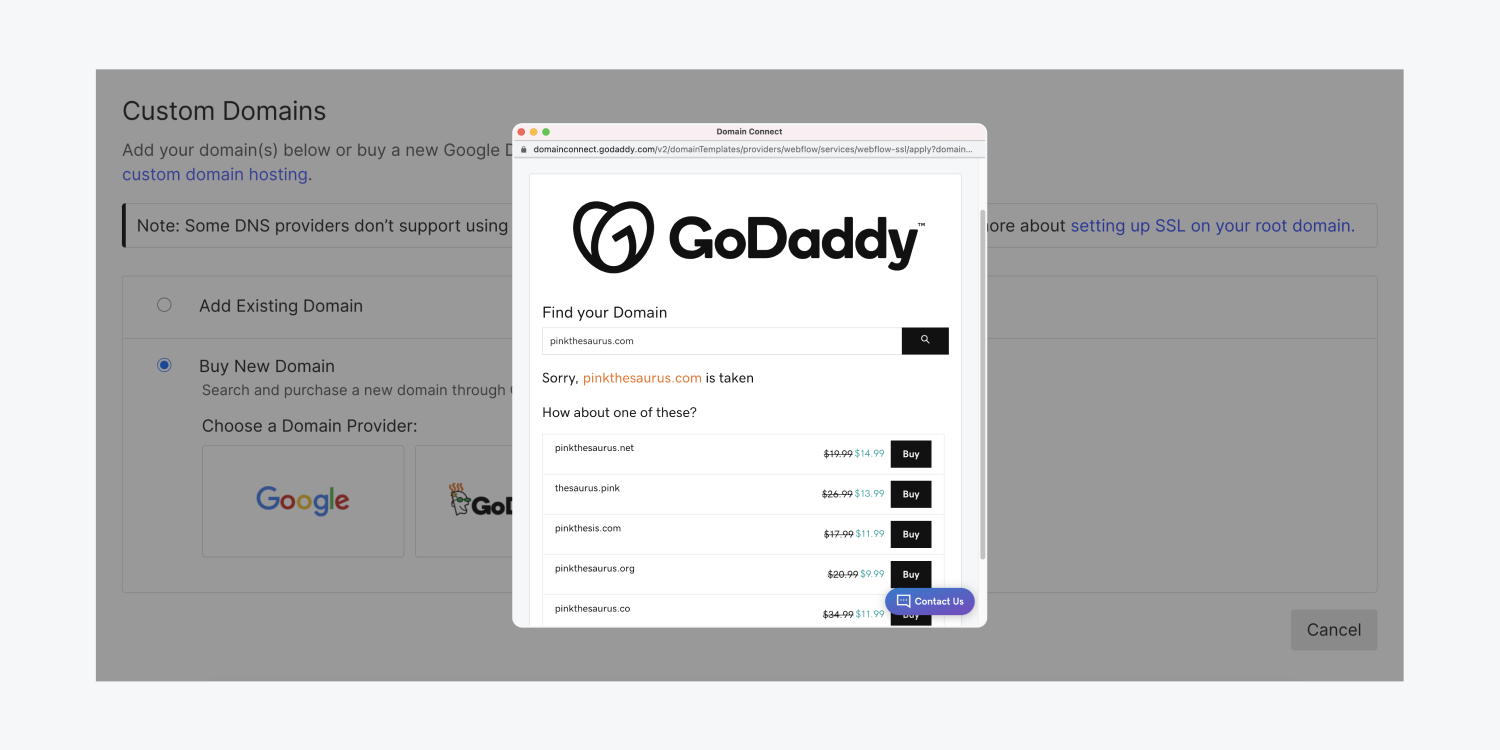
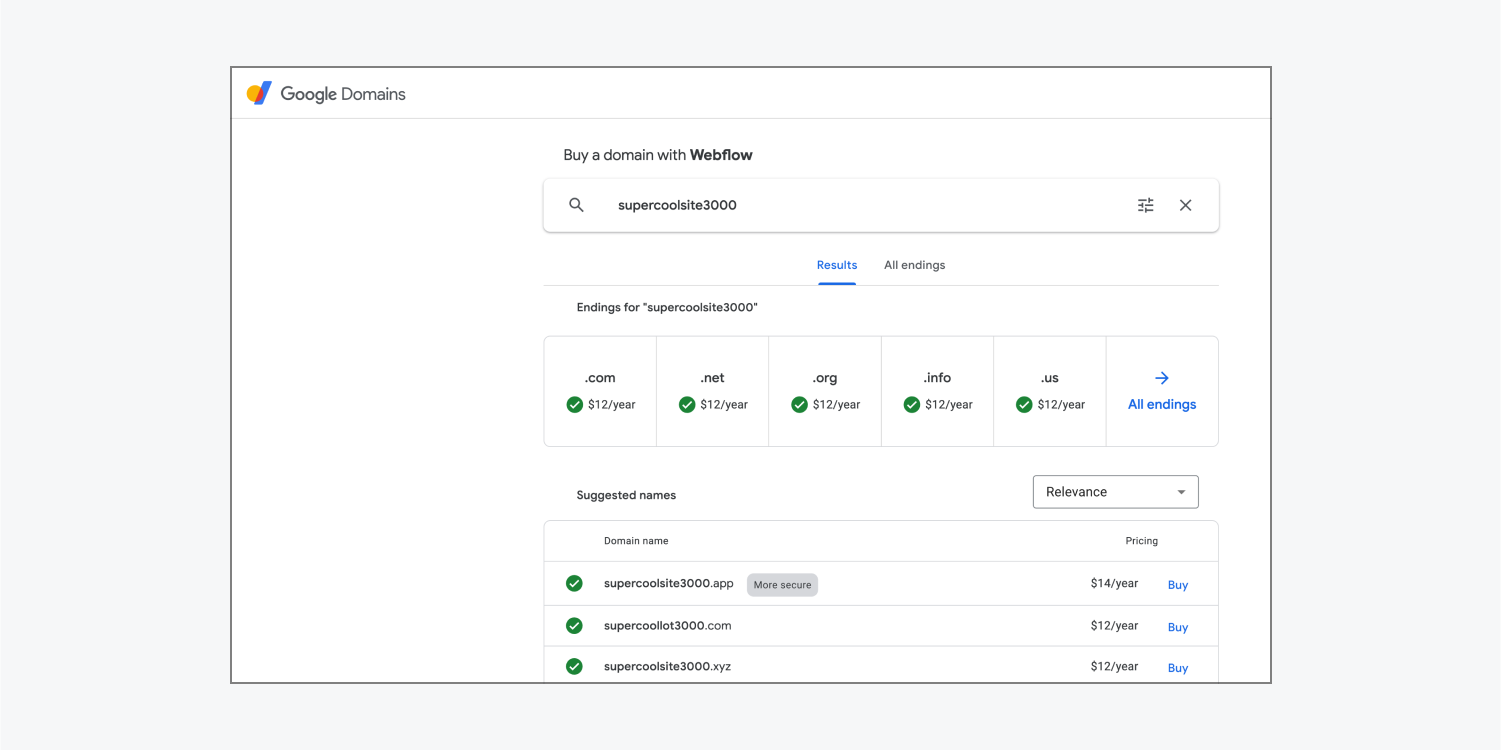
Follow the instructions from your selected domain provider (e.g., Google or GoDaddy) on the following page to find and purchase a domain name.
Note: You’ll need to sign in to your Google or GoDaddy account, or sign up for a new account if you don’t already have one.
Note: You may need to add billing information if you’ve never used Google Checkout. This isn’t connected to Webflow’s billing system.
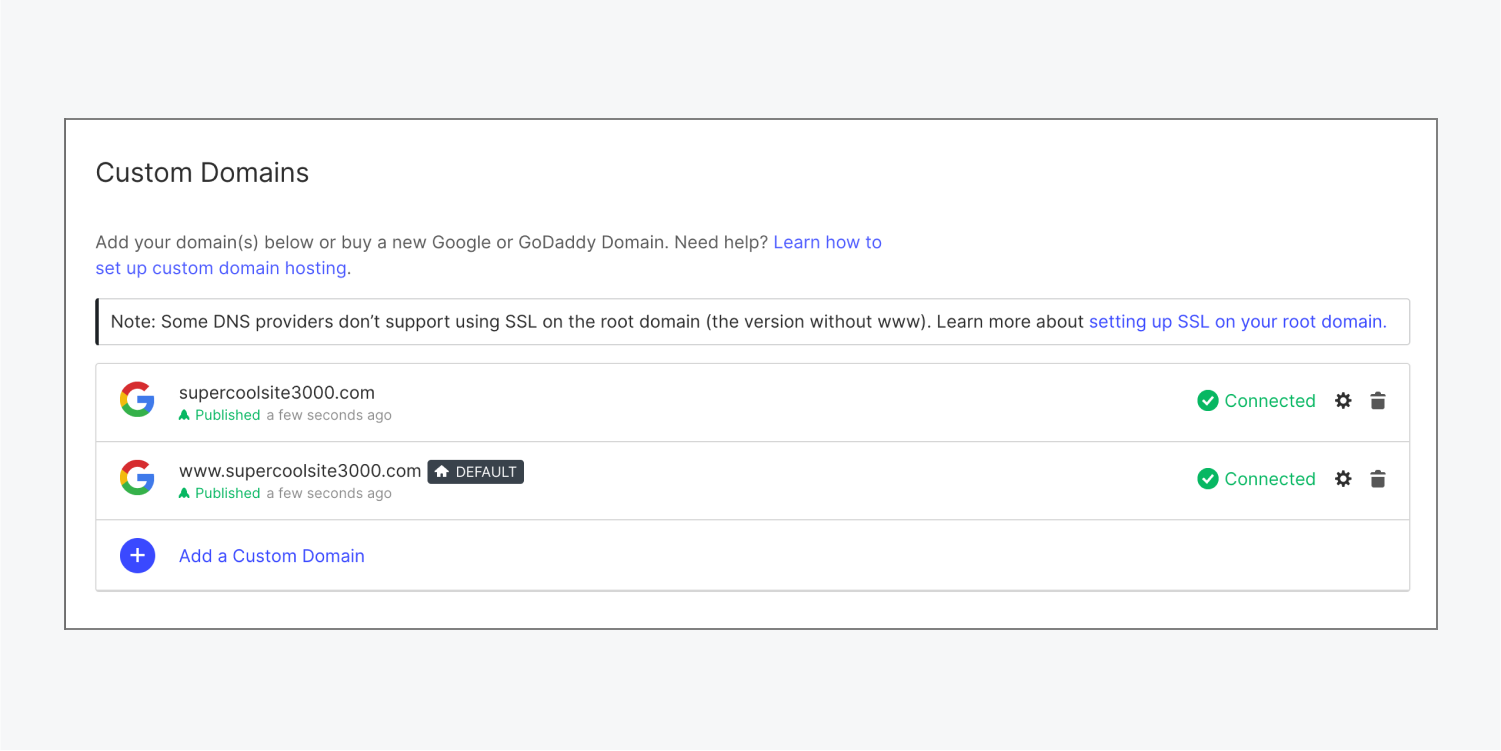
Once you’ve purchased your domain, you’ll be returned to Site settings > Publishing tab, where the domain(s) will appear in the Custom domains section. Make sure that both your root domain (e.g., yourdomain.com) and your www subdomain (e.g., www.yourdomain.com) are both listed here.
How to set a default domain
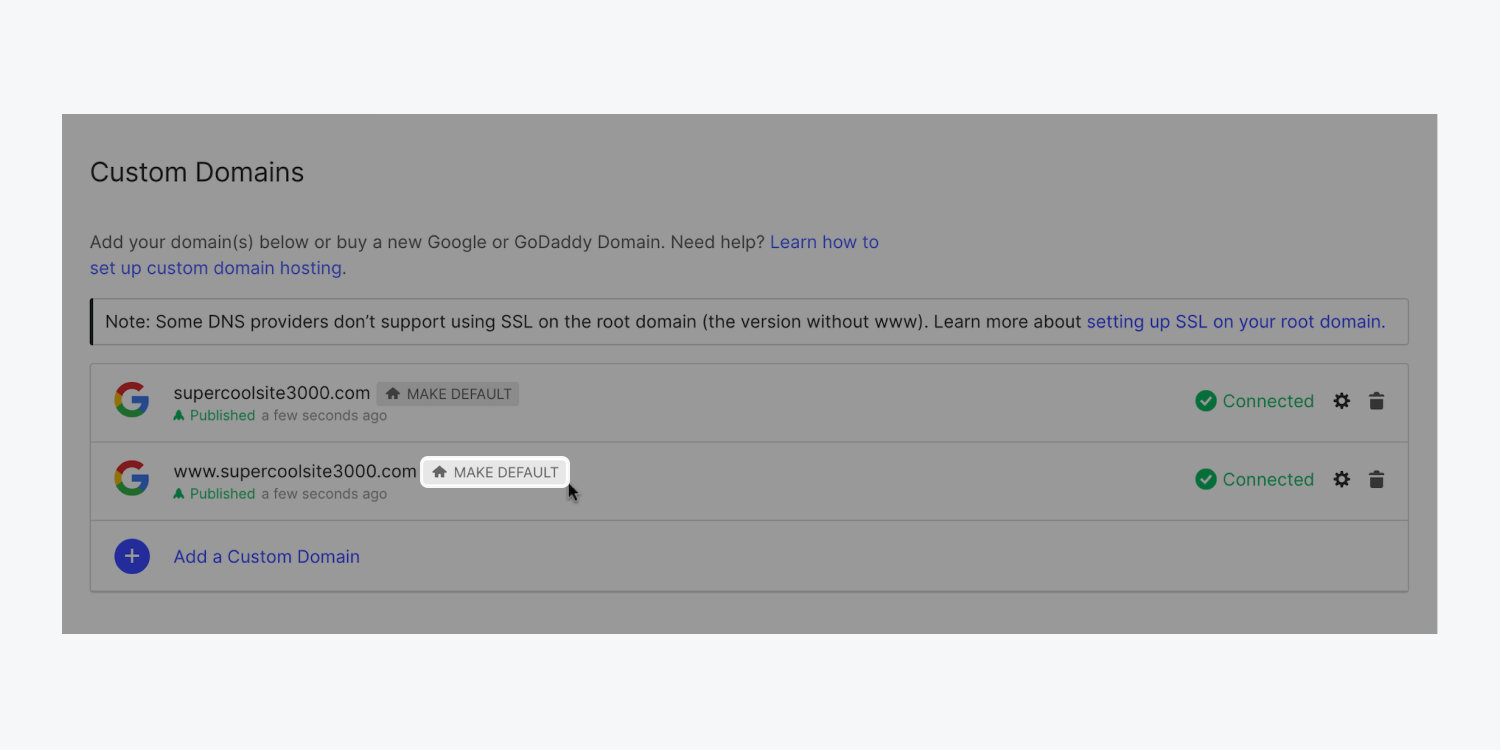
Click Make default next to the www subdomain to set it as the default domain. This will send all site traffic from all domains connected to this site to the default domain.
Important: The default domain on SSL hosting must be served on a domain that has a CNAME record, so you’ll need to set the www subdomain (e.g., www.yourdomain.com) as the default domain. If you’d like to set the root domain (e.g., yourdomain.com) as the default, this is possible, but requires a slightly different setup for your DNS records. Learn more about setting the root domain as the default on SSL hosting.
How to verify the domain and publish
To verify that your DNS settings are correct, and that your domain is correctly pointing to Webflow, open Site settings > Publishing tab > Custom domains section and click Check status under each of your domain names.
To publish your site from Site settings, click Publish, check the domains you’d like to publish your site to, and click Publish to selected domains. Learn more about publishing your site.
DNS changes can take up to 48 hours to fully propagate in all geolocations as the DNS cache expires, although this typically occurs within a few hours. If your site verification doesn’t work right away, you can come back later to check the status again.
If your DNS records are live and pointing to Webflow and you’re still experiencing issues with domain verification after 2 days, please contact Webflow’s customer support team.


