Options allow you to sell different variants of the same product, like clothes with different sizes and colors. Each unique combination of options results in a variant. Each variant is treated as a separate product and has its own product fields you can set.
Important:
Each product variant counts towards the item limit for your site plan. Understand item limits for your site plan.
In this lesson:
Add and manage option sets
If you sell products that come with different options, such as different sizes and colors, you can add option sets for each option type. An individual version of the product that matches a combination of those options is a variant. For example, if you sell t-shirts in multiple sizes, colors and designs, you need to add three option sets: one for size, one for color, and one for design.
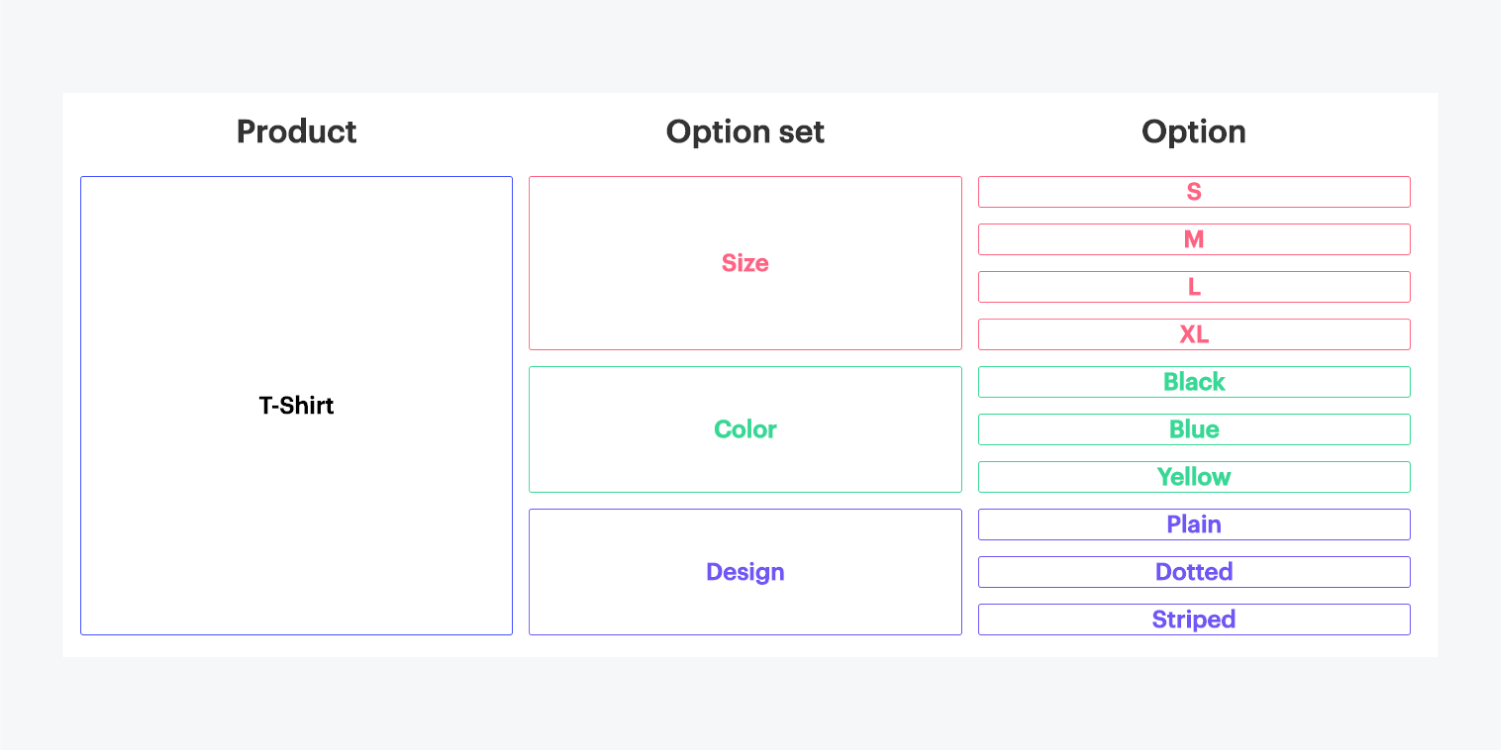
To add an option set, open the detail view of a product that has options, scroll to the options section and + Add an option set.

Must know
You're able to create up to 3 option sets per product.
Add options
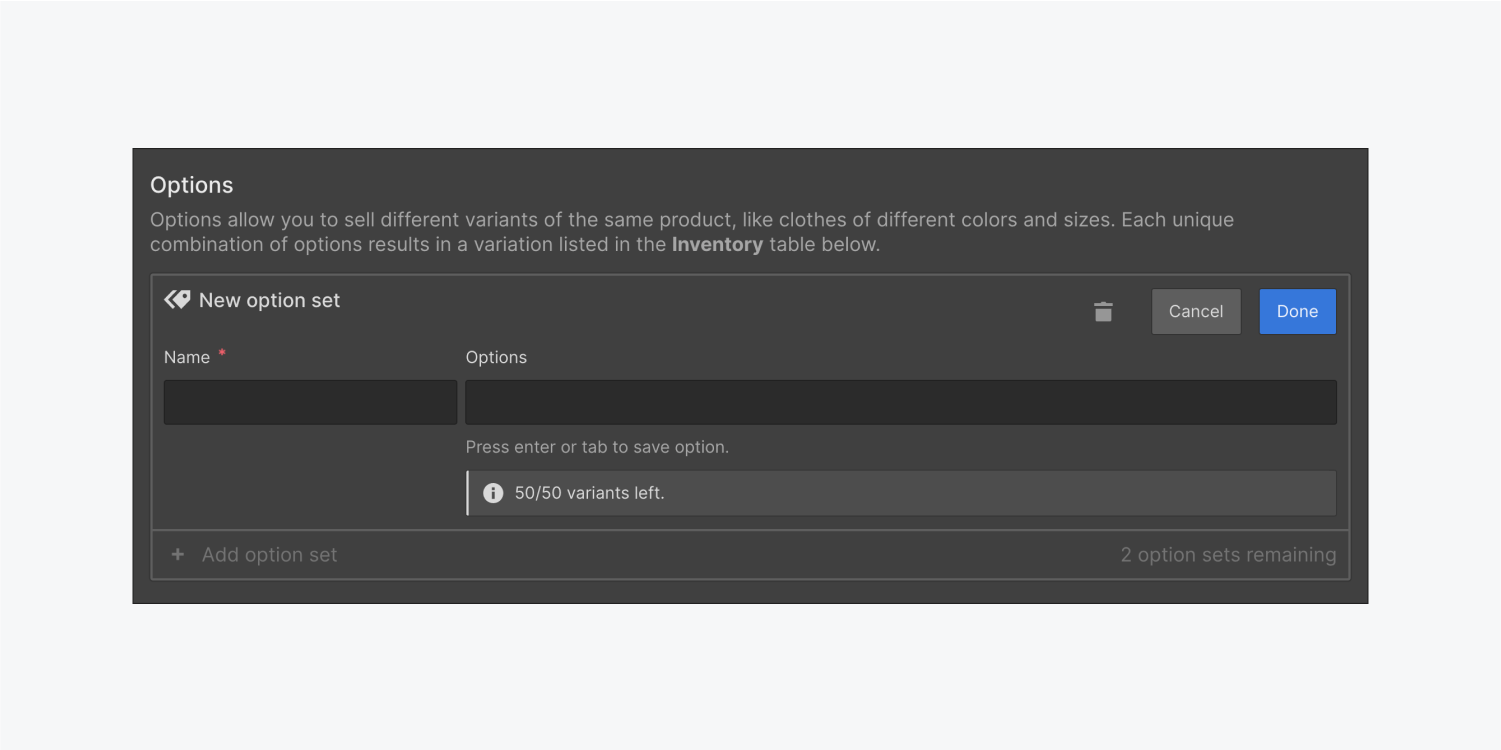
Define the name of your option set (size, color...), and start adding your options. Type each option and press Enter to create the option. Options for size may be: S, M, L, XL. Options for color may be: Black, White, Blue and so on.
Must know
Each product item can have a total of 50 variants. This limits the number of options you can add. For example, if you have 5 options for option set 1, you won’t be able to add more than 10 options for option set 2. (5*10=50).
Edit options
If you’ve made a mistake and you need to rename an option or delete it, hover over the option name and click the arrow that appears on it. Choose to rename it or delete it.

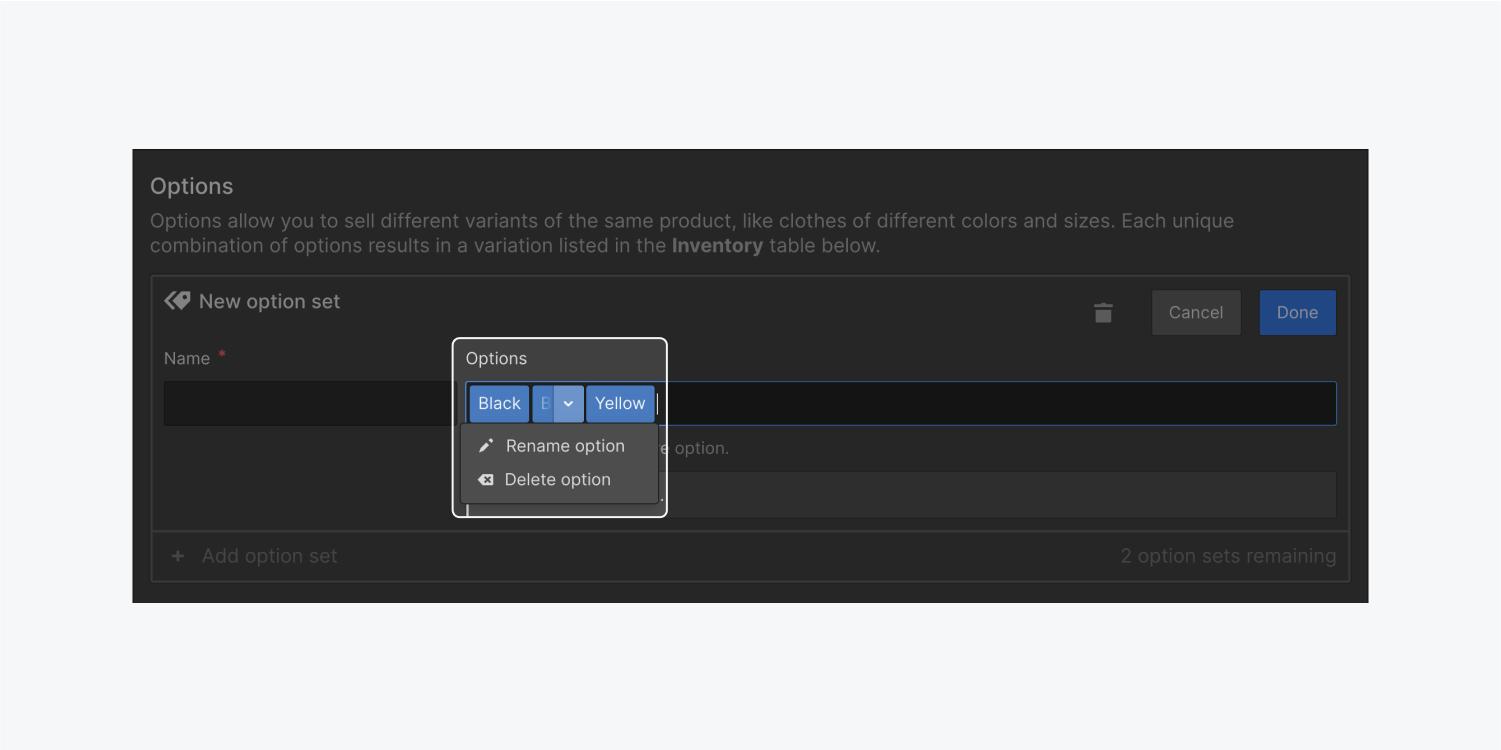
You can also rename an option by double-clicking it. Another way to delete options in order from the last to the first is by pressing the backspace key when the cursor is in the options field.
Managing option sets
You can edit an option set after you’ve created it by either clicking the option set name or the settings icon that appears when you hover over it.

Here, you can rename the option set, manage options, or delete the option set by clicking the trashcan icon.
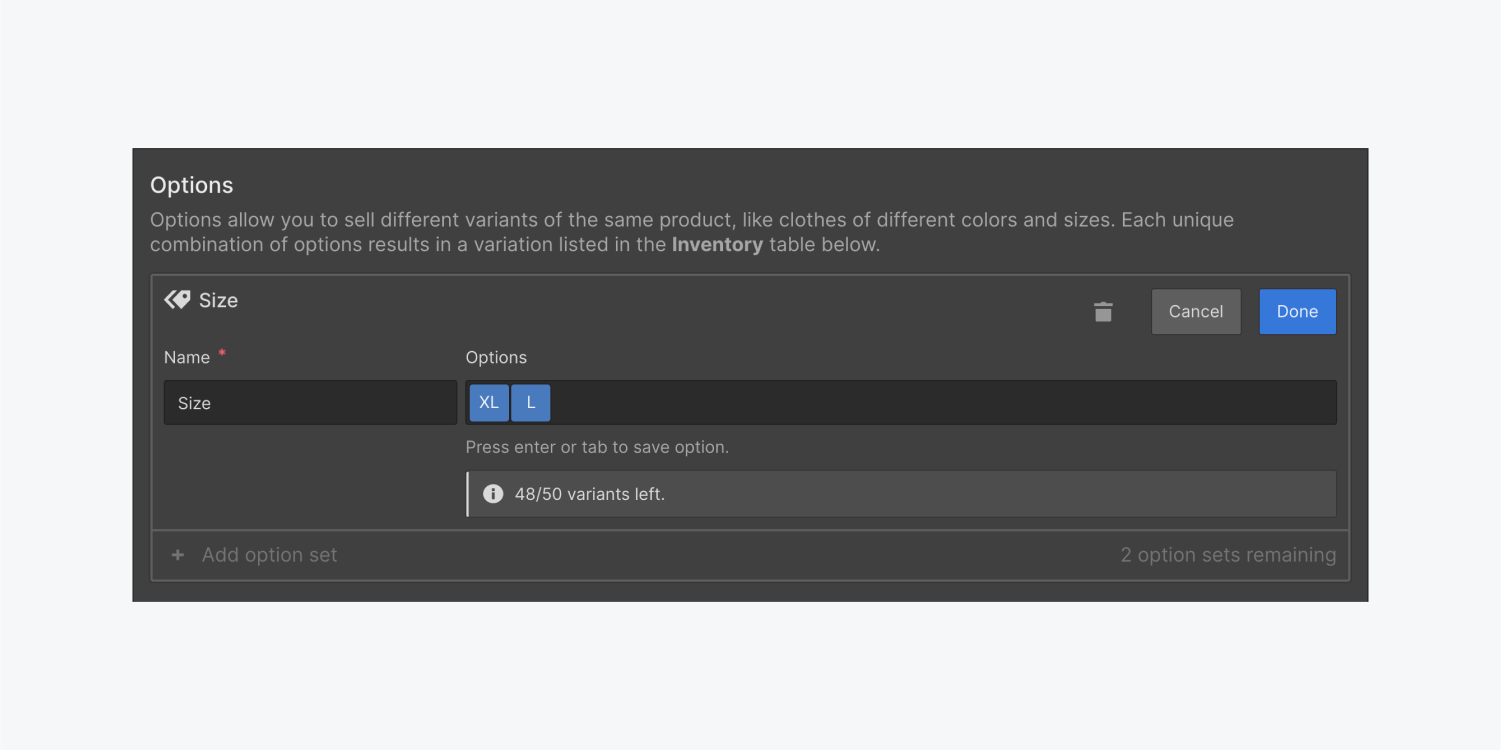
Deleting an option set will remove any variants associated with it in the variants inventory.
Update variants
As you add options, you’ll see that variants are created automatically for each combination of options from your option sets. So, the variants of a T-shirt with different sizes, colors and designs will include: s/black/plain, m/black/dotted, large/yellow/striped and so on.
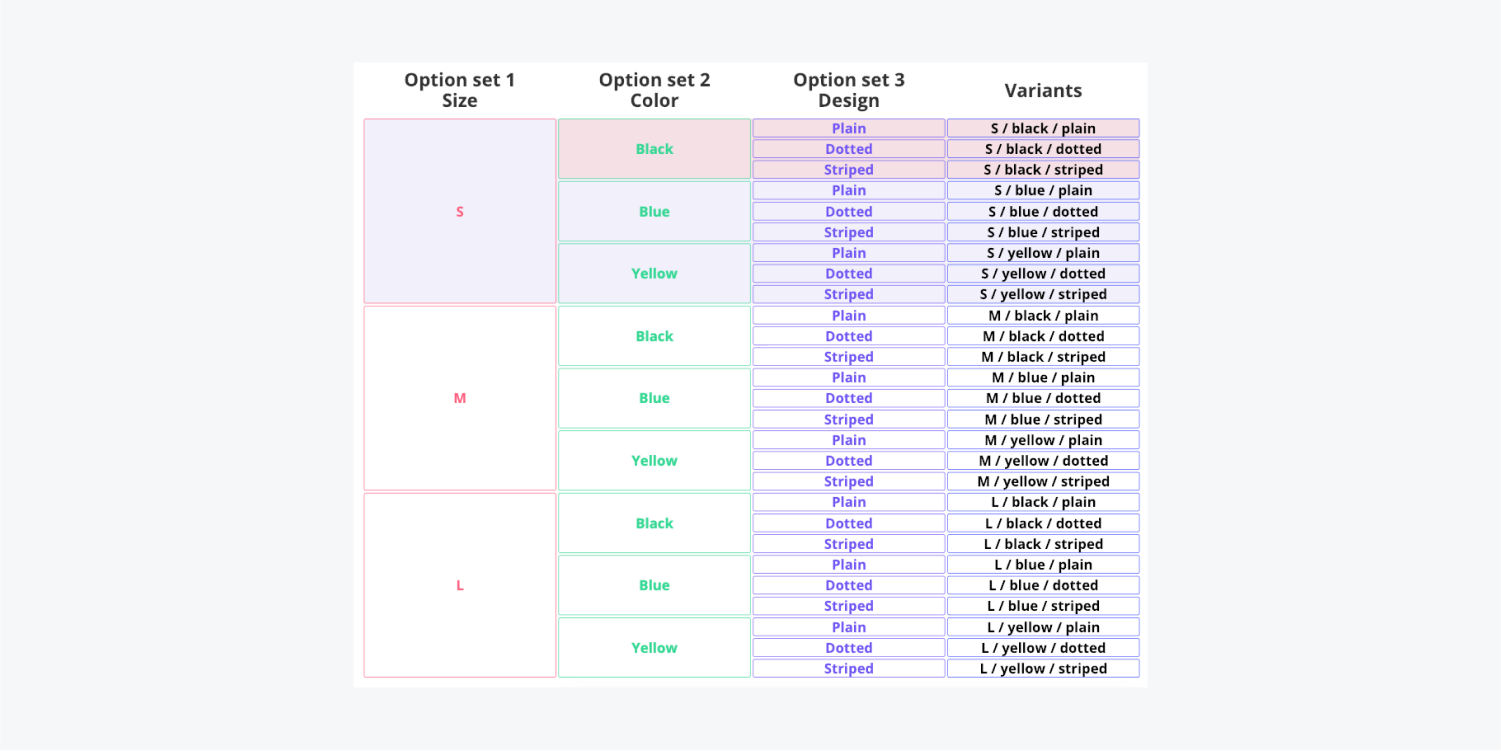
But I don’t sell some of these variants?
Maybe you don’t have black striped shirts, or yellow shirts are only available in small sizes. How can you ensure that your shoppers do not order a variant that you don’t sell? For any unavailable variant, update the variant detail, enable inventory tracking and set the quantity to 0. This will make those options unselectable in the option list dropdown.
Update variant details
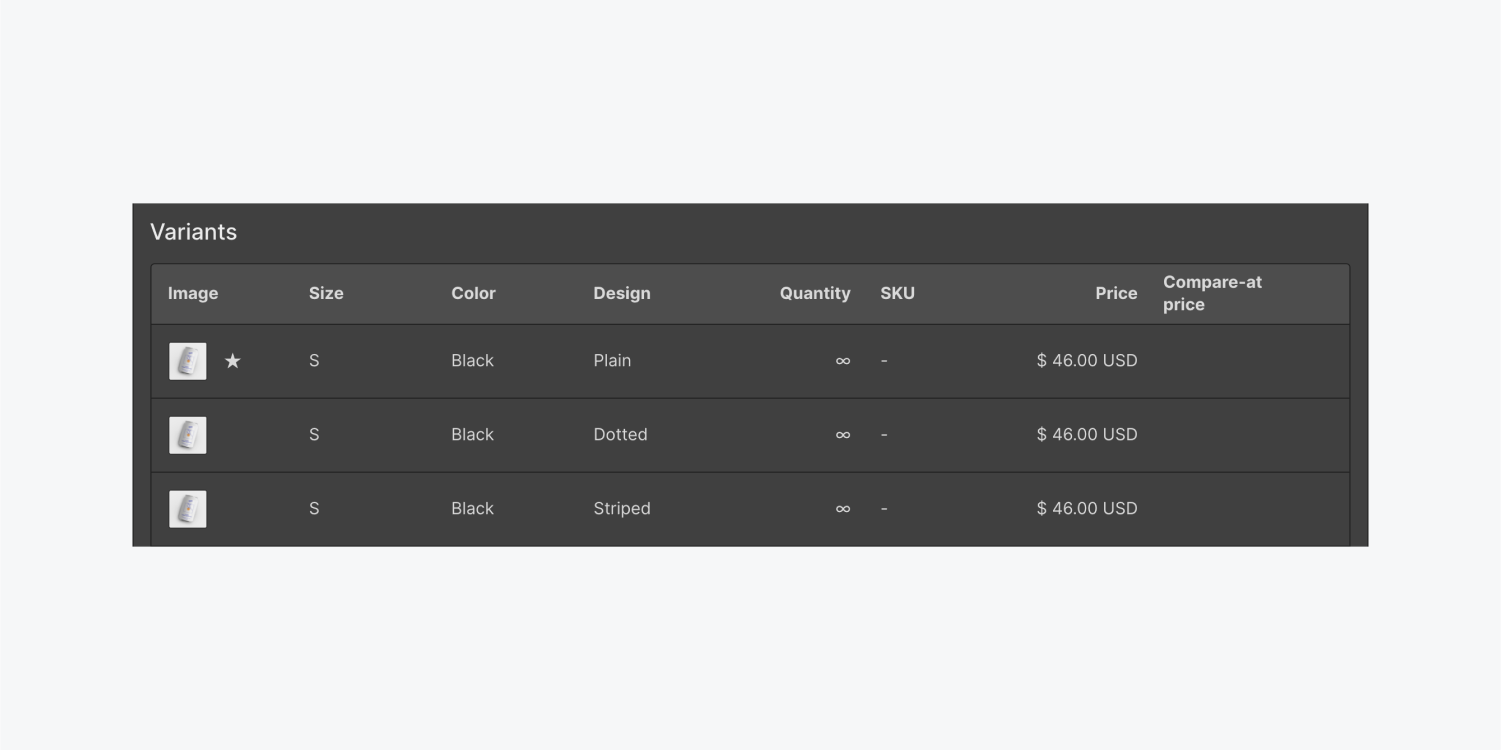
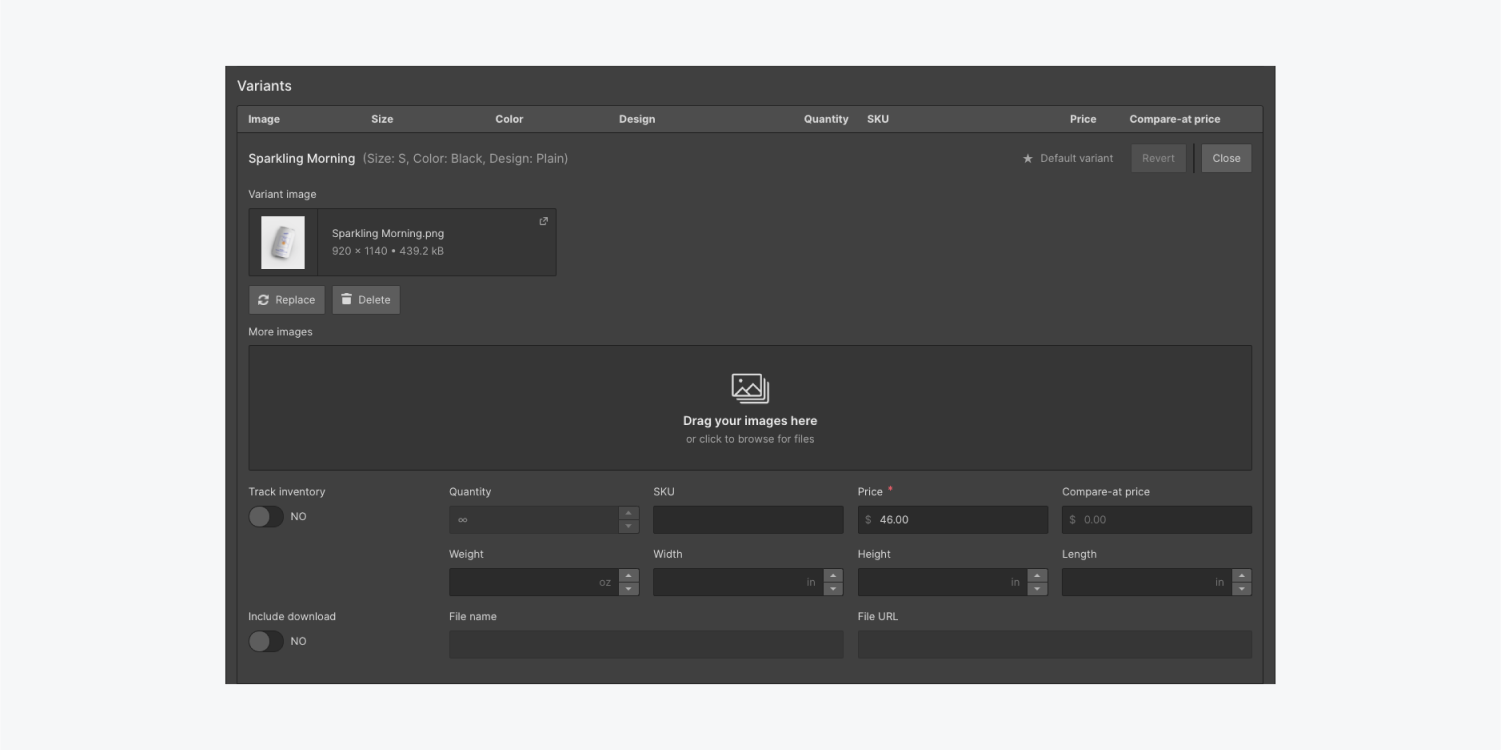
Each variant is a separate product and has its own product fields you can set. The main Image, more images, SKU, price, compare-at price, and measurement values set on the main product are inherited by all variants. The quantity, if set, is inherited by the first variant created.
You can manually update and replace any inherited values by clicking the variant or the setting icon that appears when you hover over it.
Pro tip
Unless your product’s variants have the same (or almost the same) measurements, it might be best to clear the values for those fields for the main product before creating any option sets (and variants). This is helpful in case you have many variants. Since these values are inherited for all variants, it might happen that you forget to update the values for some of these inherited fields. On the other hand, it’s easier to spot empty fields and update them as needed.
Set the default product variant
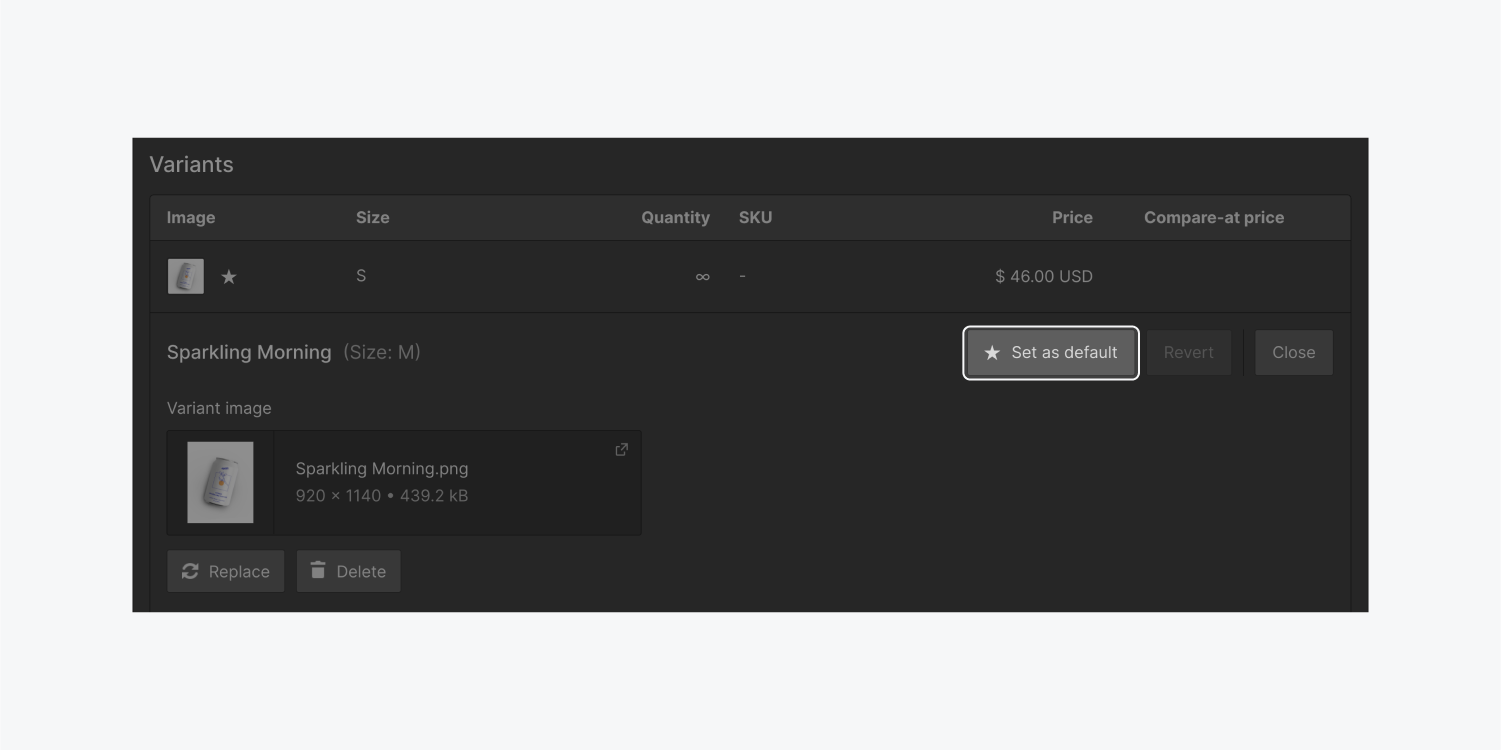
Once you add variants, the first variant created becomes the default variant. That’s indicated with a star ⭑ in the variants inventory list.
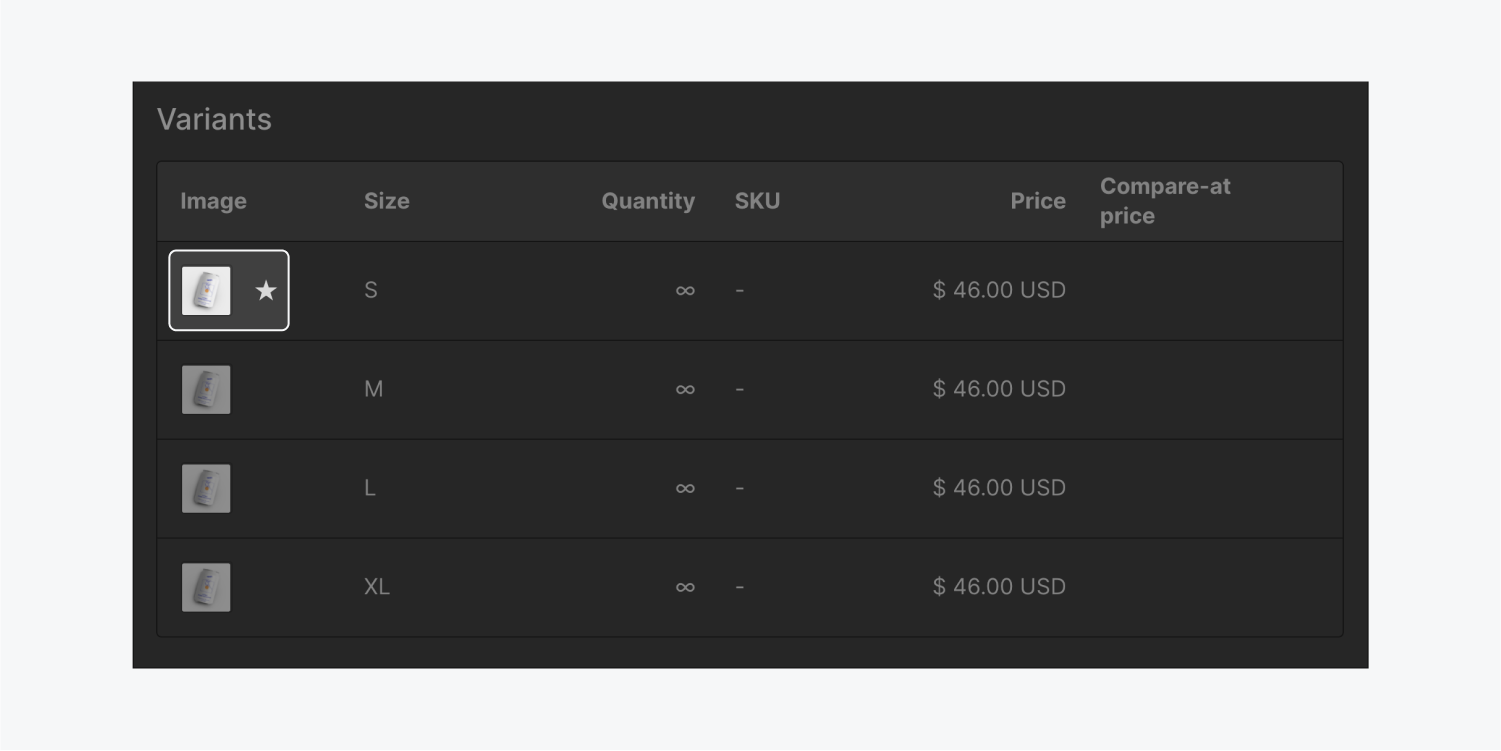
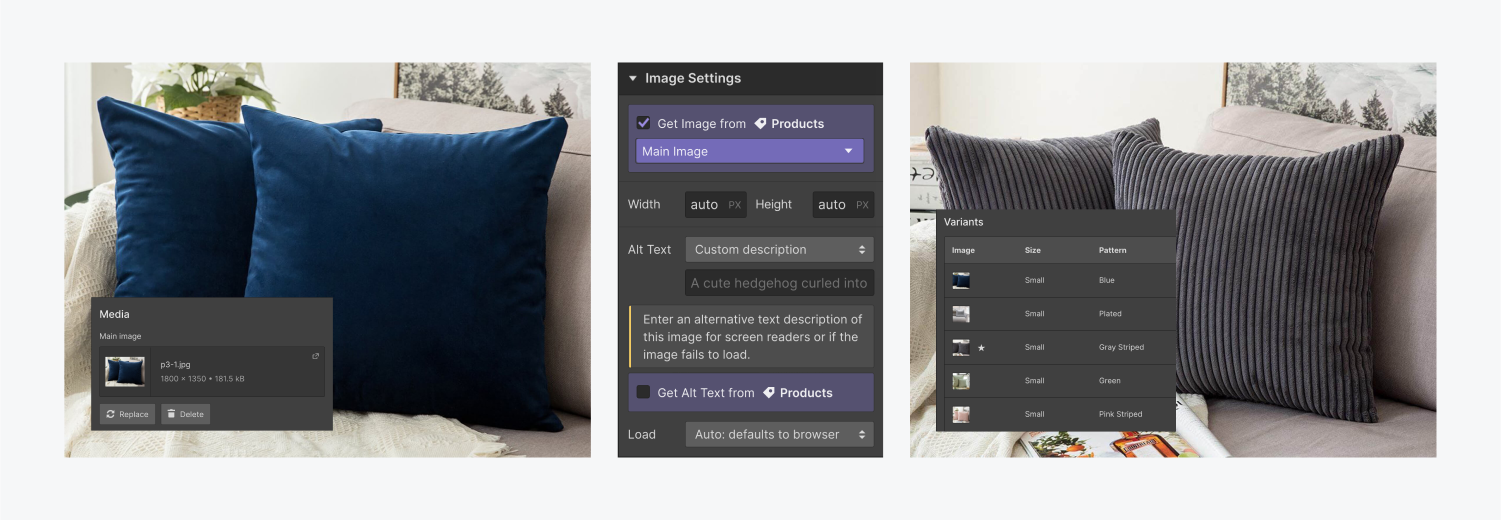
And as soon as you save the product, the next time you access the product details, the main fields for image, more images, quantity, SKU, price, compare-at price, and measurements (width, height, length, weight), won’t be available for the product anymore. The values for the default variant will become the default for this product. Meaning, in any product collection list or on the products page, any element connected to these fields will display the values from the default variant.
Need to know
Deleting all option sets (variants) will restore the default collection fields and their values for that product.
Change the default variant
To set a different variant as the default variant, click the name in the variants inventory list to access the details, then click the button called “Make default.” That's it!
Design with variants
When it comes to designing product Collection lists and the products page, the collection fields you can pull data from are the same for all products, whether they have variants or not. That’s because the default variant and the main product are one and the same. So for products with variants, these fields pull the details from the default variant.
Learn more: Designing Ecommerce collections
Options in the add to cart experience
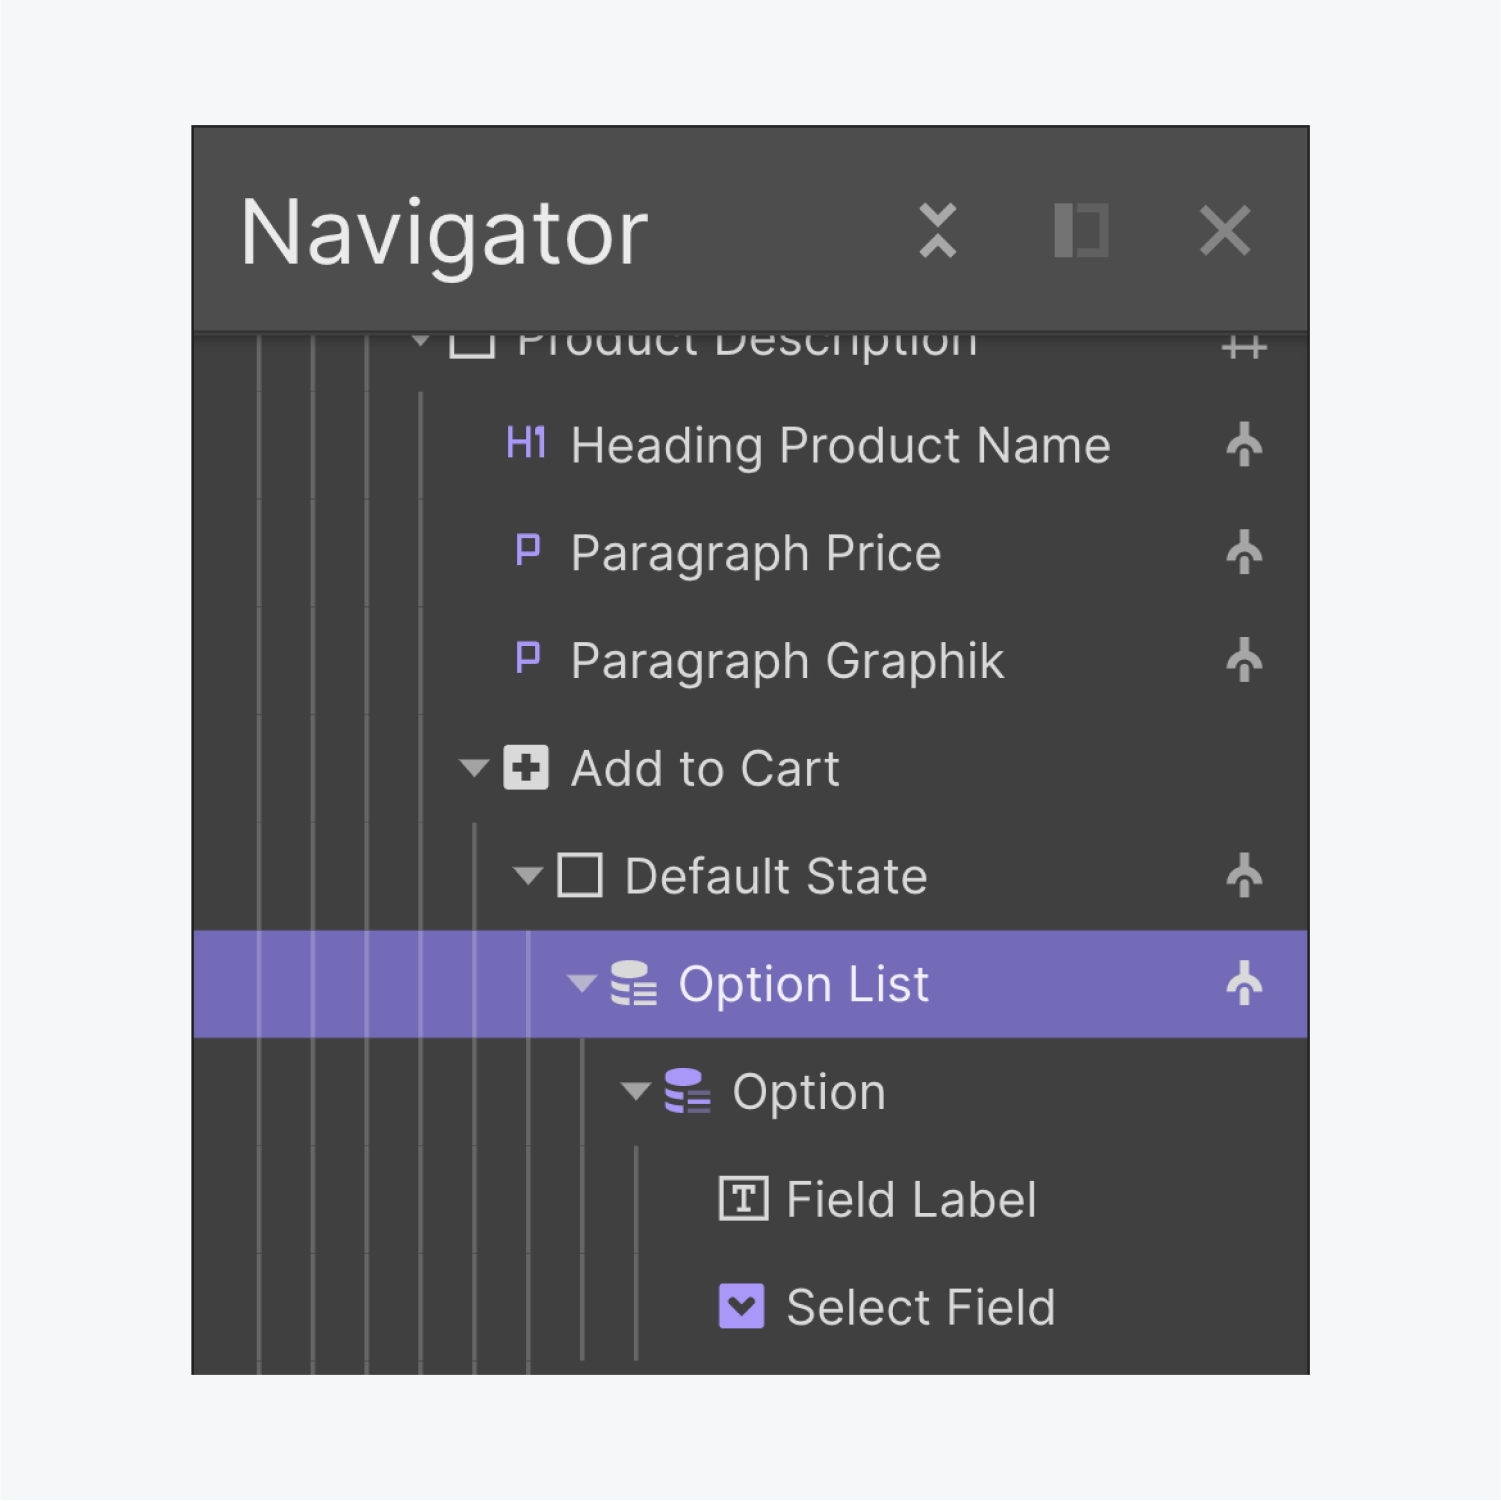
For products with variants, the “add to cart” component will show an extra wrapper called option list. This lets users choose from the different options available for that product before adding the item to their cart.
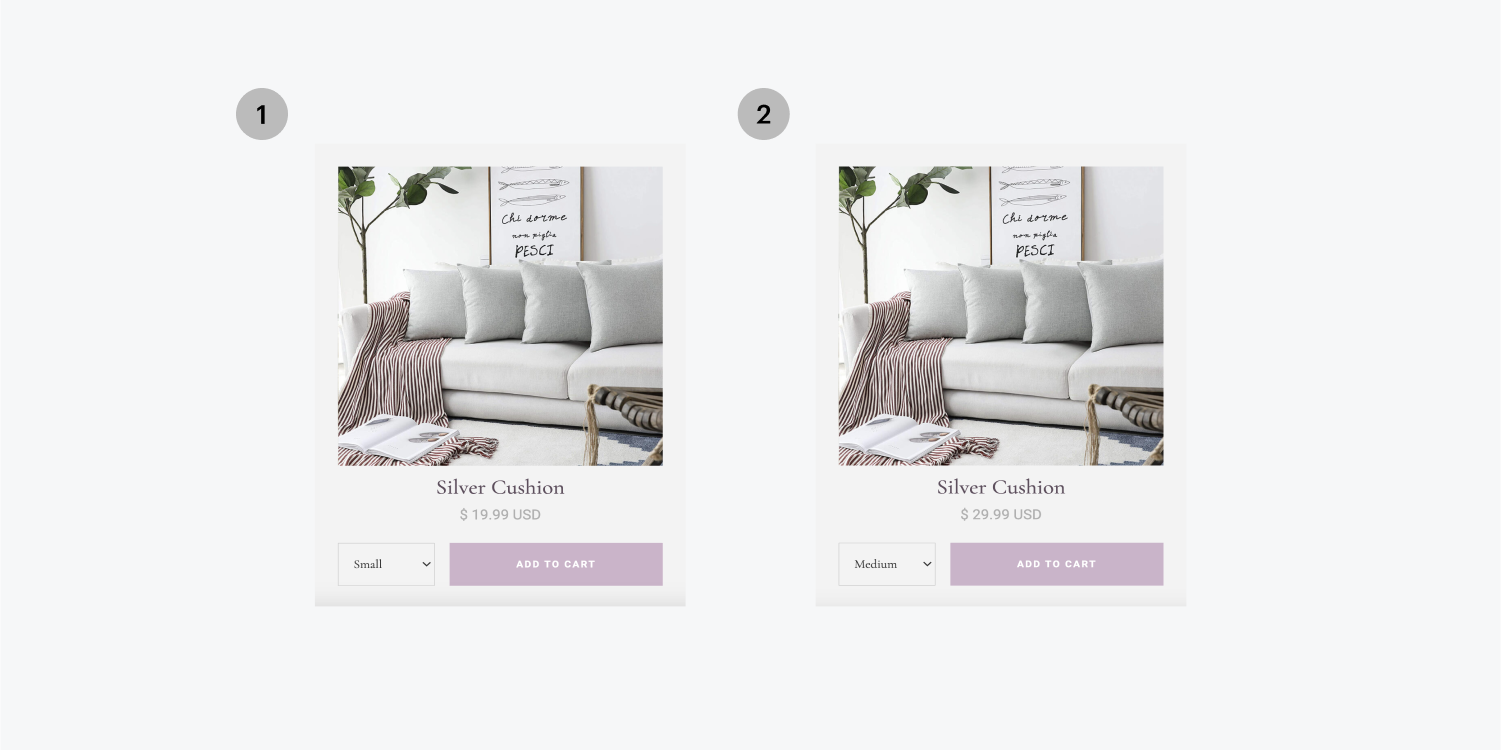
As a shopper chooses between these options, any elements displaying data from the default variant will be updated to show the data of the selected option.
You, as the designer, can replace the default "select" text in the settings for the variant dropdown element.

Options and variants in the checkout experience
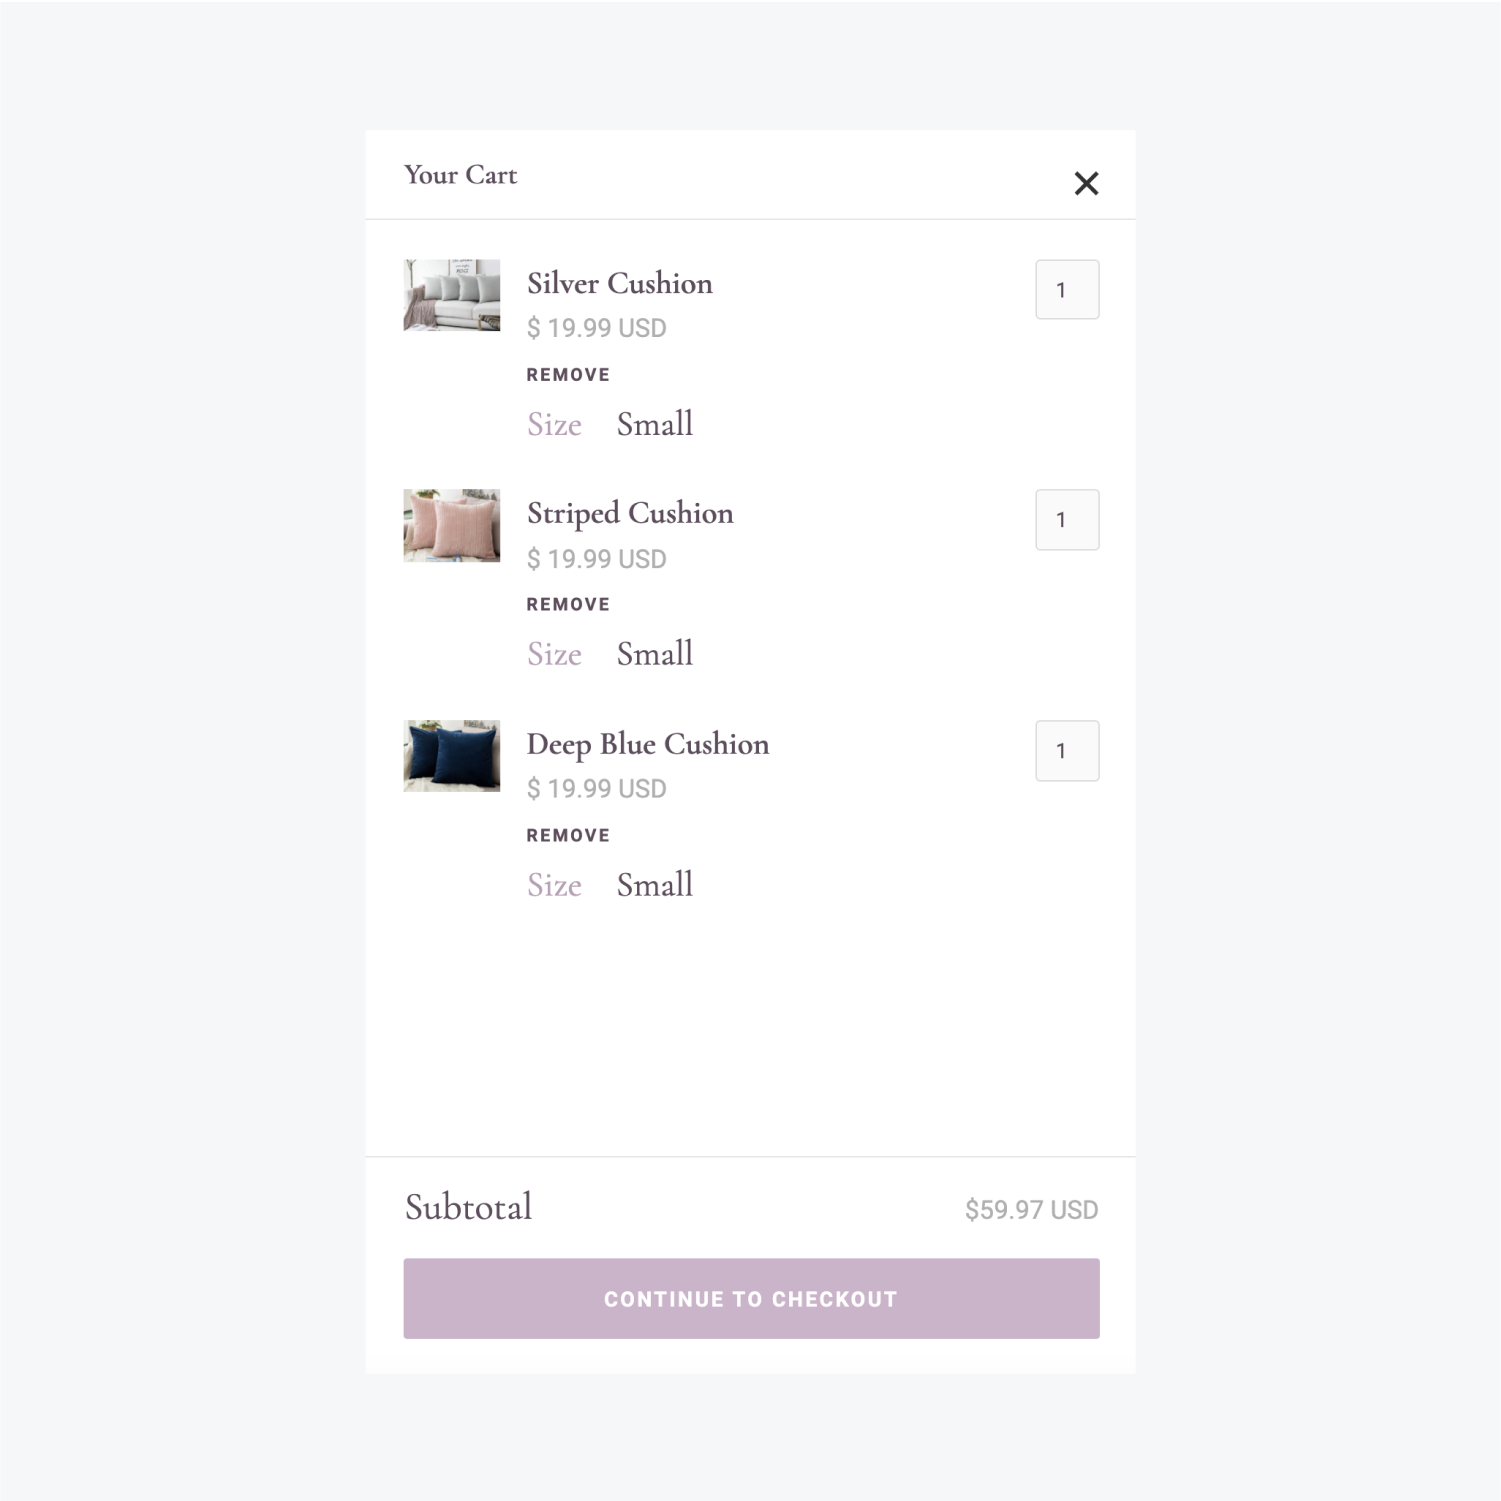
The chosen options appear in an option list in the cart, the checkout page, and the checkout confirmation page.

You can customize this option list similar to how you’d customize and design collection lists.
Learn more: Customizing the add to cart experience


