Filters give you control over visual effects that can apply to an element and its children. These are extremely useful for state changes, like having a grayscale image change to color on hover.
Learn more about filters and other effects.
In this lesson:
- Understanding filters
- Adding filters
- Adjusting states
- Adding transitions
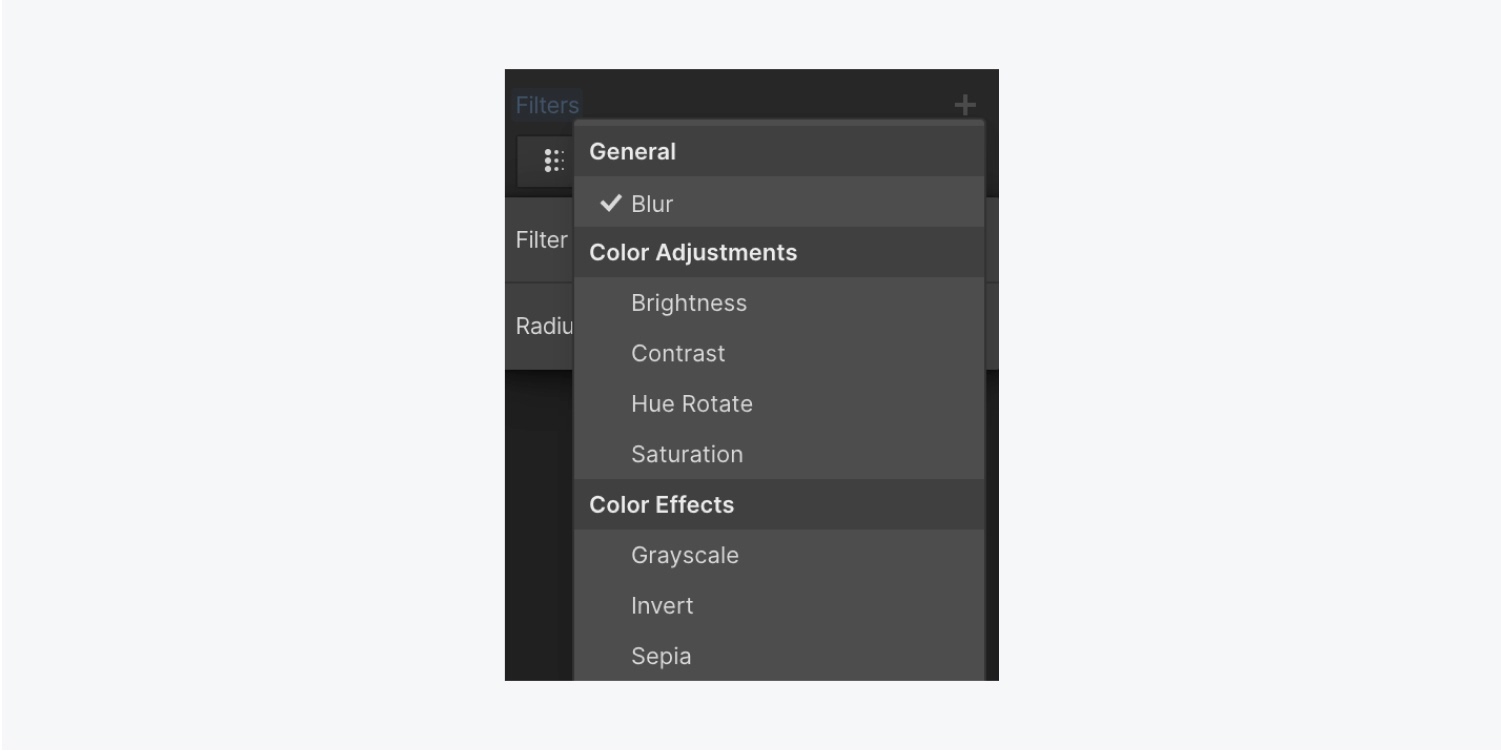
Understanding filters
You can choose from different filter options:
- Blur
- Hue rotate
- Saturation
- Brightness
- Contrast
- Grayscale
- Sepia
- Invert
Adding filters
You can apply a filter just like you can style any class on any element anywhere. You can apply a filter directly on an image — you can also add a filter on an element that has children.
For example, you have 3 Link blocks, all with the same class (e.g., “Price link block”).
To add a Blur filter:
- Go to the Style panel > Effects > Filters
- Click the plus icon for Filters
- Choose Blur from the dropdown
- Adjust the blur radius to control the blur levels for your element and its children
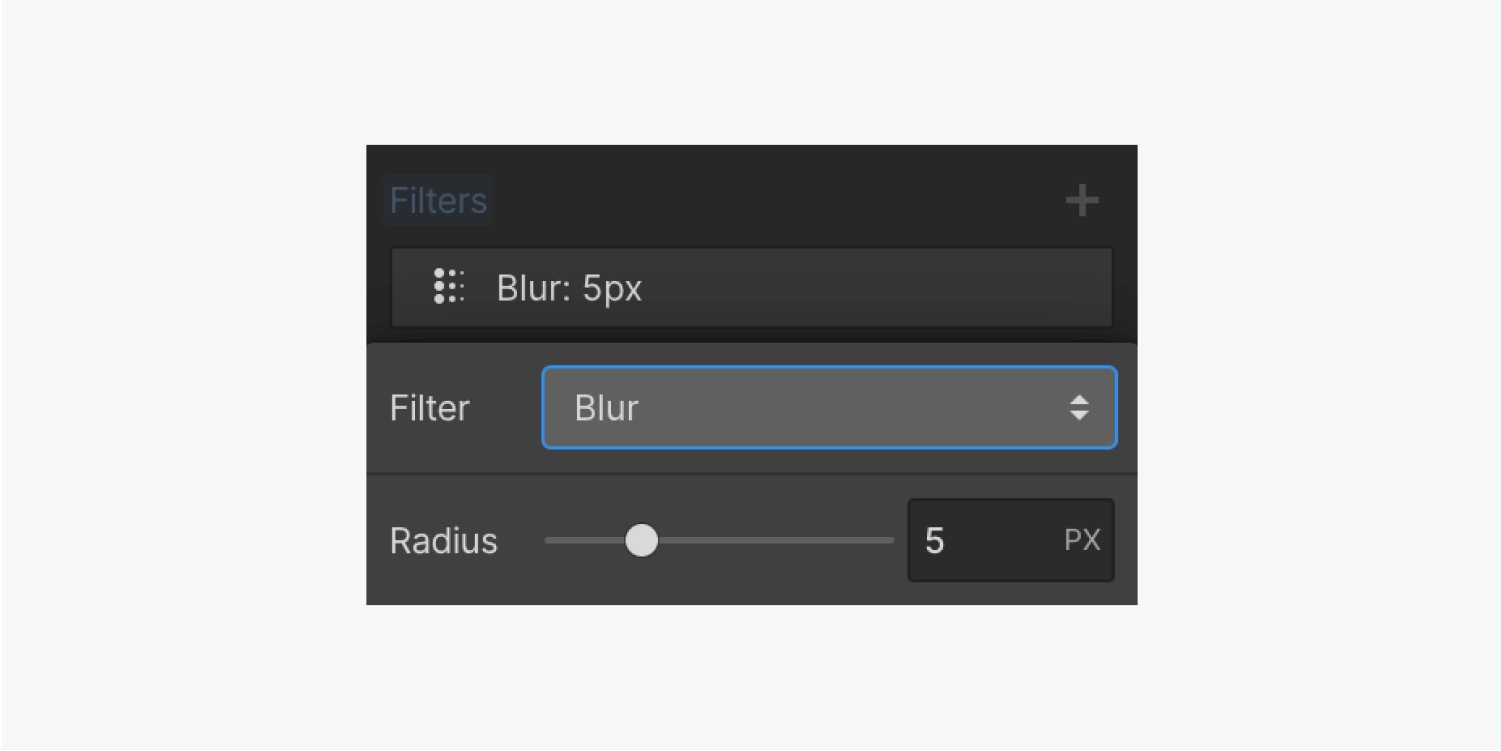
If you return to the Filter dropdown menu and switch from Blur to Grayscale, the Link blocks and their children become grayscale.
To add a brightness filter on top of the grayscale filter:
- Click the plus icon (+) for Filters
- Choose Brightness from the dropdown menu
- Drag the Amount slider to adjust the Brightness level
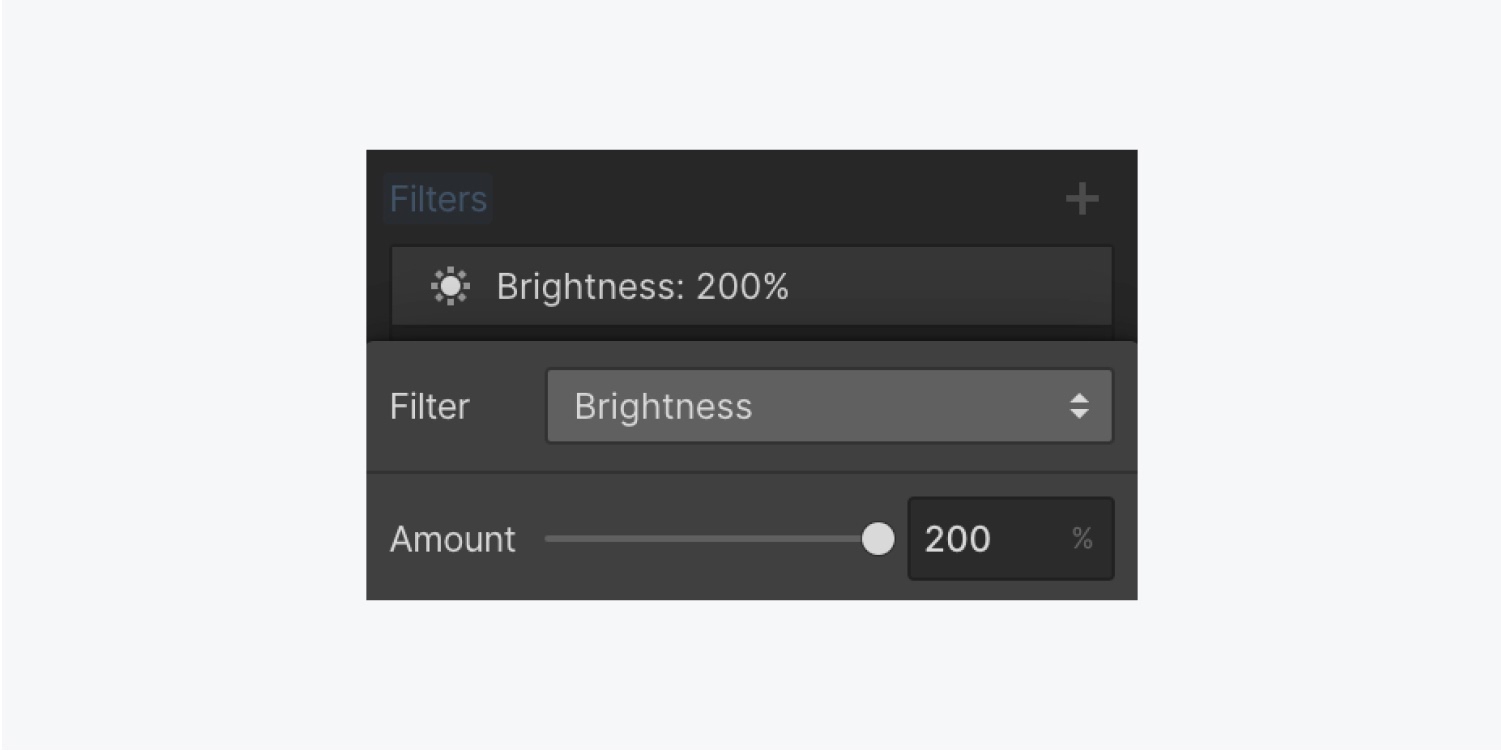
In this example, both filters — Grayscale and Brightness — are set up like layers. You can toggle each filter’s visibility, or drag each of the layers around to change their order.
Adjusting states
To adjust the filter on an element while in a different state:
- Choose the Link block (e.g., “Price link block”)
- Go to the Selector field in the Style panel
- Choose Hover from the dropdown
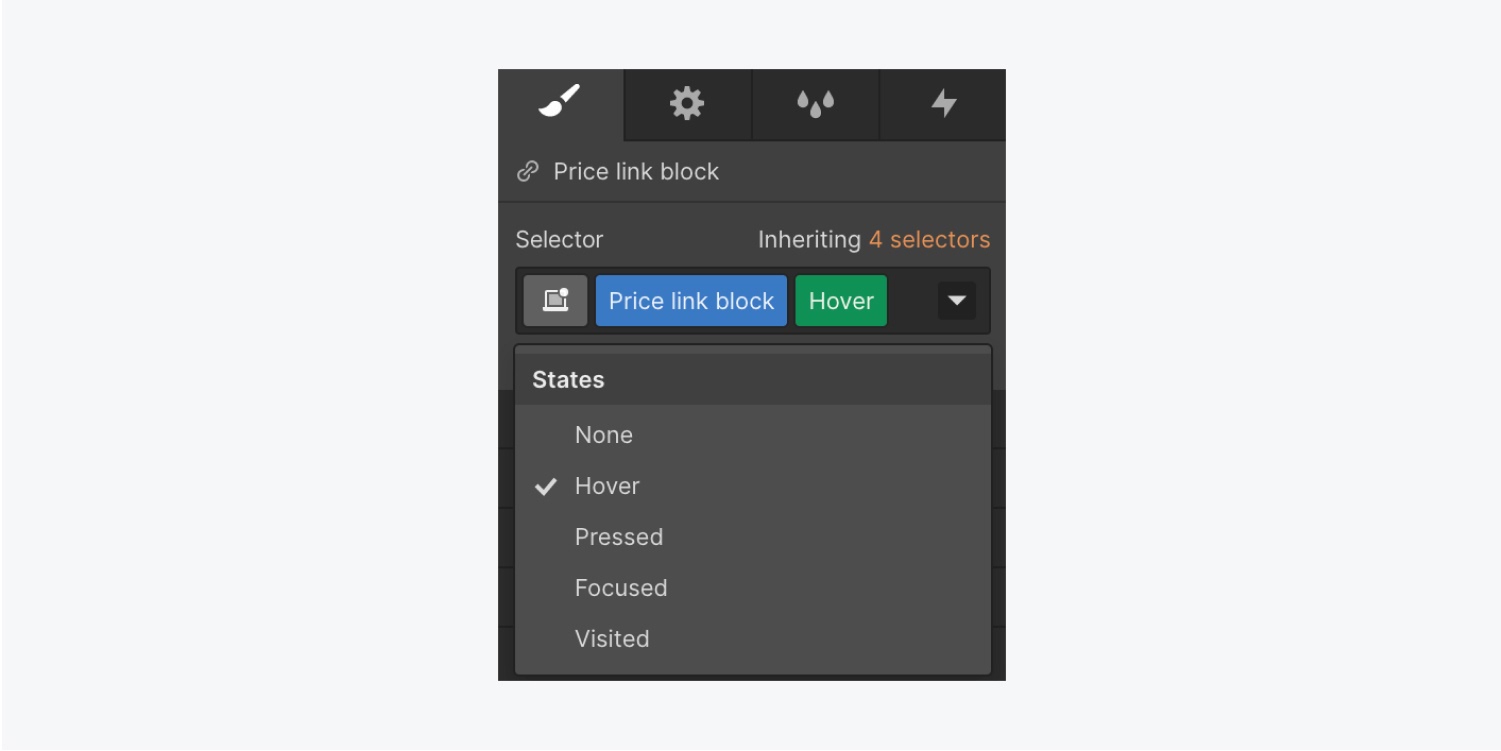
The Hover state inherits properties from the None state (which is what you were styling when you initially set up Grayscale and Brightness filters). As a result, those filters remain exactly the same.
To change filters in the Hover state:
- Go to the Style panel > Effects > Filters
- Click the Grayscale filter you set up previously
- Change the Amount to 0% (which brings the color back to the Link blocks)
- Click into the Brightness filter
- Change the Brightness Amount back to 100%
Hover over the Link blocks to see these updated effects in action.
Adding transitions
Add a transition to smooth the filter effects between None and Hover states:
- Click into the dropdown menu in the Selector field and switch back to None
- Go to the Style panel > Effects > Transitions
- Click the plus icon and add a Transition
- Choose Filter from the Transition Type dropdown
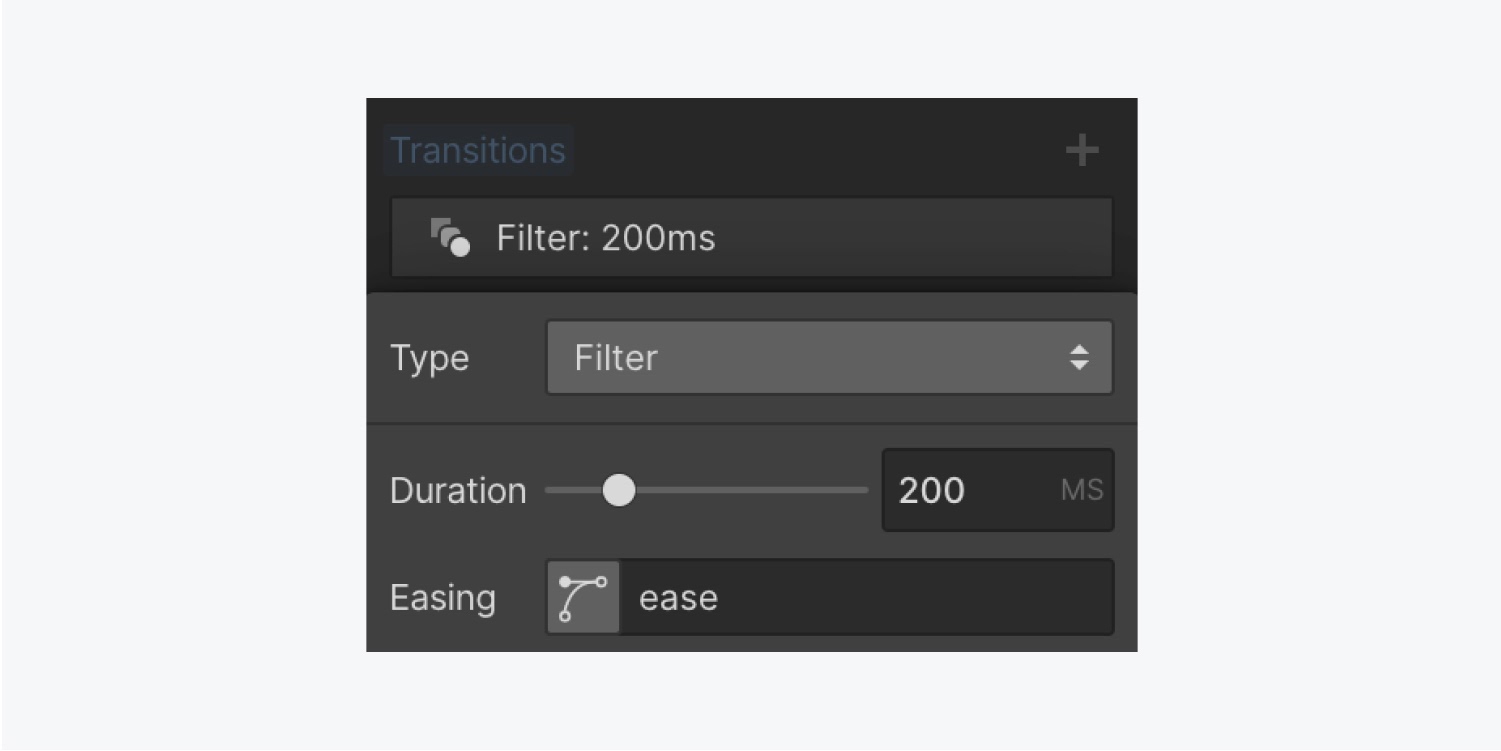
This will apply a transition to any filter(s) you’ve set to change between the None and Hover states.
Play with the duration of the transition, and hover over the Link block to see the transition duration in action. In this case, the default of 200 milliseconds looks good. Continue adding filters to elements within your project, and give your designs some extra interest and interactivity!
Learn more about styling states and smoothing the animation between states with transitions.


