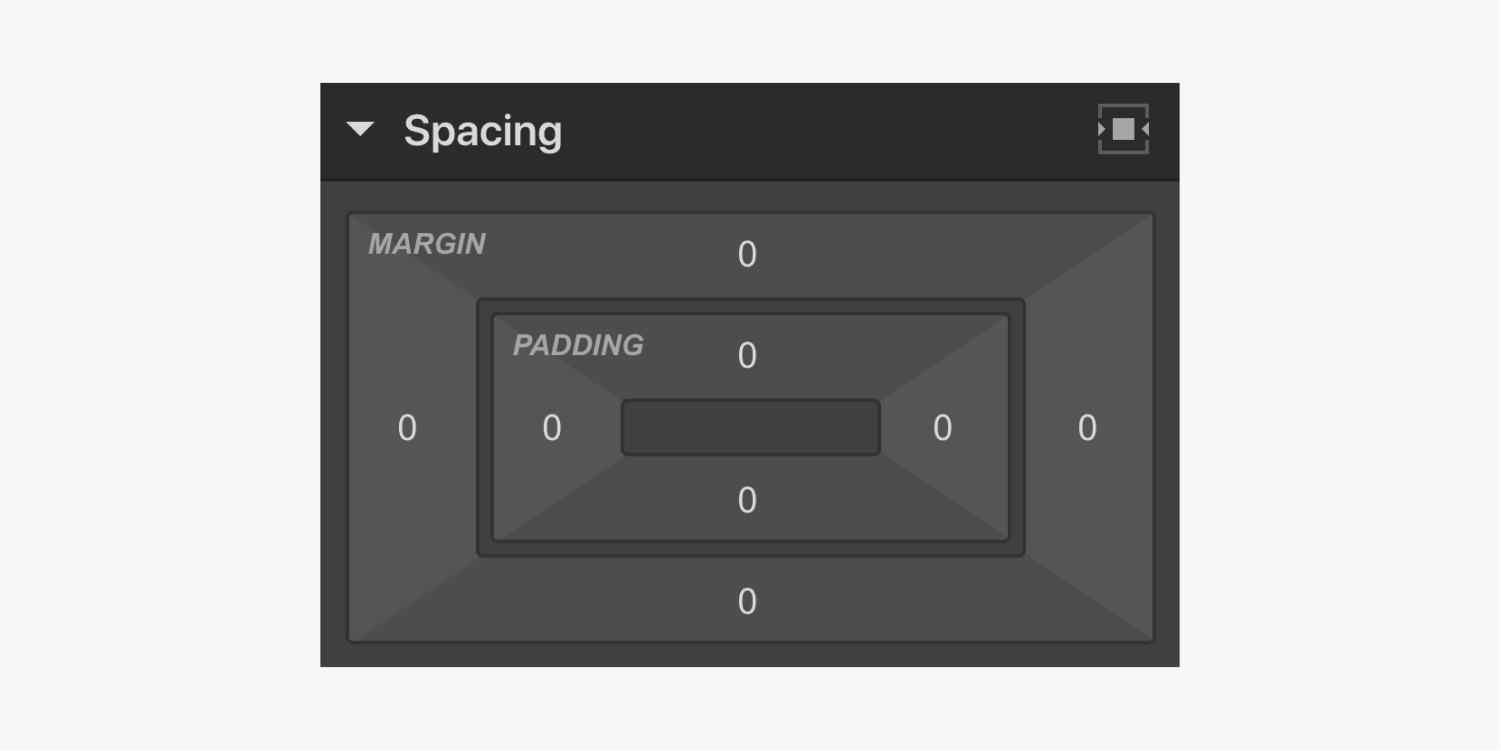
In the Style panel, you can define spacing (margin and padding) for each element.
In this lesson
- Add spacing to an element
- Change spacing units
- Add negative margin
- Add auto margin to center an element horizontally
Add spacing to an element
Spacing is the breathing room outside (margin) or inside (padding) an element’s boundary — you can add spacing to one side, complementary sides, or all four sides at once.
Add spacing on individual sides
To add margin or padding to one side of an element
- Choose the element on the canvas
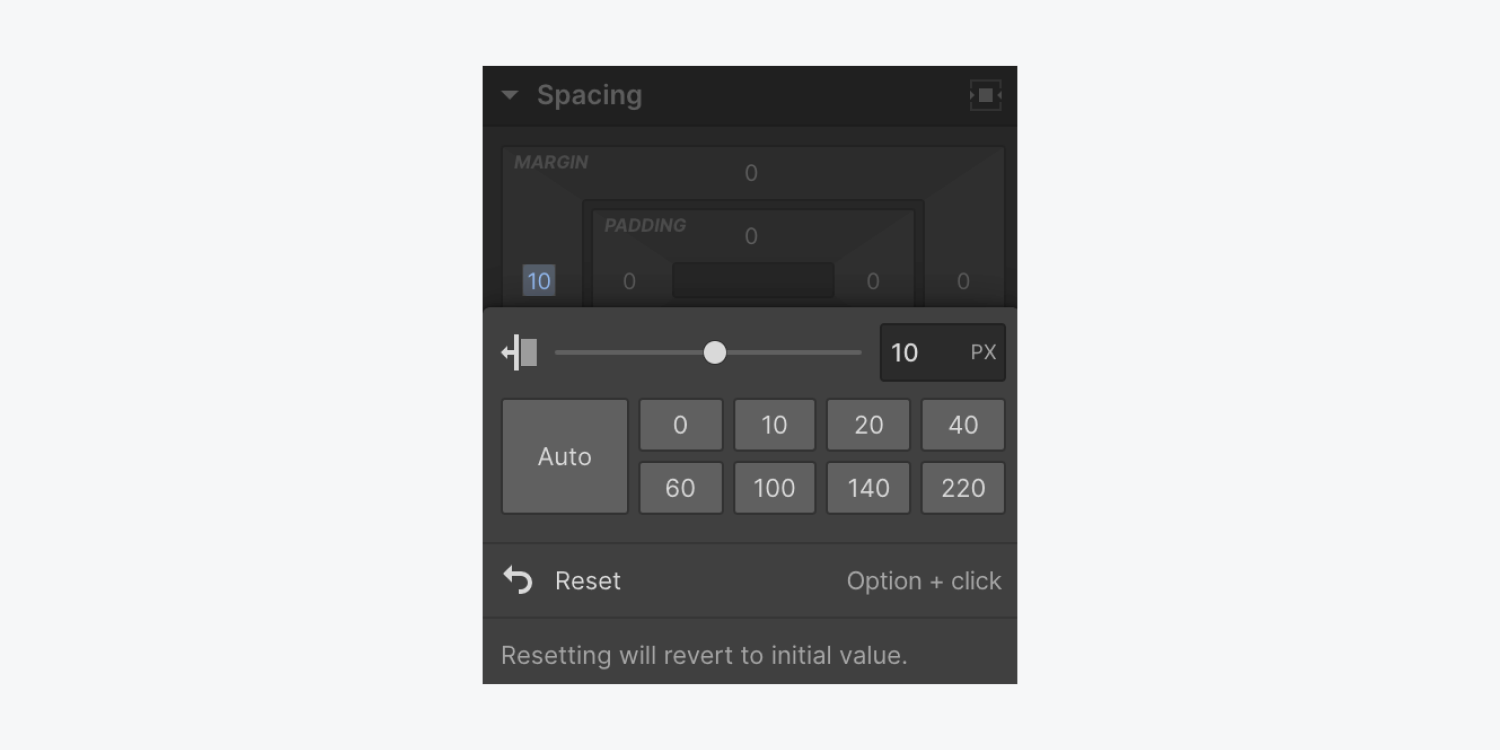
- Click and drag the padding or margin control on the side you want to adjust
You can also choose one of the present numbers or manually adjust padding and margin:
- Click the margin or padding control
- Add the spacing value and unit
Add spacing on complementary sides
To change spacing on complementary sides: h
- Hold Option (on Mac) or Alt (on Windows)
- Drag one of the margin/padding controls
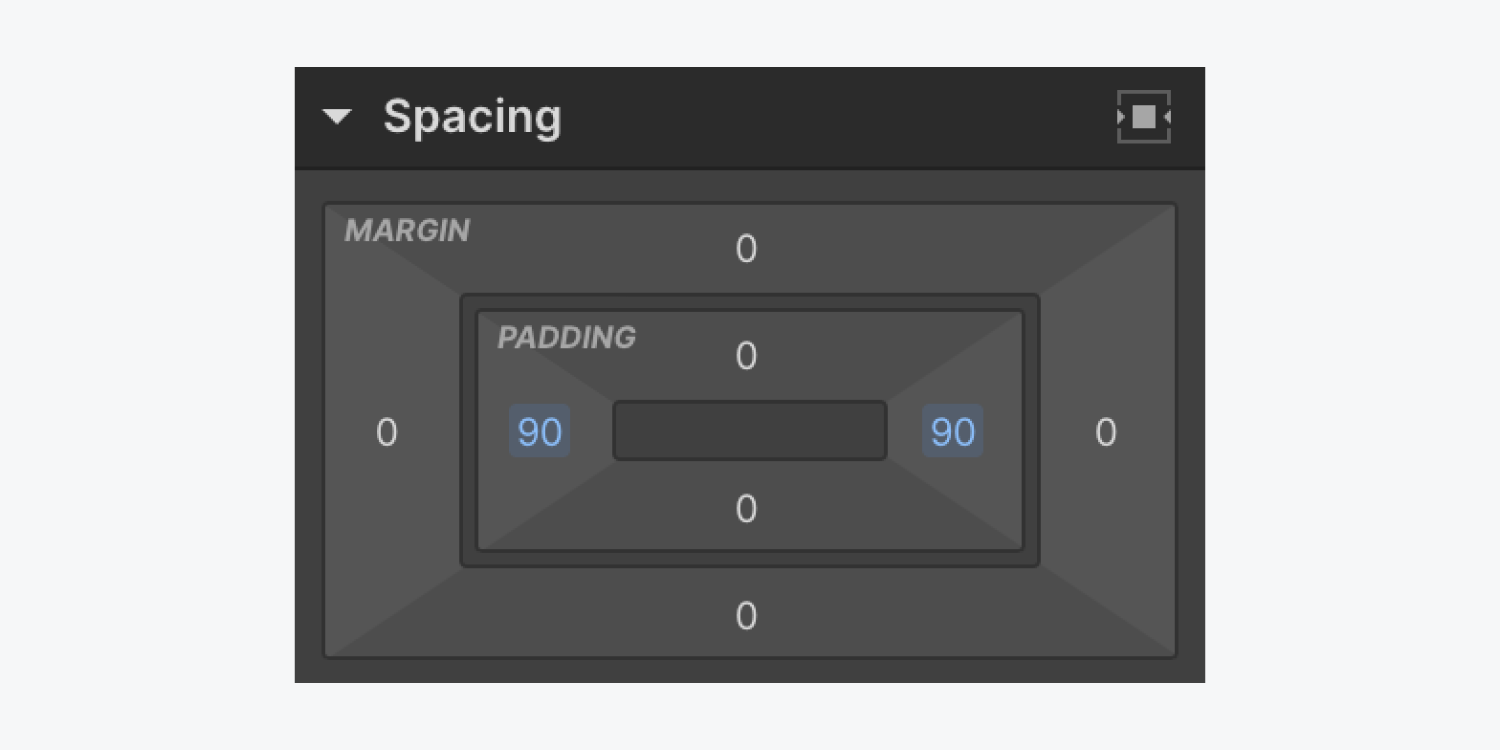
This is useful when you want to add the same value to two opposite sides. You can also click the margin or padding control for one side and choose one of the presets while holding Option (on Mac) or Alt (on Windows).
Add spacing on all sides at once
You can apply the same value to all sides of an element by holding Shift and dragging the padding/margin on one side. You can also click the spacing control for one side and choose a preset while holding Shift.
Change spacing units
The default spacing unit is pixels (px), but you can change it to any of the units listed in the unit’s menu. To access the unit menu, click any spacing control and choose the unit to the right of the spacing input field (e.g., PX, %, EM, VW, or VH).
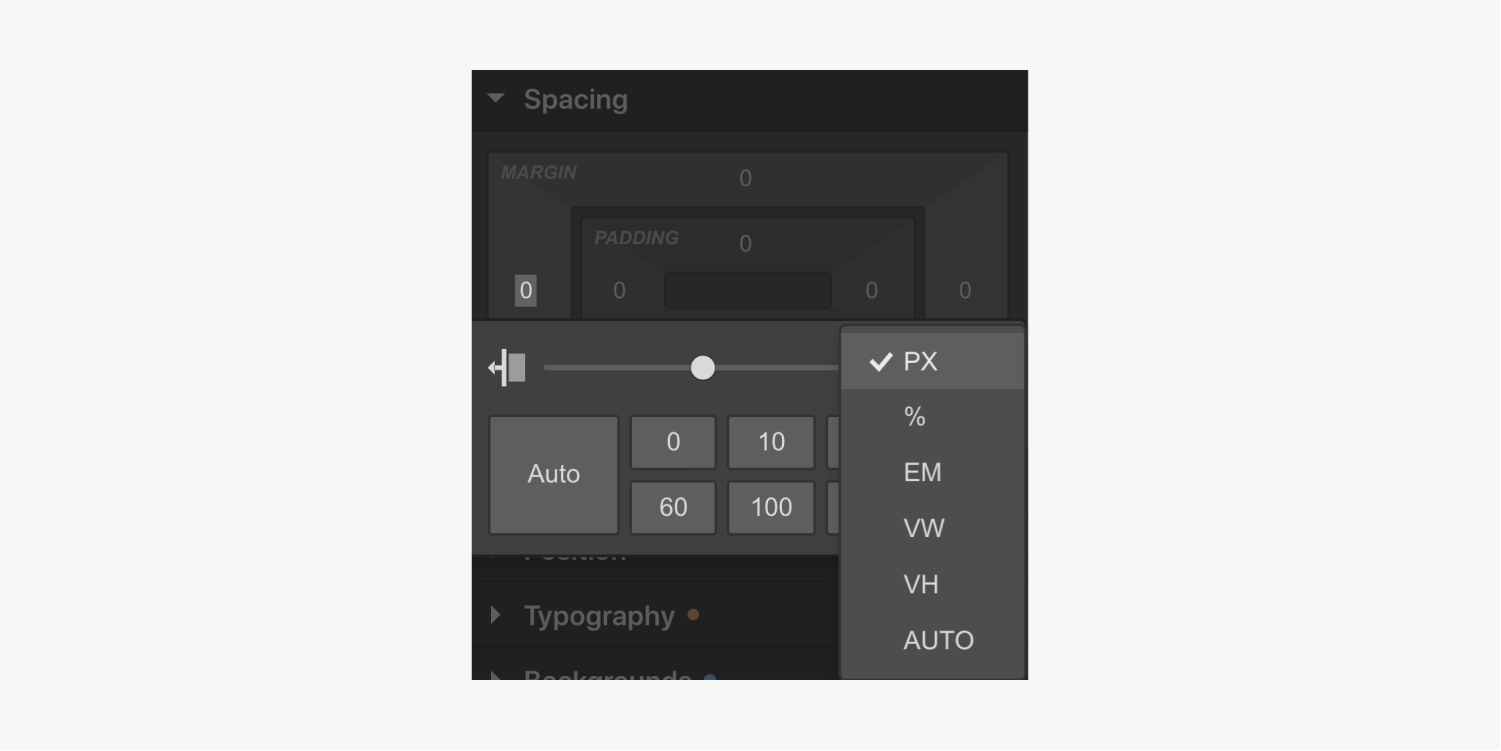
You can also manually enter the value and unit in the input field. If you want to apply the same unit on all sides, hold Shift and drag the control you want to change.
Learn more about input values and units.
Resetting spacing values
Clear spacing value on any side by clicking the blue value on the control while holding Option (on Mac) or Alt (on Windows).
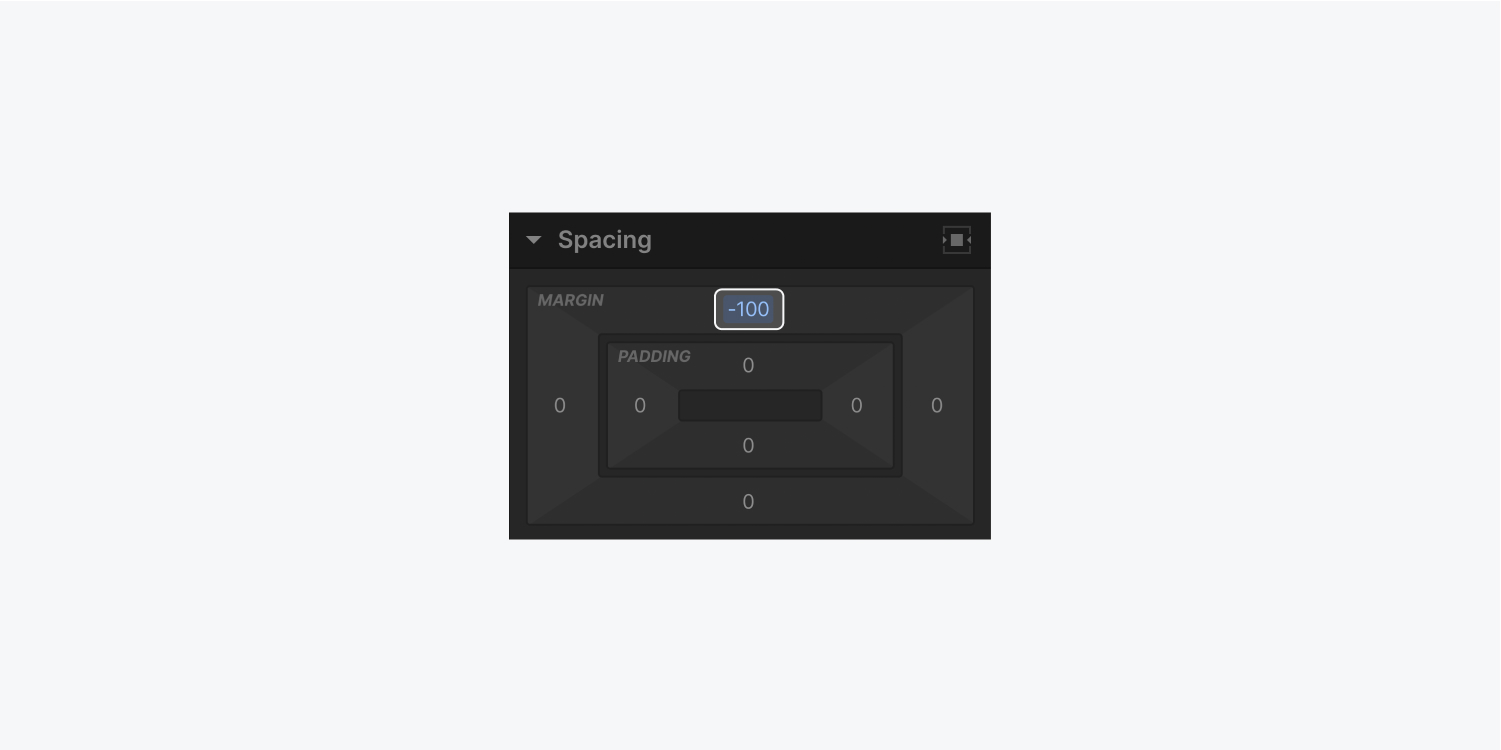
Add negative margin
Adding negative margin to an element pushes it outside its natural position on the page. Use a negative value (e.g., -100) to overlap elements.
Add auto margin to center an element horizontally
The auto unit for margins is a powerful layout technique for pushing flex items to specific sides. For example, if buttons have a parent element using Flex, you can use auto margins to align those buttons to the same side of the parent element.
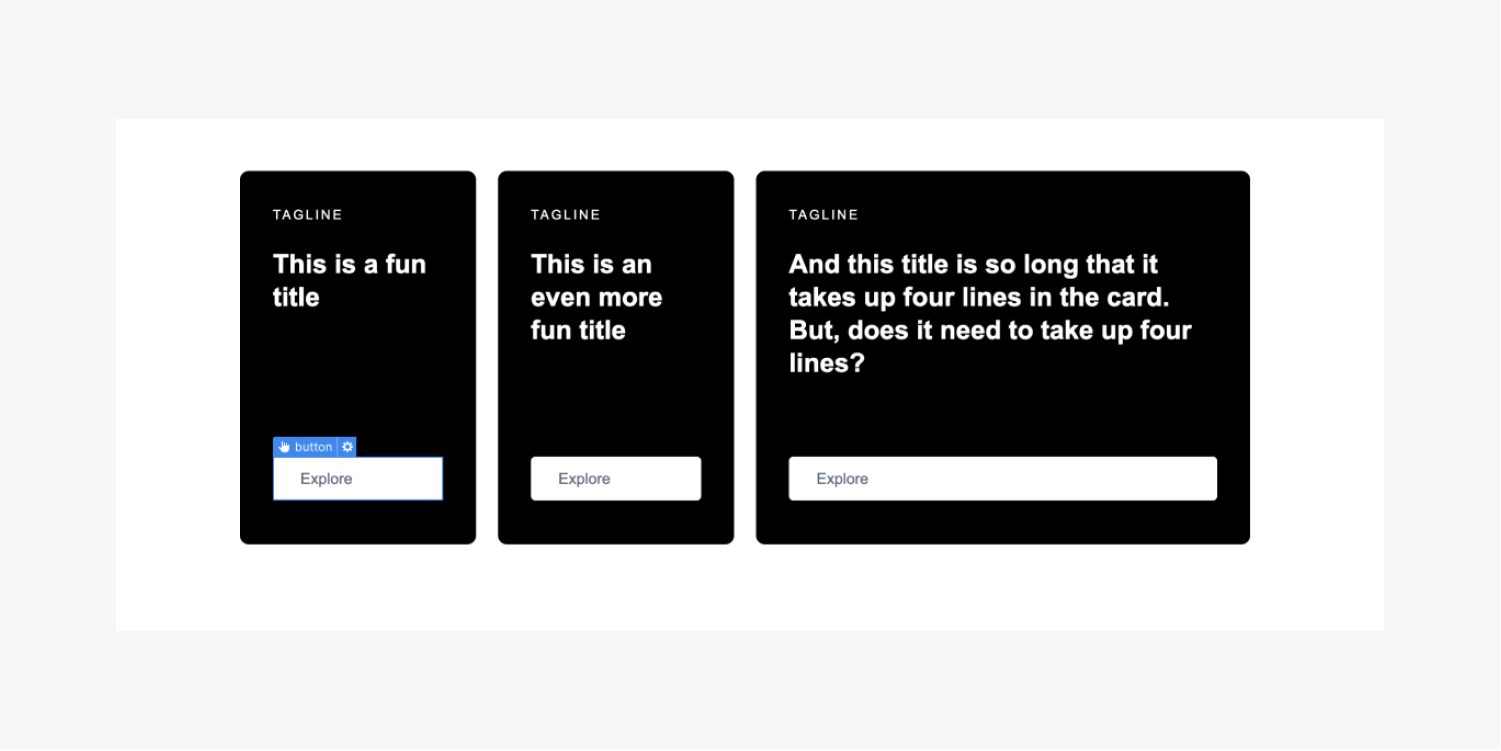
Learn more about the auto margin trick with flex.

Center an element horizontally using the center element button in the Style panel.
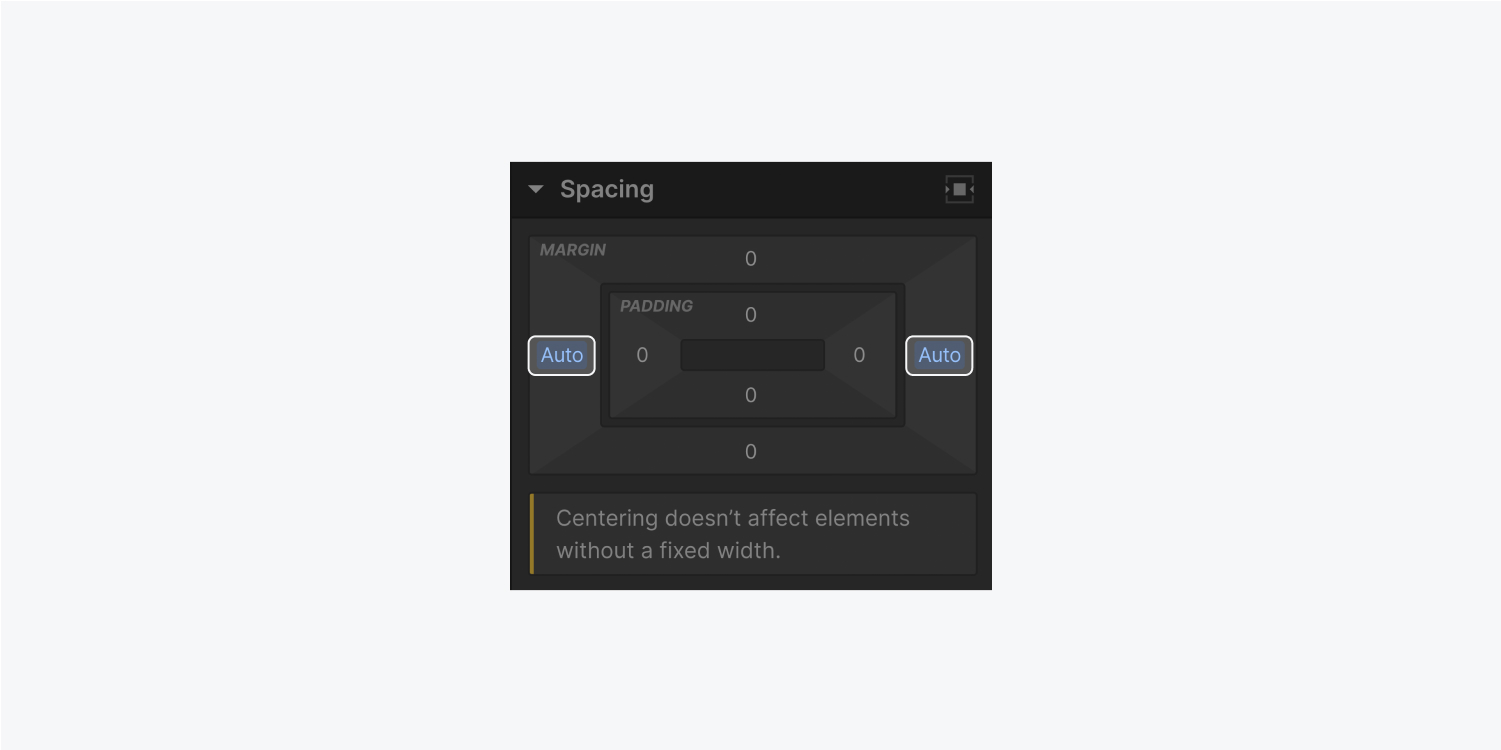
Selecting the center element button will set the element’s right and left margin to auto, leaving the display property unchanged. The margin will automatically fill available space.
Inline (inline-block) styled elements cannot be centered with the center element button (auto margin) because there’s no available horizontal space in an inline setting.
Margins between adjacent elements
In some situations, margins of adjacent elements combine to form a single margin. This is known as collapsing margins and can be confusing since it can be overwritten in some situations and not others. Margins of adjacent grid children don’t collapse.
Learn more about collapsing margins.
One known issue is when footer content is invisible in the Designer and can’t be accessed. This often happens with a navbar that’s absolutely positioned and content is pushed out of the body element at the bottom of the page.
To avoid this issue, don’t add a top margin to the first element on your page if it doesn't have a fixed position. Instead, add top padding to the body element.


