Our Free Starter Plan allows you to have unlimited Webflow-hosted sites without paying to use Webflow. With Client Billing, freelancers and agencies building websites for clients can bill clients directly and use Webflow for free.
You can also charge additional fees to cover site maintenance or other costs you might have. We'll send you your tax info to make filing taxes a breeze.
This entire process is automated. Your client is billed monthly or annually, and they automatically receive a receipt for the amount they were charged. We also send dunning emails so your clients can keep their credit cards up to date.
Note: If you'd like to hand everything over to your client, check out our lesson on transferring a project.
In this lesson:
We'll walk through the process of setting up a Client Billing account and adding clients to individual projects. We'll show you how to manage accounts (yours and your clients), and respond to some common questions.
- Set up your Client Billing account
- Set up Client Billing for each hosted project
- See Client Billing invoices and review your earnings
- Cancel Client Billing for a project
- Receive your earnings
- Delete your Client Billing account
Set up your Client Billing account
You can start billing clients for each of your projects after you’ve created your Client Billing account.
See if your country supports Client Billing
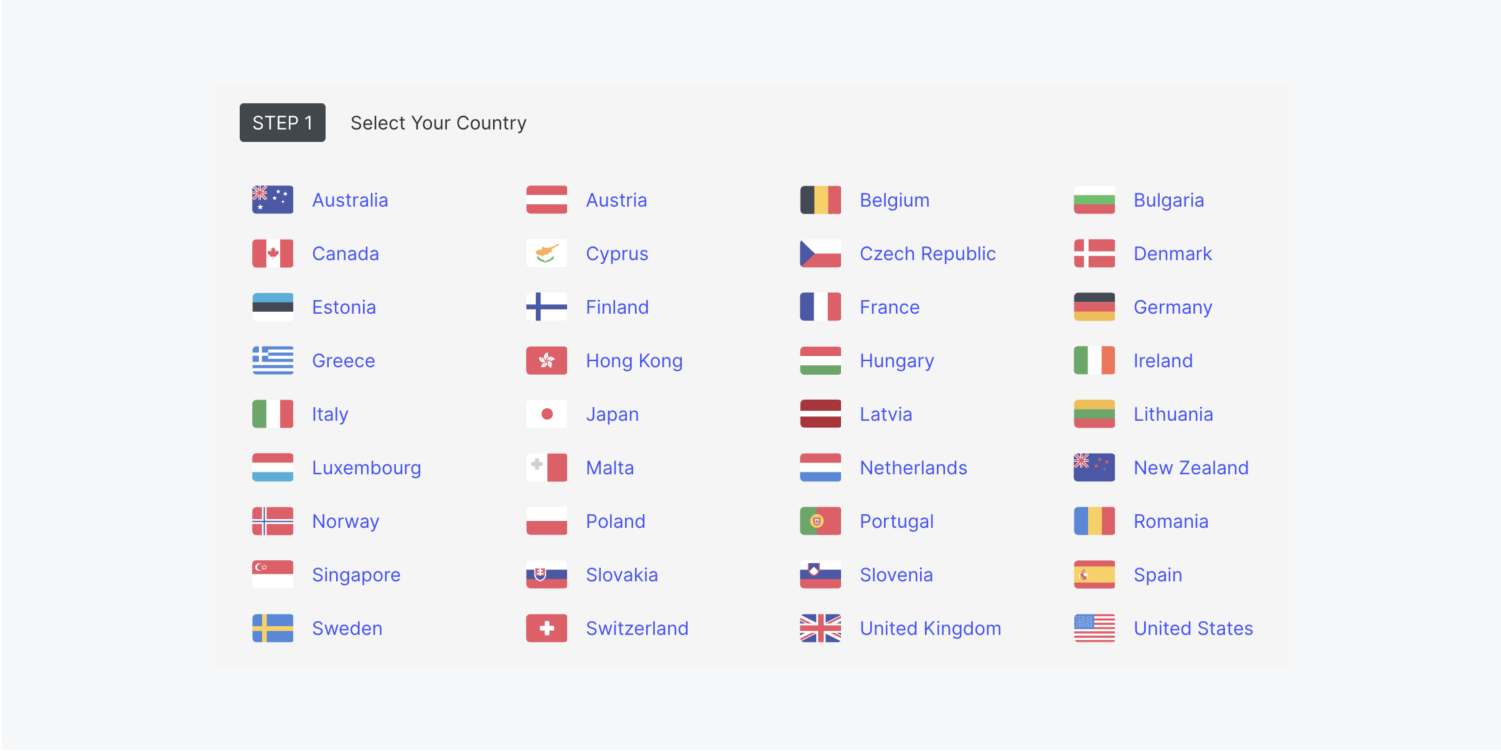
To create a Client Billing account, you need to have a bank account in one of the supported countries:
- Australia
- Austria
- Belgium
- Bulgaria
- Canada
- Cyprus
- Czech Republic
- Denmark
- Estonia
- Finland
- France
- Germany
- Greece
- Hong Kong
- Hungary
- Ireland
- Italy
- Japan
- Latvia
- Lithuania
- Luxembourg
- Malta
- Netherlands
- New Zealand
- Norway
- Poland
- Portugal
- Romania
- Signapore
- Slovakia
- Slovenia
- Spain
- Sweden
- Switzerland
- United Kingdom
- United States
We set up a connection with your bank so we can deposit your earnings. Only banks in a limited number of countries let us do that.
If your country doesn't appear on the in the Client Billing setup page, you can check out Stripe Atlas [↗] as it lets anyone create an internet business anywhere. They do this by allowing you to incorporate a U.S. company and quickly set up a U.S. bank account.
Create your Client Billing account
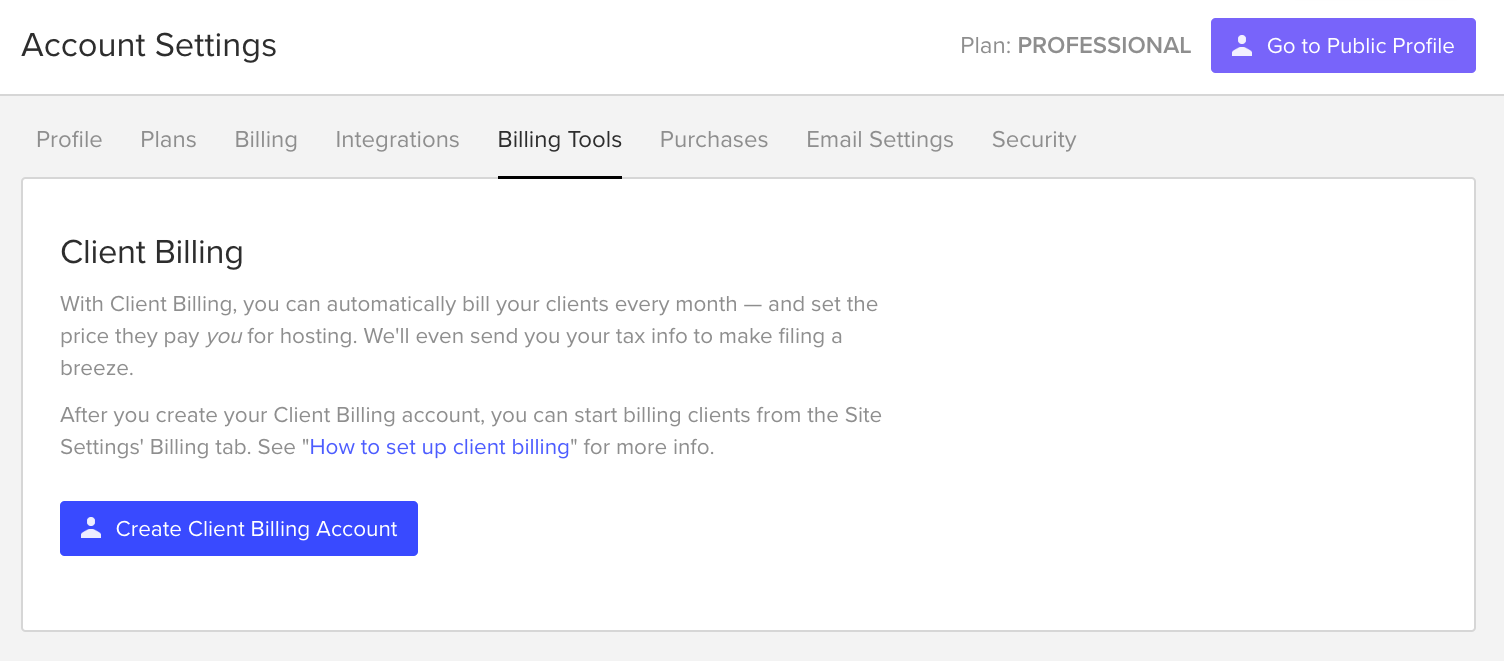
You can create a Client Billing account for an individual account in your Account settings > Billing tools and create a Client Billing account.
You can do the same for each of your team accounts from each team’s “Billing tools” page (Account > Teams > [Team name] > Billing tools).
Set up your Client Billing with the information requested. Make sure to fill this out as you (freelancer, agency, etc.), not as your client.
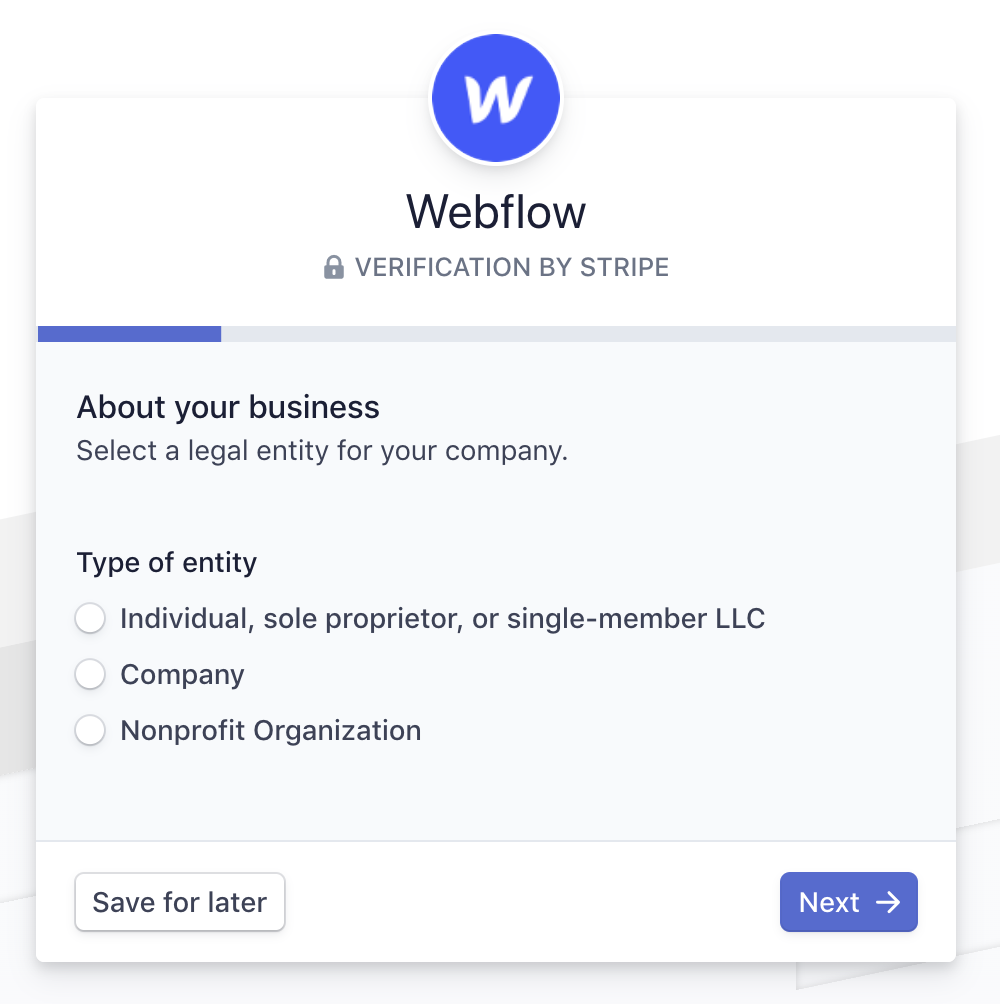
Important: !Make sure your country, business name, and personal details are correct before setting up your Client Billing account. You won't be able to change this information once your account is verified.
Edit your Client Billing account settings
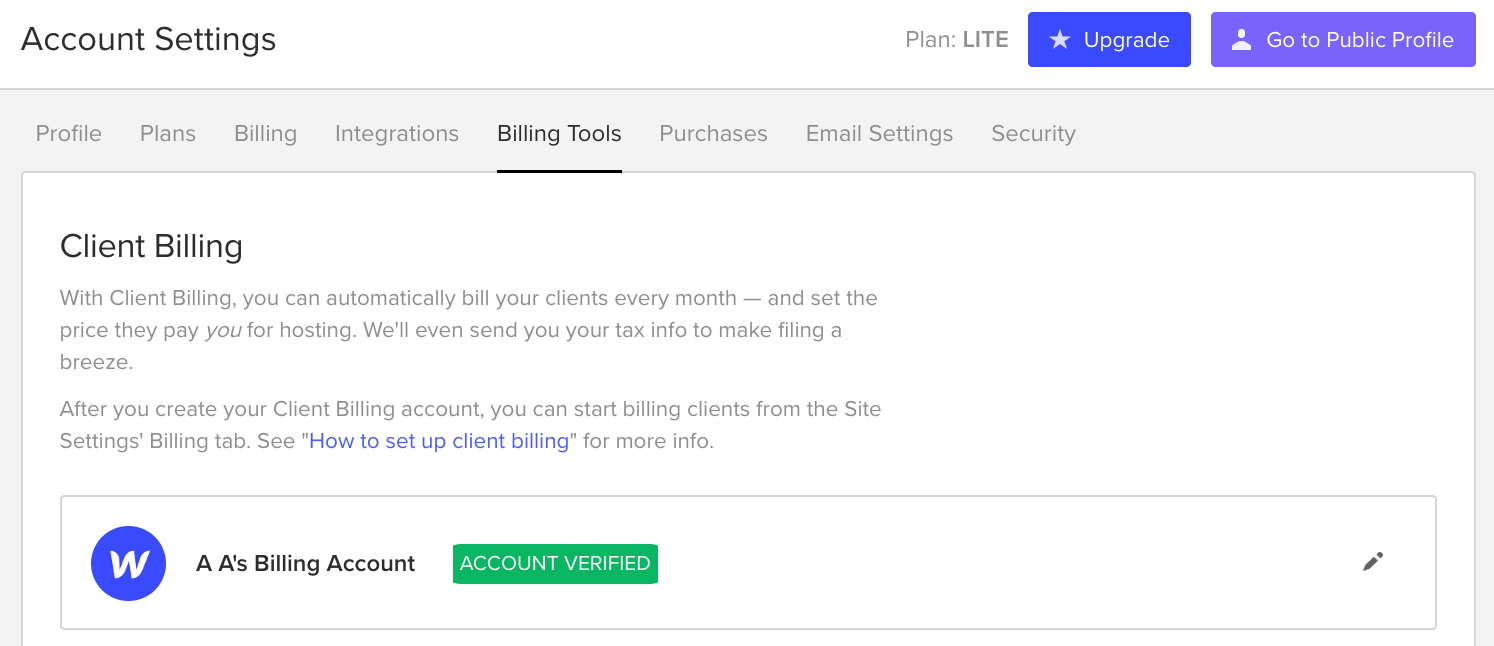
Once you've created your Client Billing account, you can manage the account settings from the Account settings > Billing tools. Click the pencil icon next to the Client Billing account to edit some of your Client Billing account settings. Fields related to your identity may not be editable once your information is already validated.
Make sure to save your changes. Your Client Billing account's status will change to "pending verification." Verification usually takes 2 to 3 days, but you can add clients via their sites' Billing tabs.
Set up Client Billing for each hosted project
After you set up your Client Billing account, you can now set up Client Billing on any of your Webflow sites from Project settings > Billing > Client Billing.
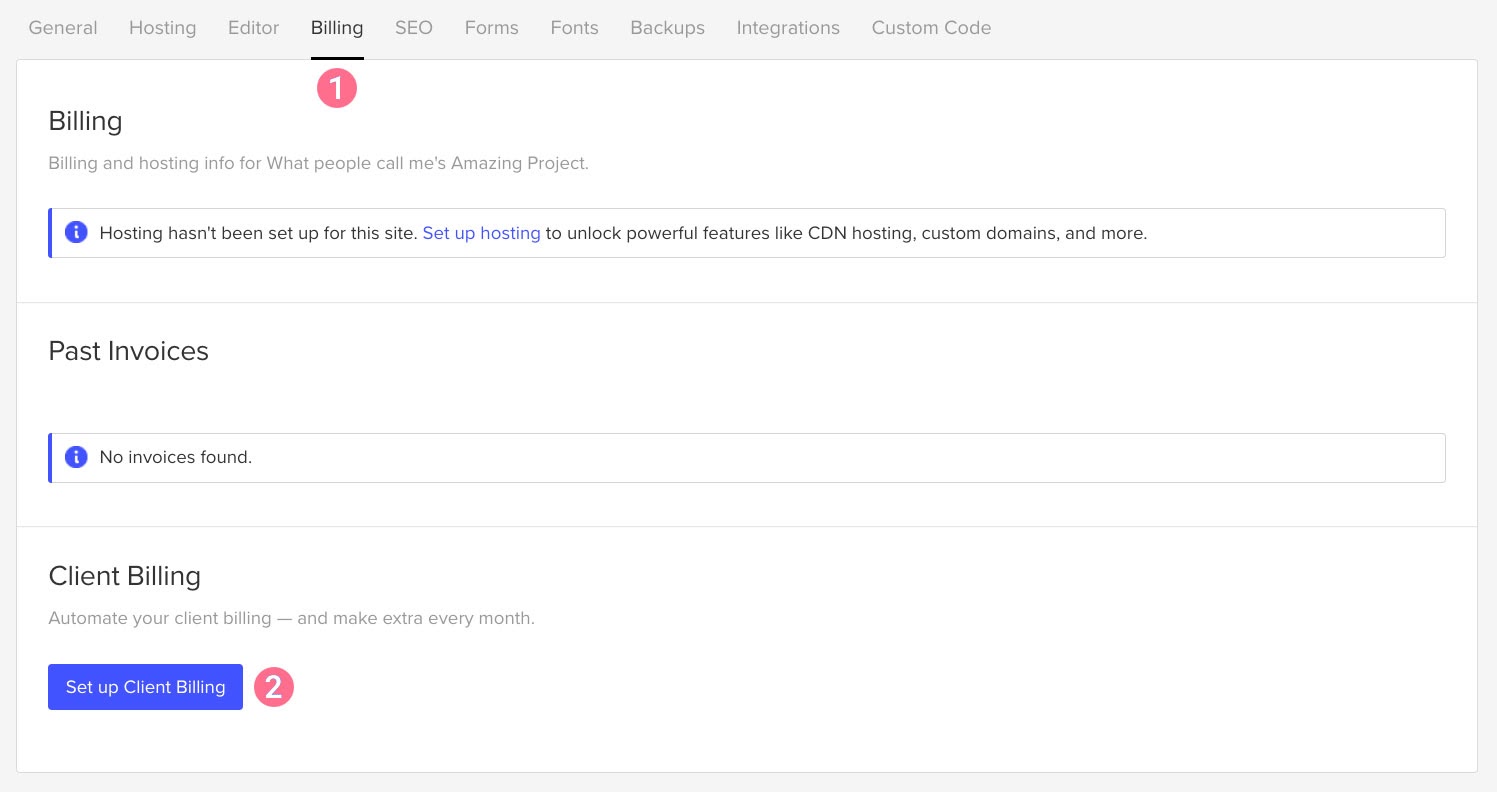
Follow the instructions to create a client. Here, you can also specify invoice customization details and set how much you want to earn.
IMPORTANT!
Make sure the client email address you set here is active and accurate. This ensures that your client receives essential emails such as critical payment authorization requests when client-action may be required to complete payment.
Customize Client Billing invoices
By default, Client Billing invoices are sent to the client using your company information. You can toggle those off if you prefer to not send invoices directly to the client, or if you want to set Webflow as the invoicing company.
- Email invoices to clients (on by default) — turn this off to stop sending invoices to clients
- Use your company name and email address in invoices (on by default) — turn this off to replace your company information with Webflow's
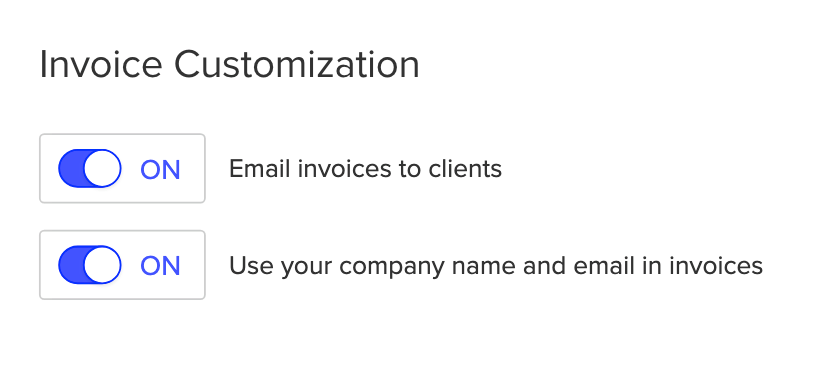
Turning custom branding off will remove your company information from old invoices as well. This way, you can re-download and resend past invoices to your customers.
Set the charge details
Enter how much you'd like to profit from this project's site plan, plus other information such as tax percentage. Services and credit card statement descriptions are required. You're limited to 22 characters in the credit card statement field because credit card companies only allow 26, some only 22, characters for this field.
Send the payment link to your client
Once you've added all your client's information, you can send them the non-branded payment link to a page where they'll add their payment info.
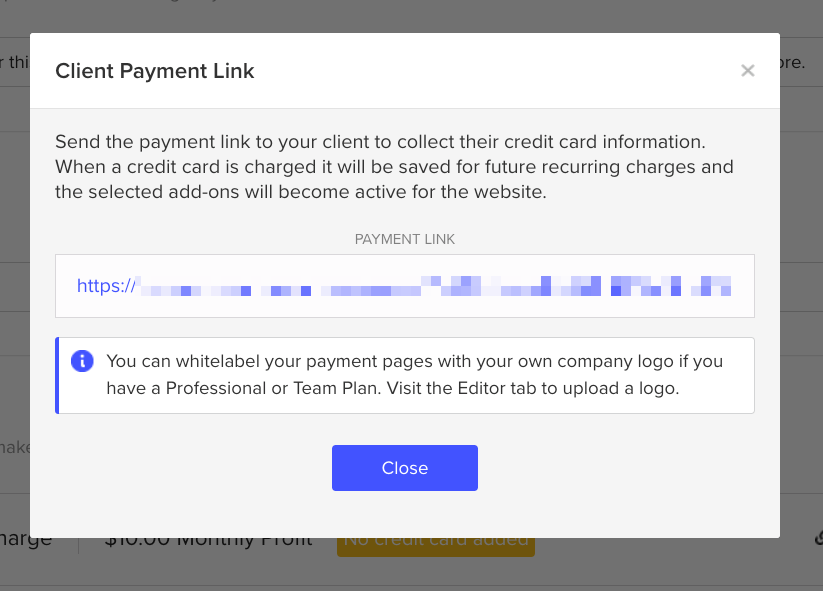
Send this link to your client to have them enter their payment information.
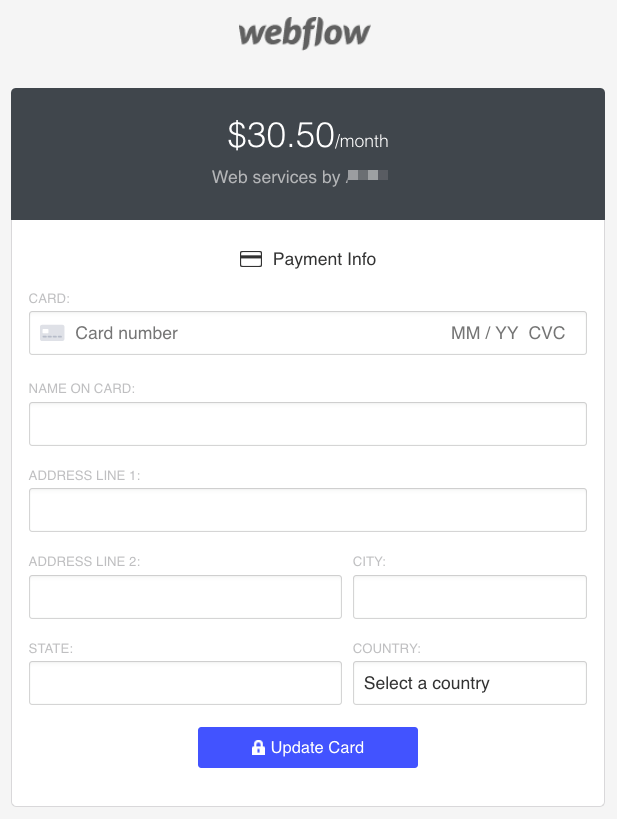
The client will see this modal when they visit the payment link you sent them. All fields are required.
After your client adds their payment info, all new hosting charges will be billed directly to their credit card. If you’re transferring an active hosting over to Client Billing, the first charge will take place at the end of your site’s billing cycle (within 30 days).
Edit the Client Billing settings of a project
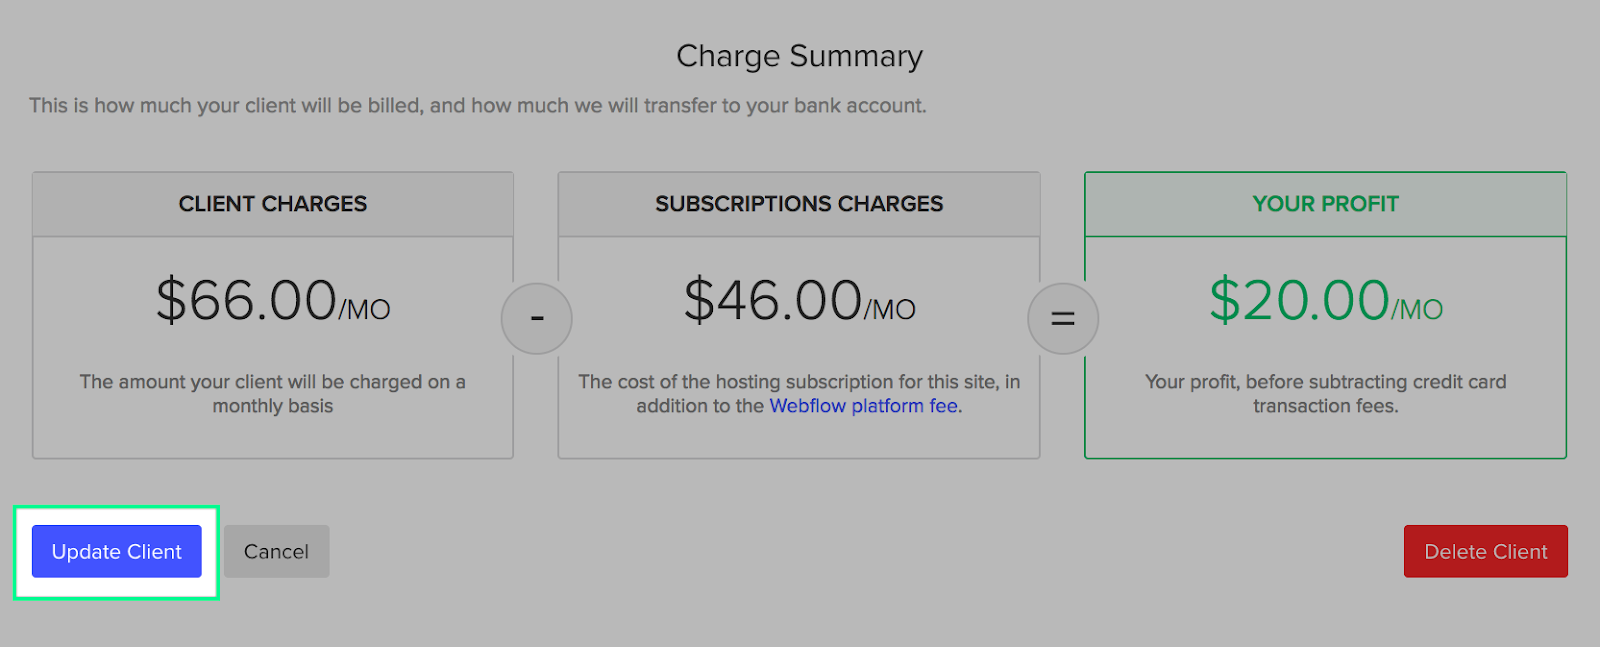
If you want to update the monthly or annual profit, your client's email address, or customize invoices, you can always go back to the Client Billing settings of a project (Project settings > Billing > Client Billing), click edit, and update the fields you want to change. Then update the client to save your changes.

Then, update your client's details to save your changes.
Whitelabel the Client Billing form
You can white-label Client Billing payment forms if you have a Pro or a Team account. To replace the Webflow logo on the payments page with your own logo, you can upload one in Project settings > CMS > Editor branding.
See Client Billing invoices and review your earnings
After you set up a customer, and they add their payment info, you’ll see a list of invoices you can pass along to the client.

To see all the customers you’re managing with Client Billing, and review your earnings, head to Account > Billing tools.
Cancel Client Billing for a project
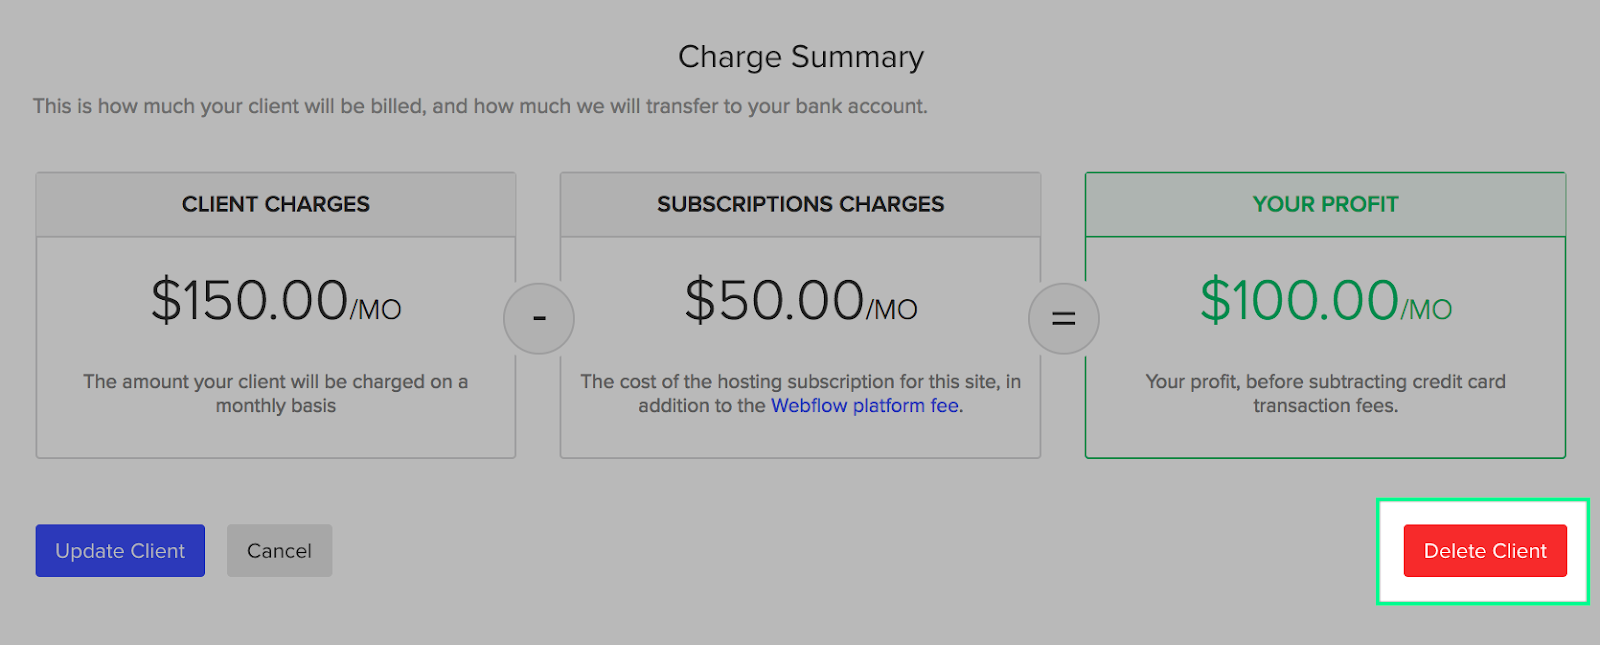
You can cancel Client Billing on any of your hosted sites from your project's billing tab by deleting the client.
⚠️ Before you delete a client, note that if your client has already added their payment information, all hosting-related information is tied to the client. So, deleting the client from the project will instantly cancel any hosting subscription on that site. When hosting is canceled, the site will be unpublished, the custom domains and any collaborators will be removed from the project settings.
Delete the client
- Go to Project settings > Billing > Client Billing
- Edit the Client Billing settings
- Delete the Client and confirm
Reinstate the site plan
After you delete a client who has already added their payment information, you'll need to:
- Add a new site plan
- Re-add your custom domains & set a default domain
- Publish the site to your custom domains
- Re-invite Collaborators if you had a CMS or Business hosting subscription
Receive your earnings
After your account has been verified and your bank information is set up, earnings from your site plan will be deposited on a daily – 7-day rolling basis transfer schedule.
So, let's say you're on Basic Hosting ($15/month), and that you charge an extra $10 a month for your site. The platform fee will be $0.50, and we'll add that to your client's total monthly charge (for a total of $25.50).
After we collect the charge from your client, we'll deposit $10 directly into your account (minus a credit card processing fee of 2.9% + $0.30).
- Basic Hosting = $15
- The profit you specify = $10
- Platform fee = $10*5% = $0.50
- Client pays = $15 +$10 +$0.50 = $25.50
- The profit you receive= $10 - (credit card processing fee)
About credit card processing fees
The earnings you receive may not match your profit setting because a small fee is deducted from this amount to cover the credit card processing fees.
The credit card processing fee varies depending on the country you're in, ranging from 3 to 3.5% of the total charge. So, for a $25.50 total charge ($10 profit), you'll see $8.96 profit deposited into your bank account. (Assuming a 2.9% + $0.30 transaction fee).
Credit card processors require that the merchant (in this case, you, the designer) pay the credit card processing fee.
About platform fee
The platform fee is a 5% fee we add to your client's hosting charge to support the improvement and maintenance of Webflow Client Billing. This includes the development and sending of dunning emails (to recover late or failed fees), custom invoices, white-labeled emails, white-labeled payment pages over SSL, and the preparation of tax documents.
Platform fees are only charged on sites that have Client Billing set up with monthly or annual profits. So, if you aren't earning any profit on your clients' websites, there's no platform fee.
The client pays the platform fee. We pass it along in their final charge amount.
Delete your Client Billing account
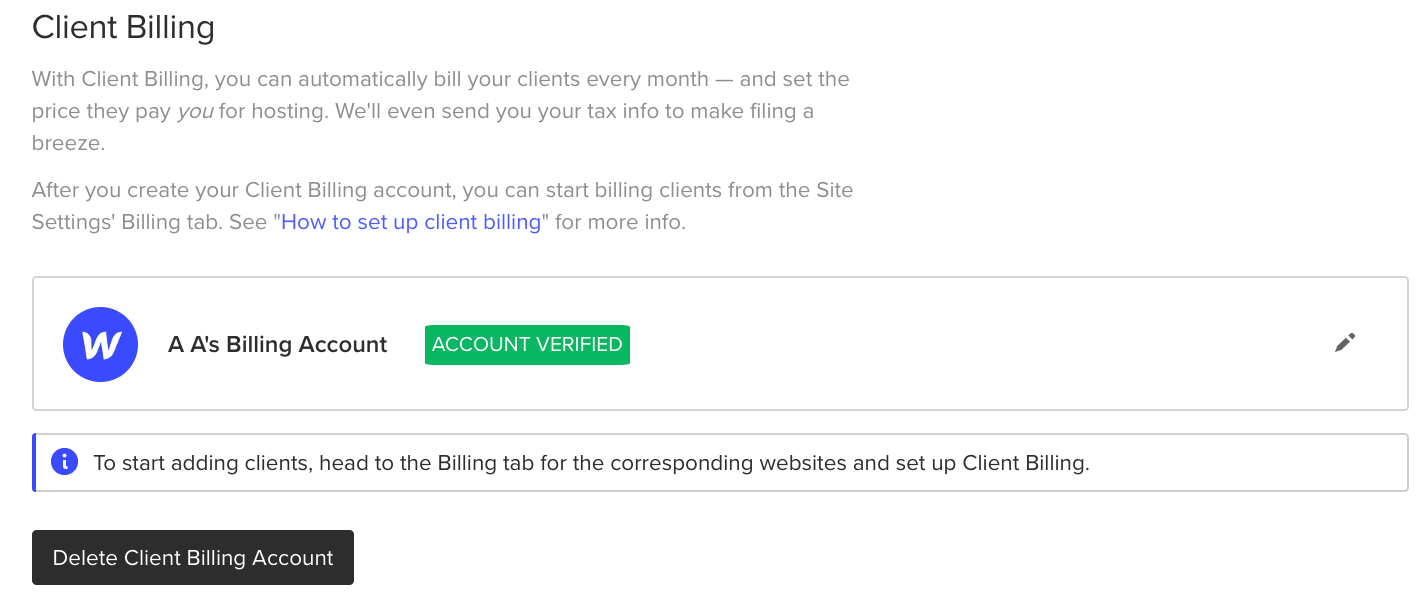
You can delete your Client Billing account during the process of creating your Client Billing account. You can also delete the account if you haven't added any clients yet. The button that allows you to delete your Client billing account is located at the bottom of your account settings > billing tools > Client Billing page.
You cannot delete your Client Billing account after you've set up clients. Contact support for more info.
FAQ and troubleshooting
I chose the wrong country and can’t go back to change it.
If you selected the incorrect country, scroll to the bottom of the page and delete the Client Billing account. Start the process again.
Is Webflow Client Billing SCA compliant?
Webflow Client Billing accounts are Strong Customer Authentication (SCA) [↗] compliant and support 3D Secure 2 [↗], an authentication protocol that requests extra customer verification when needed. These requirements were introduced in Europe on September 14, 2019, as part of the second Payment Services Directive (PSD2) [↗].
Are my Client Billing transactions affected by SCA? How?
If your Client Billing account is connected to a bank in the European Economic Area (EEA) [↗], any clients from EEA countries will be required to authenticate their payment to start paying site plan fees.
The 3D Secure 2 [↗] protocol will determine SCA authentication needs every time your client is charged. An additional layer of authentication will be required for at least one of your EEA client’s recurring payments but could be prompted for any of their recurring transactions. If a recurring bill requires additional authentication, an email will be sent to your client with the proper authorization instructions to complete the payment. The client will have 7 days to authorize the payment. You, the Client Billing account holder, will also receive an email notifying you of the pending client payment.
What can I do to ensure that my client is notified of pending payments?
To ensure that your clients receive critical payment authorization requests when a client-action is required to complete payments, it’s crucial that the client email address you set for each project is accurate, active, and regularly accessible by your client.
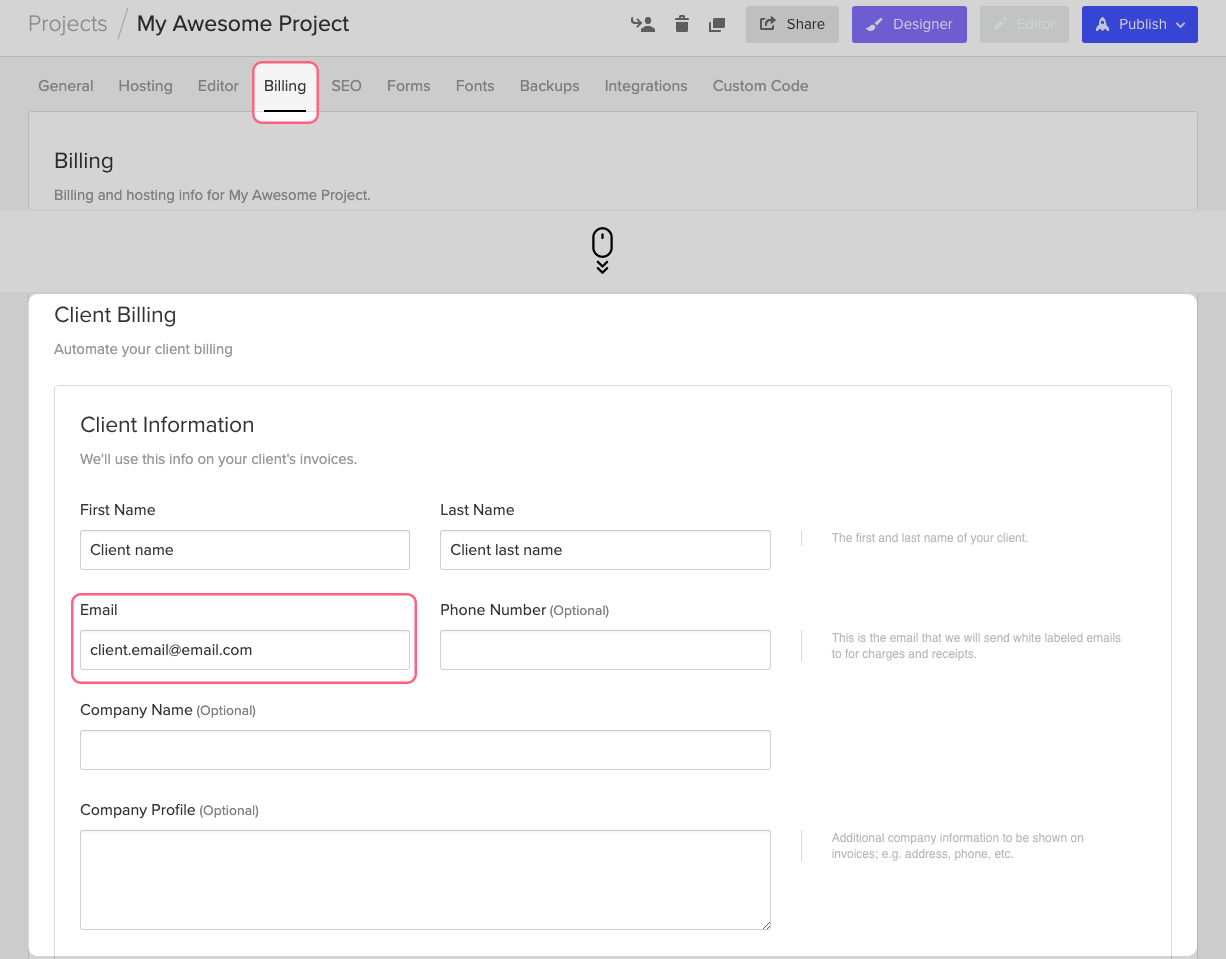
So, we highly recommend that you review all your clients’ email addresses under the Billing section of each project to confirm their accuracy.


