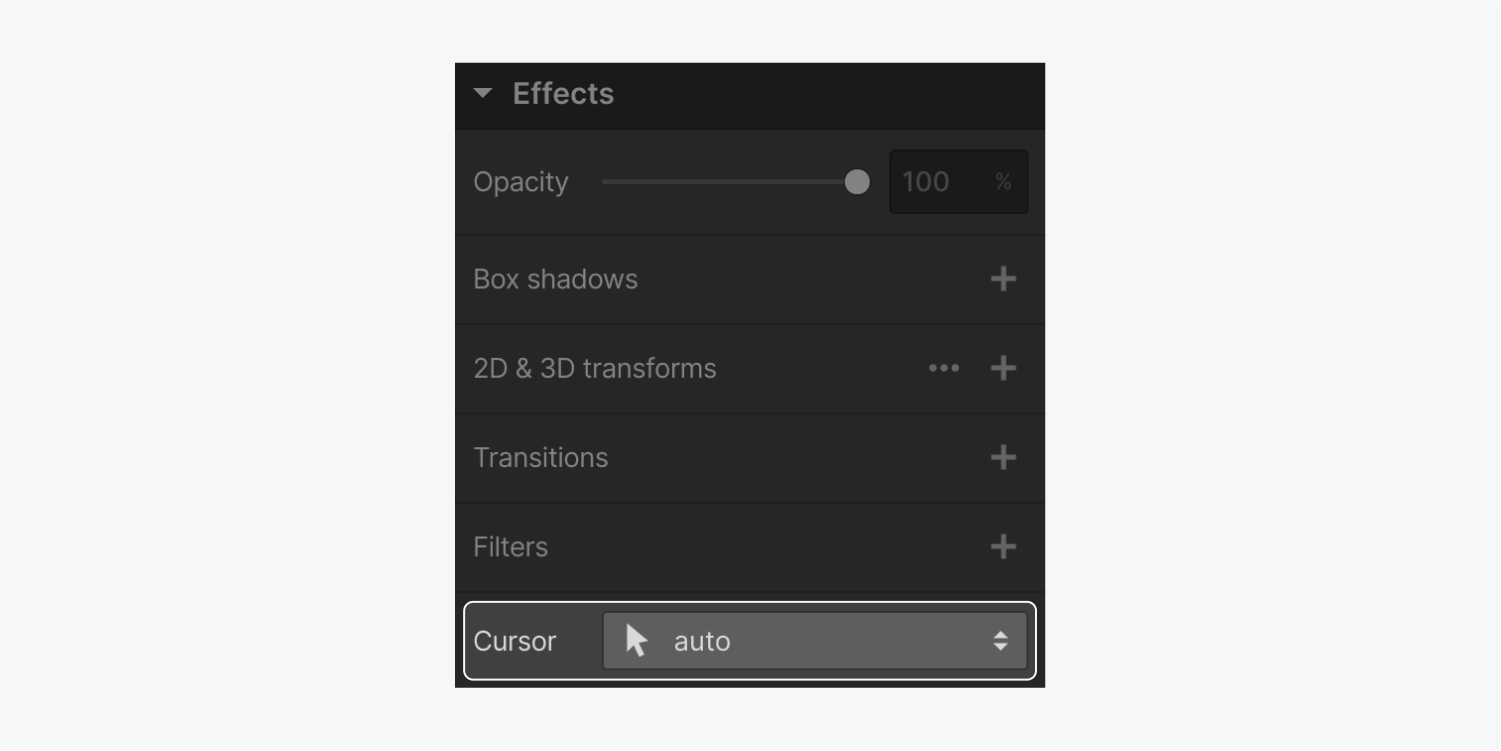
You can override the browser’s default cursor for an element by changing the cursor value.
Even though the cursor changes when you hover over an element, the cursor property is set on the none state of an element.
Changing the cursor for an element
- Select the element
- Go to the Styles Panel
- Scroll down to the Effects section
- Click on the cursor icon to choose from a variety of cursor options

Set a custom cursor for a lightbox link
A lightbox is a link element, so, the default cursor on hover is a pointer cursor. However, since a lightbox can be used to enlarge images, you may choose to change the pointer cursor to a zoom-in cursor.
Set a custom cursor for a inactive links
If your design includes a button that's not currently accessible, you can change the cursor on that button to the not-allowed cursor. This will show your site visitor that the button is inactive.

Learn more about cursors and other effects.
Create my own custom cursors
Want to create your own playful, custom cursors? Check out A guide to custom cursors in Webflow.


