In this lesson:
You can create various link types with link elements such as text links, link blocks, and buttons. To convert other elements such as images to links, drop them inside a link block.
You can access these link settings by selecting the link element you want to set up (using the Navigator, or select the link element on the canvas) and going to the Element settings panel (D).
Link preloading options
When you preload links, you tell the browser where visitors will likely navigate next — it starts loading that page in the background so it’s cached and ready to go on click.
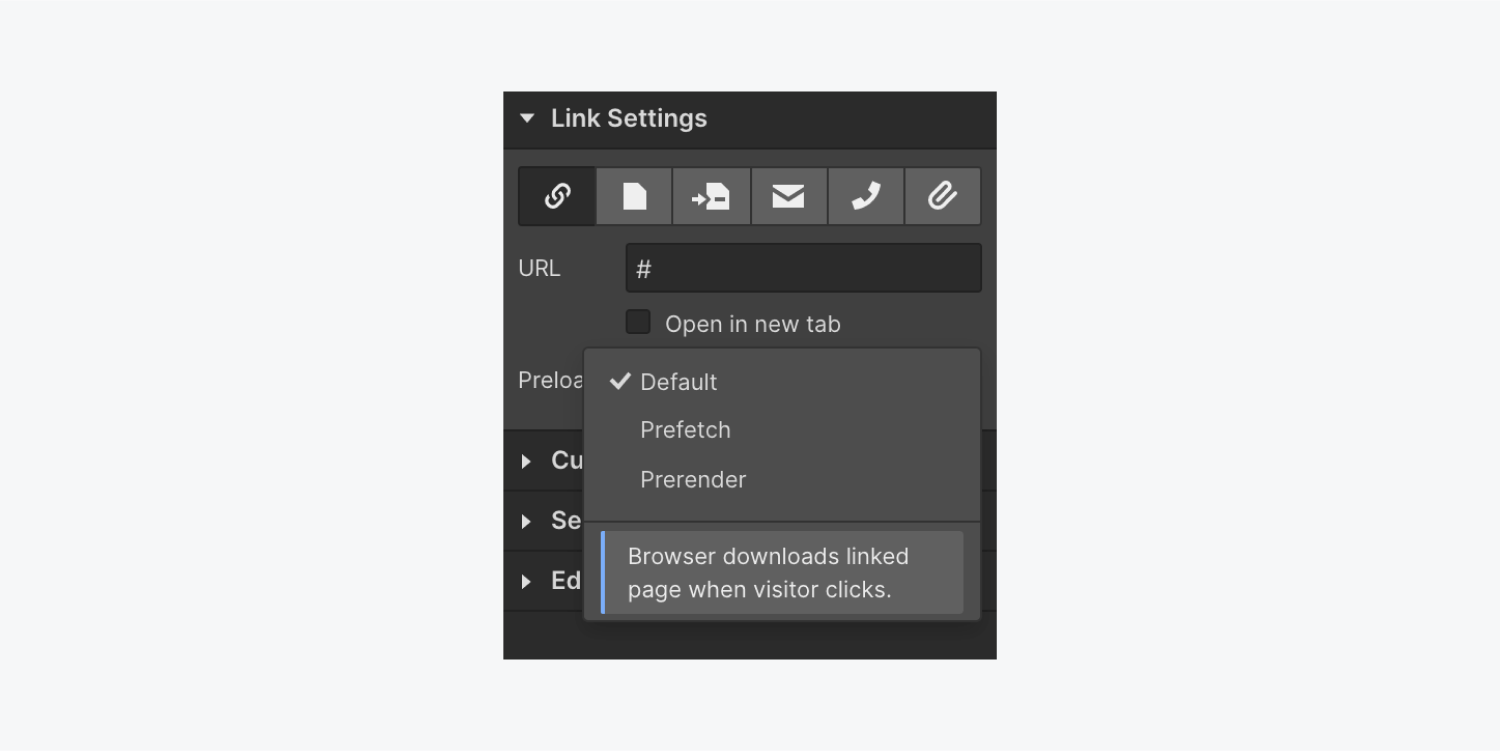
You have 3 link preloading options in the Element settings panel:
- Default: the browser downloads the linked page after a visitor clicks
- Prefetch: the browser downloads the linked page assets after the current page is fully loaded
- Prerender: the browser fully renders and starts downloading the linked page’s necessary assets (CSS, images, JavaScript) before it’s opened. Note: Prerendering strains the browser — only use this option for main links like CTAs and other links visitors are very likely to click.)
Caution: these prefetching and prerendering options will improve performance if you’re sure a user will load those linked pages next. If you aren’t sure, these preloading methods can strain on your browser and slow overall performance.
Link types
To set a link, choose your link type and adjust its settings.
URL
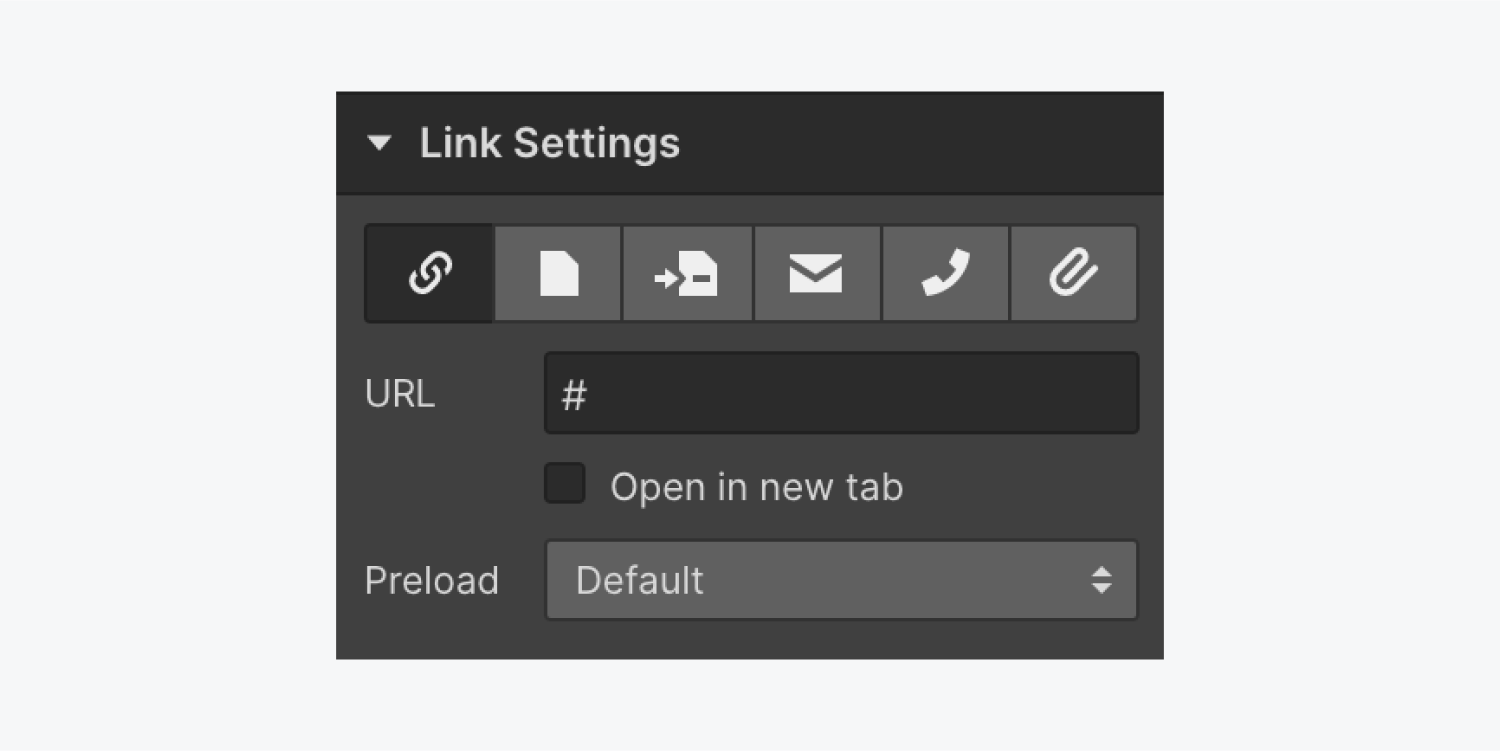
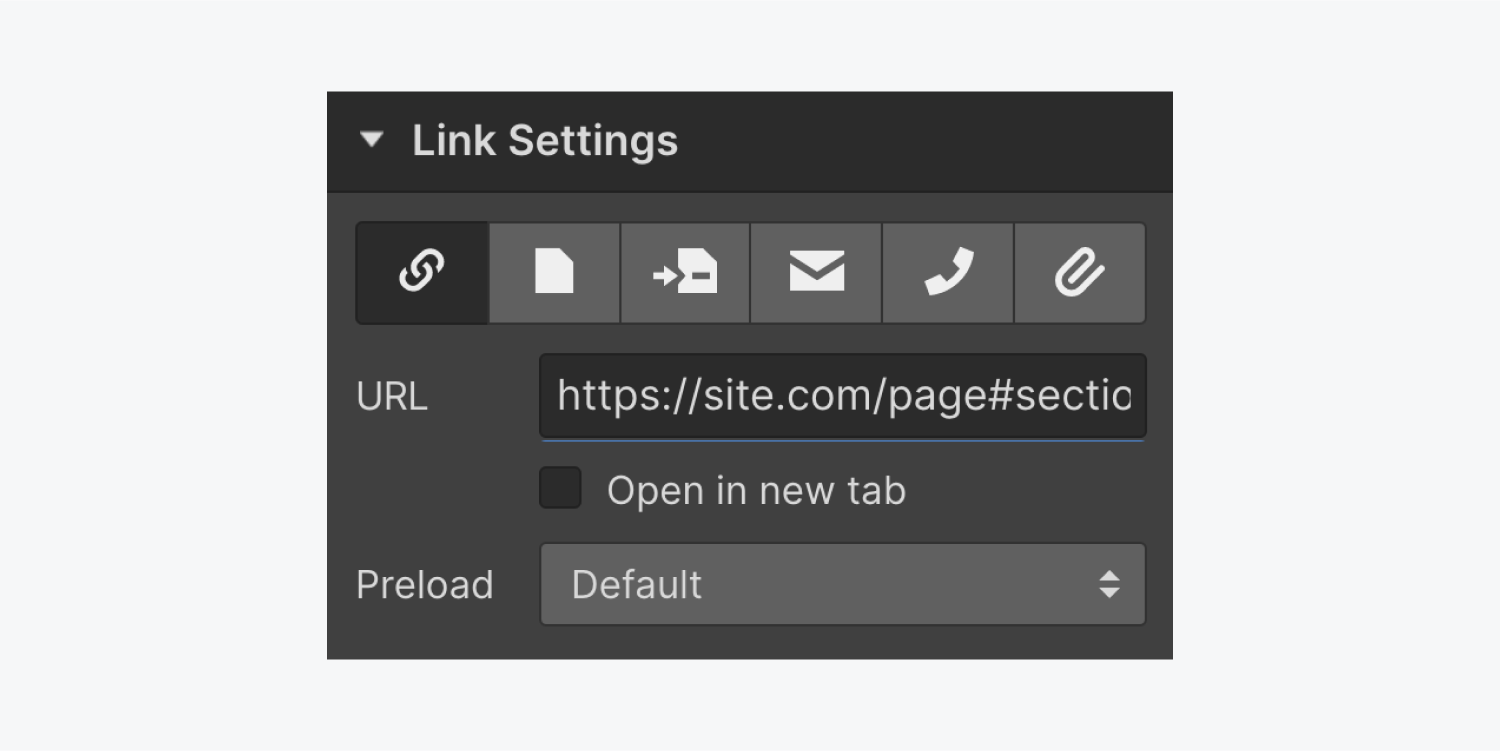
Paste any link in the URL field to send users to that address. To create dynamic links in Collection lists and pages, read more about link fields. If you want these links to open in a new tab, check Open in a new tab.

Page
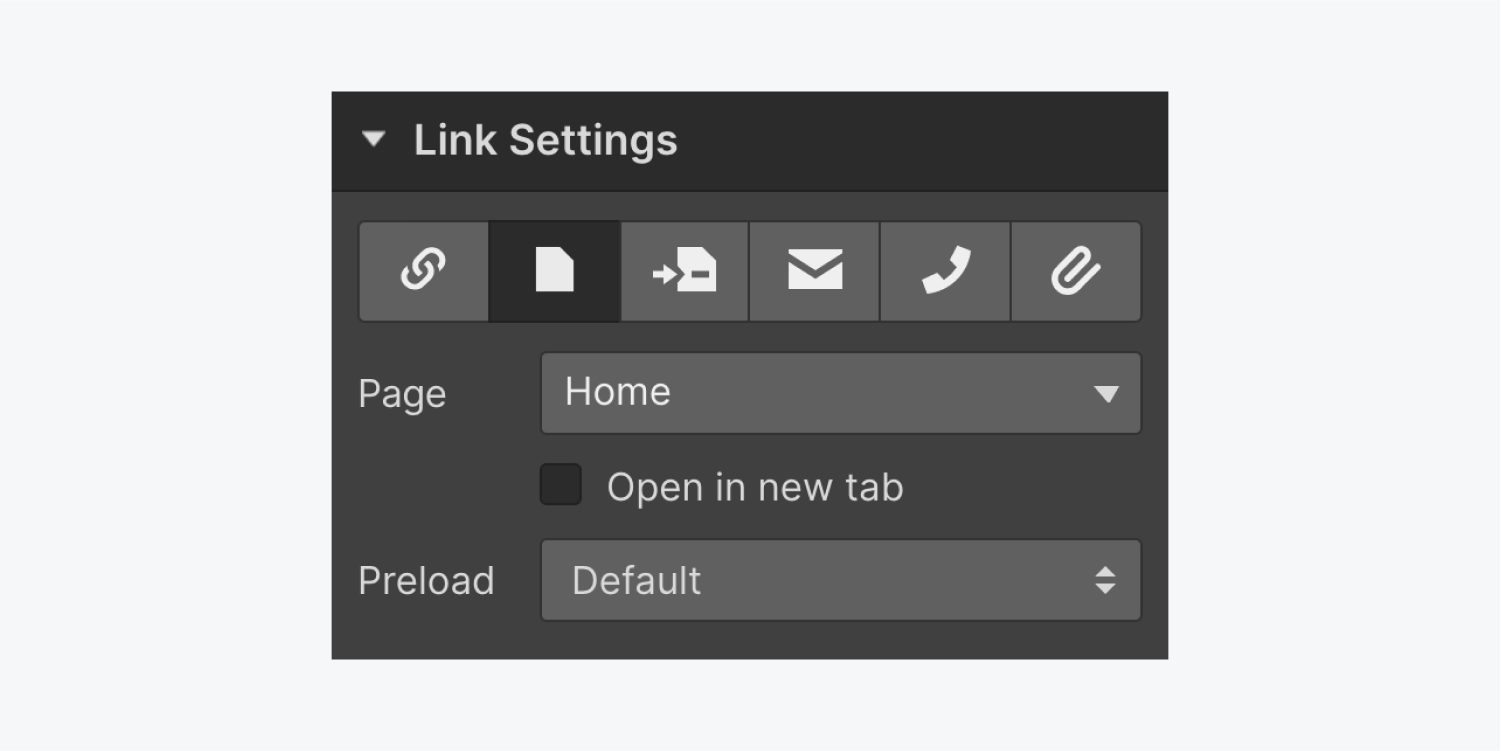
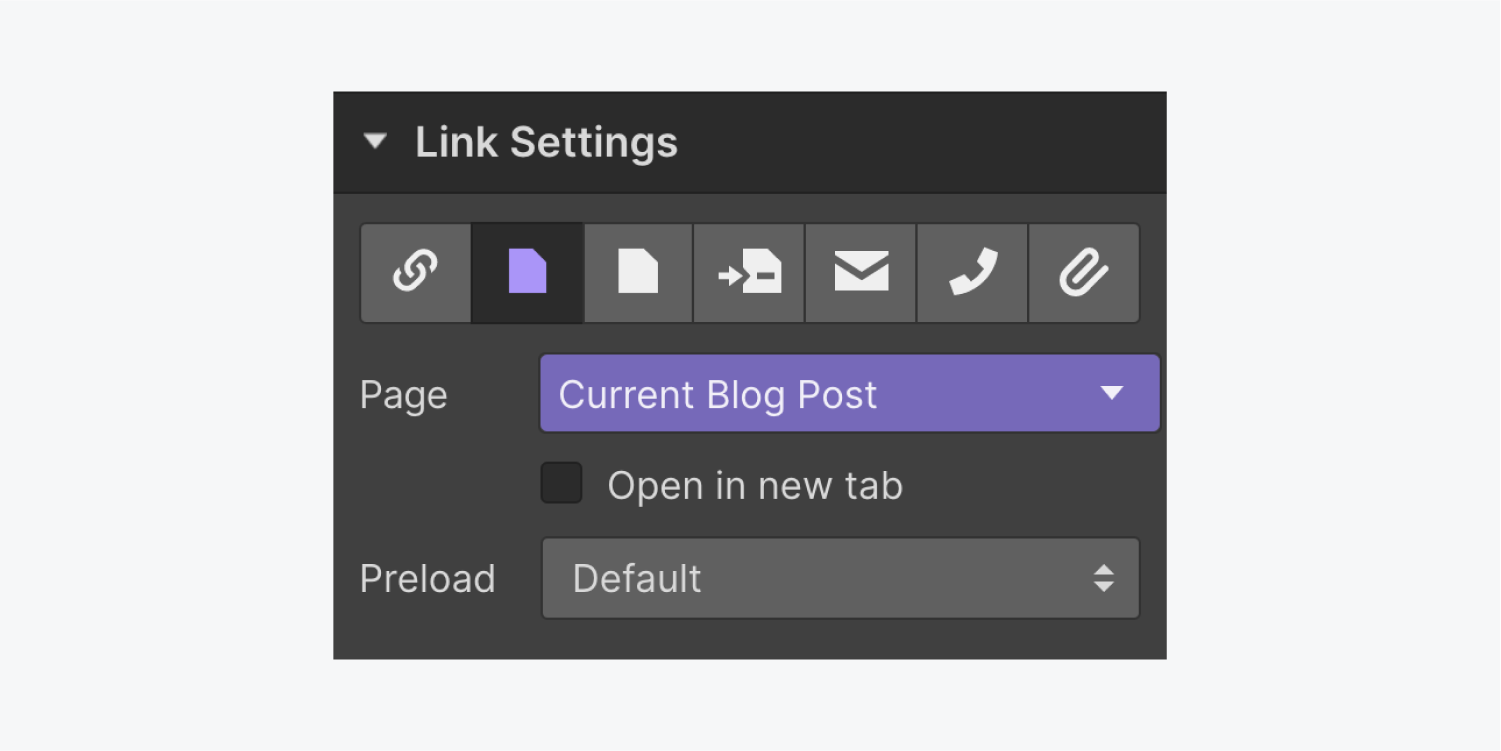
Link to any page in your current site. Choose the page from the dropdown list. This is usually the setting you'll use to set nav links in your navbar to various pages of your website. If you want these links to open in a new tab, check Open in a new tab.
Collection page
Link to relevant Collection pages in Collection lists or Collection pages. This way each link for each Collection item will link to its Collection page or to the Collection page of a referenced item. If you want these links to open in a new tab, check Open in a new tab.
Page section
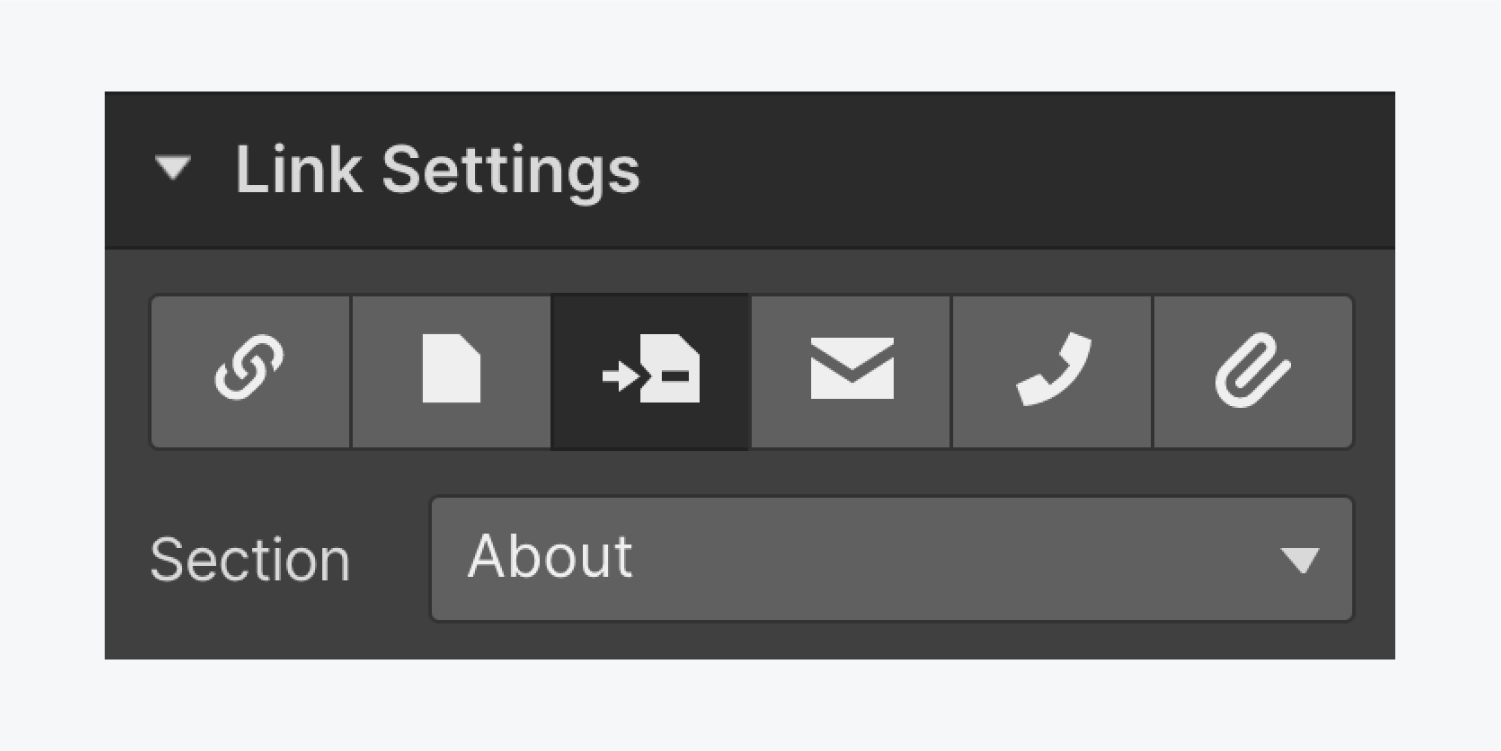
Link to sections on the current page by using section links. This link type is usually used in navbars as well.
Note: If you want to link to a section on another page or on an external URL, you can add the URL of the section in the URL link setting field.
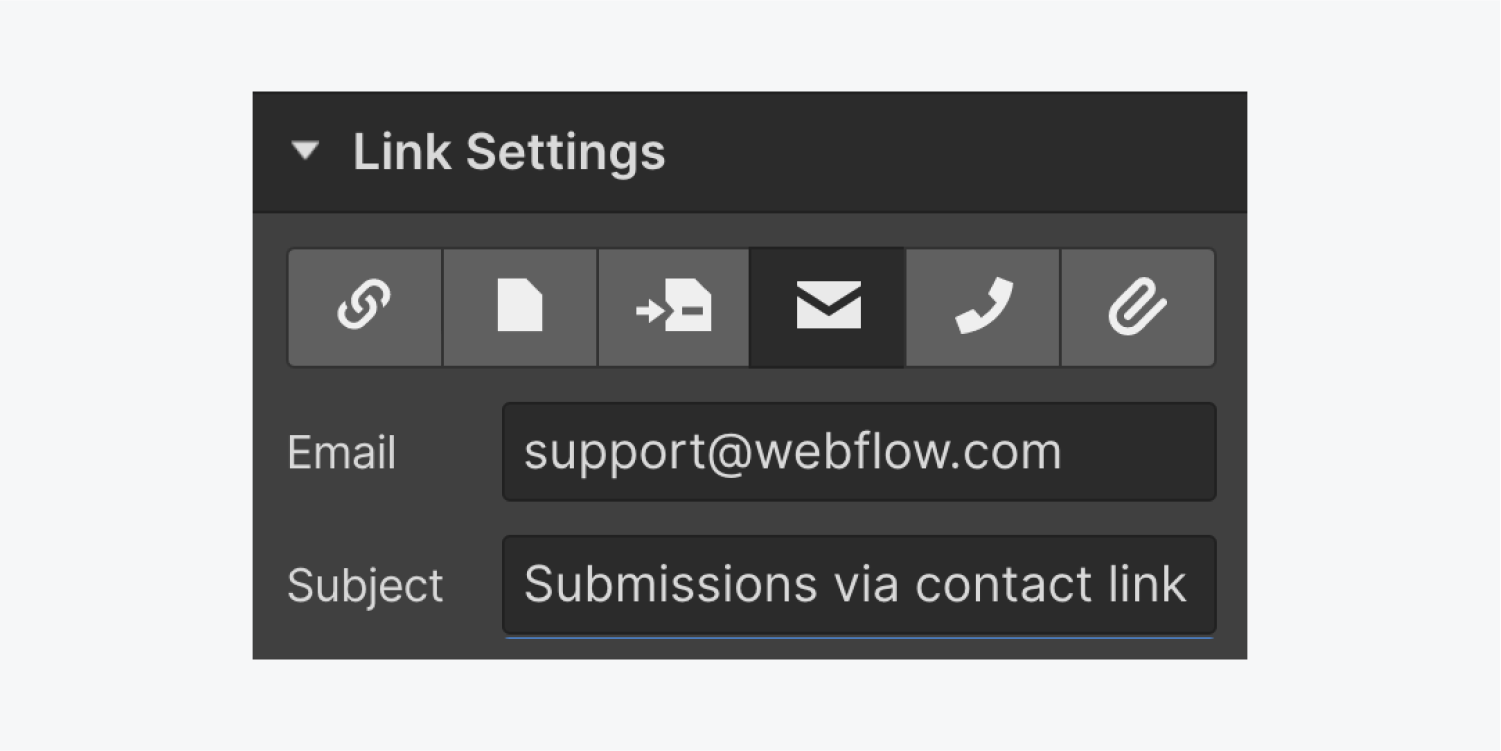
Link a button or any link element to an email address. This allows any visitor to send an email to this address with a click or a tap. To create dynamic email links in Collection lists and pages, read more about the email field.
Phone
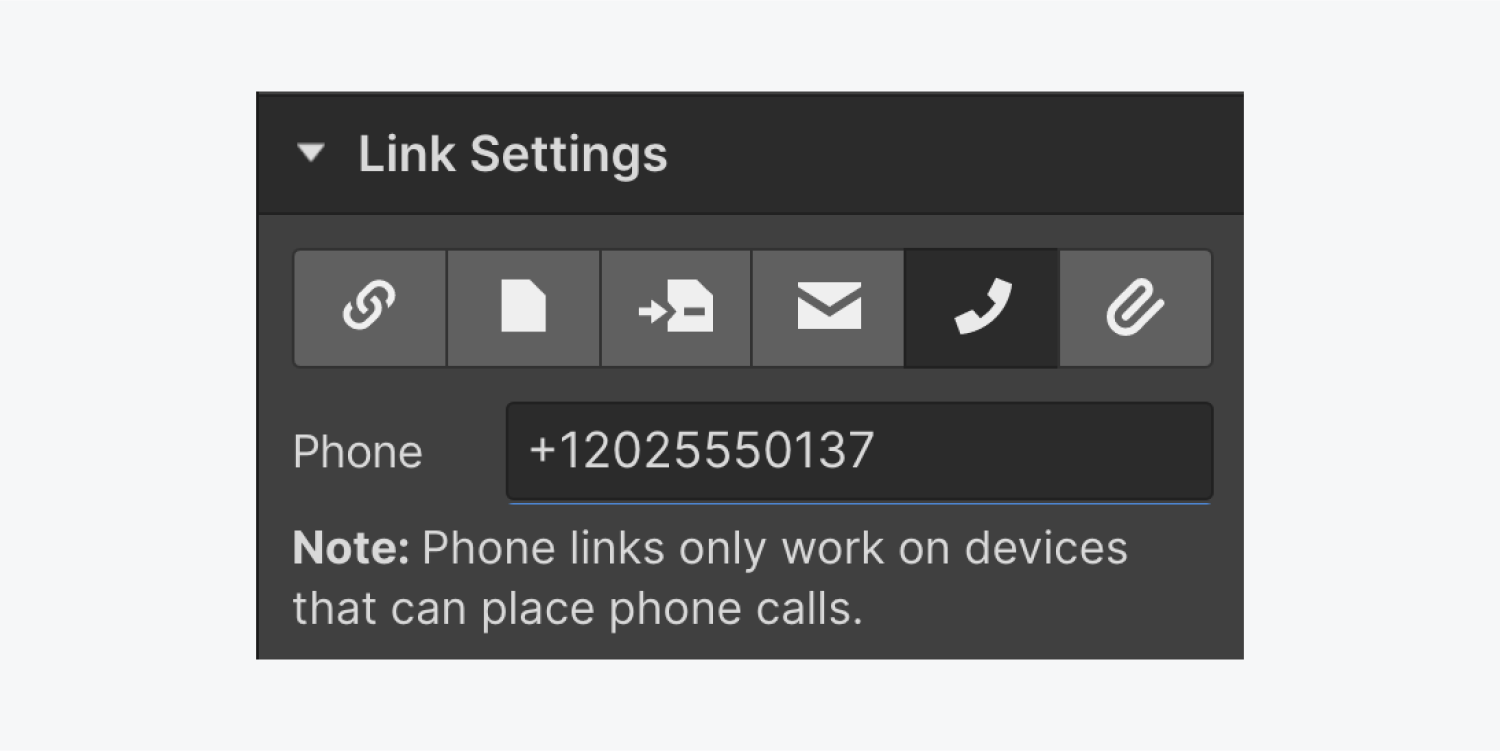
Create a phone link which allows visitors to place a call directly to the specified number with a click or a tap. To create dynamic phone links in Collection lists and pages, read more about the phone field.
File
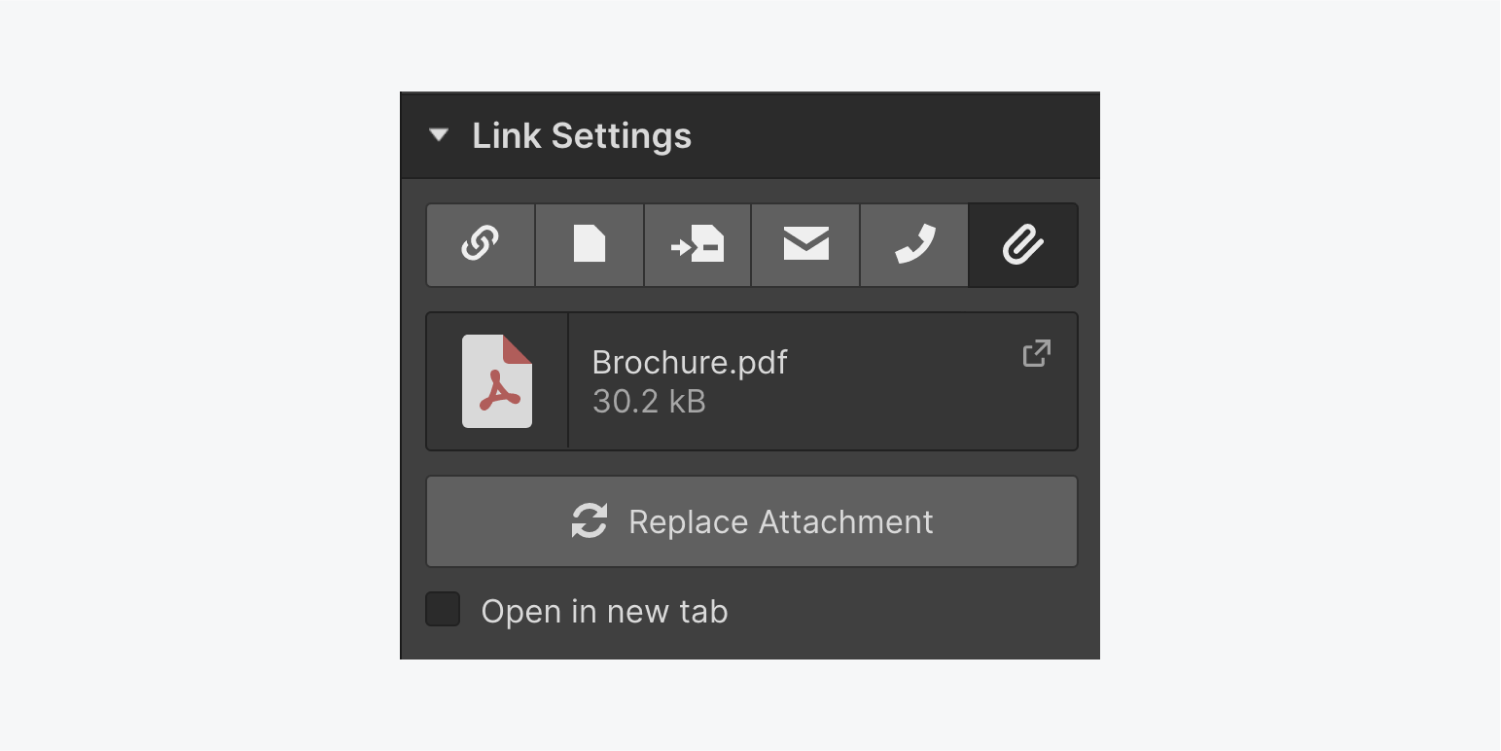
Upload and attach file attachments to any link element. You can attach any type of asset to a link. When you click on any of these links, image and document files will open in the same tab but other file types will be downloaded to your computer. If you want images and documents to open in a new tab, make sure to check the Open in a new tab checkbox.
Note: This is a premium feature only available on paid plans.
Back button
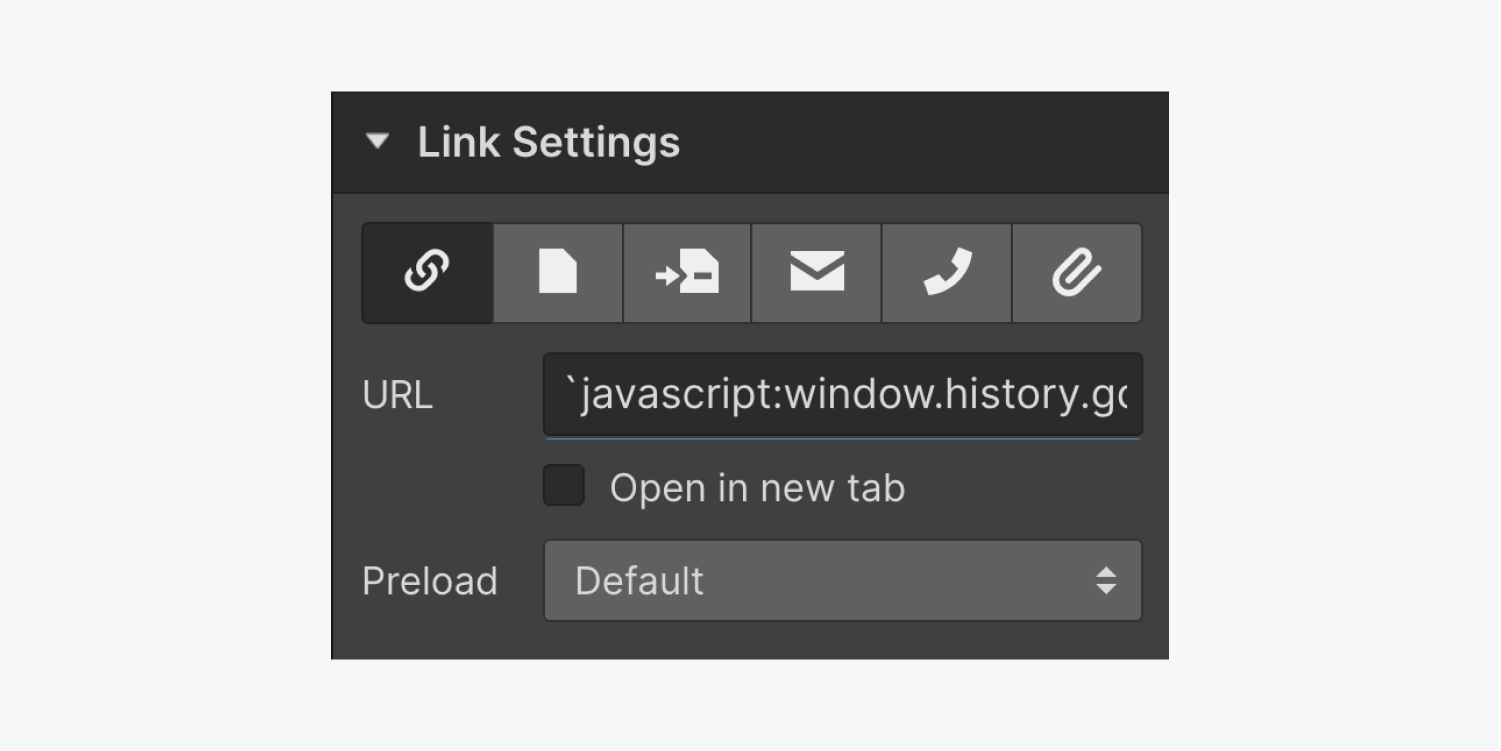
You can create a back button or link which your site visitor can click to go back to the page they came from. You can do this by pasting the following piece of code in the URL field of the link settings:
`javascript:window.history.go(-1)
Important: Without the backtick (`) in front of the code, the URL will automatically be prefixed with "http://" and the code will fail.
