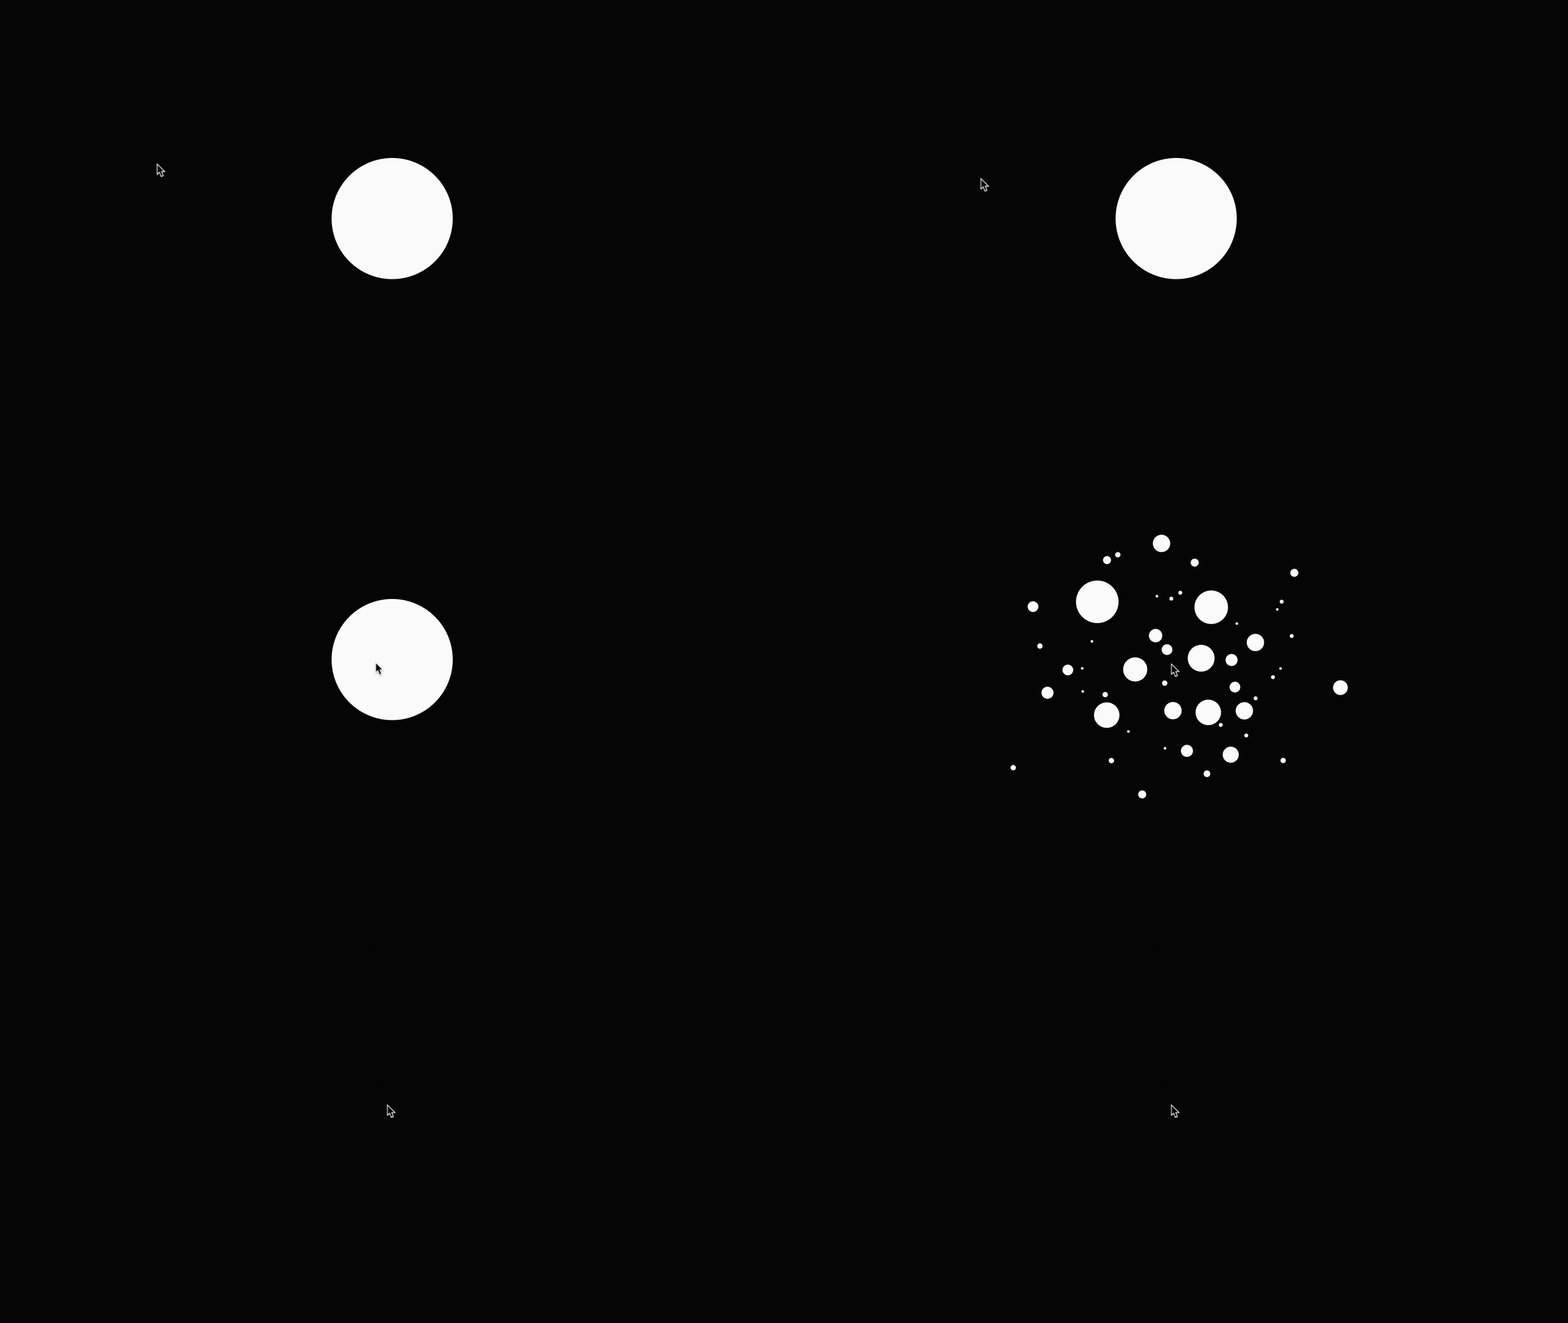
As part of our course on After Effects and Lottie in Webflow, we created an animation of a circle that explodes into many smaller circles. In this tutorial, we’ll set up our animation to load with a mouse click or tap.
We’ll do this in 3 steps:
- Add the Lottie animation
- Set up the trigger
- Set up the animation
To follow along, go ahead and clone this project.
Got it? Great! Let’s get started.
Add the Lottie animation
You’ll need to export your Lottie animation from After Effects and upload it to your Webflow project. Learn how to do this in steps 3 and 4 of our Full walkthrough tutorial.
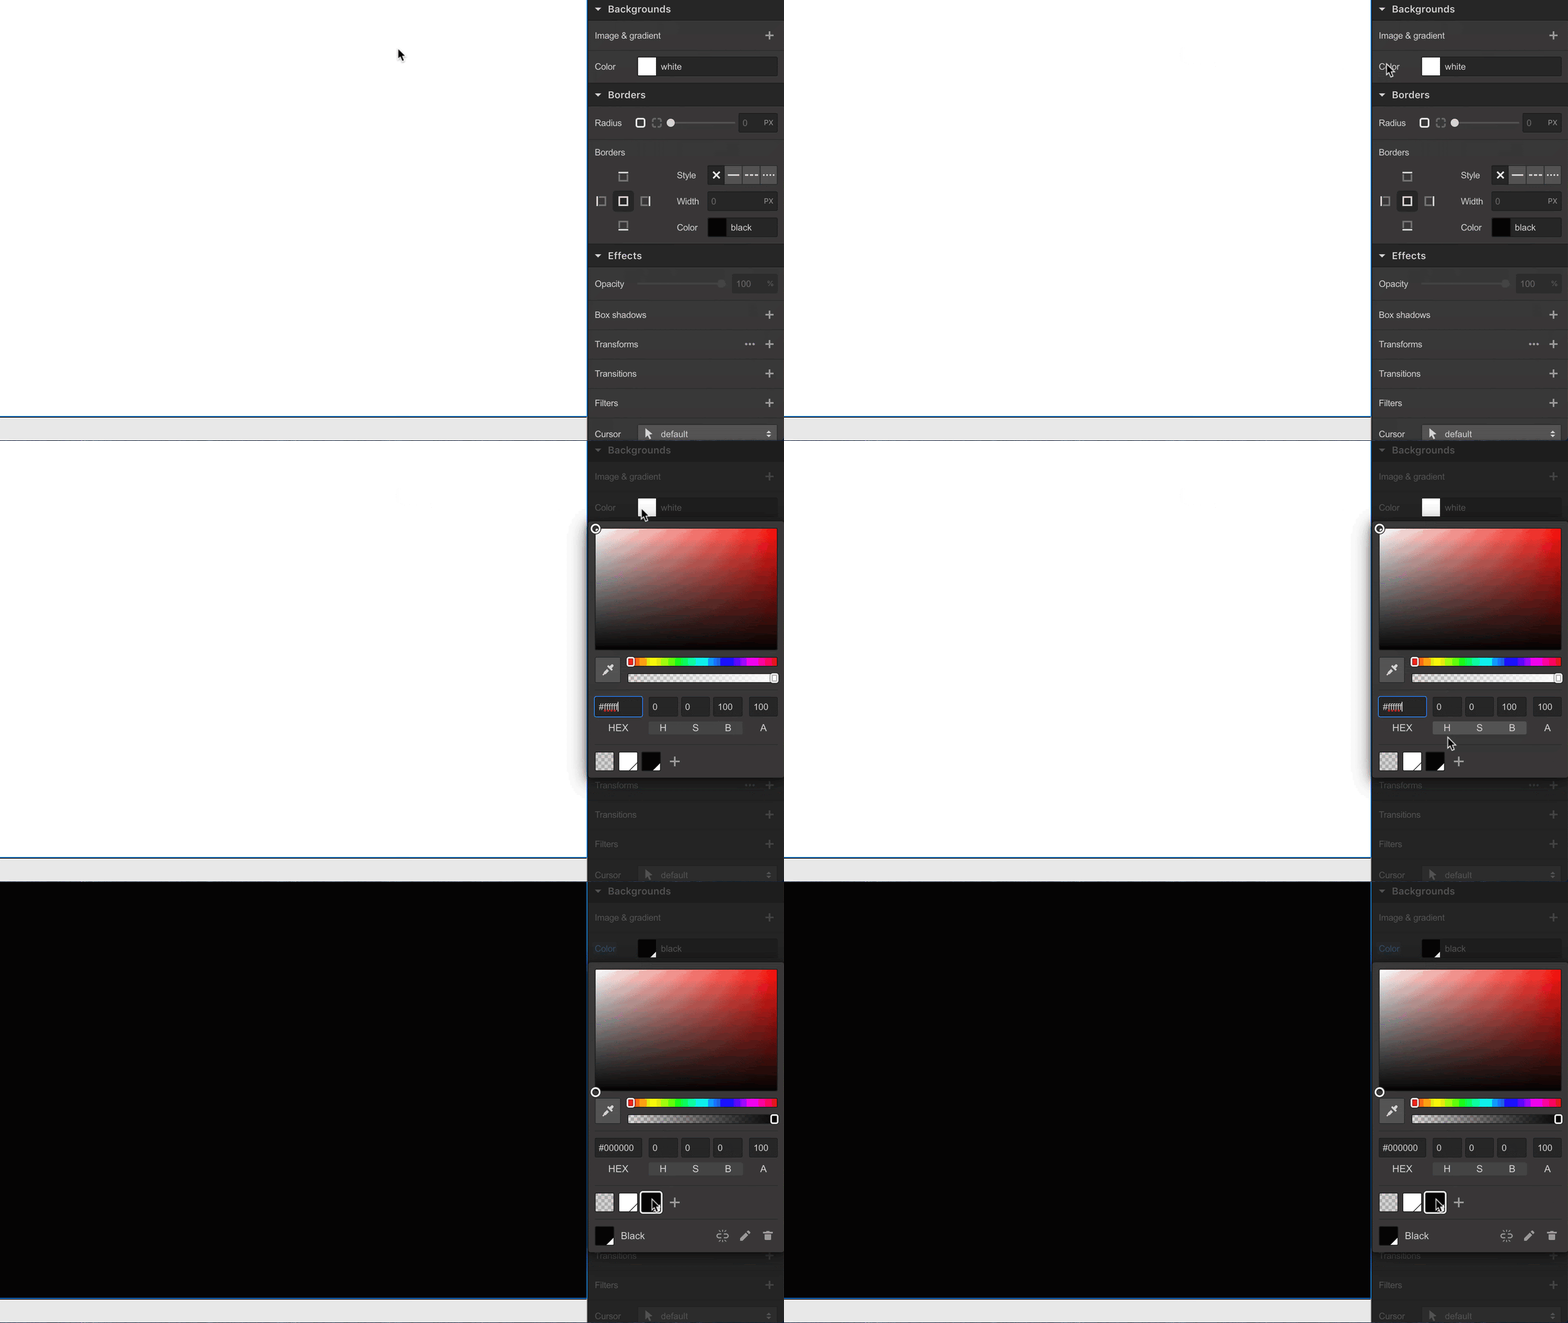
Start with a blank page in the Webflow Designer and set the background color to black at the bottom of the Style panel on the right.
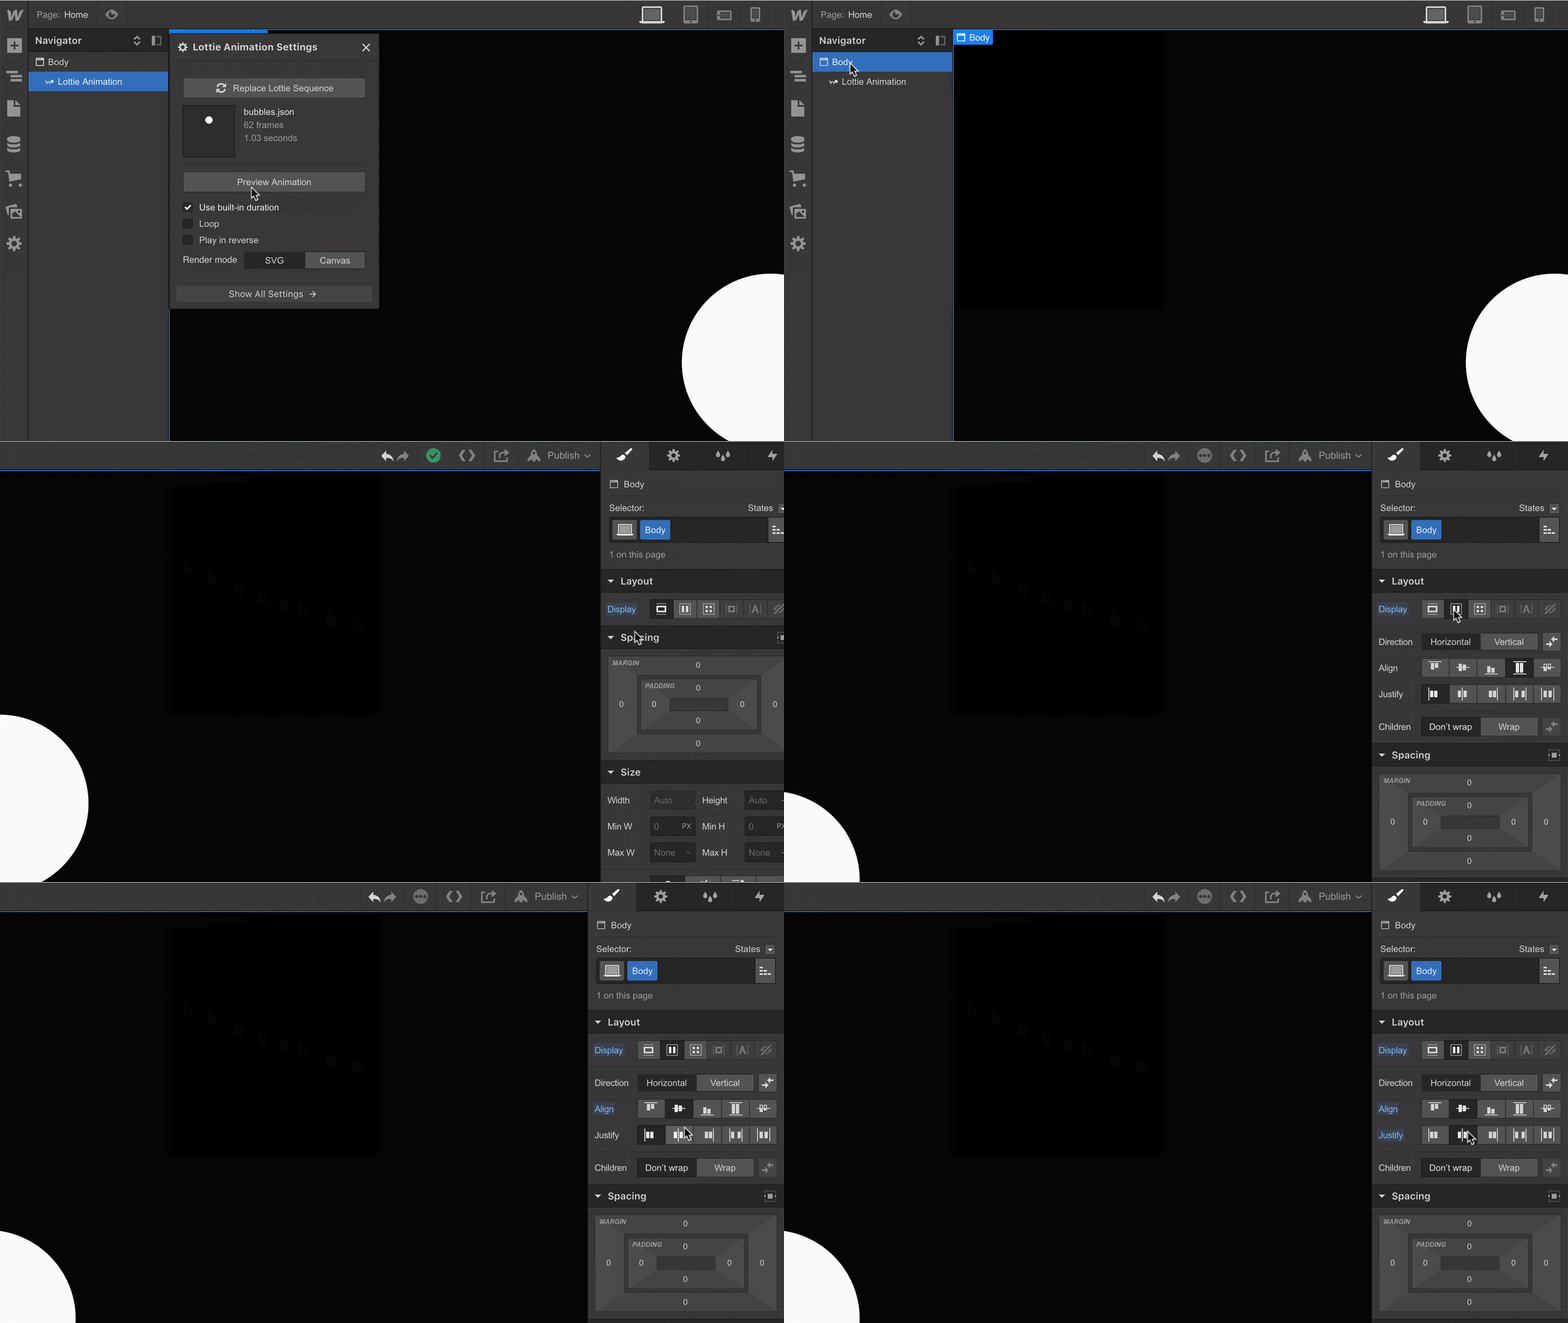
To find and add the exploding Lottie animation, click the photo icon (Assets panel) from the left toolbar and drag the circle animation onto the Canvas.

To center the circle, make sure the body element is selected in the Assets panel on the left. From the Style panel on the right under Layout, set Align and Justify to center.
When you preview the page (click the eye in the top left), the animation plays immediately on load. This isn’t quite what we want to happen, so we’ll adjust this in step 2.
Set up the trigger
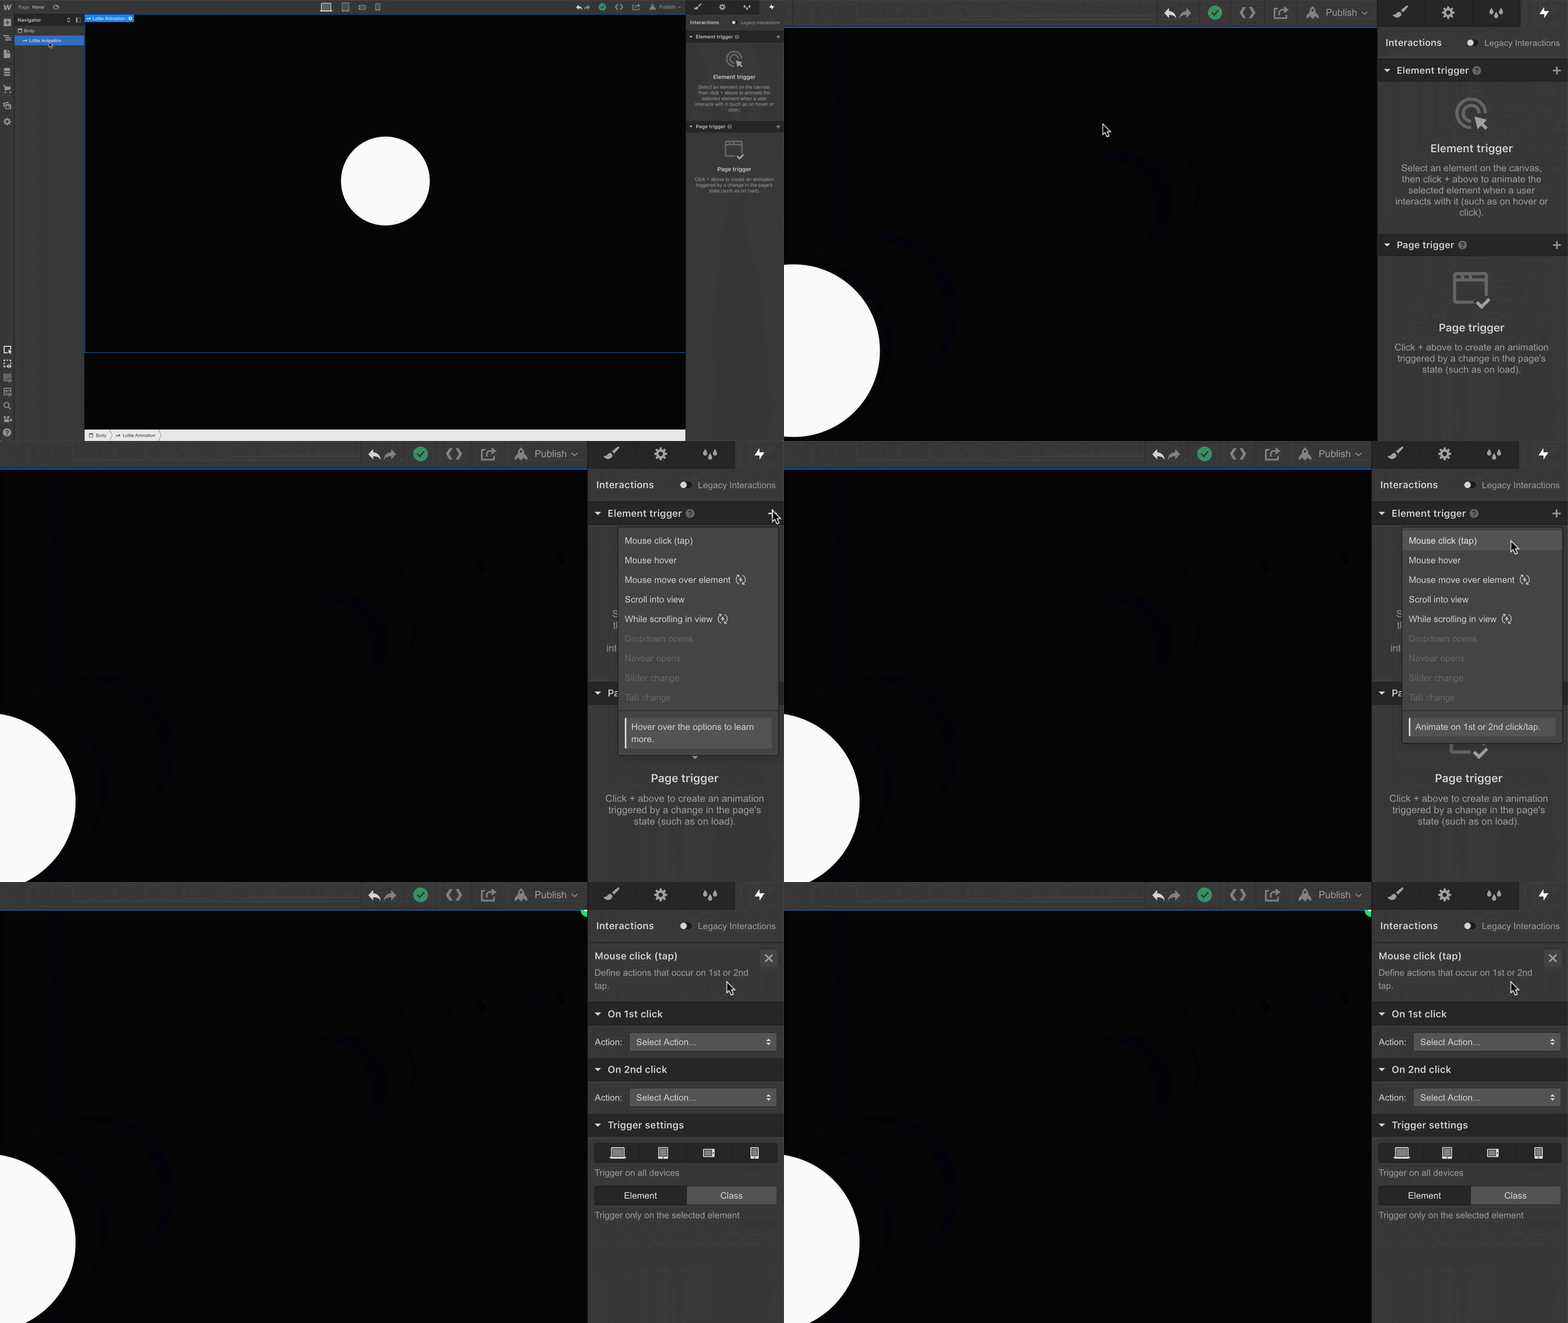
In this step, we’ll set the animation to load on click instead of automatically playing when the page loads.
Before we add our trigger, we want to make sure the animation is selected, not another element, like the body.
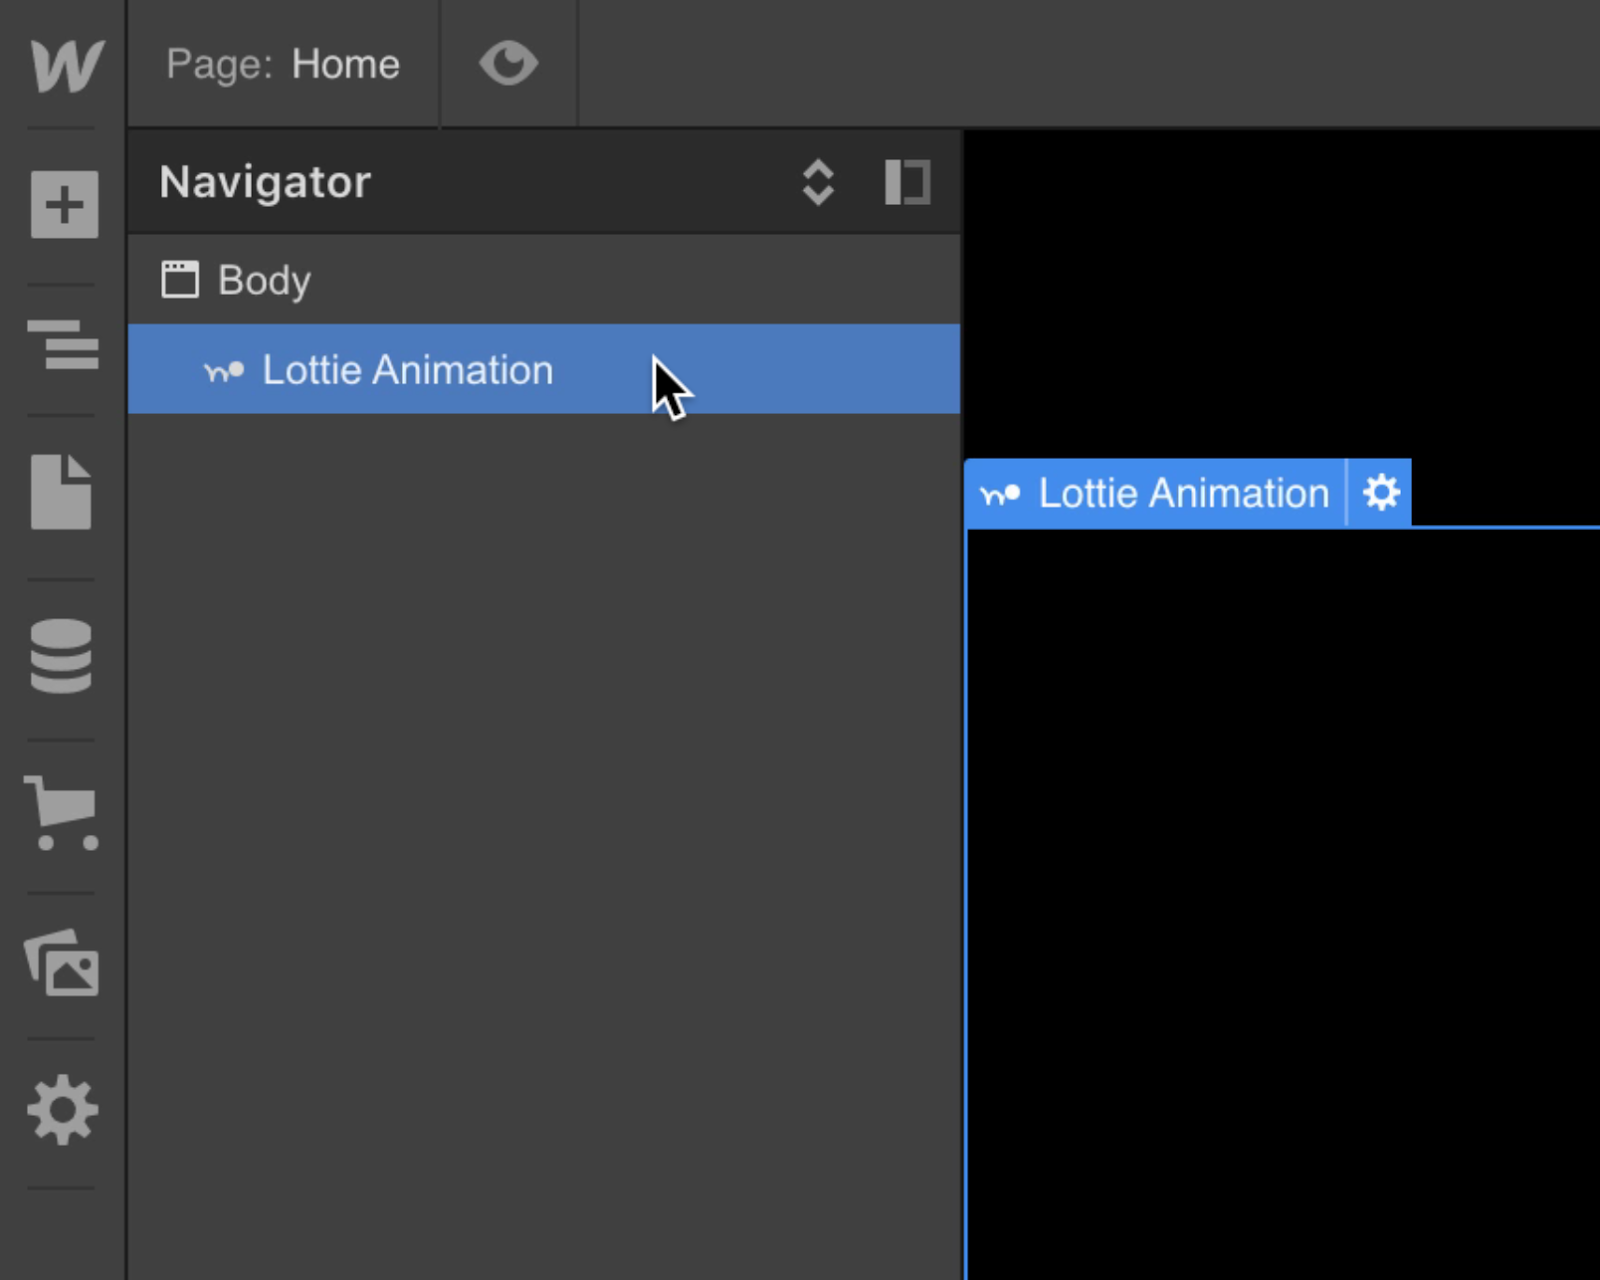
From the Interactions panel on the right toolbar, open the Element trigger menu and choose Mouse click (tap).
Set up the animation
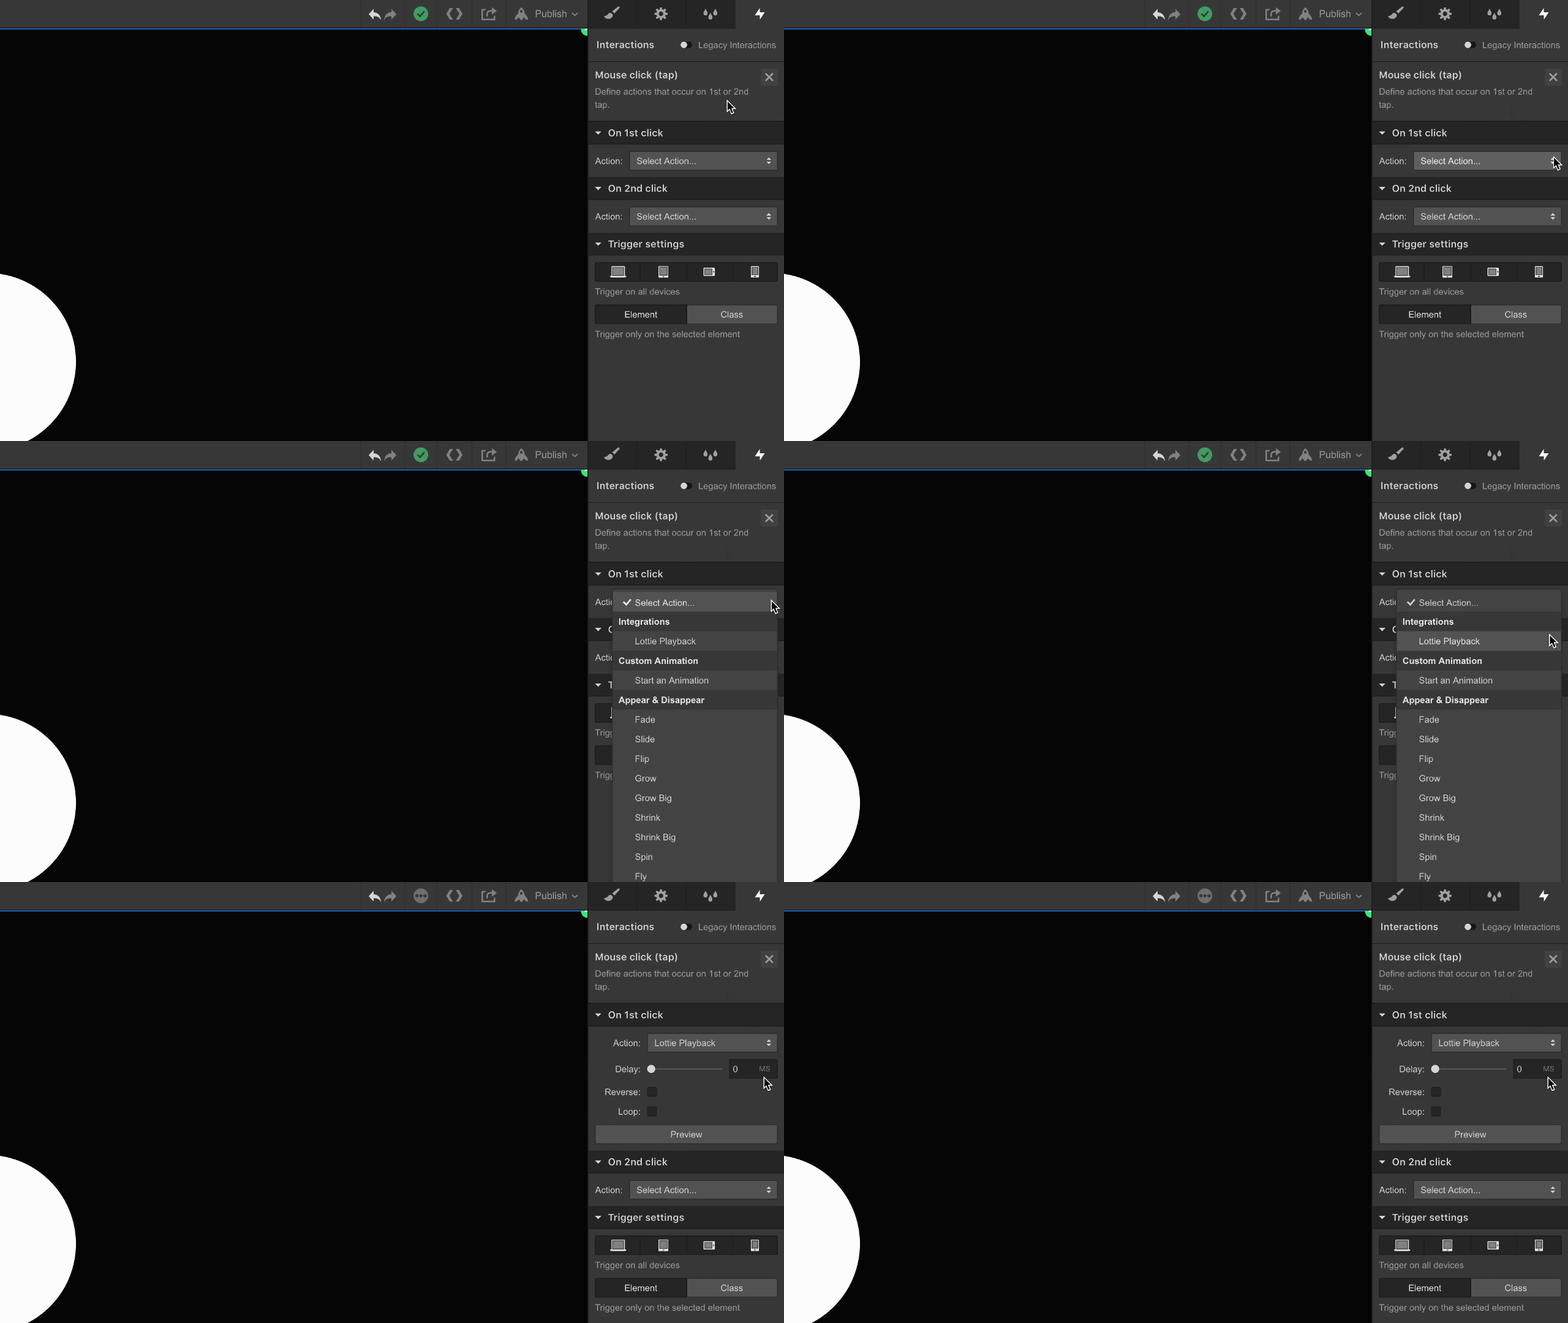
On the Interactions panel under On 1st click, select Lottie Playback from the Action menu.
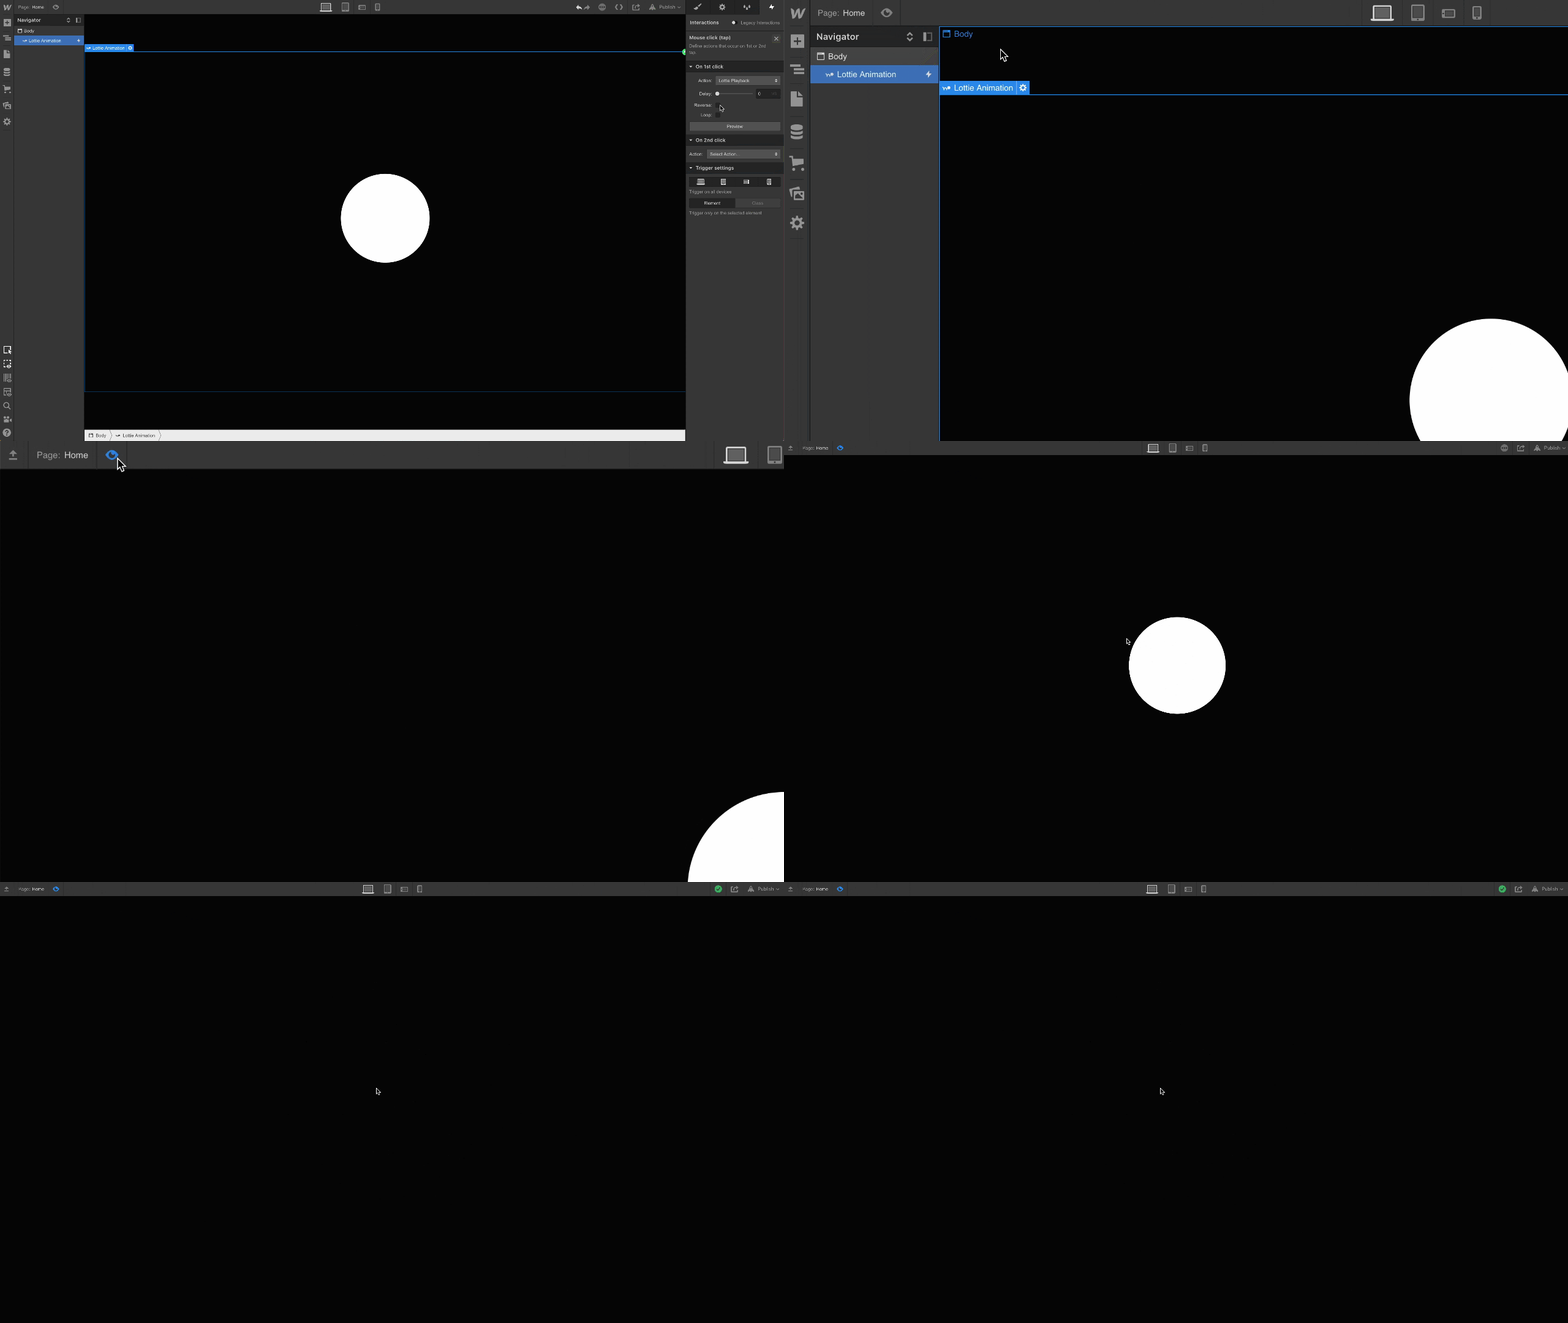
And voilà — you did it! Your Lottie animation will now play on click. Go ahead and try it out in preview. When the page loads, the animation will be static until it’s triggered by a mouse click or tap.
Nice work!


