Collection fields aren't website elements, they're simply fields where data is stored for each Collection item, which you’ll be able to reference in your designs. You can build your Collections by adding Collection fields as needed for the type of content you’re working with. You can also update the structure of existing Collections and Collection templates, or add custom fields to Ecommerce Collections.
Open the CMS Collection panel and create a new Collection or choose an existing Collection and open the Collection settings to update its structure.
Learn more: Collections
In this article
Use Collection fields to build your Collection
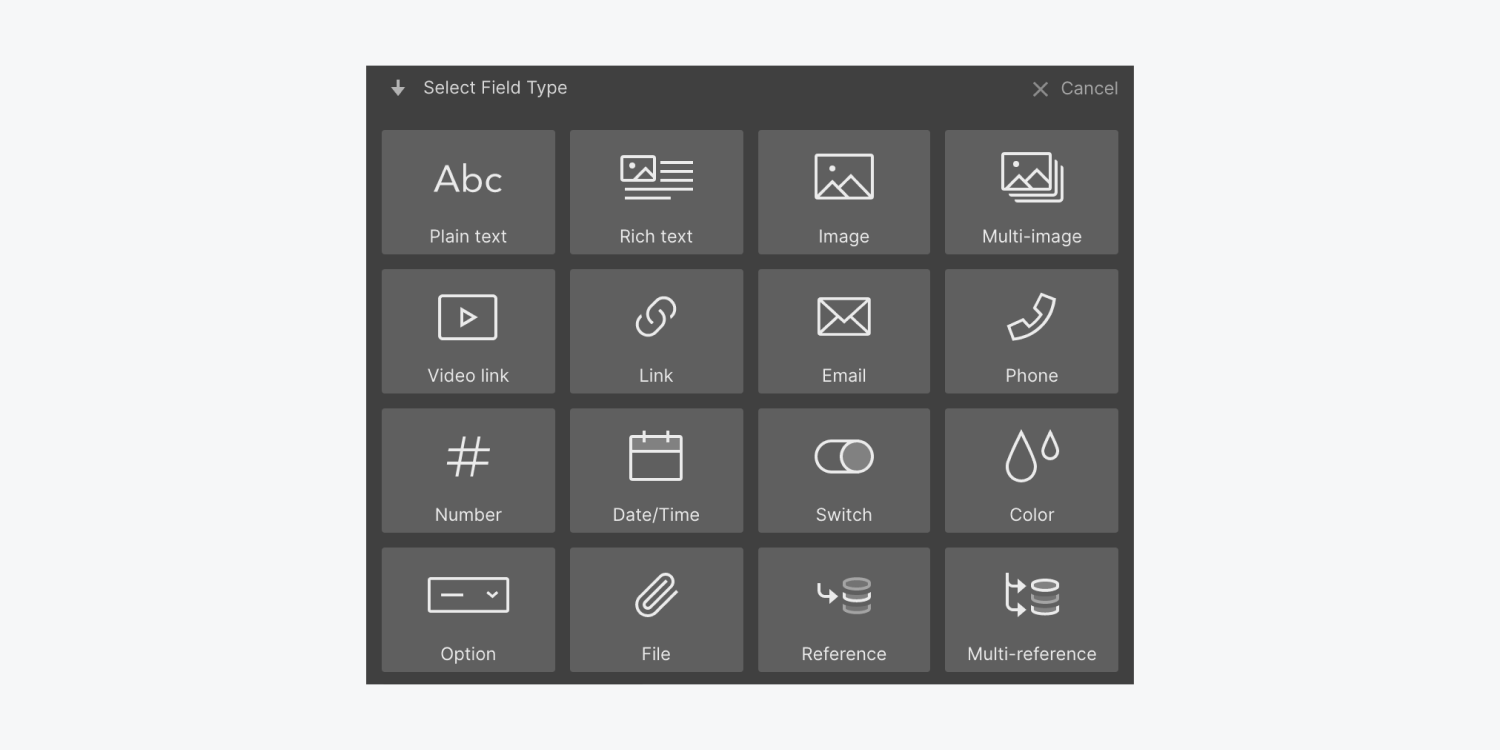
There are many different field types to choose from when structuring your Collection. Each field translates into different kinds of content that you incorporate into the design for your project.
Plain text field
Adds simple unformatted text to your collection items. It can be connected to any text element (Add panel → Typography section), except rich text, when designing with your content.
Rich text field
These are made for long-form content, like a blog post. It allows editors to add in headings, paragraphs, and media like images and videos right inside this one field.
Image field
Adds an image to your collection items. These can be used as regular images or background images in your designs.
Multi-image field
Add multiple images to your collection items. These can be used as regular images or background images in your designs. Multi-image fields can be connected to Collection lists and lightbox media on Collection pages.
Video field
Adds videos hosted on platforms such as YouTube or Vimeo through a URL. These are usually connected to a video element.
Link field
Adds a generic link that can be connected to any link element such as a button, a text link, or a link block.
Email field
Adds an email address field to collection items that can be connected to any link element in your designs.
Phone field
Add a phone number to collection items that can also be connected to any link element in your project.
Number field
Add any kind of number (integer, decimal) to your collection items. You can use this field in your designs by connecting it to any text element.
Date/Time field
Add a date and time picker to your collection items. This connects to any text element and can be set to use any format (month, day, year) in your designs.
Switch field
Adds a way to separate collection items. It can be used to filter collection lists.
Color field
Adds a unique color to each collection item which can be applied as text color, background color, and border color in your designs.
Option field
Creates a list of predefined values so you can pick one for each collection item.
File field
Adds a file to your collection items that you can connect to any link element in your project.
Reference field
Links to other collection items from the same or different collections. You can link CMS collections to Ecommerce collections and vice versa. In your designs, you can reference both collection items.
Multi-reference field
Similar to a reference field, but you can link to multiple items from a collection of your choice.
Delete a Collection field
When you’re updating the structure of your Collection, you can delete any Collection field that isn’t used in your site, except for default Ecommerce fields.
Delete a Collection field
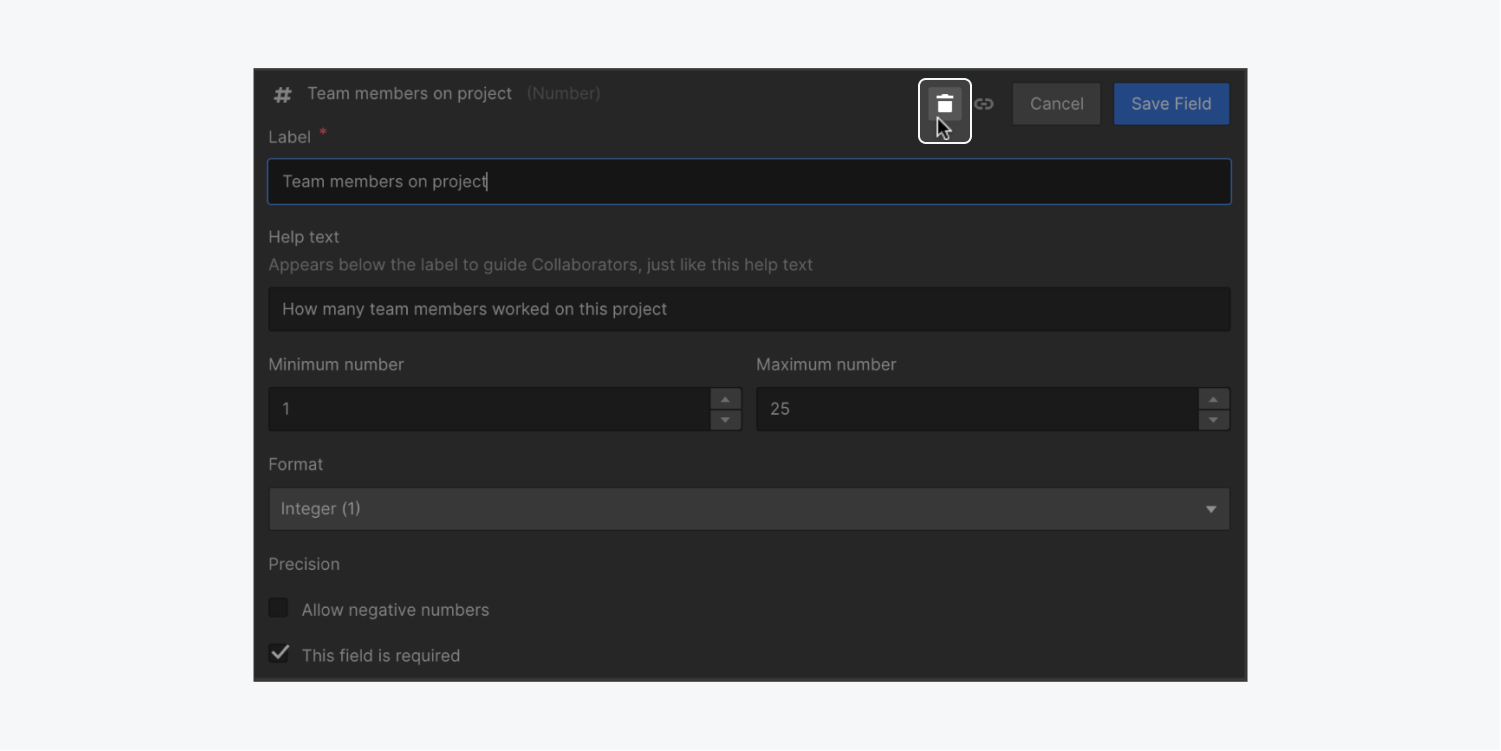
To delete an unused field from your Collection:
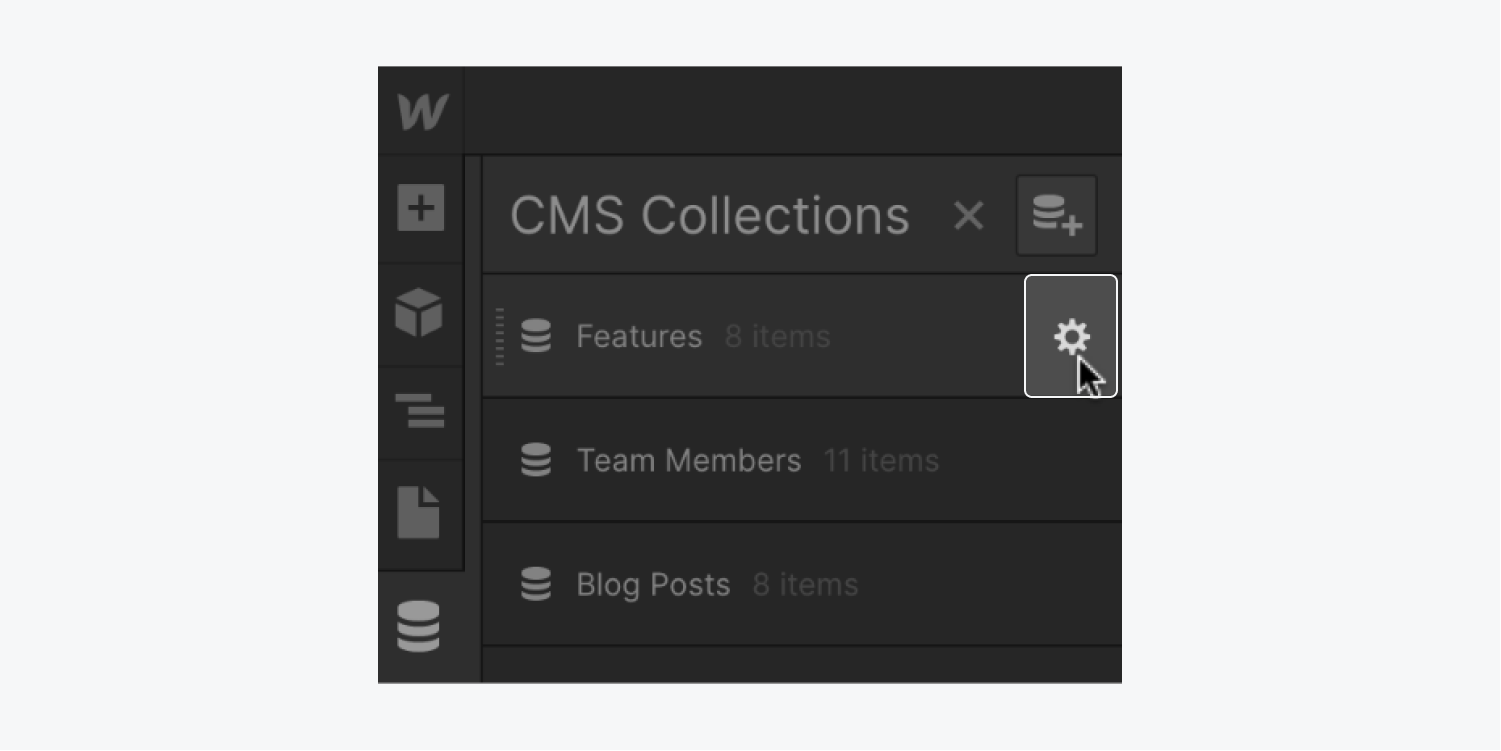
- Open your Collection settings
- Click the field you want to delete
- Press the trash can icon to remove the field from your Collection's structure
Delete a used Collection field
If you cannot delete a Collection field from your Collection settings, it’s likely that the field is connected to an element or a setting in your project. You need to remove all instances of that Collection field in your project so you can delete the Collection field.
- Remove connections to a Collection field
- Delete the field once all connections are removed
- Reconfigure any Zaps and API connections that may have used this field
Remove connections to a Collection field
Removing connections to Collection fields may affect your visual design and code embeds. If you’re sure you want to remove all connections from a specific field:
- Backup your project because removing connections is irreversible
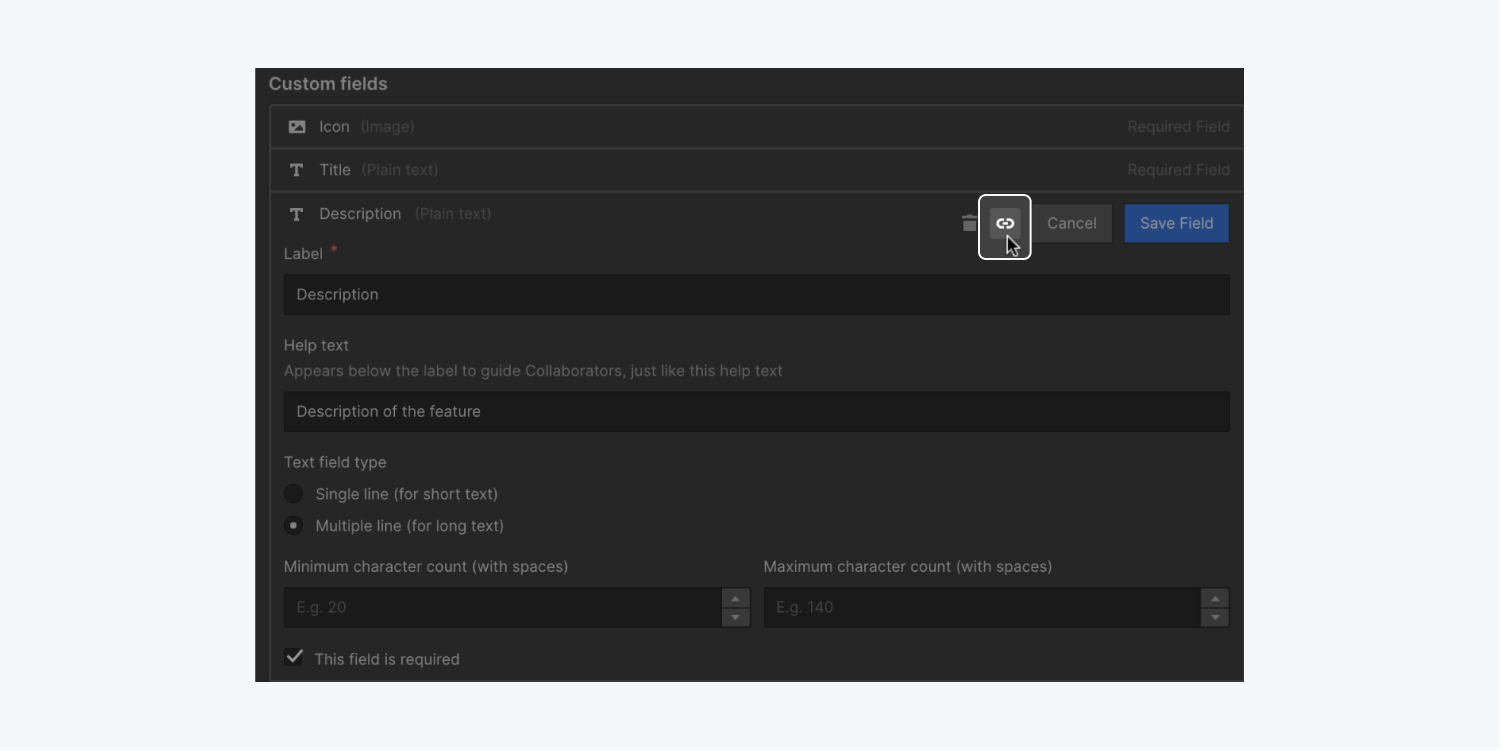
- Open your Collection's settings and click the field you want to delete
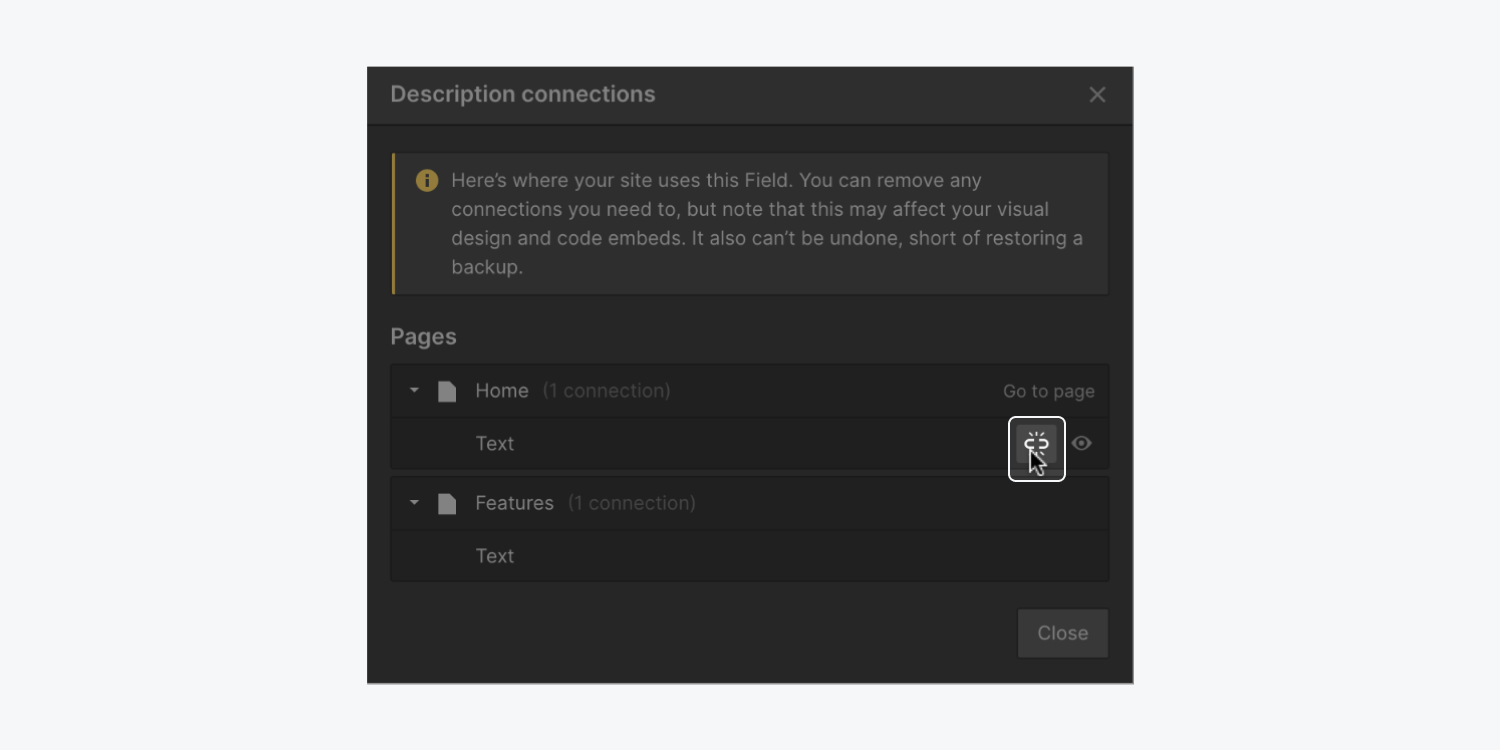
- Click the link icon to see where in your site that field is used
- Click the broken link icon and press Disconnect when prompted to disconnect all connections one by one until there are no connections left

Delete the field once all connections are removed
Once you remove all the connections, you can delete the field from the Collection settings.
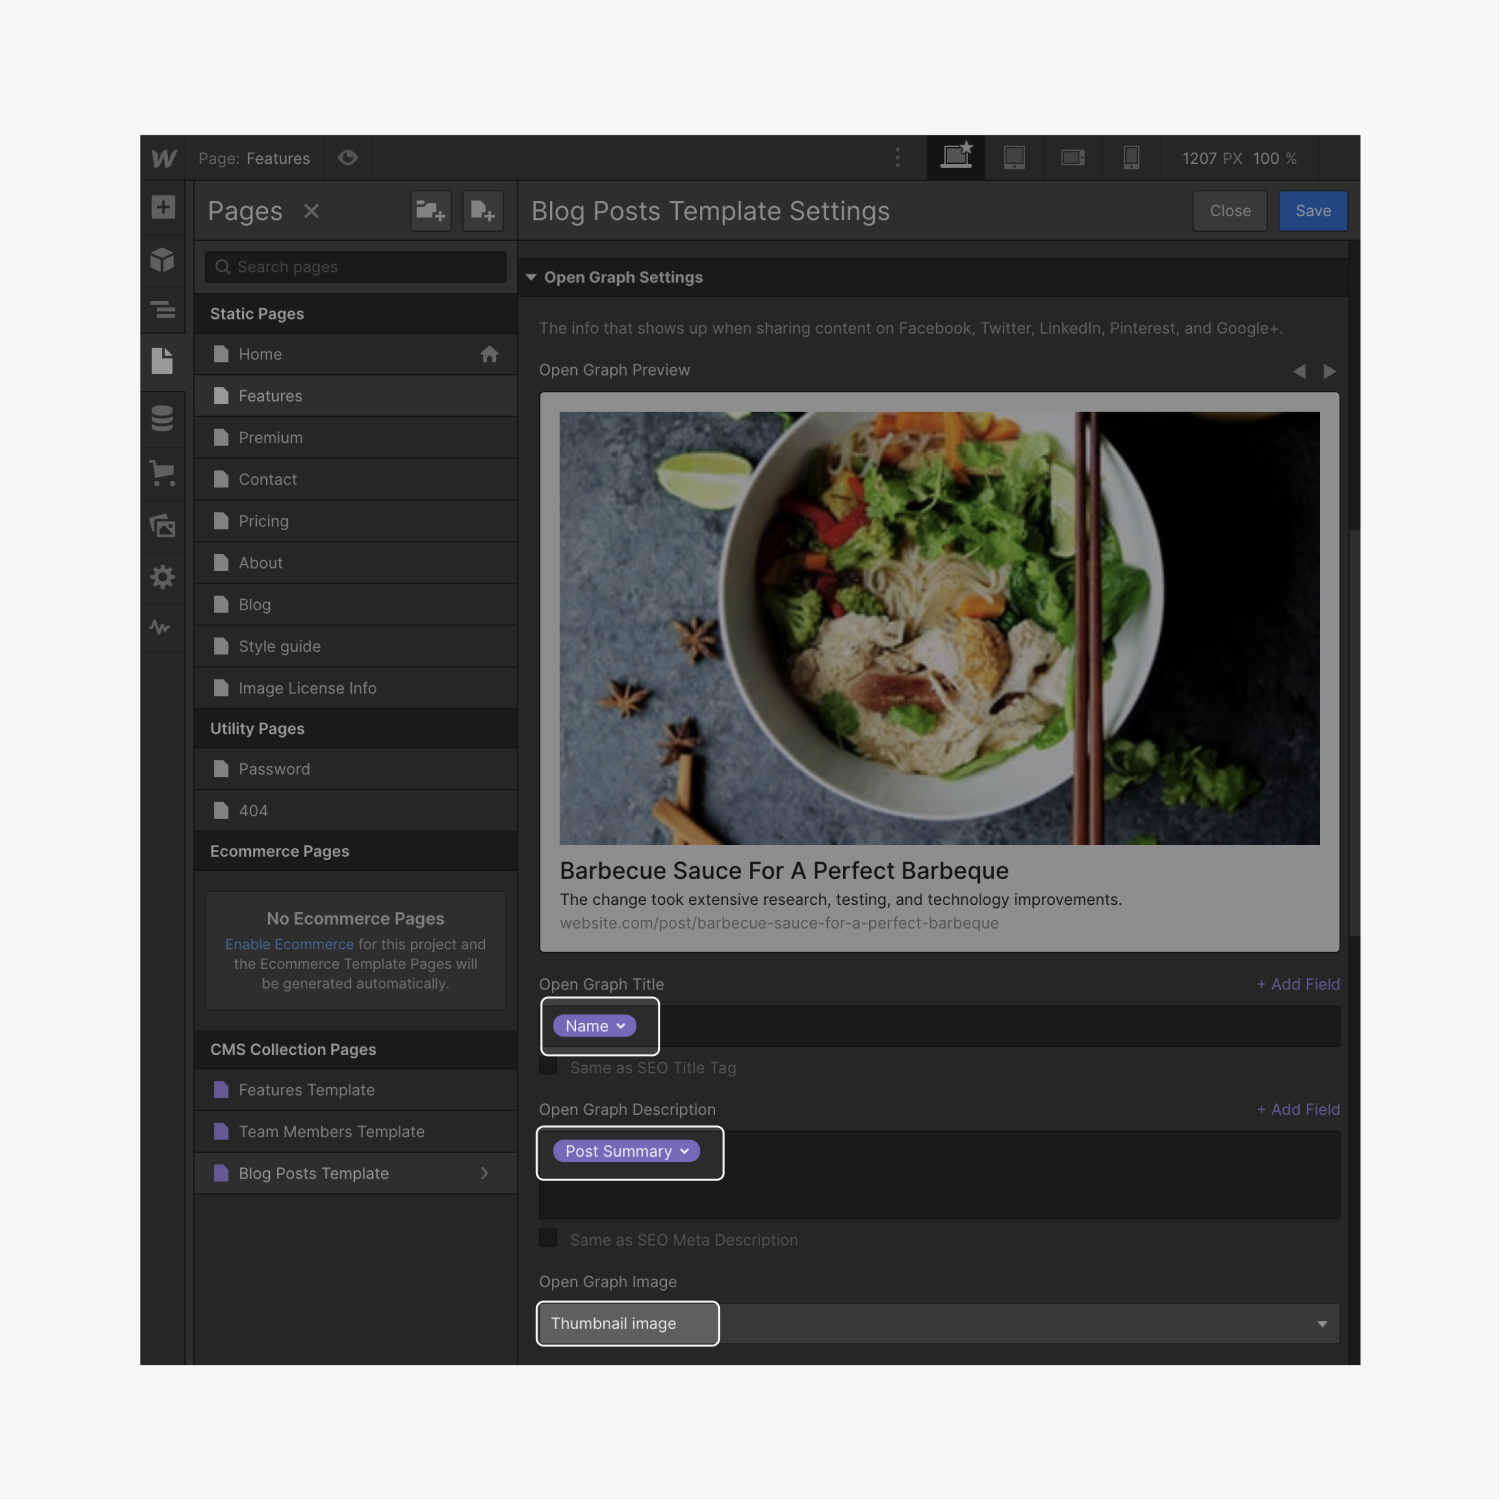
If you still can’t delete a field, check your Collection Page settings. The field can be in SEO, Open Graph, RSS, or Site Search settings. It might also be in the Custom code section. Remove it from these settings, then go back to your Collection settings and delete the field.
Reconfigure any Zaps and API connections
If you’ve used this field in Zapier or other apps using the CMS API, check and reconfigure any Zaps or API connections that may get broken when you delete this Collection field. Also note that restoring a backup of your site after deleting a field may still cause issues with such third-party integrations.
Understand CMS file privacy
When you upload a file (e.g., a PDF file) into a Webflow CMS Collection item field, that file is also uploaded to AWS (Amazon Web Servers). This generates a unique filename for your file that also links it to your project.
It’s important to note that the files you upload to a Collection item field are not restricted. Essentially, if you have the direct link to the uploaded file, that file can be loaded in a web browser and could be discoverable. However, discovery of the file is unlikely unless the unique filename (GUID) can be guessed. The file has to be linked or shared somewhere for someone to find it. The file must also be on a publicly viewable web page for Google (or other search engines) to be able to crawl and index the file.
Scenarios where files in CMS item fields are potentially discoverable:
- You have a direct link to the uploaded file
- The unique filename (GUID) can be guessed
- The file is linked or shared somewhere (e.g., a CMS Collection’s template page links to the file, or a static page links to the file)
- A CMS Collection list links to the file
- The file is on a publicly viewable web page for Google (or other search engines) to crawl and index the file
If a CMS Collection page links to the file, or if the file is linked elsewhere on a static page (or another CMS Collection page) via a CMS Collection list, then Google can crawl the page and index any links it follows.
Prevent CMS item file discovery:
- Password protect the page that links to the file that needs to be restricted
- Set a rel=”nofollow” attribute on any links that go to the file that needs to be restricted
- Upload private content through form file uploads with “Restrict file upload access” toggled ON
Password protection
If the page that contains the link to the file is password protected, the link would not be found on the page because the page would return a password protected response and the content would not be loaded.
However, if the page that contains the link to the file is not password protected initially and becomes password protected at a later time, then Google may have already crawled and indexed the content, including any links to files on the page. In this instance, the actual file link would still be able to be loaded, so Google would continue to index that file. In other words, the link to the uploaded file is not password protected — only the page itself is password protected.
Set a ‘nofollow’ attribute on the link to the file
To avoid indexing a link, an option is to set a rel=nofollow attribute on any links that go to the file you want to restrict. Read more about rel=nofollow.
To set the nofollow custom attribute on links:
- Select the link that needs the custom attribute
- Open the Settings panel
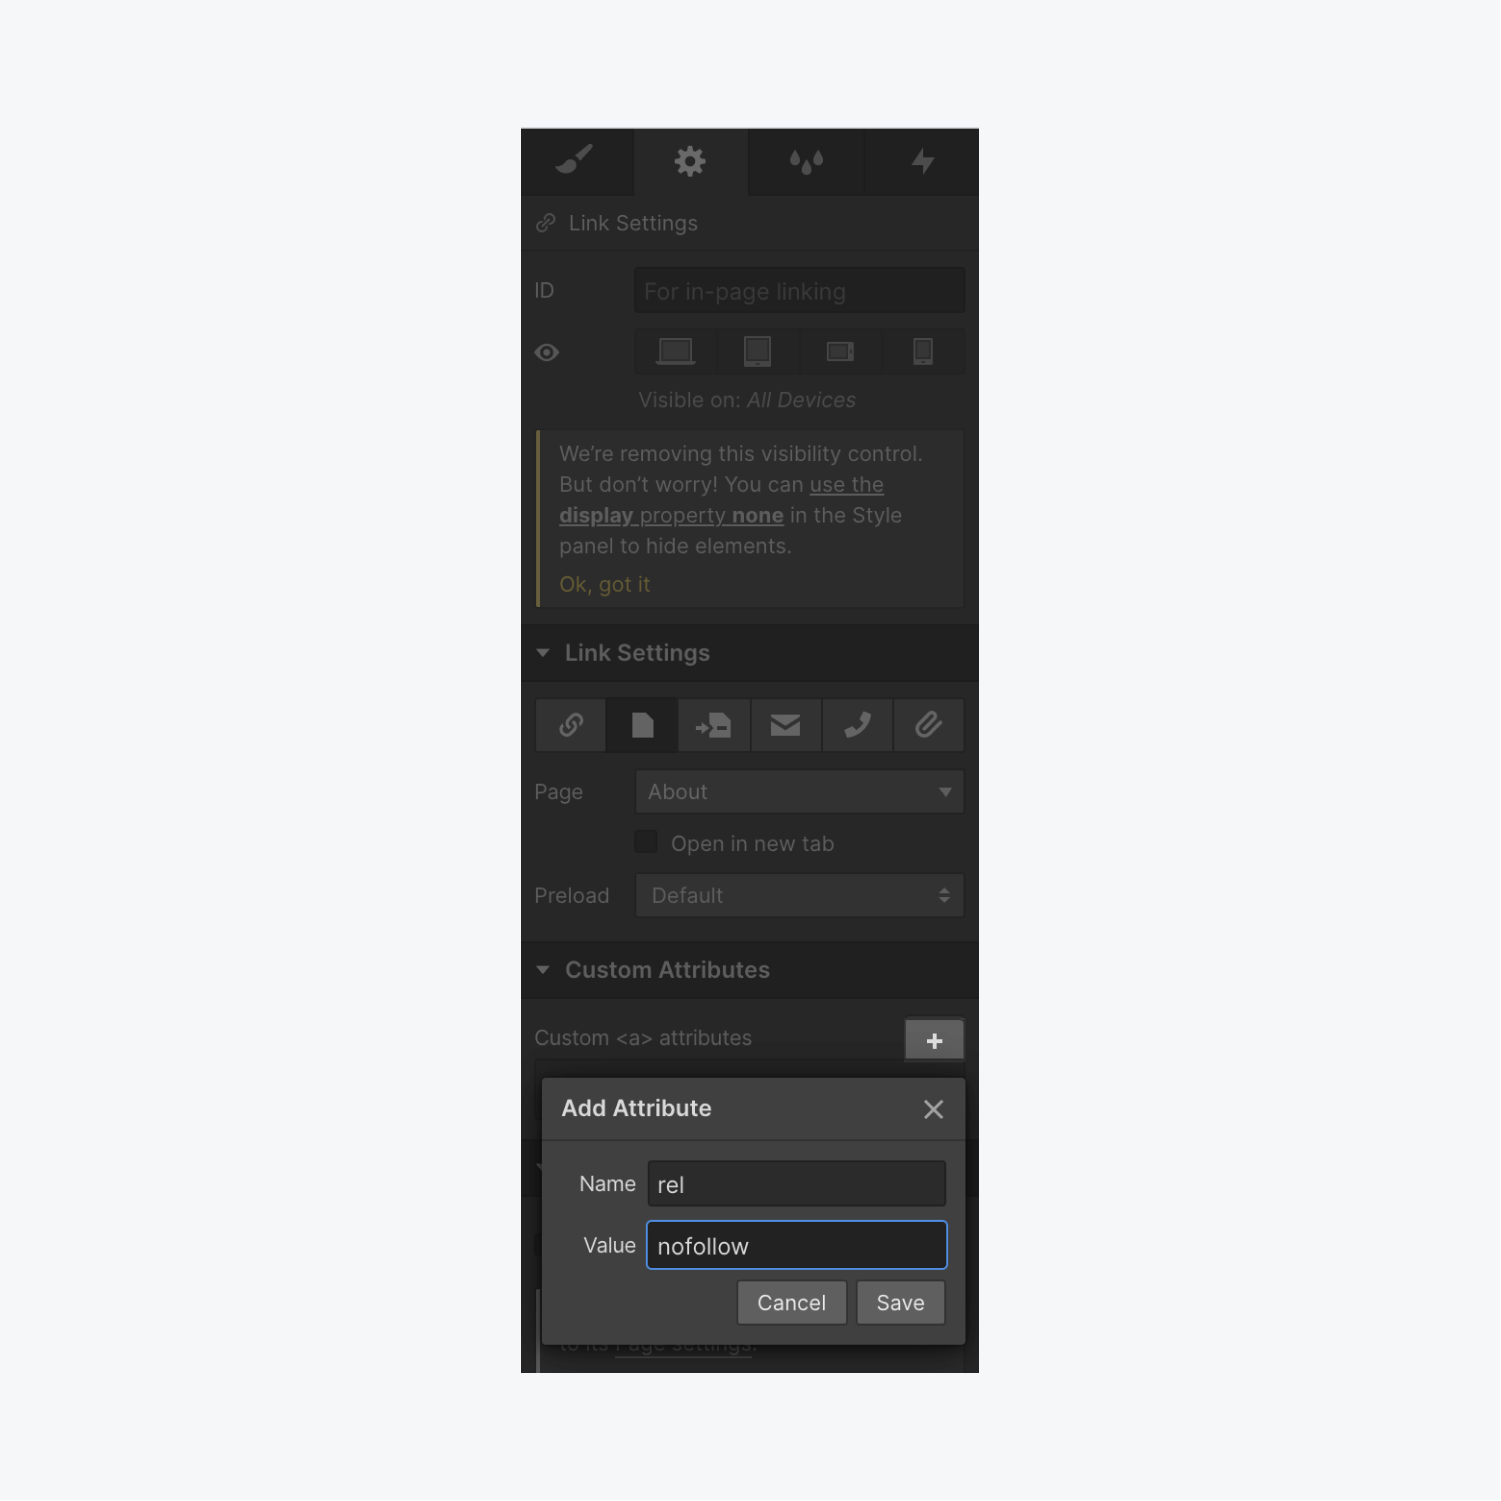
- Click the plus icon to Add attribute
- Give it a Name (e.g., “rel”) and a Value (e.g., “nofollow”)
- Press Save
Note: The nofollow attribute is only a suggestion to Google not to follow the link to the restricted file. Google may still index the file if it crawls the file from another link elsewhere. Additionally, the nofollow attribute will not remove restricted files that are currently indexed on Google search.
Upload private files through form file upload
You can upload a file through form file uploads with the “Restrict file upload access” toggle set to ON. Read about restricting access to form file uploads.
The files uploaded via restricted form file upload access would not be accessible for search engines to index or for others to view without having logged-in admin privileges.
Note: Files that have been uploaded via restricted form file upload access cannot then be used on CMS Collection pages or static pages due to their links being restricted and requiring logged-in access.


