You can specify the sort order of collection lists based on a specific field or fields. For example, you may want to sort a “Latest news” collection list by a date field. Or, you may want to sort a collection list of artists by their name. Or, you may want a limited collection list to display "quote of the day" randomly. Or, you may want to create a custom sort order of your own.
In this lesson
- Adding sort order to a list
- Adding multiple sort orders
- Adding a custom sort order
- Deleting sort order settings
Adding sort order to a list
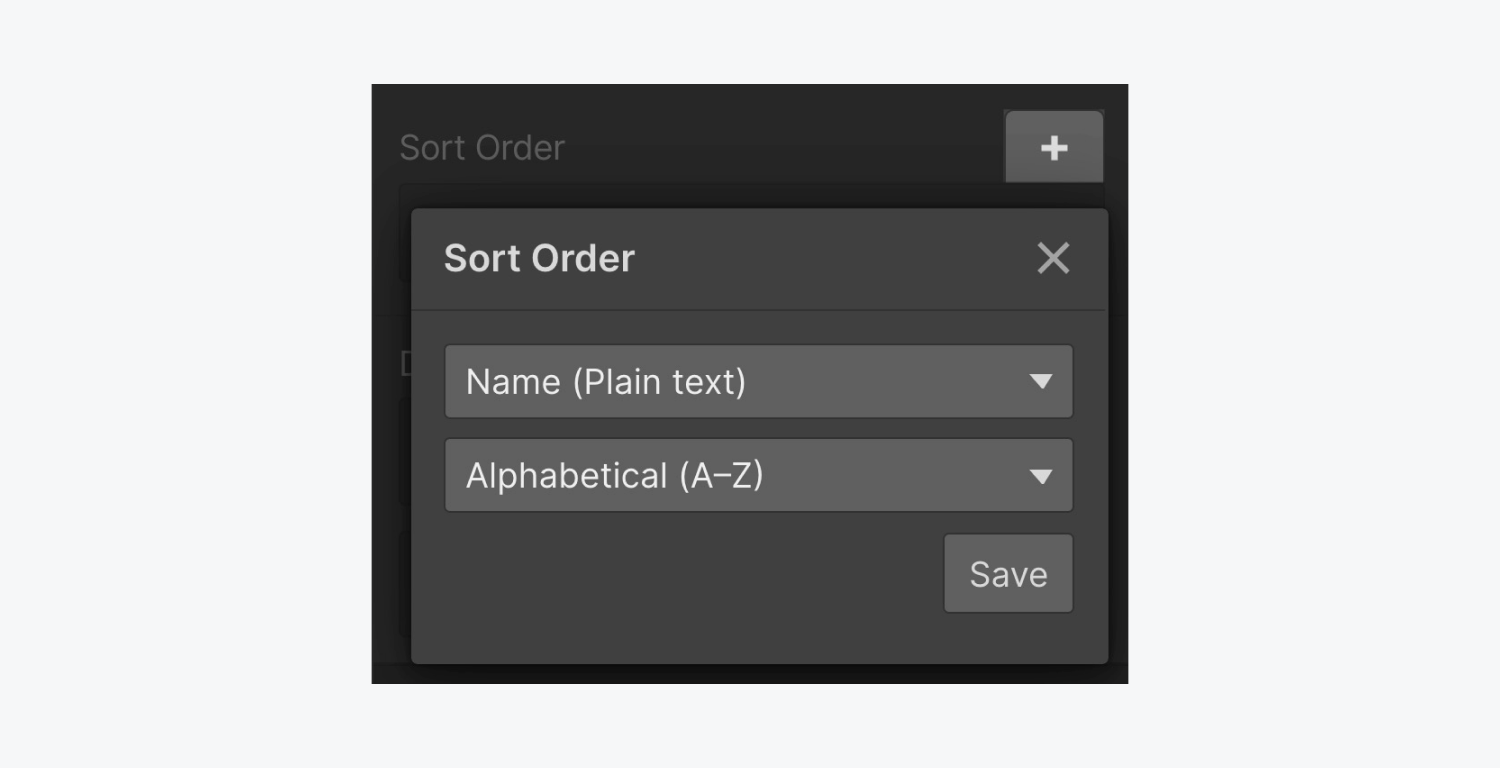
With your collection list selected, go to the Element settings panel, and add [+] a sort order under the Collection list settings.

Sort order rules
Different rules will be be available for each field type.
Alphabetical (A-Z) / reverse-alphabetical (Z-A)
For sorting plain text fields, option fields, references or any other fields that are text-based.
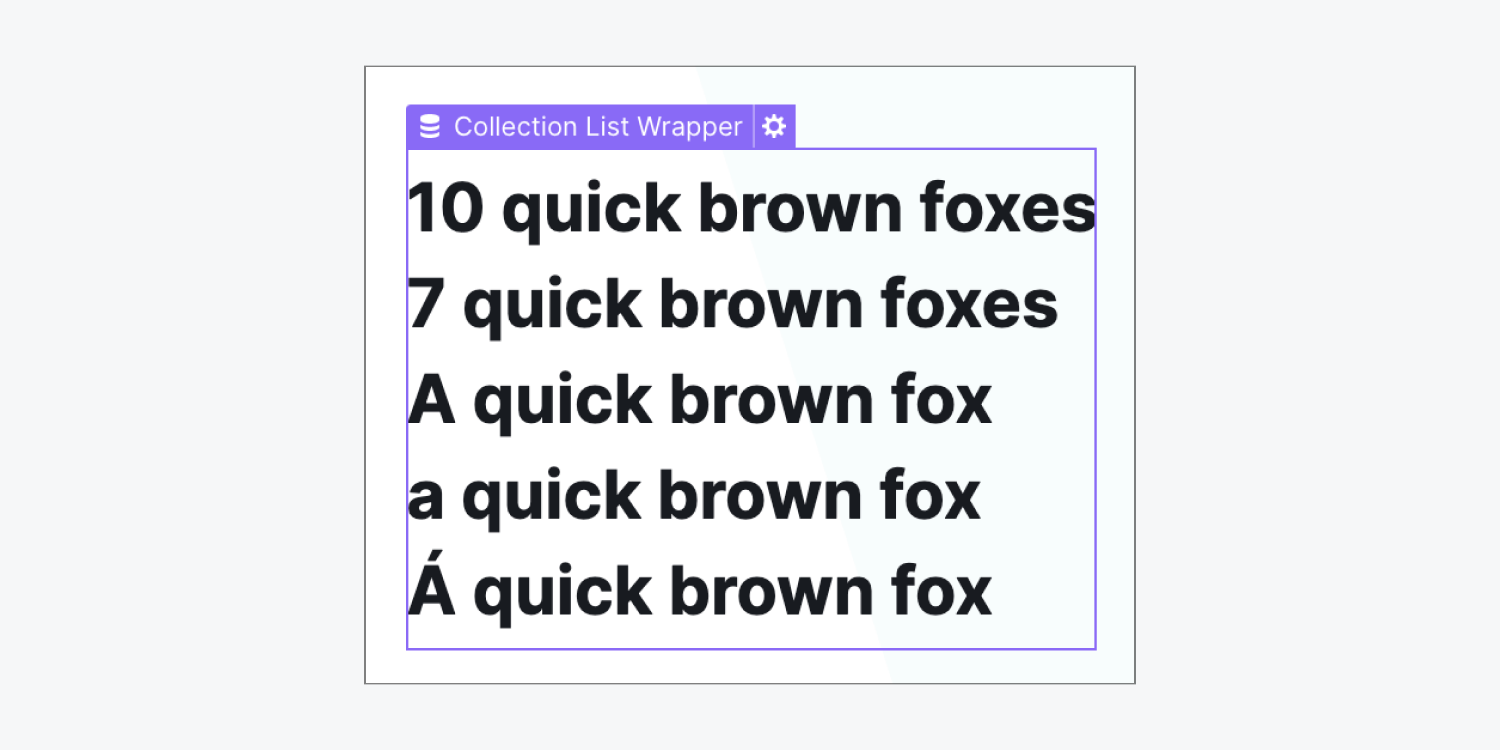
When sorting alphabetically, your items will be sorted in the following order:
- Numerically (keep in mind that even if your number is 10, it will sort by the "1" first)
- Uppercase letters alphabetically
- Lowercase letters alphabetically
- Characters with diacritics (a diacritic is a sign, such as an accent or cedilla, that is written above or below a letter to indicate different pronunciation)
In the example below, 10 (even though it's a larger number) displays first because 1 (the first number in 10) is smaller than 7.

Smallest to largest / largest to smallest
For sorting number fields.
Oldest to newest or newest to oldest
For sorting any date field.
Is ON first / Is OFF first
For sorting by switch fields.
Random Order
This will randomize the order of a list every 12 hours.
Note: A Collection list with Pagination can have Random Order only when the project is republished, instead of every 12 hours.
Adding multiple sort orders
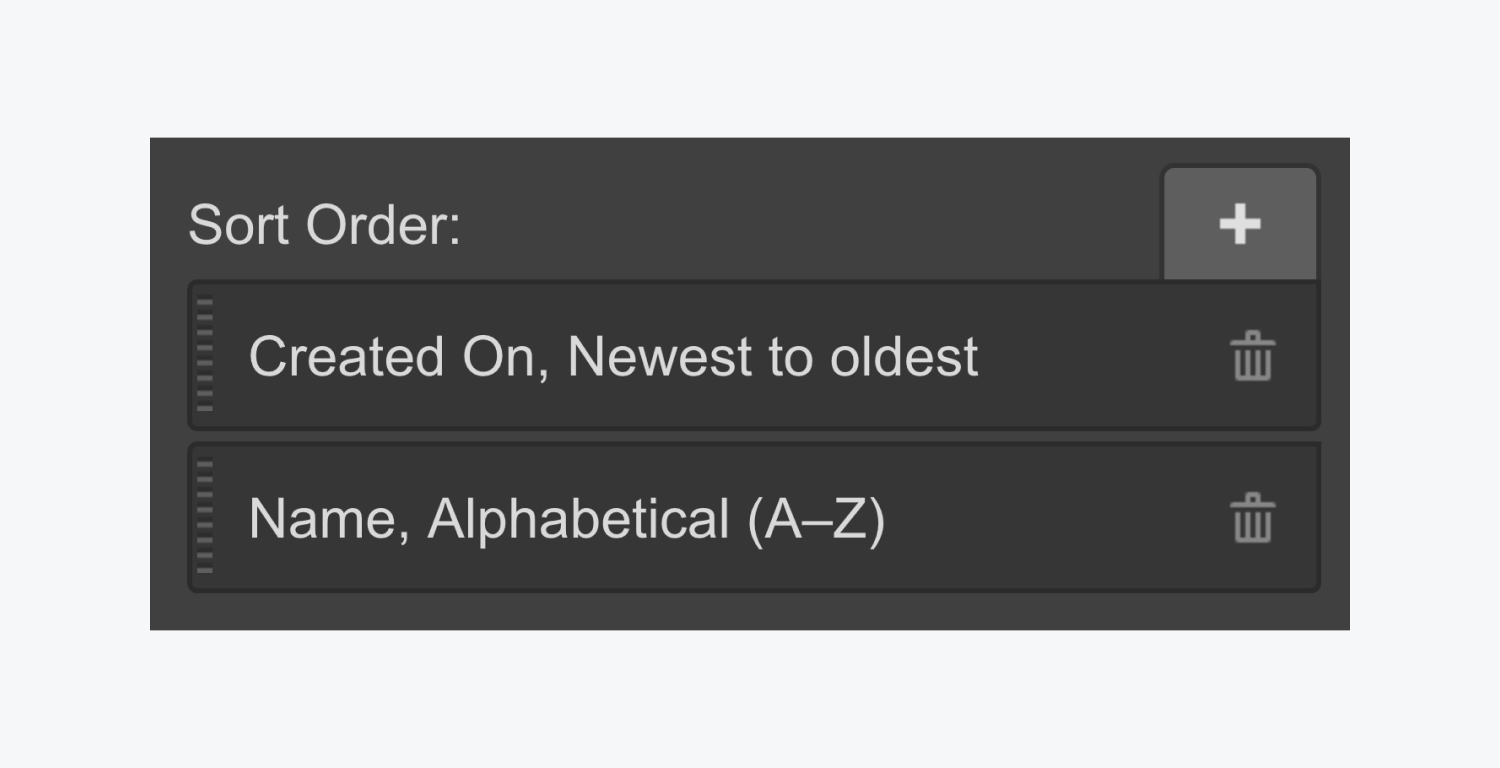
You can add multiple sort orders. The collection list will be sorted first by the first sort order rule than by the second and so on. For example, a “Team members” list can be sorted by an “Employee of the month” switch field first and then can be sorted randomly after that.
Adding a custom sort order
If the default sort orders aren’t exactly what you need, you can always create a custom sort order by adding a new custom CMS field in your Collection. You’ll use that new field, and the information you enter into it, to sort your Collection items.
Let’s add the new field:
- Open your Collection and click on the cog icon to access the Collection settings
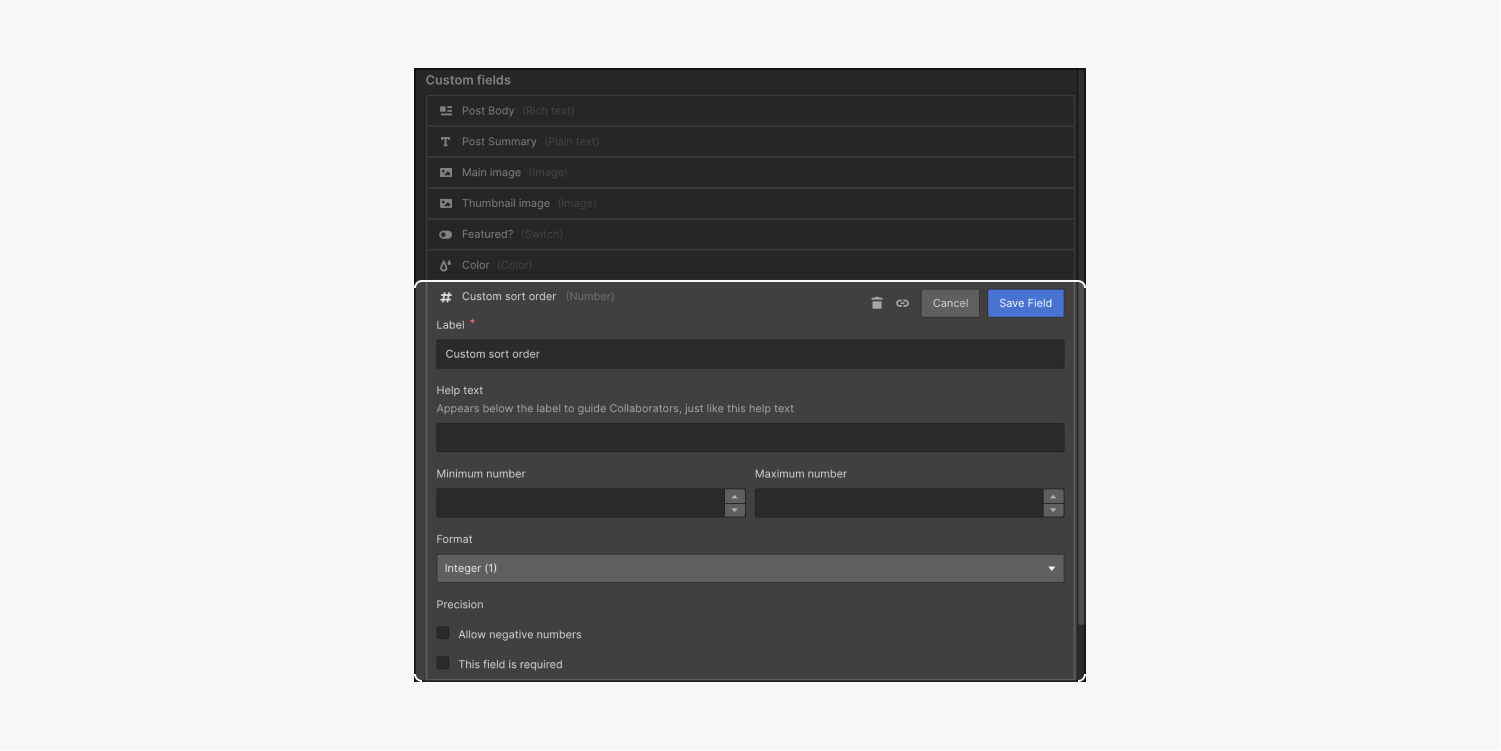
- Click the “Add new field” button and choose “Number” as the Field type
- Give it a name in the Label field (e.g., “Custom sort order”) and click Save field
- Click Save Collection

Now that the new “Custom sort order” field has been created, you’ll need to add a number in that empty field within each Collection item. This number indicates the position of your Collection items in your new, custom sort order.
- Open a Collection item
- Scroll to the “Custom sort order” field
- Type in your preferred number and Save the item

Repeat the above 3 steps for all items in your Collection and be sure to give each item a unique number.
Let’s sort our Collection items by the numbers we assigned to them:
- Select your Collection list and open the Element settings panel
- Click the plus button under Sort order
- Choose your new field from the first dropdown (e.g., “Custom sort order”)
- Choose your preferred sorting method from the second dropdown (e.g., “Smallest to largest”)
- Press Save

Your items will now be custom sorted in the order you numbered them.
Deleting sort order settings
You can delete applied sort order by clicking on the trash can icon next to the sort order.


