Collection items are the individual data records in each collection. A Collection item can be a single blog post, an author, a product, and so on. Each Collection item can have values for all or some of the Collection fields that constitute the structure of that Collection. These values can be connected to your design elements and settings to populate them dynamically. Even though each Collection item will have an automatically generated dynamic collection page, it can also be featured in Collection lists on any of your pages.
In this lesson, you’ll learn:
- How to create Collection items
- How to update Collection items
- How to edit draft items
- How to unpublish individual items
- How to understand publishing restrictions
- How to edit individual Collection items
- How to manage Collection items
- How to schedule Collection items
How to create Collection items
Once you’ve created a Collection, you can choose to add sample content so you can start designing quickly, or you can create items manually, import items from a CSV file, or import them through the CMS API using Zapier or webhooks.
Generating sample content
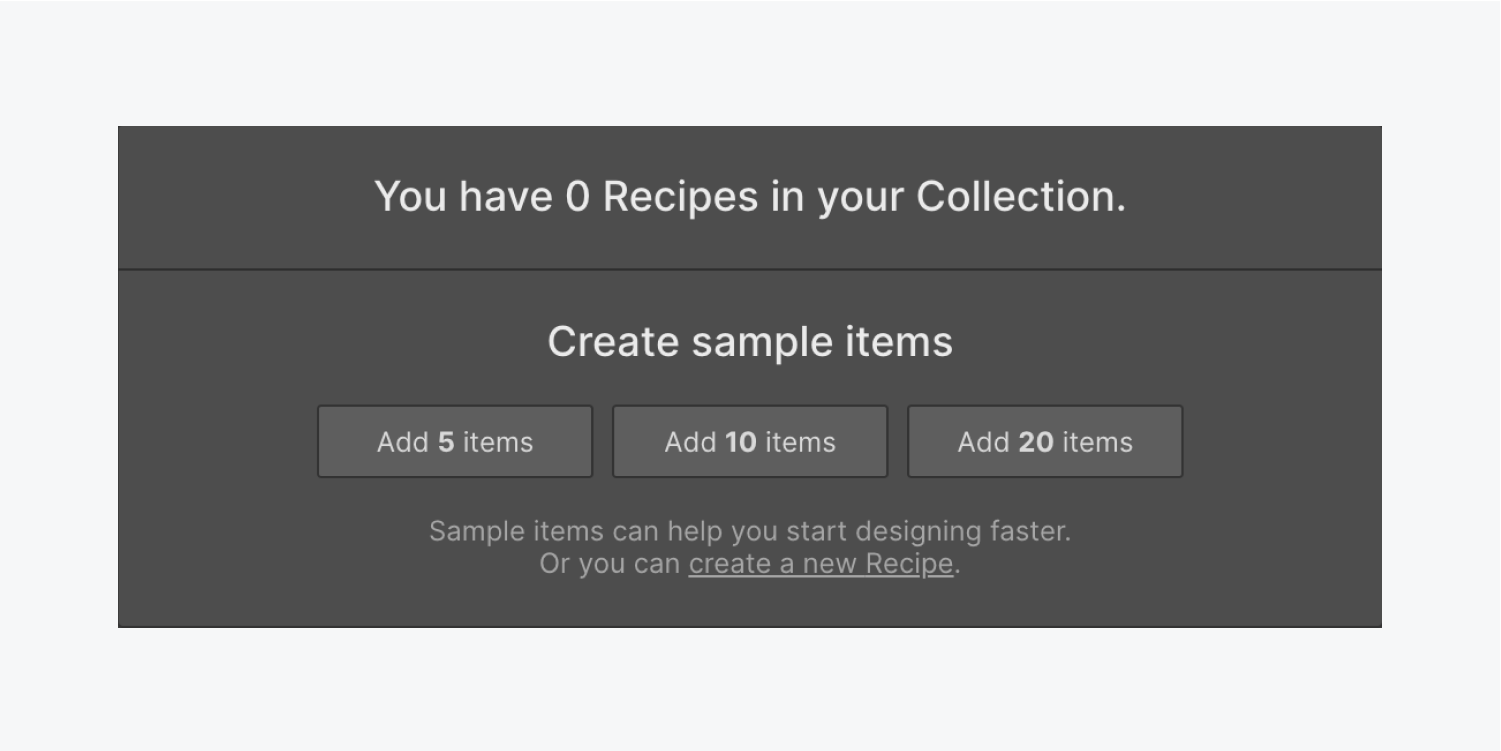
When there are no items in a Collection, you have the option to generate some sample content. Sample content allows you to start designing and building inside the site right away, even if you don’t already have the actual content.
Creating items manually
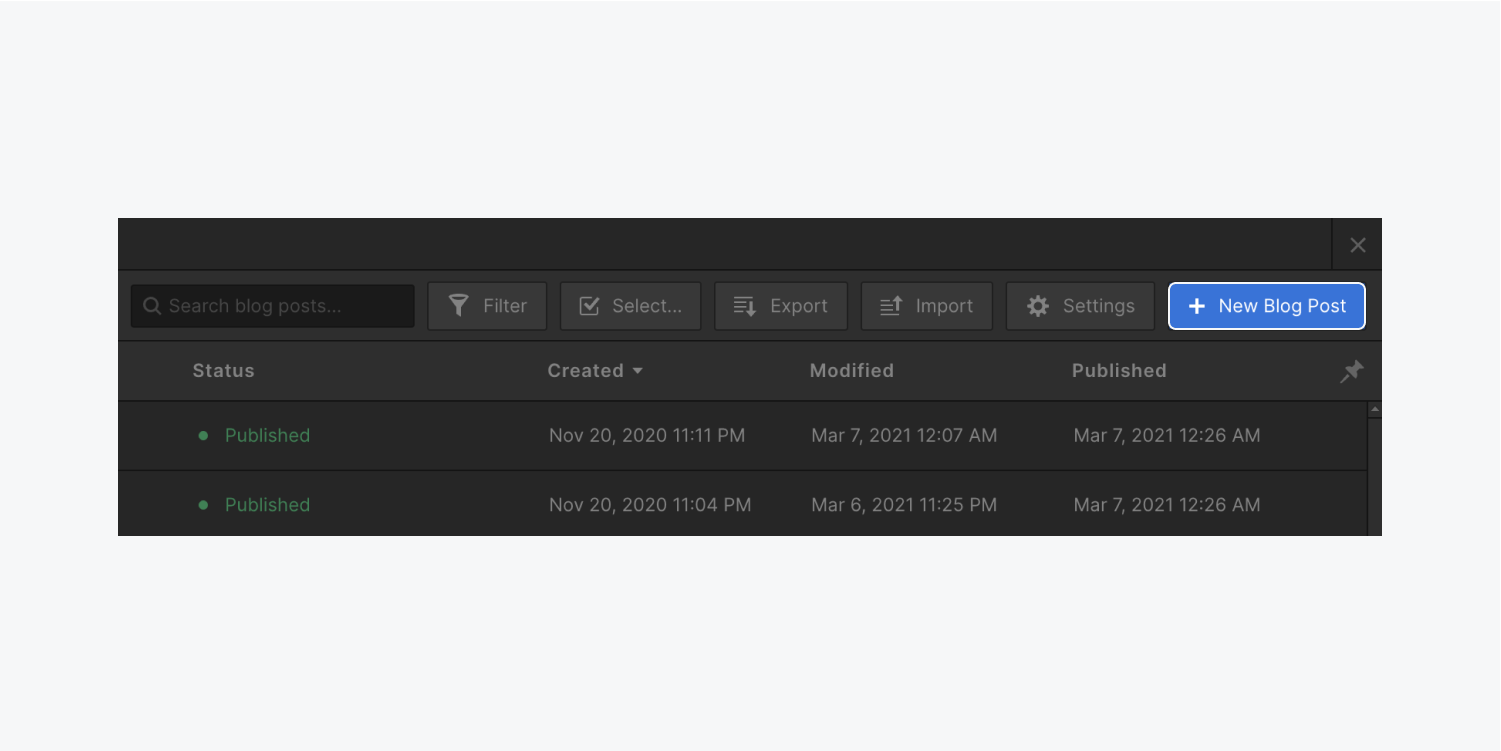
You can start creating items manually by opening the CMS panel or the Ecommerce panel, selecting a Collection and clicking the + New Item button. The button is named after your Collection (e.g., New Blog Post, New Recipe, New Team Member, etc.)
Creating a new item
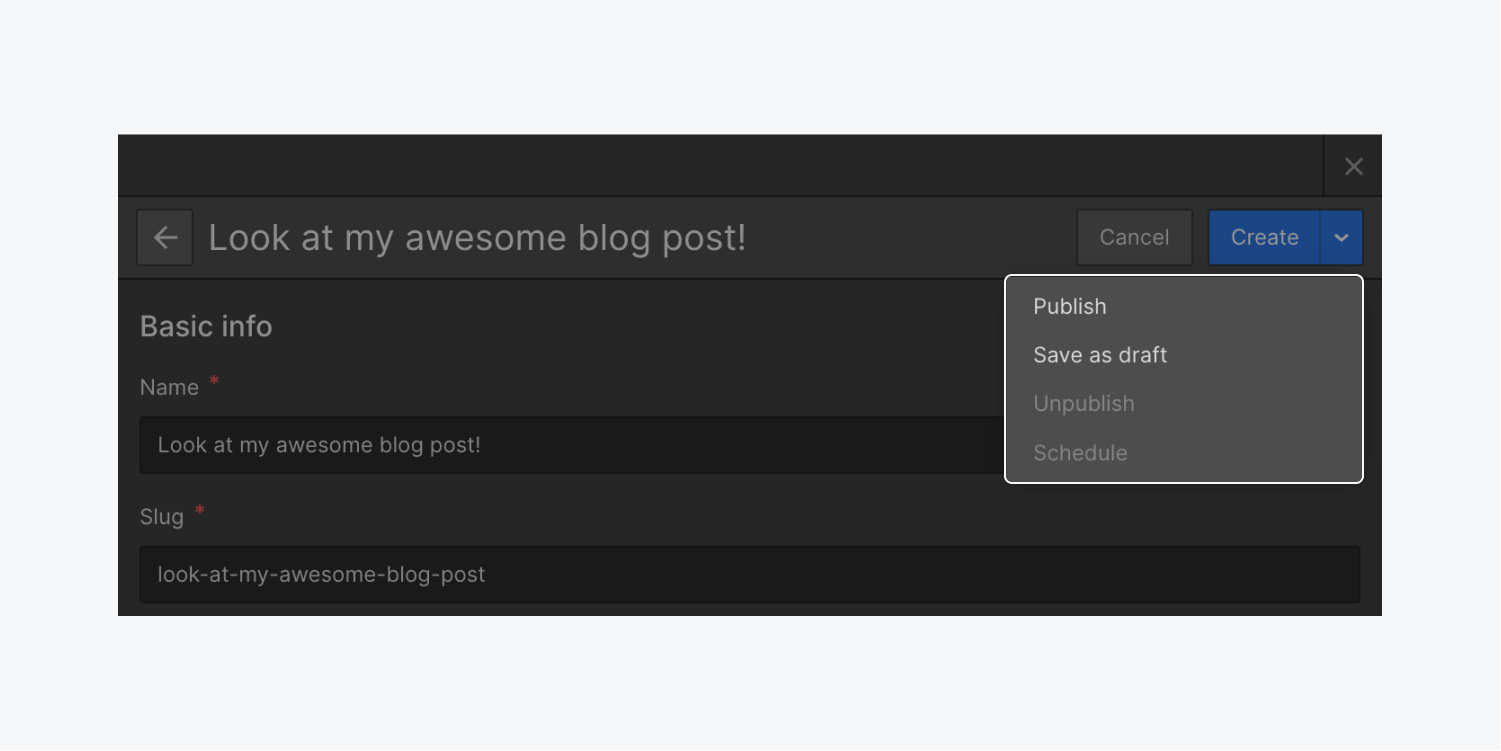
When you create a new CMS item, you can choose to:
- Create this new item. It will be staged for publish and will go live on your site next time you publish your site
- Publish your item right away (without waiting for the next site-wide publish to take place)
- Save as Draft if you aren’t quite ready for the item to go on the live site
- Schedule your post to publish at a future date (only available on hosted CMS, Business, and Ecommerce Plans. Learn how to use scheduled publishing.)
- Cancel to discard changes
Note: An item must first be published to enable unpublishing.
Need to know: Publishing and updating individual items will also publish any items referenced in reference and multi-reference fields.
Importing content into a Collection
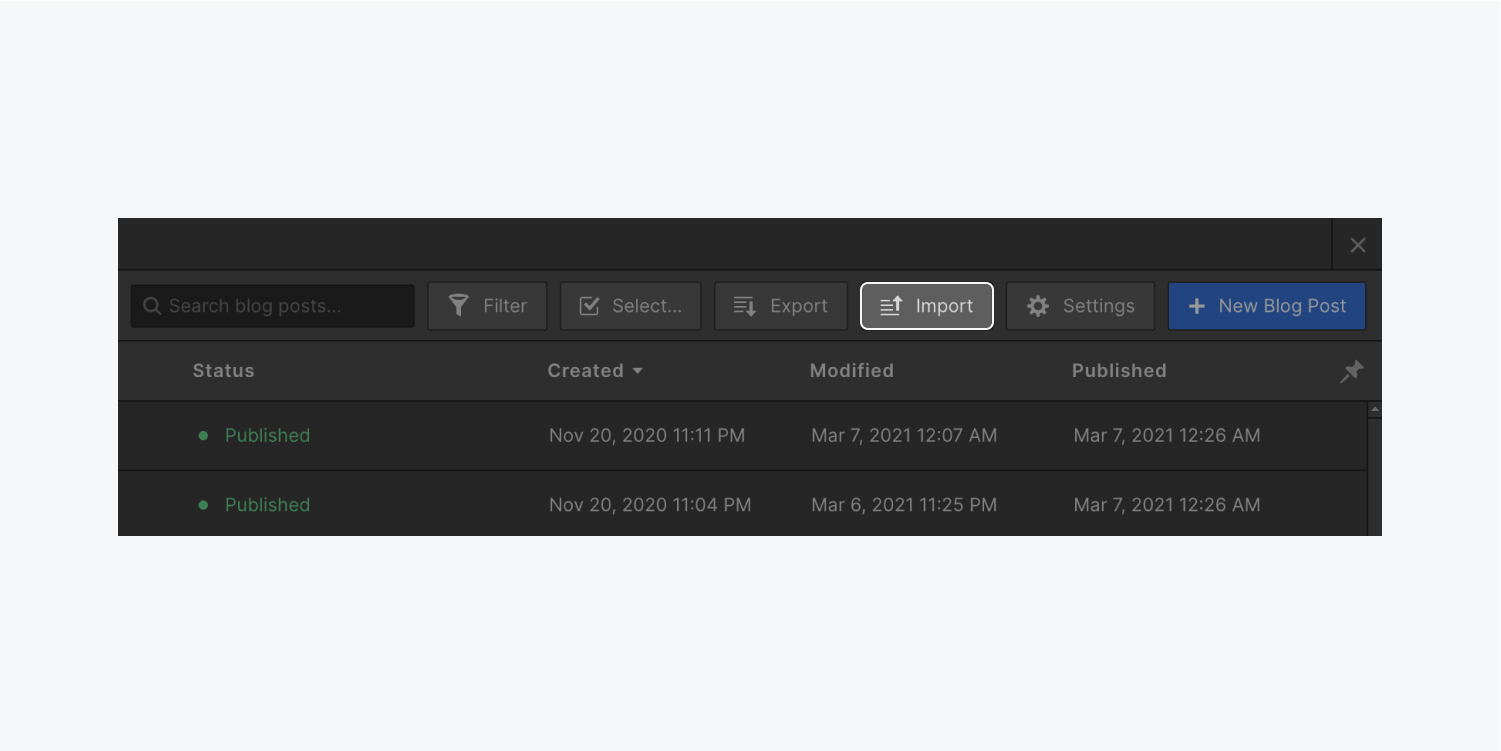
If you already have the content structured in a CSV file, you can easily import it into your Collection and map it to existing fields or new fields.
Resources
To use the API and tools like Zapier, check out the following resources:
How to update Collection items
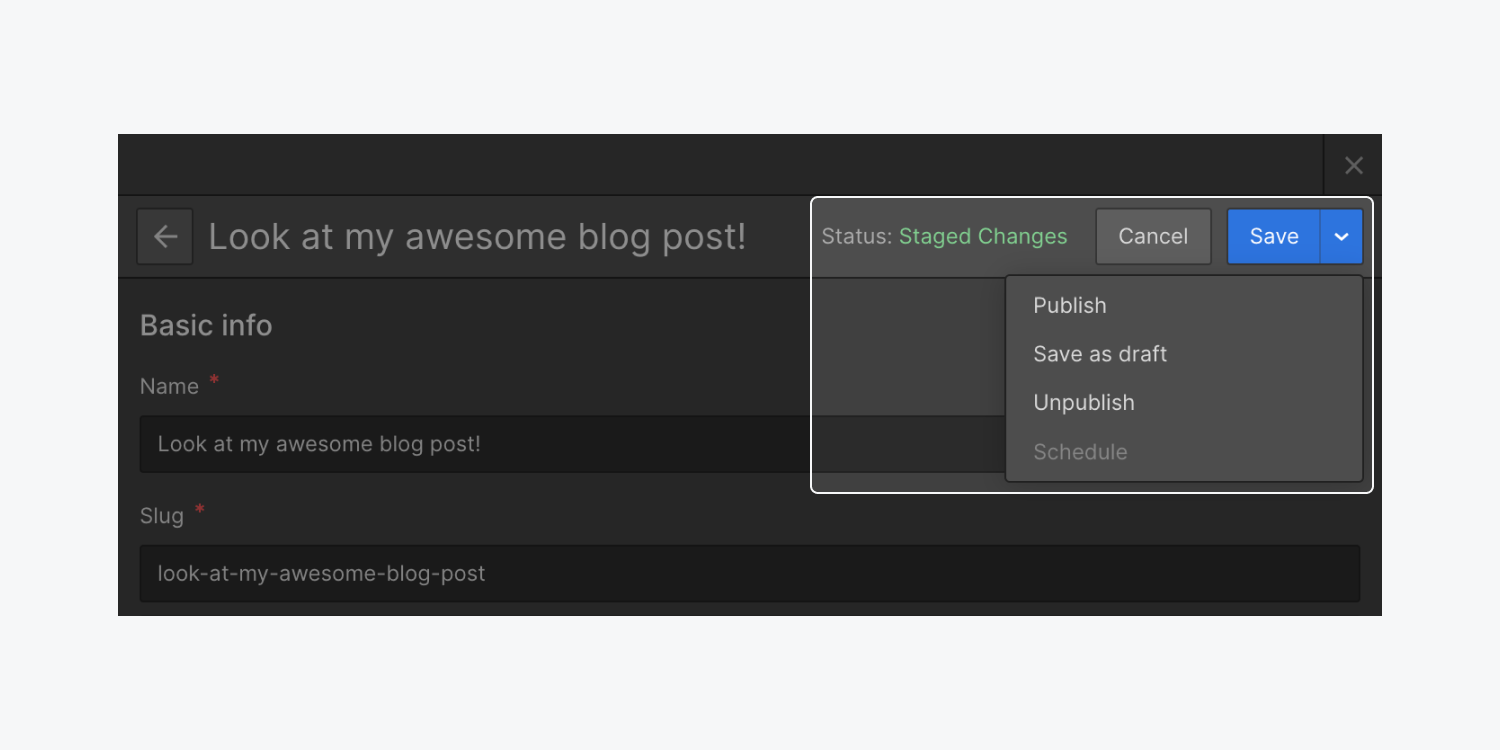
You can update Collection items whenever you want to right from the Designer or the Editor. When you’re updating an existing item, you can save the changes to go live at the next site-wide publish (its status becomes “Staged changes”), publish the item right away to push the content changes to your site (its status becomes “Published”), or unpublish the item to immediately remove it from the live site (its status becomes “Draft” and no longer contains a “Published” timestamp). You can also save it as a draft or cancel to discard the changes.
Note: If you save a previously published item as a draft, the item’s status will change to draft, but the item will remain published on the live site until the next site-wide publish, at which point the item will be removed from the live site.
How to edit draft items
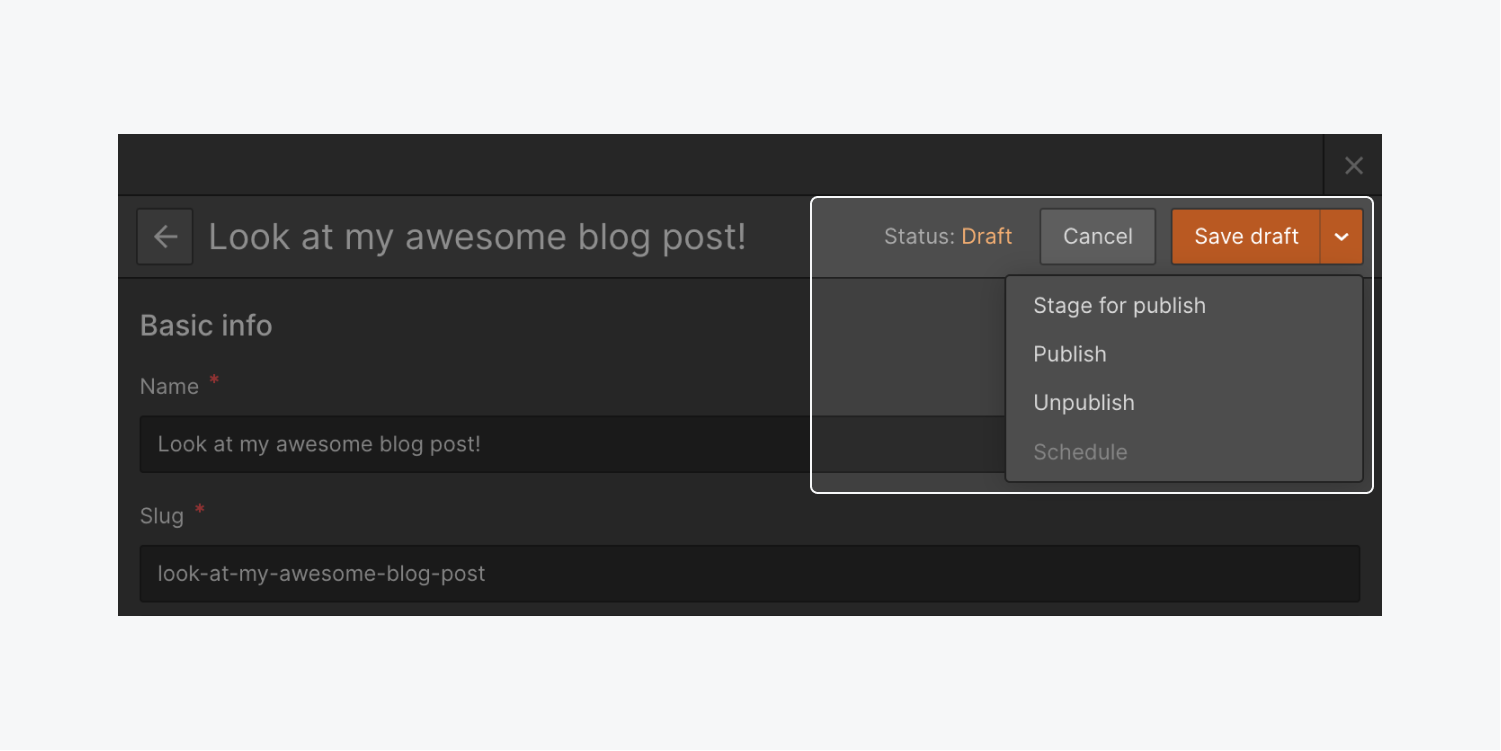
You can edit draft items as many times as you need and keep choosing to save them as a draft until you’re ready to publish them. Once ready, the item can be staged for publish or published instantly to your site. You can also choose to unpublish the item immediately from your live site, while maintaining the item’s draft status.
How to unpublish individual items
If you want to unpublish a previously published item, you can choose from 2 options:
- Unpublish the item
- Save the item as a draft
If you’d prefer to unpublish multiple items at once, check out our information on bulk-editing.
Unpublish the item
Unpublishing an item immediately removes the item from the live site, and changes its status to draft (or maintains the draft status if the item was already a draft that was still published to the live site). Unpublishing also removes the original published date.
Note: Unpublishing is blocked if your site’s domains have different publish dates, or if your site was restored from a backup. You can regain access to unpublishing after you perform a full-site publish that syncs the publish dates of the different domains.
Save the item as a draft
Saving an item as a draft changes the item’s status to draft, but allows the item to remain published on the live site until the next site-wide publish. Its original published date will also still appear. At the next site-wide publish, the item will be unpublished and removed from the live site, and its original published date will be removed. Its draft status will remain unchanged.
Good to know: A draft item won’t be re-published to the live site until you either stage it for publish (to be published at the next site-wide publish) or choose to publish the item instantly to your site. Read more about how to edit draft items.
How to understand publishing restrictions
In some cases, publishing individual items would break your site. In these instances, we prevent you from being able to publish single item updates. These instances include:
- Your site hasn’t been published
- The structure of the Collection for that item (or a referenced item) has changed
- You have multiple domains published at different times
- The item’s references create circular dependencies (for example, a blog post has an author, the author has a client, and the client has a blog post)
In each of these situations, the fix is simple: publish your entire site (to all domains) to make sure everything’s in sync.
How to edit individual Collection items
A Collection is a living, breathing database — it’s constantly growing as you add more items to your collection. You can make changes to existing Collection items or create new ones at any time in the Designer or the Editor.
How to manage Collection items
If you work with a large database of content, managing your Collection items can be a lifesaver when determining what to edit. You can do this by:
- Paging through Collection items
- Displaying Collection fields
- Searching Collection items
- Filtering Collection items
- Sorting Collection items
- Bulk-editing Collection items
Paging through Collection items
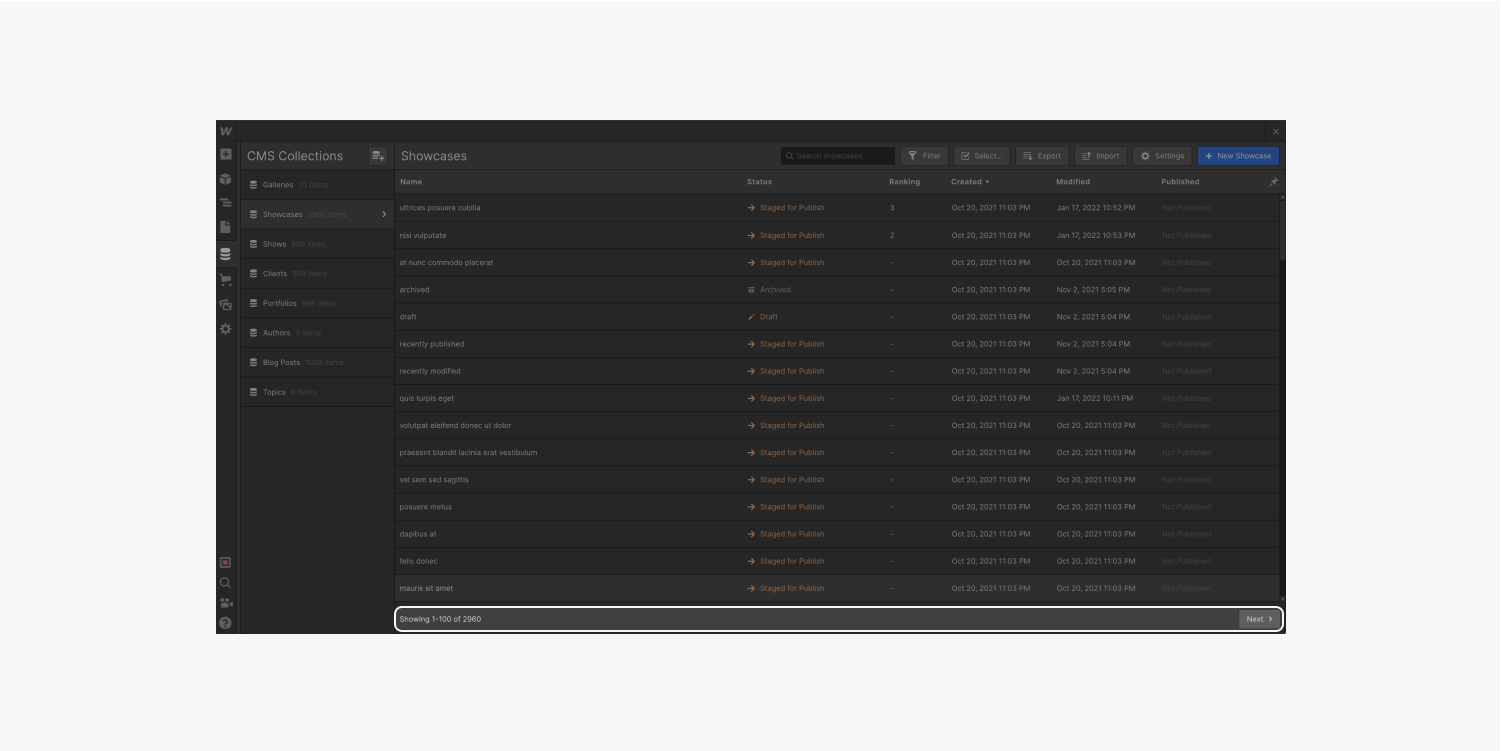
Once you open a Collection from the CMS panel in the Designer, your first 100 collection items will be preloaded and visible. If your Collection has more than 100 items, you can page through the additional items using the “Next” and “Previous” pagination buttons at the bottom right of the Designer. Even with item pagination in place, you can still search for any item in the open Collection using the search bar, too!
Displaying collection fields
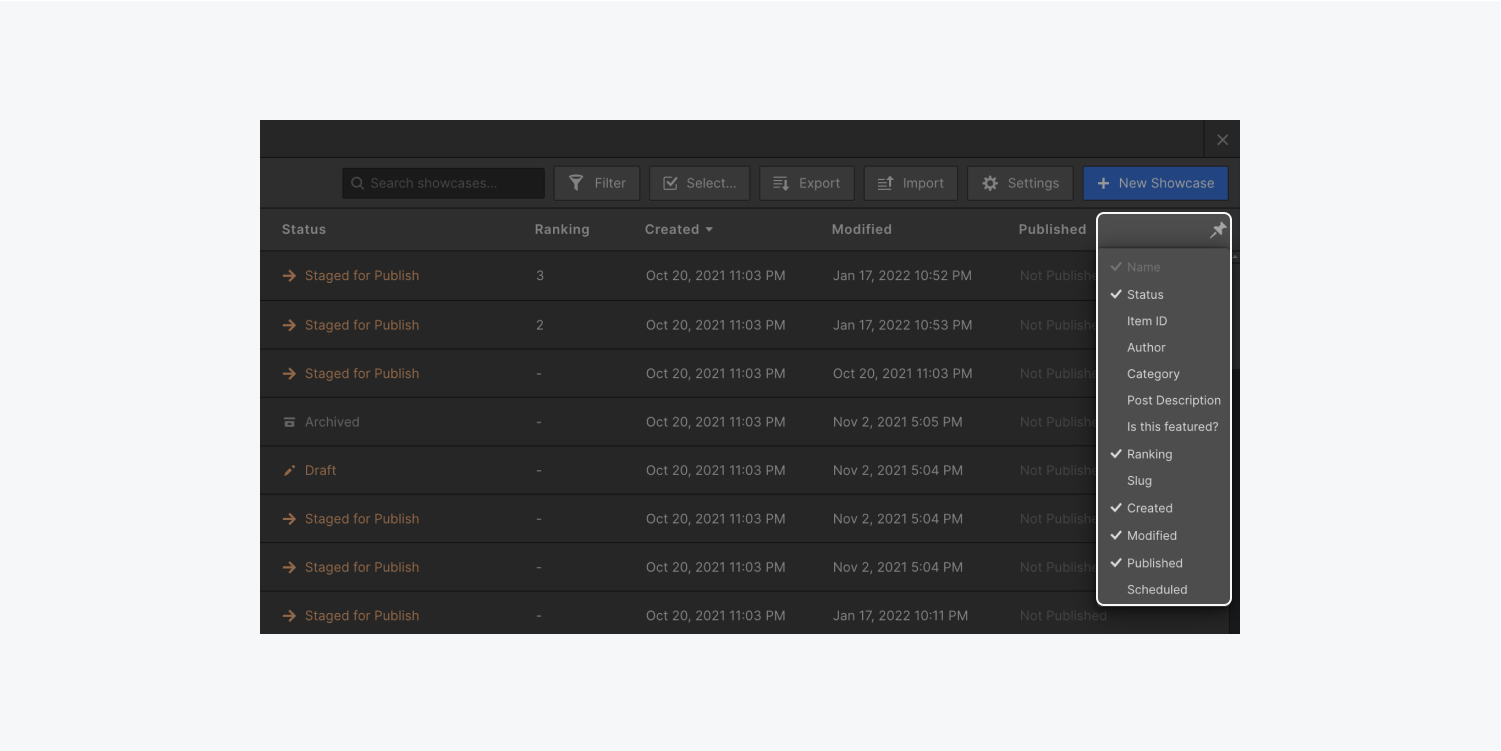
If you’d like to see more Collection fields than what are displayed by default, open your Collection and select the “pin” icon in the top right corner of the Designer to show or hide fields in the Collection.
Good to know: All Collection fields are pinnable except Image, Multi-Image, Video, and Rich Text fields.
Searching Collection items
Open a Collection and type in the search bar to quickly find exactly what you want to edit. Your search will display any items with matching values in the Name field.

Filtering Collection items
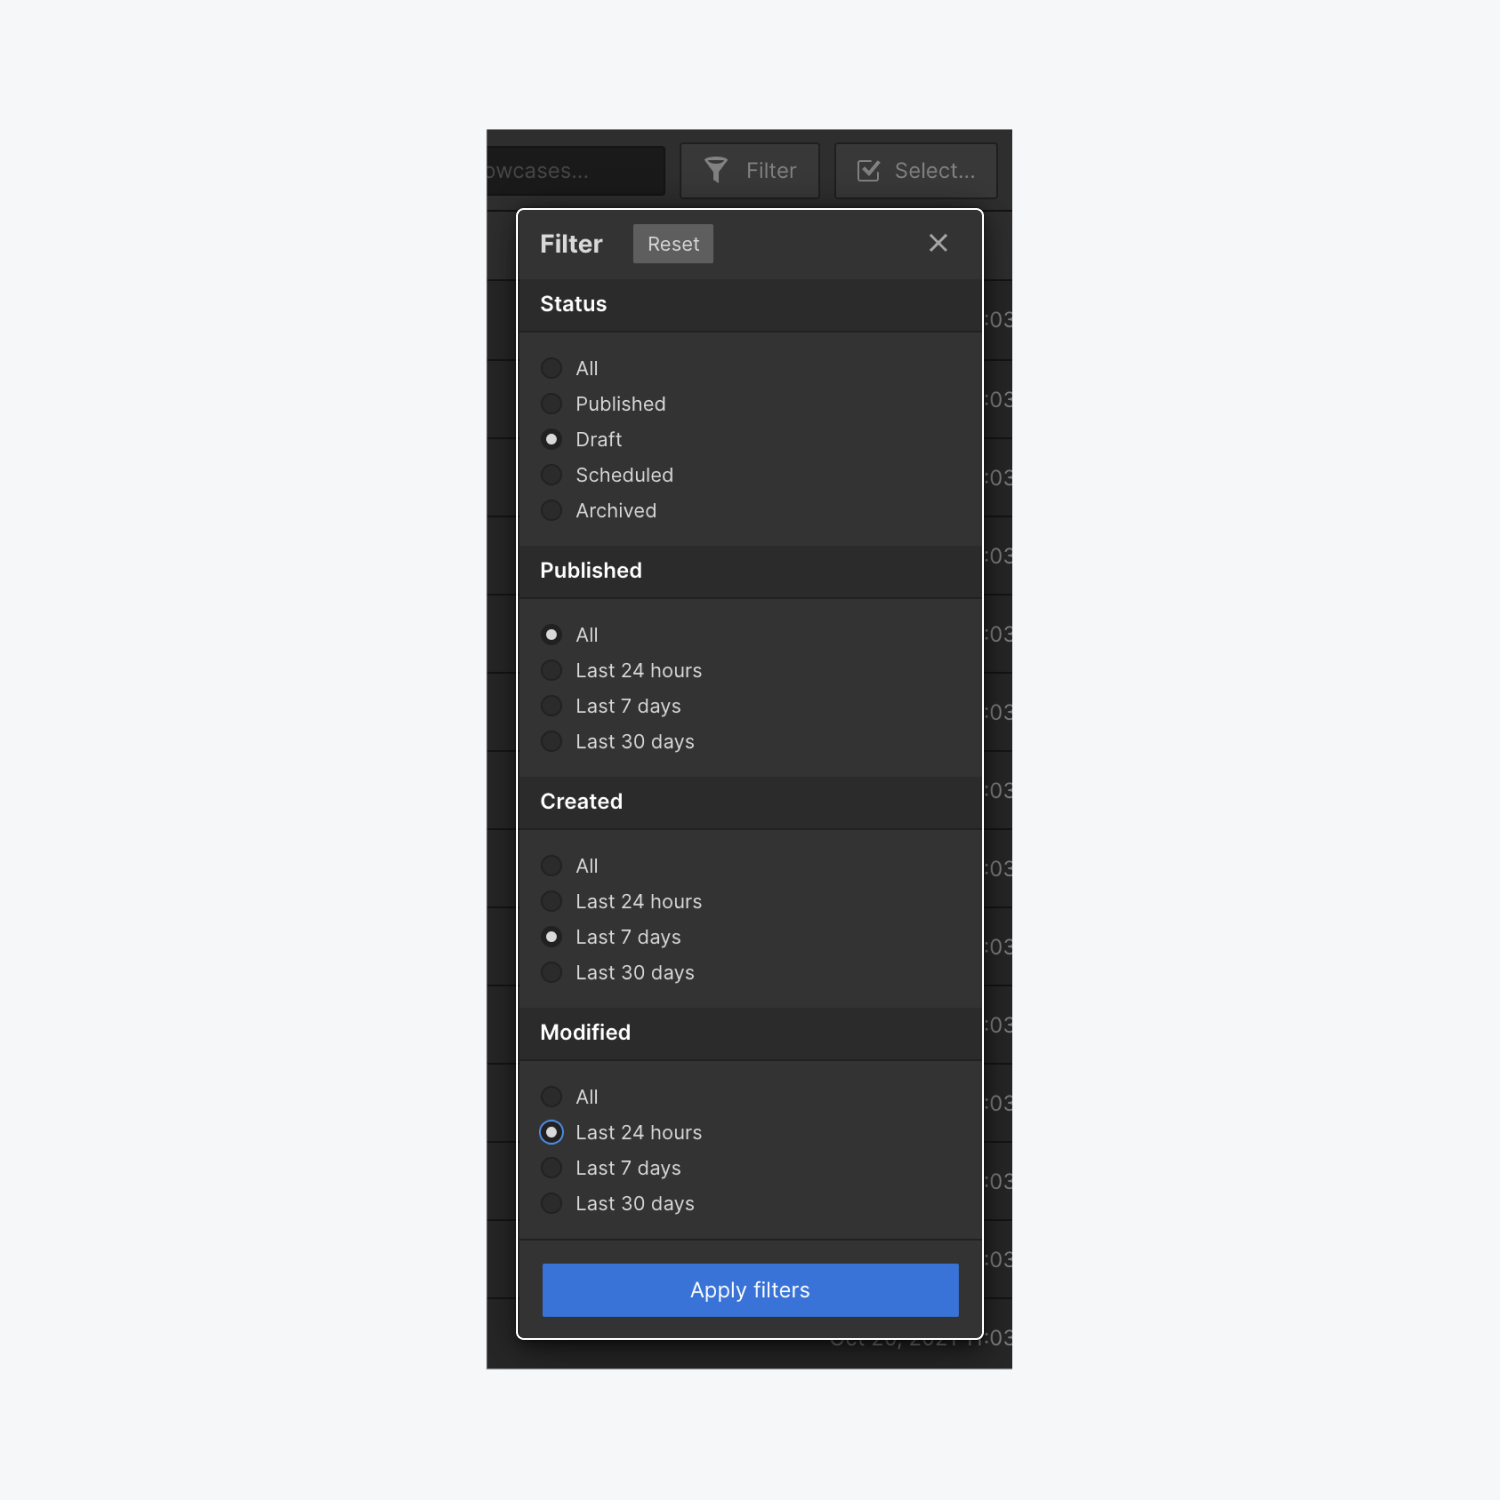
Once you add items to your Collection, use the “filter” button to refine the items that are visible. You can choose from the following filter options:
- Status: All (Default), Published, Draft, Scheduled, Archived
- Published: All (Default), Last 24 hours, Last 7 days, Last 30 days
- Created: All (Default), Last 24 hours, Last 7 days, Last 30 days
- Modified: All (Default), Last 24 hours, Last 7 days, Last 30 days
Good to know: If you select multiple filter options, the results will display in an “and” based combination.
To apply a filter to your Collection:
- Open your Collection
- Press the “filter” button in the top action bar
- Select the combination of filter options you would like to apply to your Collection item view
- Press “Apply filters” to save your filter selections
- Press the “x” or tap anywhere else in the Designer to close the filter options panel and view your results

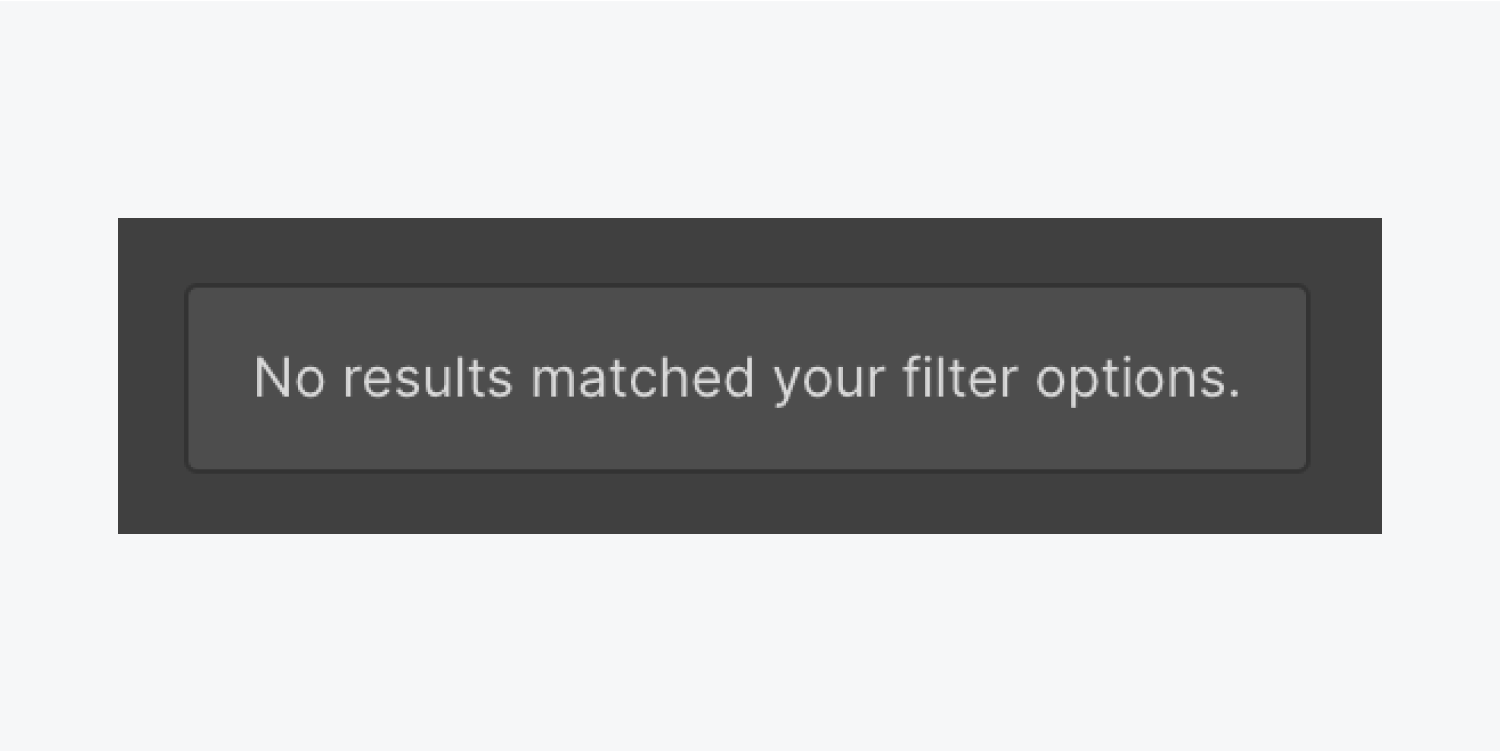
If your Collection doesn’t contain items that meet the conditions of the filter combination you have applied, you will see a message in your Collection that states “No results matched your filter options.”
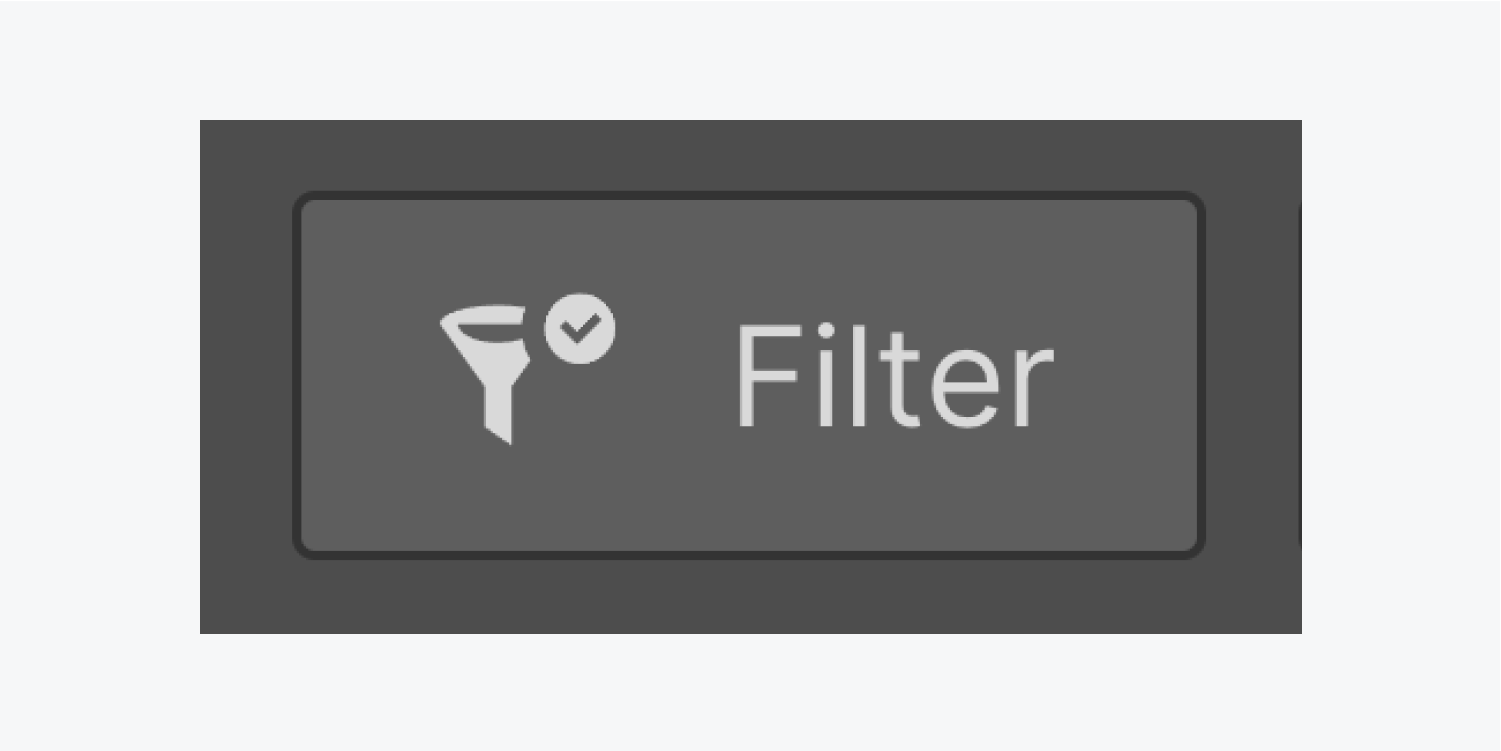
To quickly determine whether a filter is applied to your Collection, check the filter icon itself. If filter options are applied to your Collection, a small checkmark icon appears over the top of the filter.
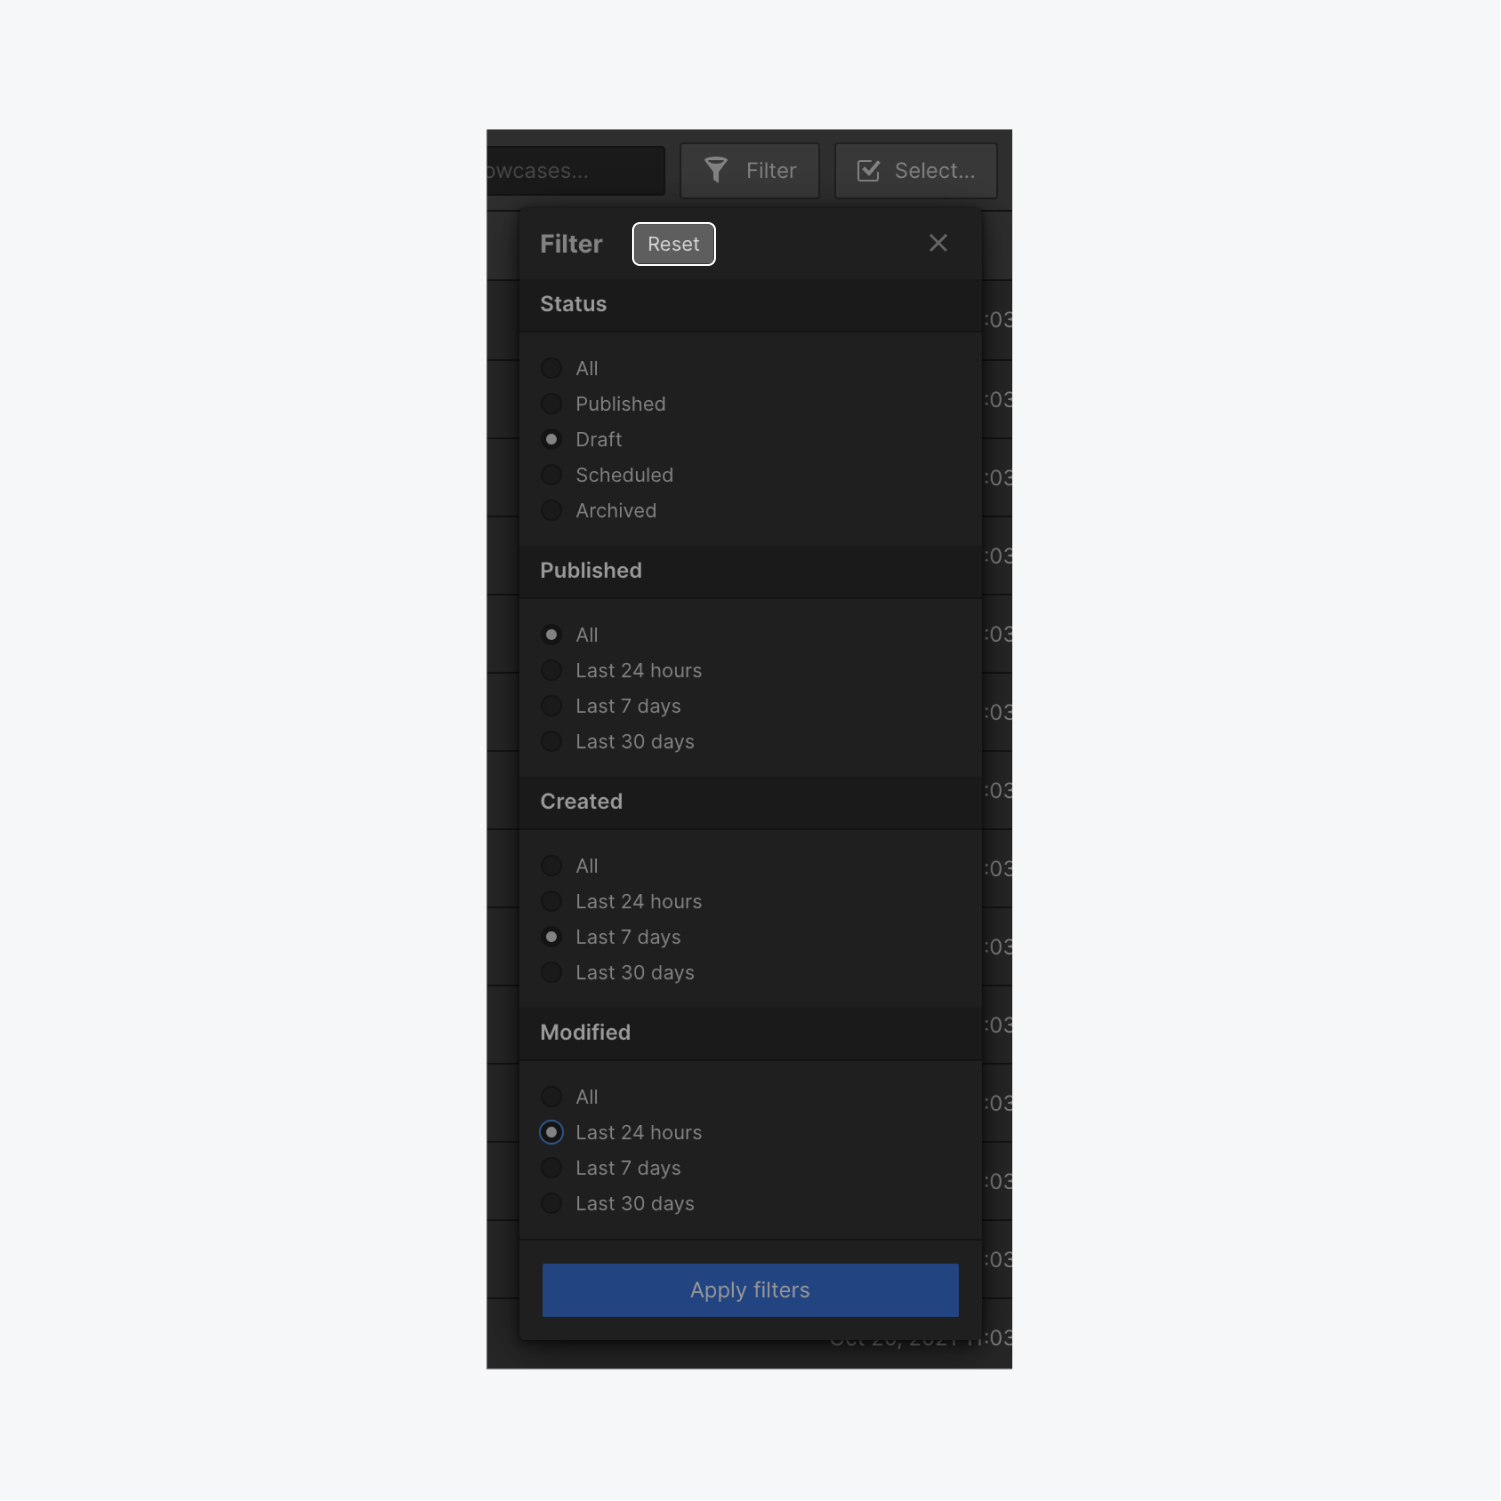
To reset the filter back to its default state and show all items in a Collection:
- Press the “filter” button in the top action bar
- Press the “Reset” button at the top of the filter options panel
Good to know: If you close a Collection that’s had a filter applied to it, the filter will not persist and will need to be reapplied once you reopen the Collection.
Sorting Collection items
After you’ve added items to a Collection, you can also sort the items depending on which fields are present within your Collection. Different fields support different types of sorting:
You can also see the sort type for each sortable field by clicking the title of the field, and hovering over that title to reveal the sort type.
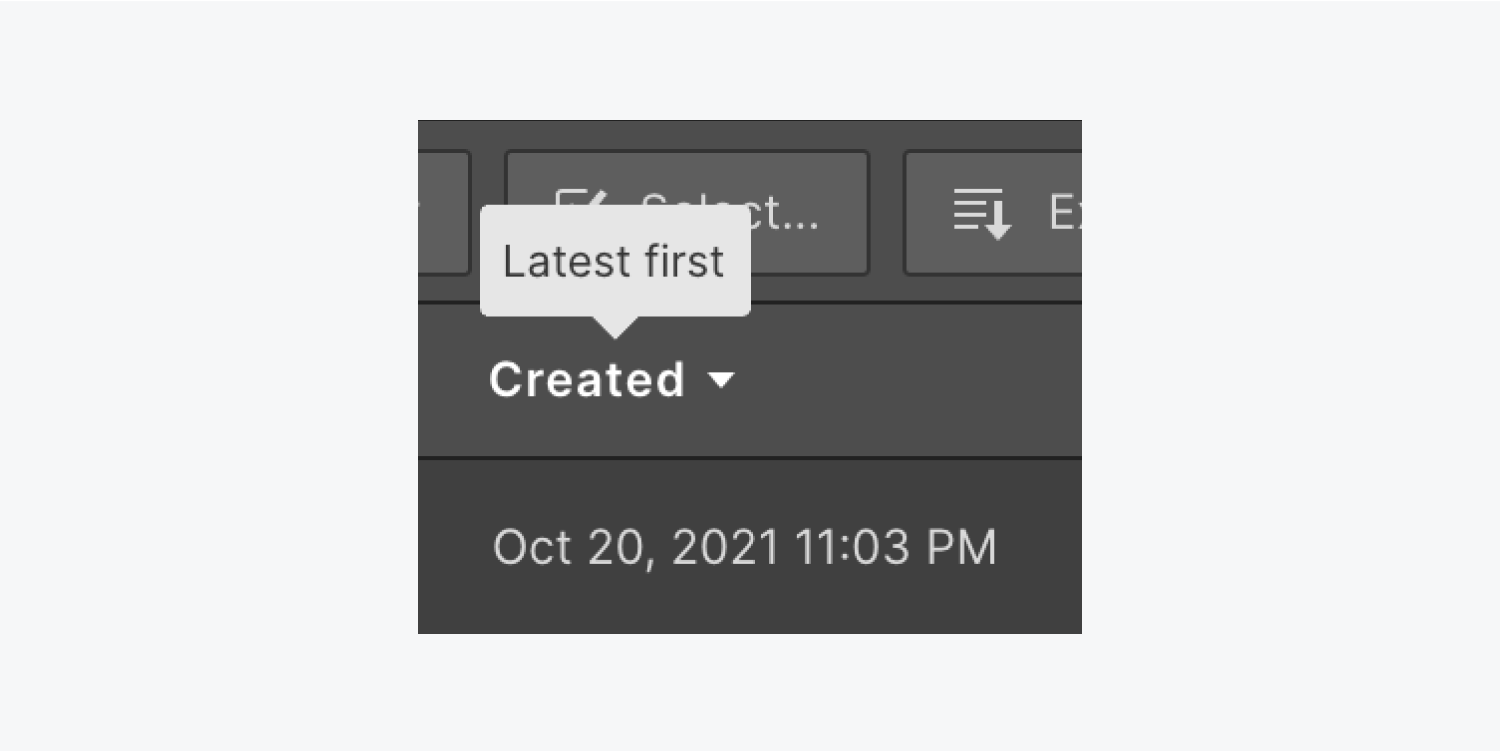
Comparison-of-value sorting
This sort type is based on the comparison of values for each individual item. The fields that use this type of sorting are:
- Plain text (sorts alphabetically)
- Number (sorts by ascending/descending values)
- Date (sorts by earliest/latest values)
- Switch (sorts by true/false values)
Presence-of-value sorting
This sort type is based on whether the item’s field contains a value or whether it’s empty. After the field has been sorted by the presence of value, the fields with a “present” value are then sorted alphabetically. The fields that use this type of sorting are:
- Color
- File Reference
- Item Reference & Multi-Item Reference
- Link
- Option
- Phone
Not sortable
This sort type means the field cannot be sorted. Fields that aren’t sortable include:
- ID
- Status
- Commerce Price
- Image & Multi-Image
- Video
- Rich Text
Good to know: Even though ID, Status, and Commerce Price fields cannot be sorted, they can still be pinned and displayed in your collection item view. Read more about displaying Collection fields.
Bulk-editing Collection items
After you have sorted or refined the collection items that are visible, you can now edit multiple items:
- Click the Select button in the top action bar to activate bulk editing
- Check the box next to the Name field to select all items within view
Good to know: This feature works even if your Collection contains more than 100 items and displays them in a paginated view. To select items on additional pages, press “Next” to move to the next page, and repeat step 2 above.

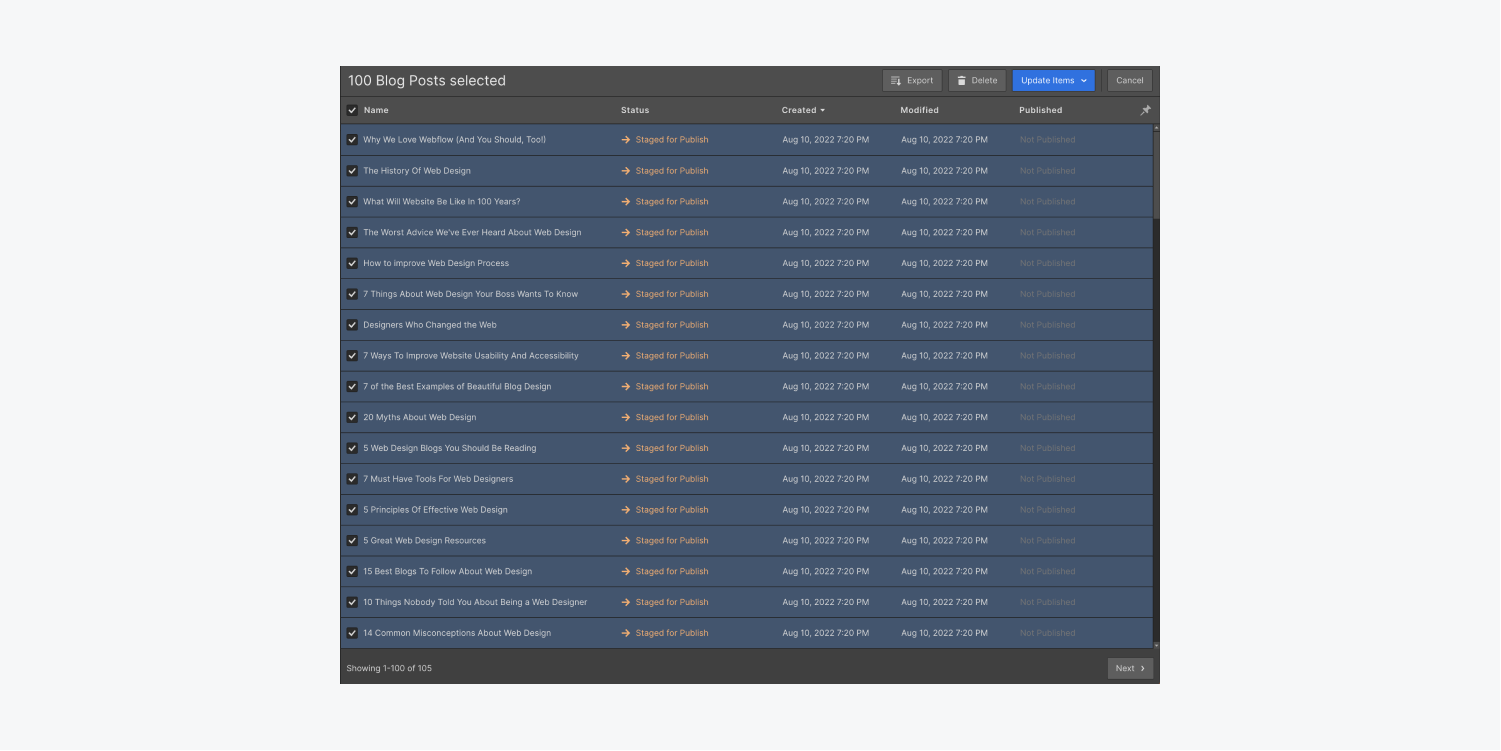
Once you’ve selected your items, you can perform a variety of bulk actions depending on your selection and the items’ current status (e.g., you may not be able to perform all actions available if your items contain mixed statuses). The first bulk actions are:
- Export: exports Collection items as a CSV (learn more about how to selectively export Collection items)
- Delete: permanently removes the Collection items from the Designer, but leaves the items on the live site until the next site publish, at which point they will be removed from the live site
Click the “Update items” button to choose from the following actions in the dropdown menu:
- Stage for publish: sets current draft items as staged for publish at the next site publish
- Publish: immediately publishes items to your live site
- Save as draft: sets Collection items to a draft if they are not yet ready to be published, and will unpublish a live item from the site at the next site publish
- Unpublish: immediately removes items from your live site and changes their status to “Draft”, (or maintains the draft status if the item was already a draft that was still published to the live site) — unpublishing also removes the original published date
- Archive: pulls Collection items from the site at the next site publish, but keeps them accessible from the CMS in the Designer or the Editor
Pro tip: When in bulk editing mode, you can SHIFT + click to select a range of items. This feature works even if your Collection contains more than 100 items and displays them in a paginated view. Move through the additional pages, and continue to SHIFT + click to continually select the additional items you’d like to edit.
Important: Unpublishing is blocked if your site’s domains have different publish dates, or if your site was restored from a backup. You can regain access to unpublishing after you perform a full-site publish that syncs the publish dates of the different domains.
How to schedule Collection items
Scheduled publishing lets you prepare content releases in advance and have them pushed live automatically. This feature is only available on Hosted CMS, Business, and Ecommerce Plans. Learn how to use scheduled publishing.


