Collection lists are one of two ways to add and design dynamic content from a CMS collection or an Ecommerce collection. You can add collection lists to any type of page. The other way to add dynamic content is with Collection pages.
Once you connect 2 Collection lists, it will display all items in that Collection.
In this lesson:
- Prepare your Collection lists
- Create a multi-reference field
- Make a Collection list
- Nest a Collection list
Prepare your Collection lists
To create a nested Collection, you’ll link 2 Collection lists (e.g. Taco Bell locations and Location features) in the same project.
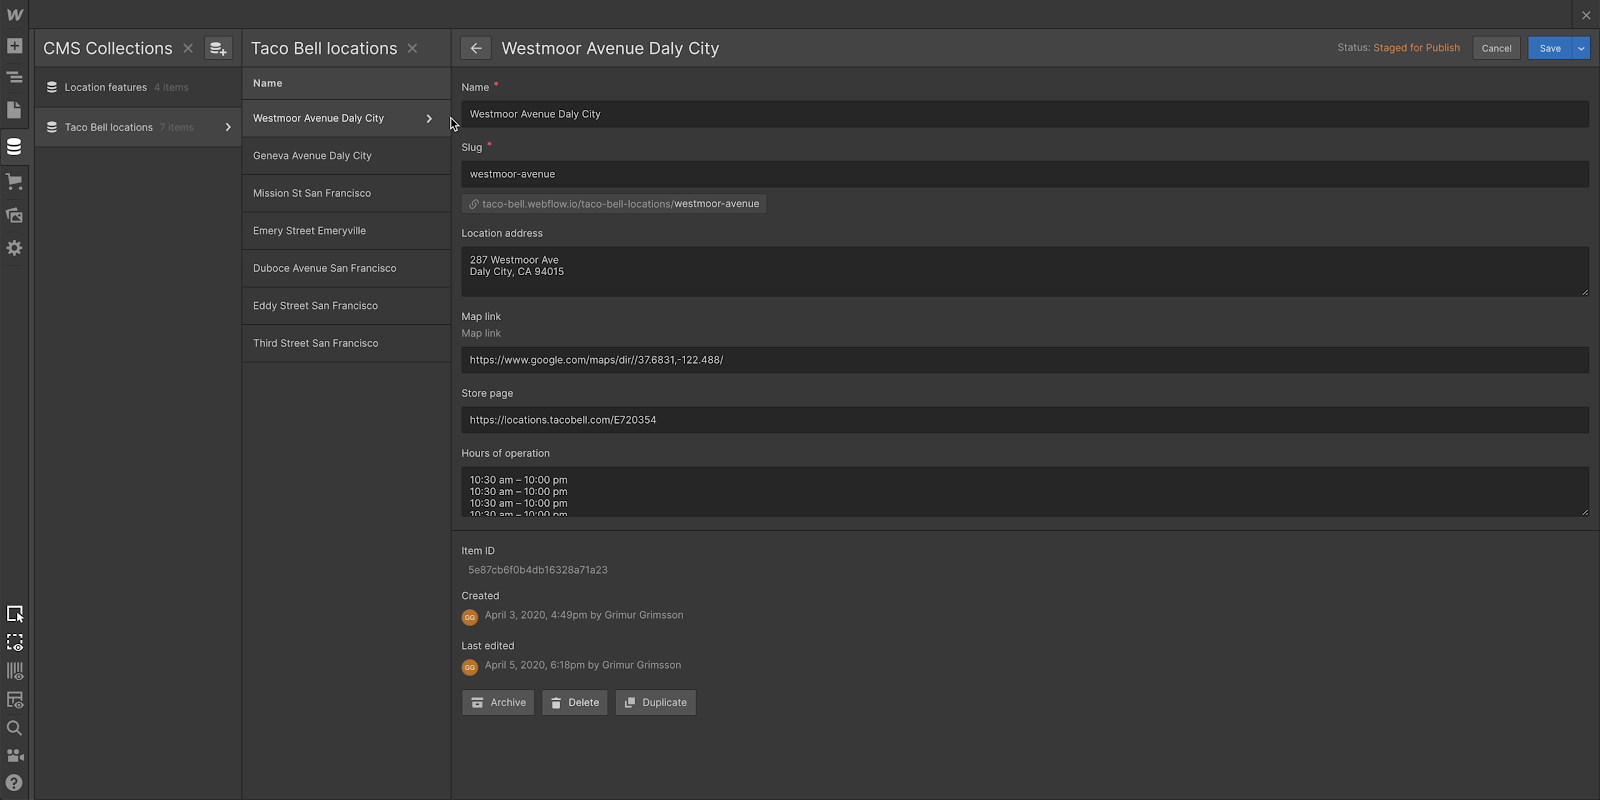
When you open a Collection list item, you see a list of fields — this is your data.

From here you can import data from a spreadsheet with a CSV, or manually add a new list item.

To display and nest the data from 2 Collection lists, we need to link them. To do that, let’s create a multi-reference field.
Create a multi-reference field
We want to be able to reference multiple fields in our nested Collection.
To do this, inside the parent Collection (the Collection that will pull in and display the fields of the second Collection) go into your Settings in the top right.
Now click Add New Field and choose Multi-reference.
Here you can name the field (e.g. Features) and under Collection, choose the child Collection you’d like to link it to (e.g. Location features), and save both the field and the Collection.
Go into each of the list items of the Collection you just linked to. Find the field you just created in the step above (e.g. Features), click into the dropdown, and add the fields you’d like to display for each item.
Make a Collection list
Let’s make sure your design automatically populates for every linked Collection (e.g. Location features).
When you open the Navigator panel, you see the hierarchy of the page elements. To add the list items from the parent Collection (e.g. Locations), go into the Add panel and grab a Collection list wrapper and place it into the top-level container.
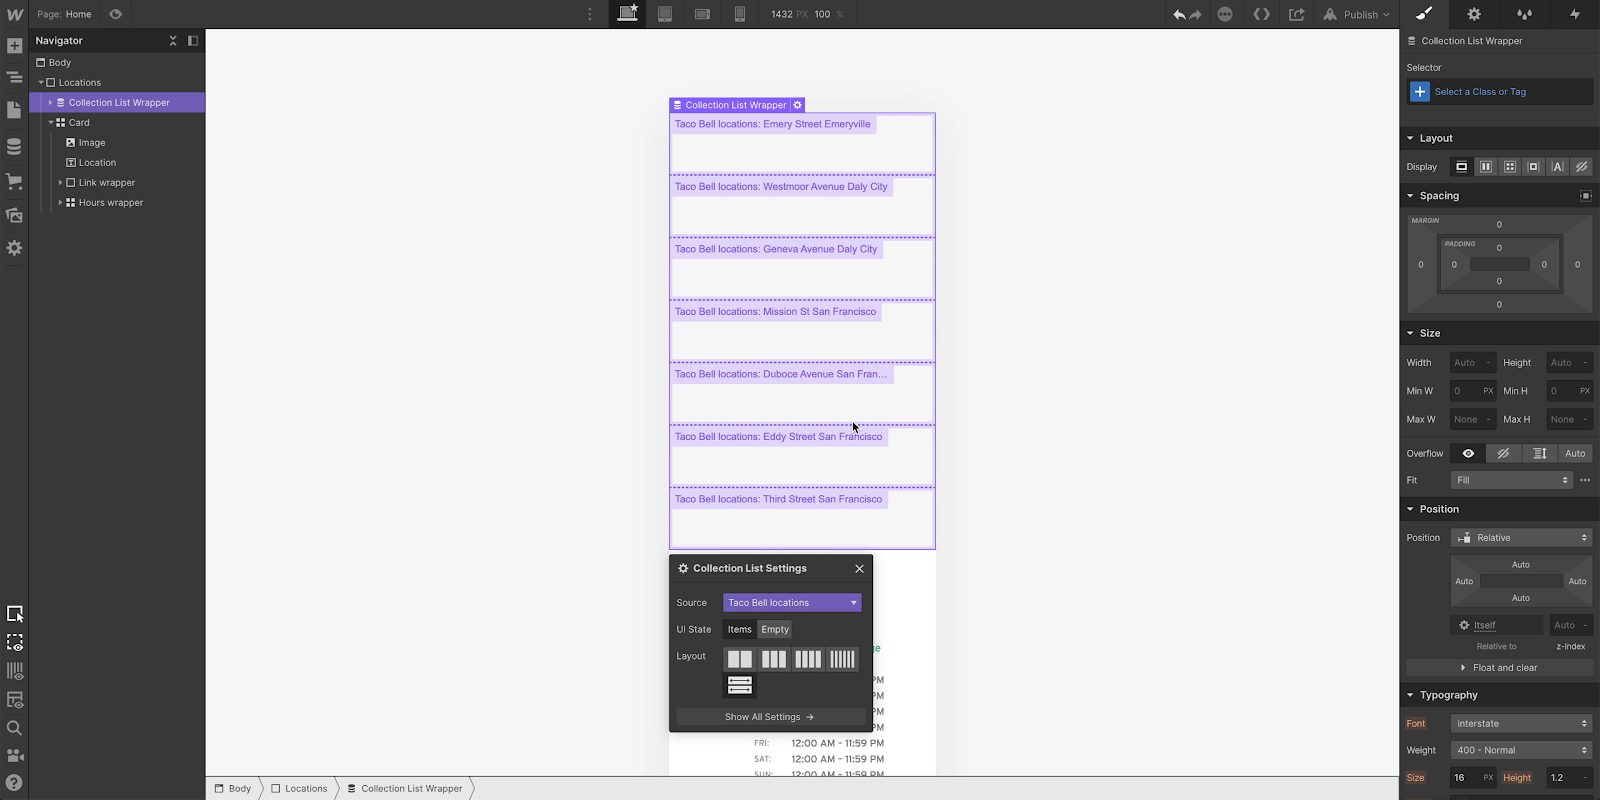
In the Collection List Settings popup, choose the Collection list you’d like to link to from the Source dropdown menu.
Each item from your Collection will now show up as placeholders (blank).

When you drag the Card into one of the list items, it duplicates itself in each cell and applies the design to each list item. Which is exactly what we want to happen.
Now when you click into a field in any of the cells, an Inner Text Settings window pops up. From the Get text from dropdown, choose the corresponding Collection list field and the card automatically populates with data from each list item.
Repeat this step for each field you want to auto populate.
Nest a Collection list
Now we’re going to nest a Collection list by listing one Collection list inside another.
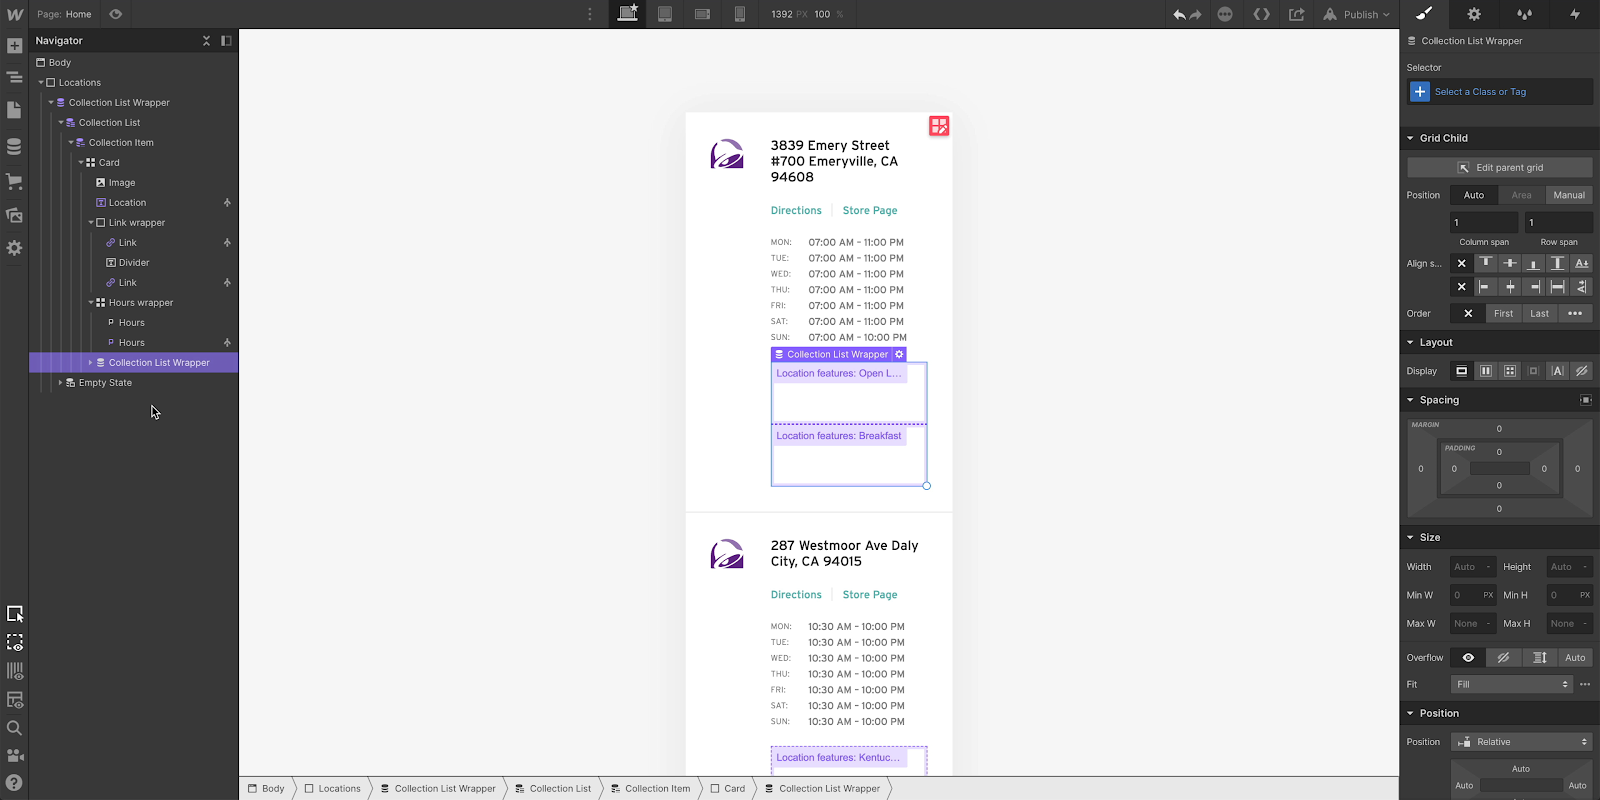
From the Add panel, grab another Collection list wrapper and drag it into the first Collection list under the Collection item.
In the Collection List Settings popup, choose the Collection list you’d like to link to from the Source dropdown menu.
Each item from your Collection will now show up as placeholders (blank).
Note: it is recommended to limit display of items in the parent collection list to no more than 20 items. If you have more than 20 items then it is recommended to use pagination to ensure that performance issues do not arise due to exceeding a combined total of 100 CMS items.

To add content, grab a Text block from the Add panel and drag it inside the Collection list wrapper you just added.
As above, when you click into a field in any of the cells, an Inner Text Settings window pops up. From the Get text from dropdown, choose the corresponding Collection list field and the card automatically populates with data from each list item.
And that’s it — you’re a Collection-nesting pro. Nice work!


