Similar to a table of contents, a sitemap is a page that contains links to various pages of your site which search engines and site visitors use to access your site’s content. Search engine web crawlers follow the paths provided in the sitemap to index site pages and make them available in search engine results.
When you set up custom domain hosting with Webflow, you can automatically generate an XML sitemap or add your own.
To learn more, check out SEO and Webflow: the essential guide.
In this lesson:
- How to auto-generate a sitemap
- How to add a custom sitemap
- How to customize the root domain in your sitemap.xml address
- How to submit your sitemap to Google
How to auto-generate a sitemap
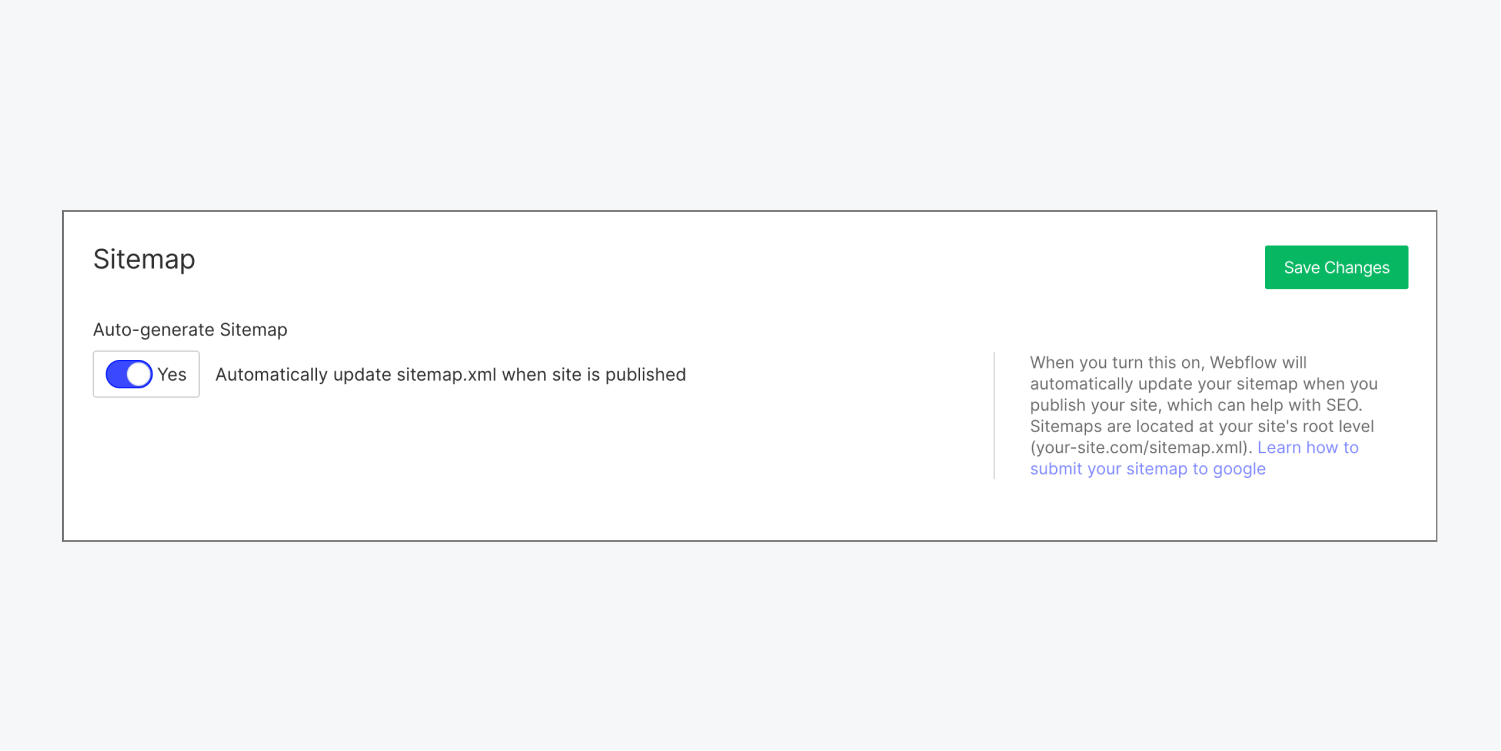
Webflow’s auto-generate sitemap feature will automatically generate a sitemap.xml for your site and update it each time you publish your site.
To enable the auto-generate sitemap feature:
- Visit Site settings > SEO tab > Sitemap section
- Toggle Auto-generate sitemap to “YES” to enable the auto-generated sitemap
- Click Save changes
- Publish your site
Important: Make sure to set a default domain, as the sitemap will reflect the domain you’ve set as the default. Otherwise, Google’s crawlers will hit a 301 Redirect status when they attempt to crawl the URLs in your sitemap, which indicates to them that the original pages do not exist.
How to add a custom sitemap
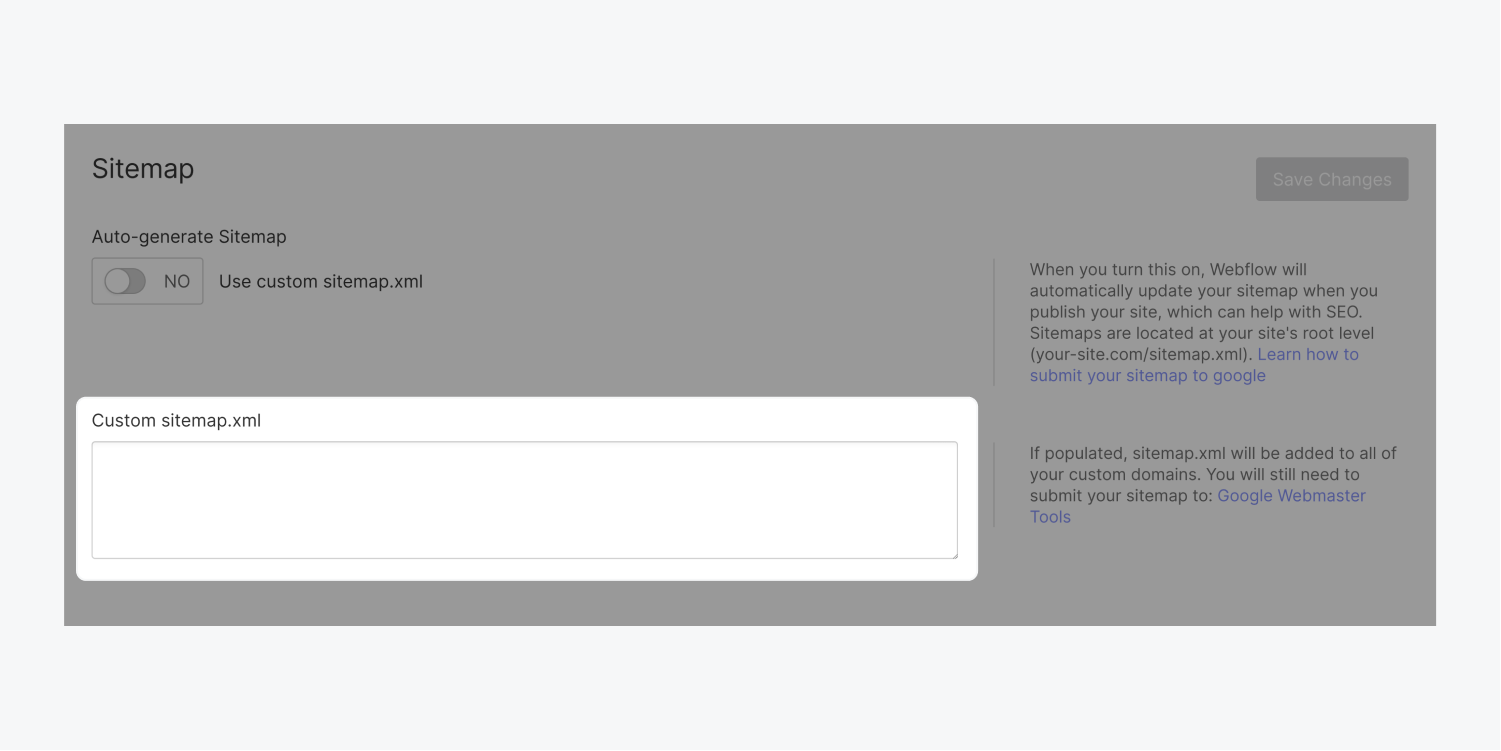
If you prefer, you can write your own custom sitemap.xml and add it to your Webflow site.
To add your own custom sitemap to your site:
- Visit Site settings > SEO tab > Sitemap section
- Toggle Auto-generate sitemap to “NO” to disable the auto-generated sitemap
- Paste your custom sitemap in the Custom sitemap.xml field
- Click Save changes
- Publish your site
How to customize the root domain in your sitemap.xml address
Note: This feature is only available to Webflow Enterprise customers. If you or a client are interested in learning more, please contact our enterprise team.
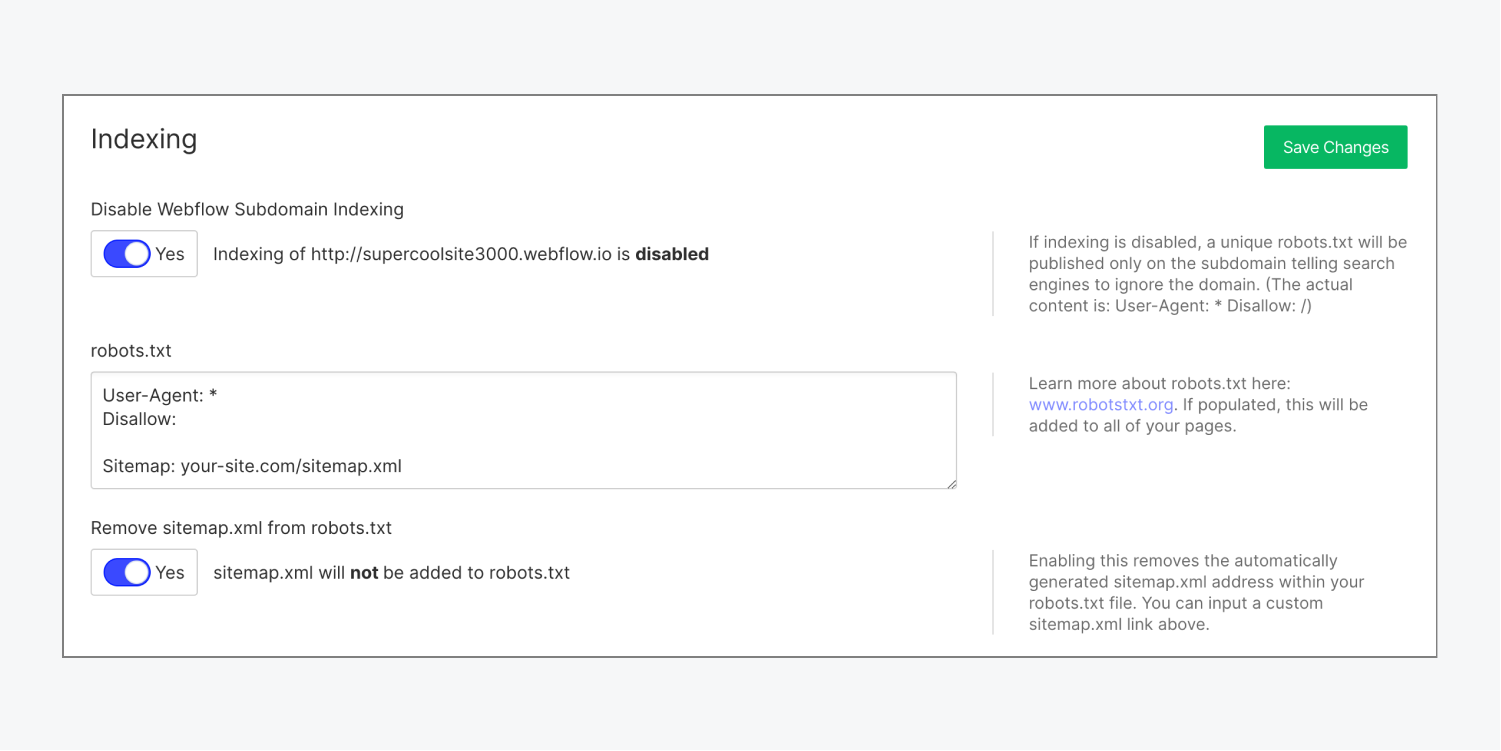
If you use a reverse proxy to connect multiple Webflow sites to a single domain, you may have run into SEO challenges with the automatically generated sitemap.xml address Webflow creates within your robots.txt file. You can remove the default sitemap.xml address and input your own to ensure search engines understand your sites are part of the same domain.
To remove the default sitemap.xml address and add your own:
- Go to Site settings > SEO tab > Indexing section
- Toggle Remove sitemap.xml from robots.txt to “YES” to remove the auto-generated sitemap from your robots.txt file
- Enter the sitemap for your root domain in the robots.txt field
- Click Save changes
- Publish your site
How to submit your sitemap to Google
Once you’ve generated your sitemap, you’ll need to tell Google about your sitemap using one of the following methods:
- Add your sitemap to your site’s robots.txt file (only if you have disabled Webflow’s auto-generated sitemap)
- Submit your sitemap to Google Search Console
Good to know: Google may automatically find and index your website through a link on another site, but verifying ownership of your site, submitting a sitemap, and manually requesting that Google index your site can typically speed up the process.
Add your sitemap to your site’s robots.txt file
If you’ve disabled Webflow’s auto-generated sitemap and are using a custom sitemap, you can tell Google about your sitemap from your Webflow dashboard.
To add your sitemap to your site’s robots.txt file:
- Go to Site settings > SEO tab > Indexing section
- Enter “Sitemap: https://{your-site.com}/sitemap.xml” in the robots.txt field, replacing the {your-site.com} with your site’s default domain
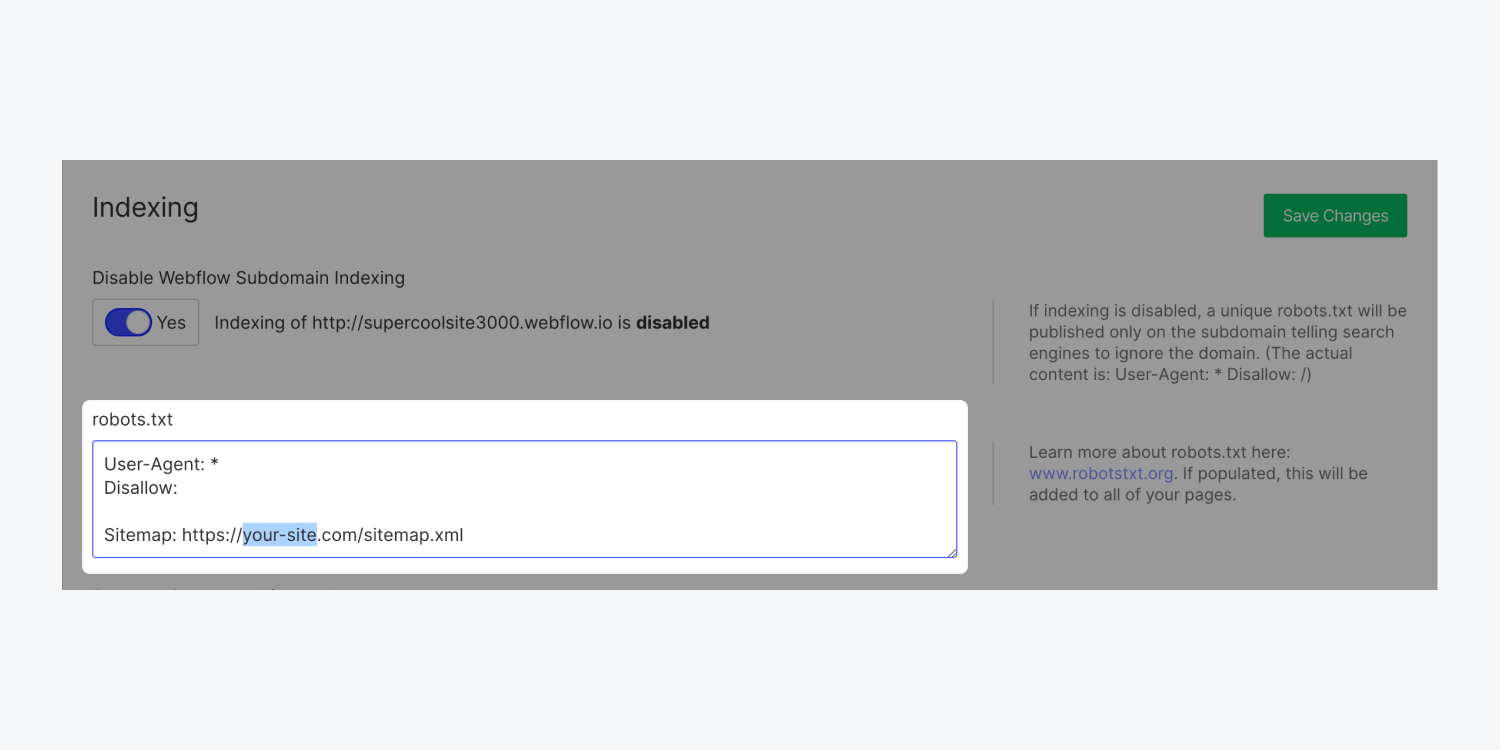
Important: Don’t enter your sitemap link in the robots.txt field if you’re using Webflow’s auto-generated sitemap. Otherwise, your robots.txt file will contain 2 sitemaps for search engines to crawl.
Submit your sitemap to Google Search Console
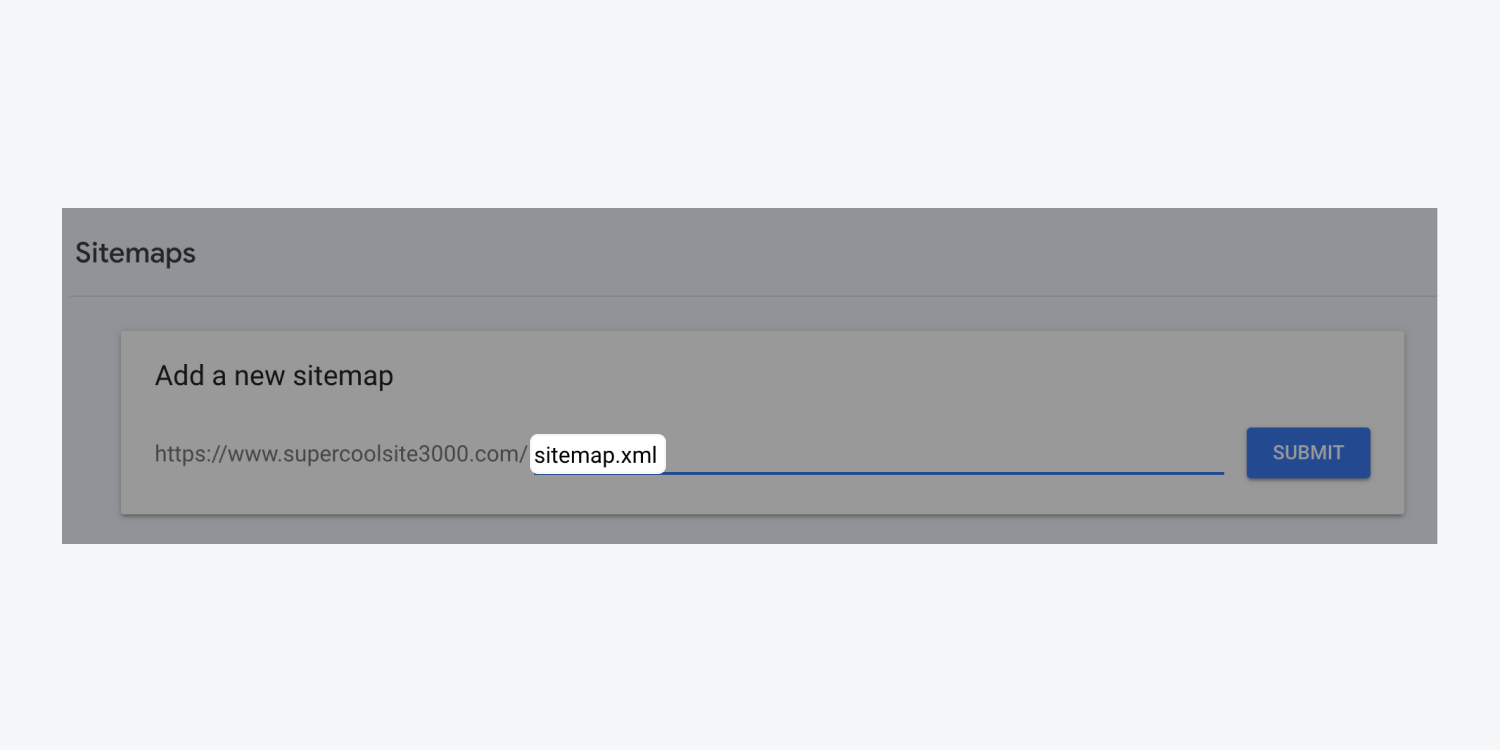
Whether you’ve created a custom sitemap or are using Webflow’s auto-generated sitemap, you can submit your sitemap through Google Search Console.
To submit your sitemap:
- Open Google Search Console
- Choose the property (website) you want to submit the sitemap for
- Type “sitemap.xml” into the input field
- Click Submit
