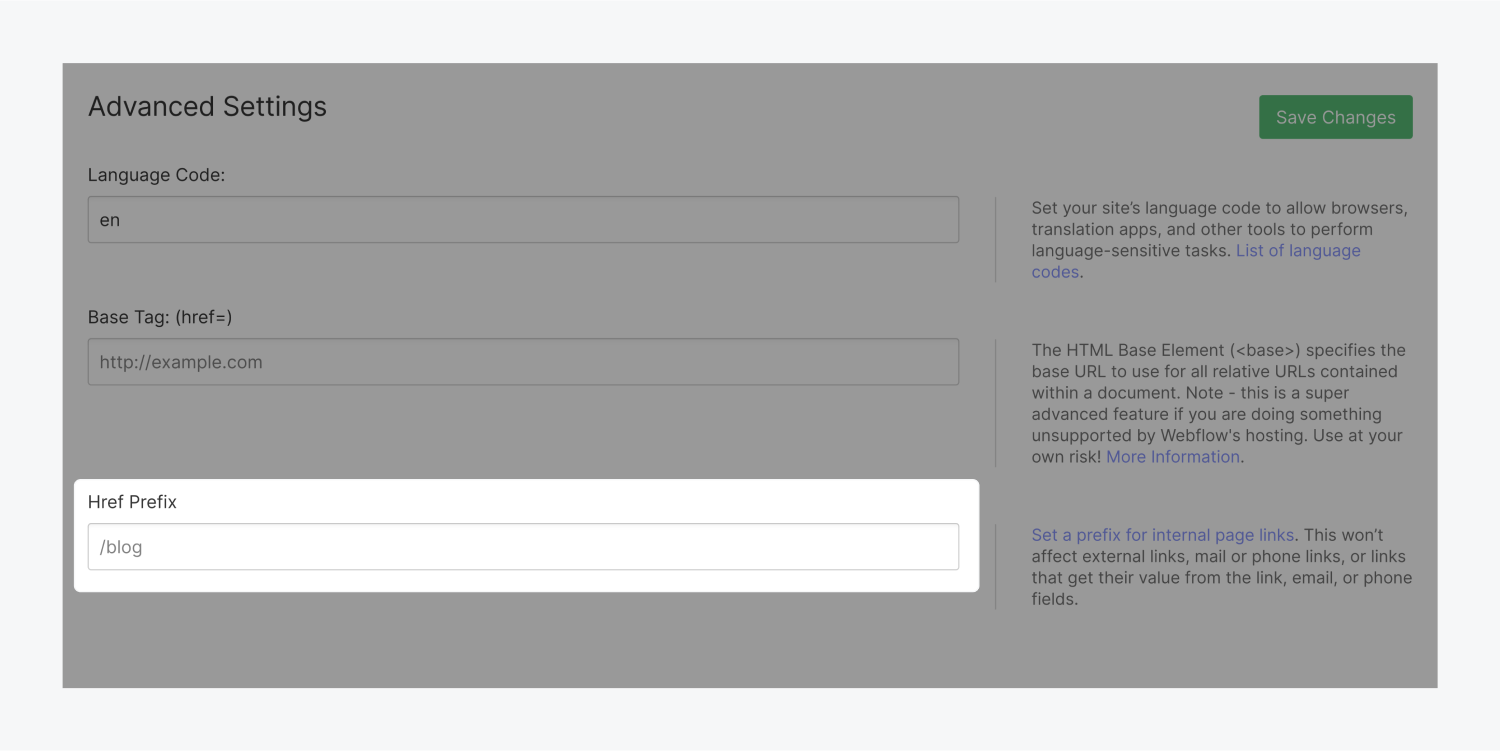
You can use the Href prefix setting in your Project settings to use Webflow Hosting in combination with an existing hosting setup. This sets a prefix for all internal page links.
For example, if you have a node.js / Ruby on Rails / Python application, or even an existing WordPress site, but you want to create a blog with Webflow CMS, you can set up a Webflow "sub-site" and use the href prefix to keep your links working.
Important:
Webflow doesn't provide support for reverse proxy, but our community is always available to help in the Forum.
How to have Webflow host a part of your website
In this example, let's say you have a blog you want to create in Webflow, but you want it to be served on the same domain as your main site.
- Create a project in Webflow. We'll call it acme.com for this example, you can call it whatever you'd like.
- Add a Site plan to this site
- Install a reverse proxy on top of your web server. You can use nginx, node-proxy, or rails-reverse-proxy, depending on what web server you use.
- Create a rule that proxies all requests to acme.com/blog and acme.com/blog* to the subdomain connected in Webflow such as "connect.mysite.com".
- In the Acme blog Project settings > custom code > Advanced settings, set the Href prefix to /blog. This will prefix all hrefs in your site to have "/blog," so the links are now relative to the domain.
- Publish your site!

Good to know
This won't affect external links, mail or phone links, or links that get their value from the link, email, or phone fields.


