Note: Custom security headers are only available to Webflow Enterprise customers. They are included with Enterprise site plans.
Custom security headers add an extra layer of security to any of your published sites, and can prevent activities like cross-site scripting attacks, iframe embedding, and other domain level security issues.
In this lesson, you’ll learn:
- About Webflow-supported headers
- How to enable and add a custom security header
- How to delete a custom security header
- How to enable HSTS response header
About Webflow-supported headers
Webflow currently supports these headers:
- x-xss-protection
- x-content-type-options
- x-frame-options
- referrer-policy
- x-permitted-cross-domain-policies
- timing-allow-origin
- content-security-policy
- feature-policy
- expect-ct
- strict-transport-security (enabled in Advanced publishing options)
You can learn more about each of these headers, their syntax, and determine their browser compatibility in the MDN web docs.
Note: Webflow does not currently support the permissions-policy header. We advise using the feature-policy header as an alternative.
How to enable and add a custom security header
To enable custom security headers on a site, please contact our Sales team. They will unlock the feature on a per-site basis, which gives you the ability to add or change the custom security headers on each site as needed.
To add a custom security header (after the feature is enabled on your site):
- Open Site settings > Publishing tab and scroll to Custom Headers
- Toggle Enable Custom Site Headers to “Yes”
- Open the Header dropdown and select a header
- Add a value to the Value field
- Click Add header
Remember, your custom security header will not take effect until you re-publish your site. To publish your site, scroll to the top of Site settings and click Publish.
Note: Current headers are not editable (the existing one must be deleted in order to add new values).
How to delete a custom security header
To delete a custom security header from your site:
- Open Site settings > Publishing tab and scroll to Custom Headers
- Click the “trash” icon to the right of the header you want to delete
How to enable HSTS response header
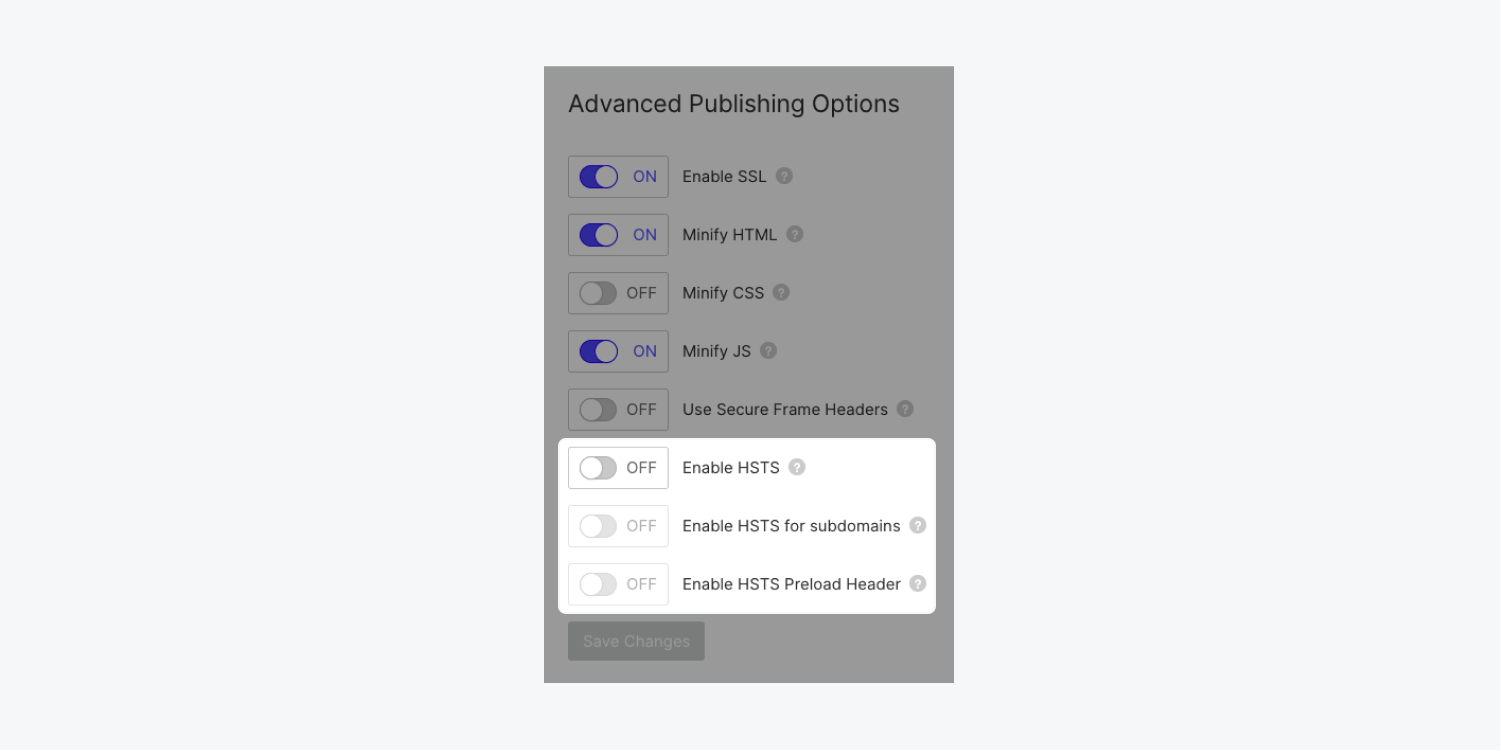
The HTTP strict-transport-security (HSTS) response header is available as well. To enable strict-transport-security, open Site settings > Publishing tab > Advanced publishing options.
There are 3 available HSTS options, which can be switched “on” or “off” using the toggles:
- Enable HSTS – HSTS will only be effective on a site with a custom domain
- Enable HSTS with subdomains – HSTS can only be enabled on subdomains if the root site also has HSTS enabled
- Enable HSTS Preload Header – HSTS Preload will tell browsers to submit your site to the preload list. Danger: this can cause your site to become unreachable if you use HTTP anywhere on any subdomain, if “Enable HSTS with subdomains” has also been enabled.

Note: If you find that images or assets are missing when you view the published, live site, check to make sure the header value was entered correctly. Syntax typos in the Value field can cause issues on the published site.
Important: For security and liability reasons, our support and success teams are unable to provide direct help with setup or troubleshooting for custom security headers. If you run into issues with custom security headers, please let us know on the Webflow Forum, where the entire Webflow community (staff included) can provide additional help and resources.


