You can manage your Webflow profile, email settings, and account security in the Profile settings section of your Dashboard.
In this lesson, you’ll learn:
- How to upload or update an avatar
- How to update your account info
- How to add and update your profile info
- How to view your account details
- How to update your email address
- How to update your email notifications
- How to update your Dashboard notifications
- How to change your password
- How to add two-factor authentication to your account
- How to view your account security activity
- How to delete your account
How to upload or update an avatar
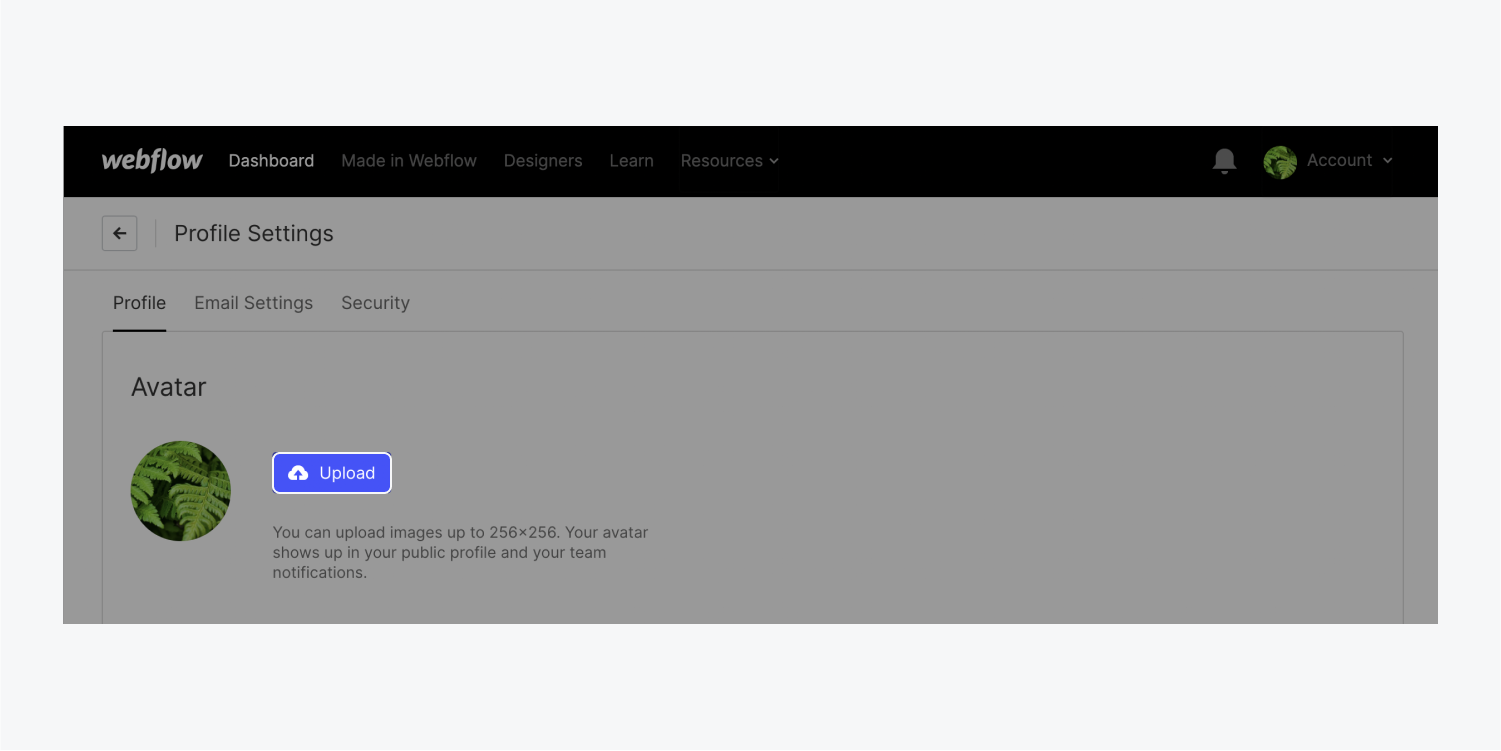
Your avatar shows up as your profile picture in your creator profile and in notifications. To upload or update your avatar, first open your Profile settings:
- Open the Account dropdown in the navbar
- Click Profile settings
- Go to Profile tab > Avatar
- Click Upload to choose an image from your computer
Note: You can upload images up to 256 pixels by 256 pixels.
How to update your account info
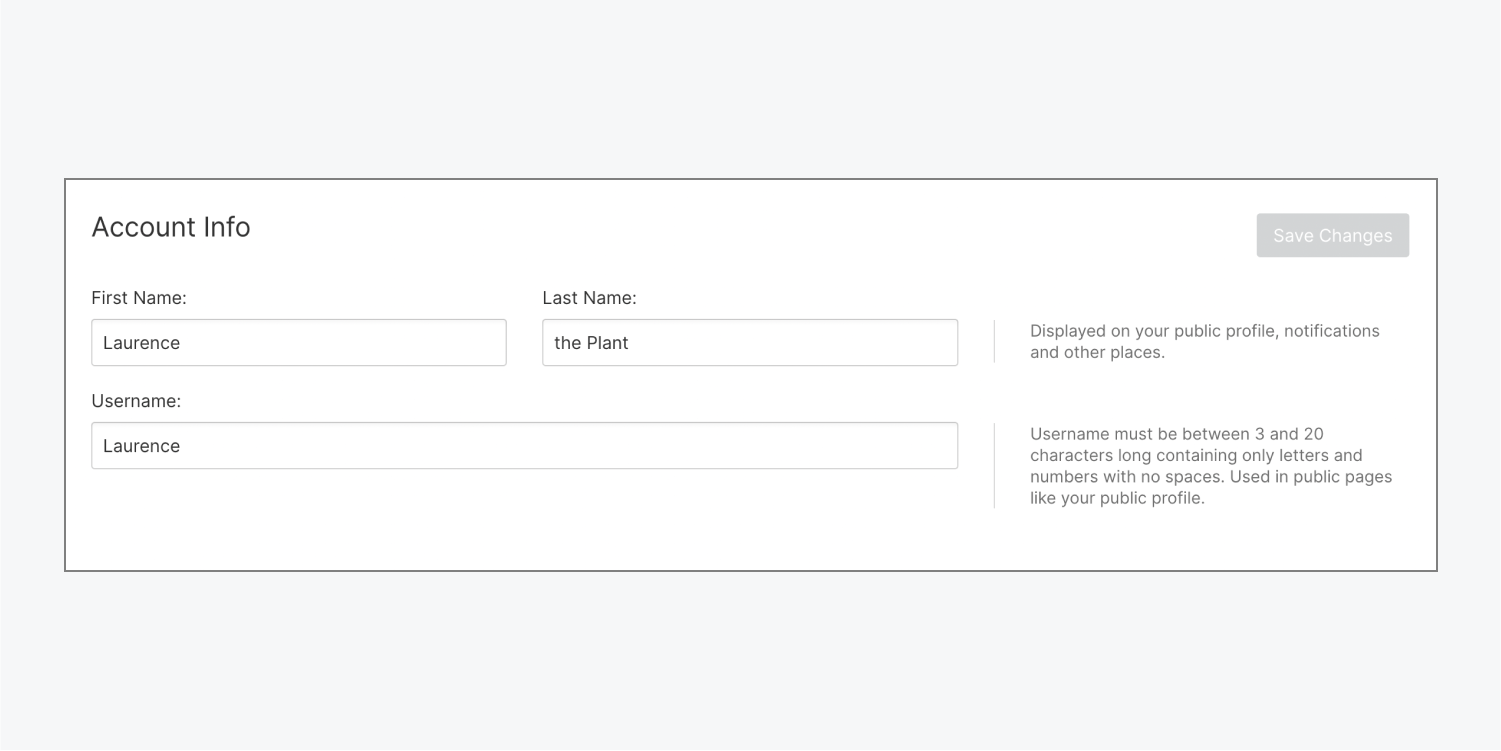
You can update your account’s First name, Last name, and Username in Profile settings. Your first and last name are displayed on your creator profile (if your creator profile is enabled) and notifications. Your username is displayed on your creator profile (if your creator profile is enabled) and other public pages. To update these fields:
- Open the Account dropdown in the navbar
- Click Profile settings
- Go to Profile tab > Account info
- Update the fields (First name, Last name, and/or Username) as necessary
- Click Save changes
How to add and update your profile info
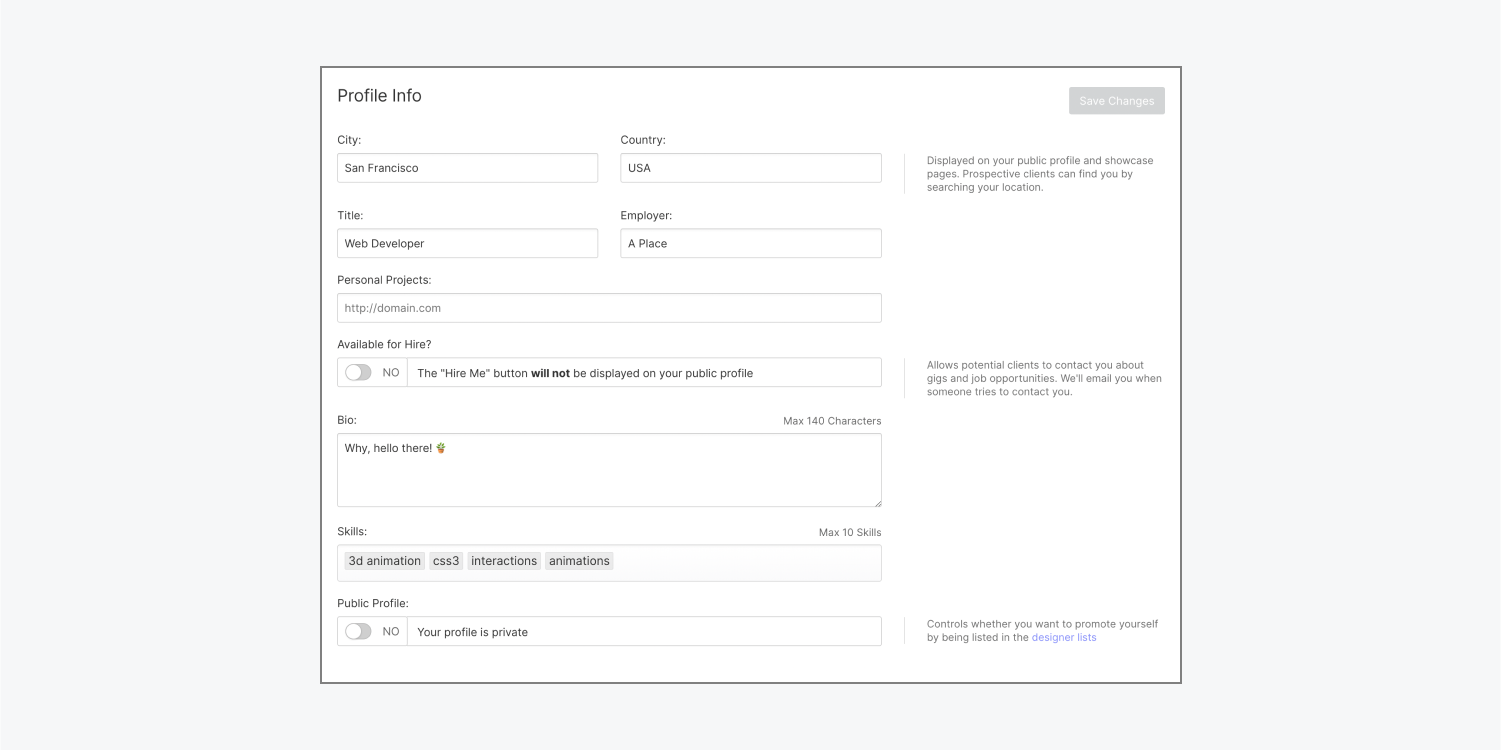
You can add or update your profile info in Profile settings. Here, you can add your City, Country, Job Title, Employer, Personal projects, Bio, and Skills.
You can also turn “on” the Available for hire toggle so the “Hire me” button is displayed on your personal creator profile. This allows potential clients to contact you (we’ll email you when they do).
Then, you can toggle “on” your personal creator profile so this information is visible on your creator profile and on your Made in Webflow site description pages. This info is also visible to prospective clients who can find you by searching your location.
To add or update your profile info:
- Open the Account dropdown in the navbar
- Click Profile settings
- Go to Profile tab > Profile info
- Update the fields as necessary
- Click Save changes
How to view your account details
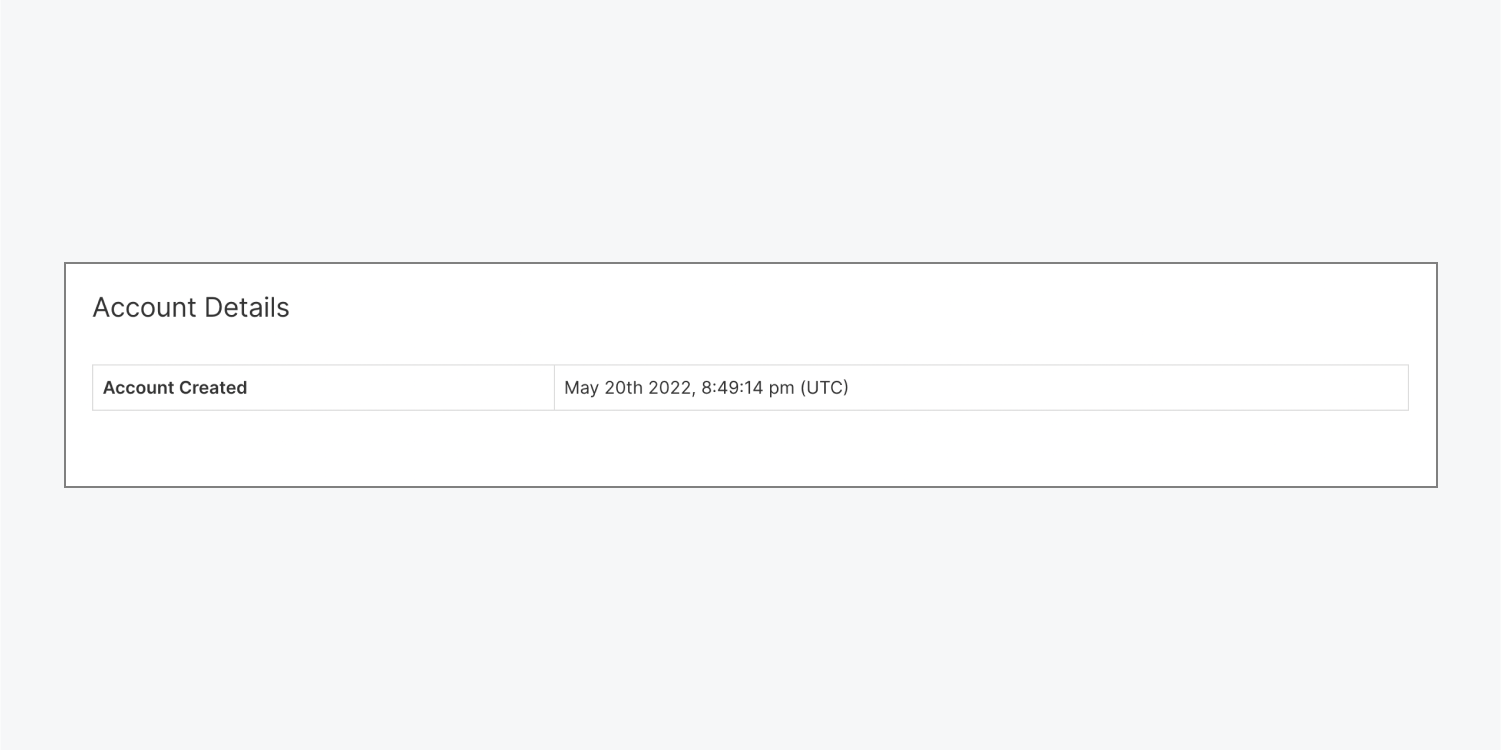
To view your account’s creation date, go to Profile settings > Profile tab > Account details.
How to update your email address
To update your email address, please follow the steps in our Update your email address article.
How to update your email notifications
To update your email notifications, please follow the steps in our Email subscription settings article.
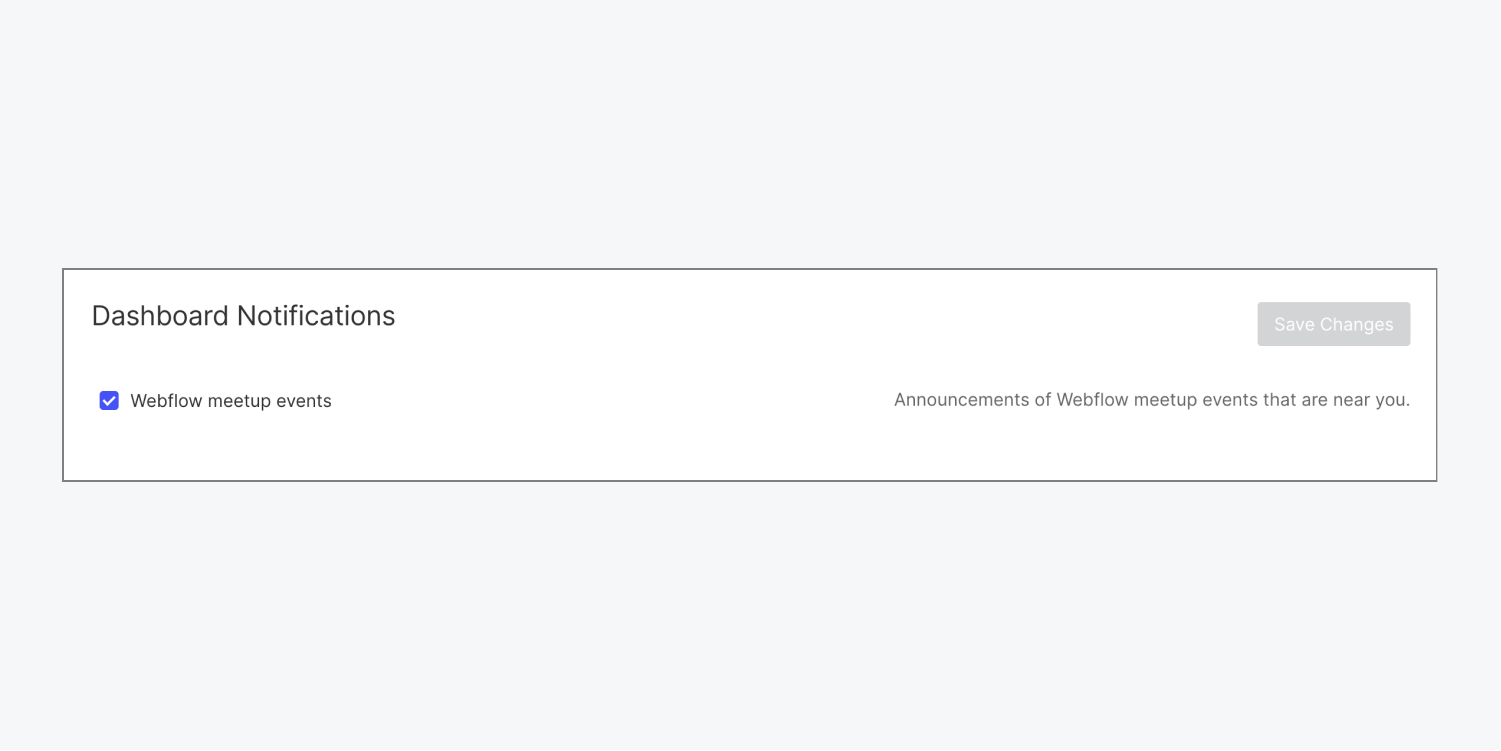
How to update your Dashboard notifications
To update your Dashboard notifications:
- Open the Account dropdown in the navbar
- Click Profile settings
- Go to Email settings tab > Dashboard notifications
- Check the Dashboard notifications you want to receive
How to change your password
To change your account password, please follow the steps in our Change the account password article.
How to add two-factor authentication to your account
To add two-factor authentication to your account, please follow the steps in our Two-factor authentication article.
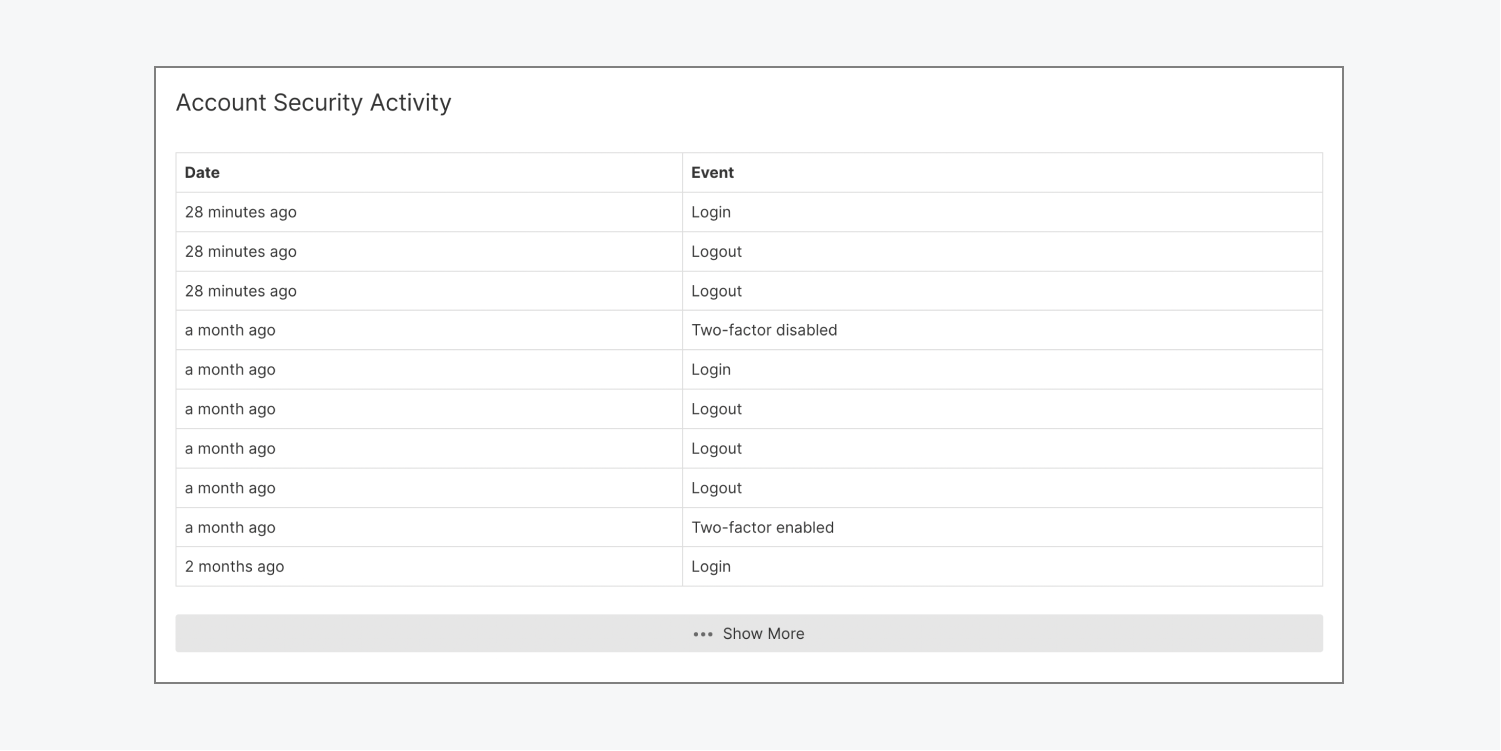
How to view your account security activity
You can view your account security activity in Profile settings. This log shows security events, such as account logins, logouts, and instances when two-factor authentication is enabled or disabled.
To view your account security activity:
- Open the Account dropdown in the navbar
- Click Profile settings
- Go to Security tab > Account security activity
How to delete your account
You can delete your Webflow account, but please keep in mind this will delete all your unpublished and published Webflow sites, your Workspace(s), and your account information. You will need to contact customer support to completely delete your account, but you can expedite the process by following the steps below.
Important: You can’t recover a deleted Workspace — once it’s deleted, it’s gone forever.
If you’re the Owner of only 1 Workspace, complete these steps to delete your account:
- Cancel all site plans
- Downgrade your Workspace plan to the Starter plan within the Workspaces you own
- Contact support and let them know the name of your Workspace
If you’re the Owner of multiple Workspaces, complete these steps to delete your account:
- Cancel all site plans
- Remove the members of all Workspaces you own
- Contact support and let them know the name of each Workspace you own


