From your Dashboard, you can access, create, and manage your sites.
In this lesson, you’ll learn:
- About your Dashboard
- How to create sites
- How to organize sites
- How to manage sites from the site thumbnail
About your Dashboard
When you sign up for a Webflow account, you’ll be taken to your first Starter Workspace where you can begin creating sites.
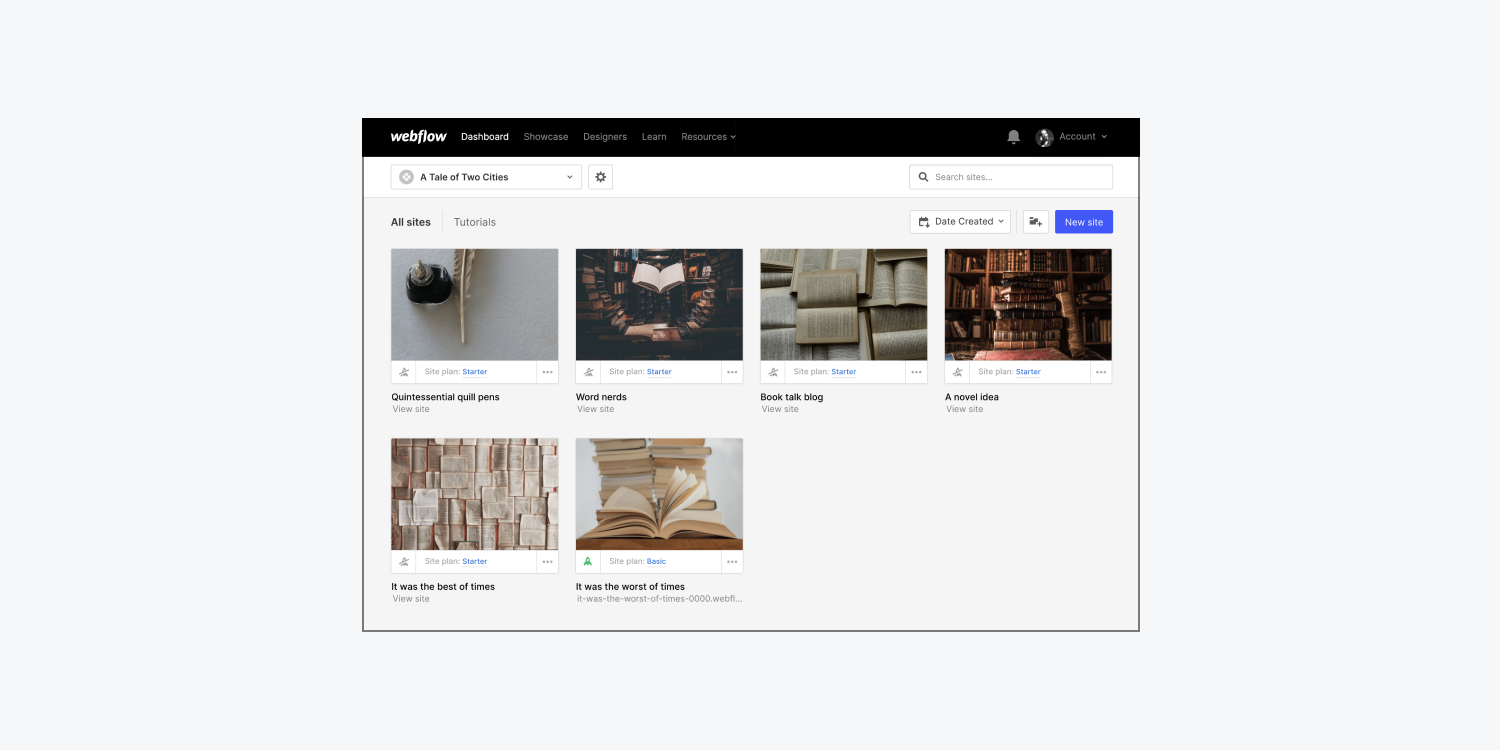
If you’re part of multiple Workspaces, you’ll have additional, separate Dashboards for each Workspace.
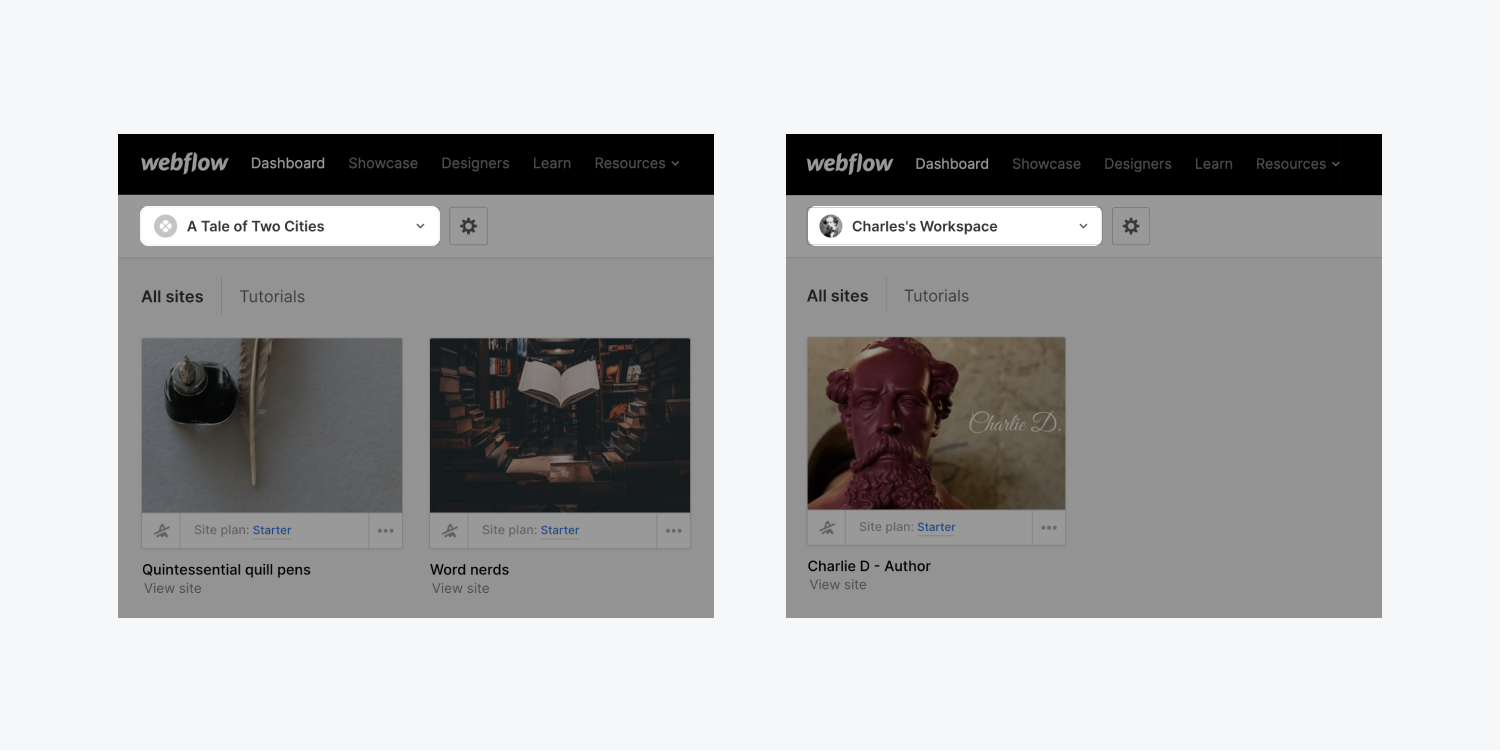
Switch between Workspace Dashboards
You can switch between your Workspace Dashboards from the Workspace dropdown menu.
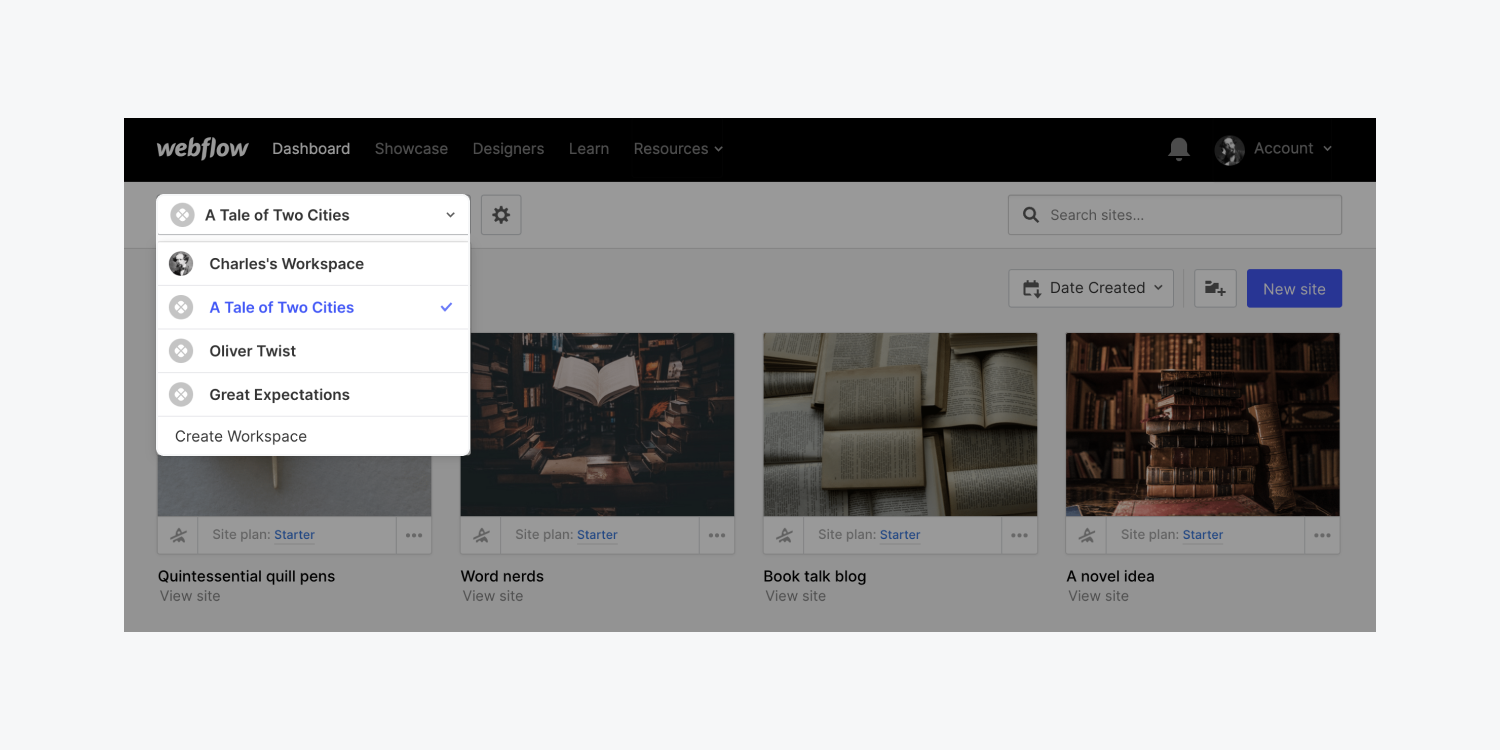
From the Workspace dropdown menu, you can even create a new Workspace. Learn more about how to create a new Workspace.
Dashboard requirements: supported browsers
Webflow officially supports the Dashboard on the latest version of Chrome or Safari’s evergreen release, plus 2 versions for varying update cycles. Webflow also unofficially supports the use of all modern browsers.
* Degree of browser support depends upon features used (e.g., filter has partial support in Edge). More details can be found at:
- CSS transforms 3d - Used by interactions
- CSS transitions - Used by interactions
- CSS flexbox - Used by style layout panel
- CSS filters - Used by interactions
- CSS grid - Will be used by style layout panel
On June 15, 2022, Microsoft officially ended support for Internet Explorer 11 (IE11). While sites published in Webflow use industry standard features supported in modern web browsers, some features unsupported by IE11 might function incorrectly on that browser. Learn more about IE11 support from Microsoft.
Webflow doesn’t support IE 9 or IE 10 in any situation. Learn more about this decision.
Good to know: An evergreen browser is one that updates itself automatically, meaning that most people have the newest, automatically updated version.
If you run into issues using Webflow on experimental browsers, please report your issue under the experimental browsers category on the Webflow Forum.
Note: You can determine the browser and operating system version you're using with What's my Browser.
How to create sites
To create a new Webflow site, click the New site button in the upper right of your Dashboard.
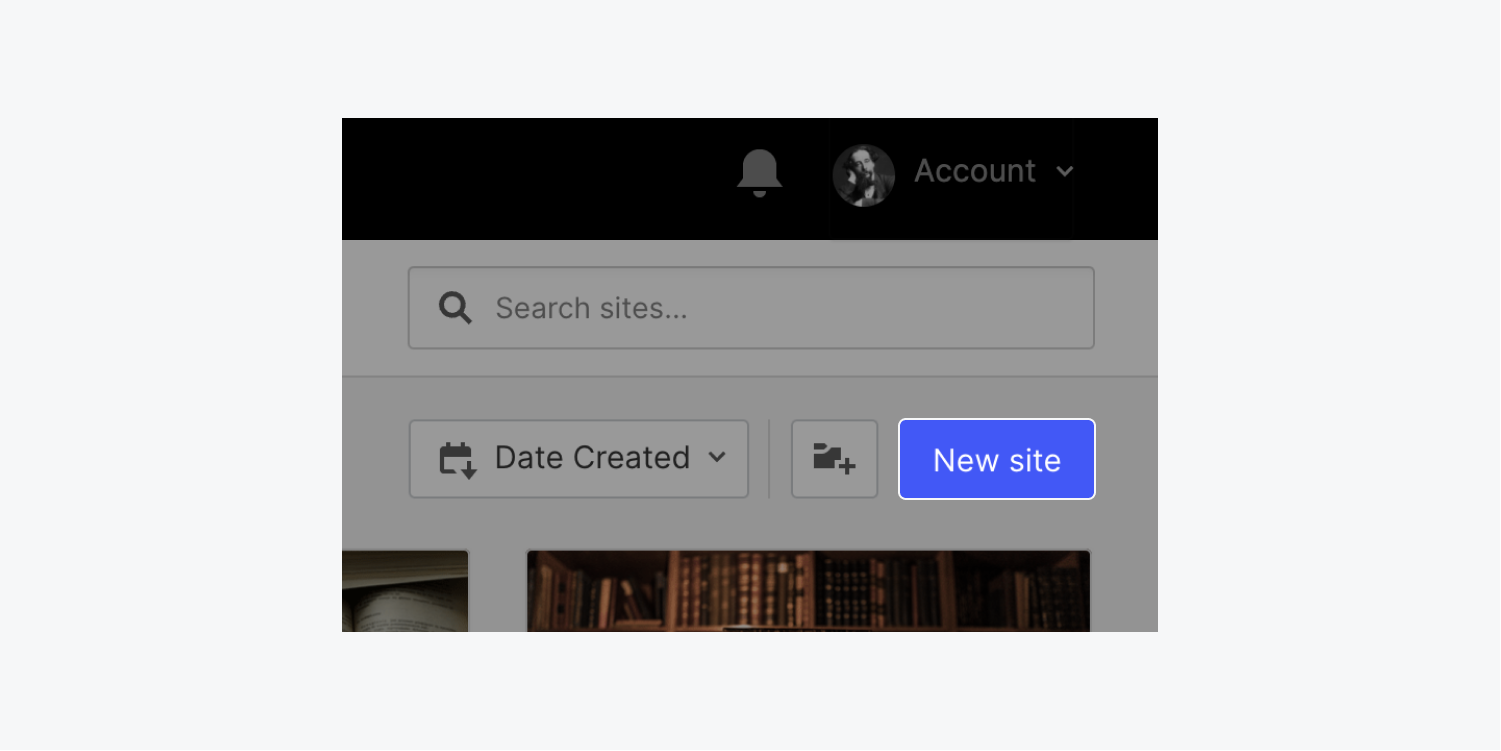
You can choose to create a blank site, where you can design and develop from scratch. Or, if you prefer, you can start with a template. Learn more about templates.
How to organize sites
When you have a number of sites in your Dashboard, you can sort them using preset sort options, organize them in folders, and filter or search for them using the search bar.
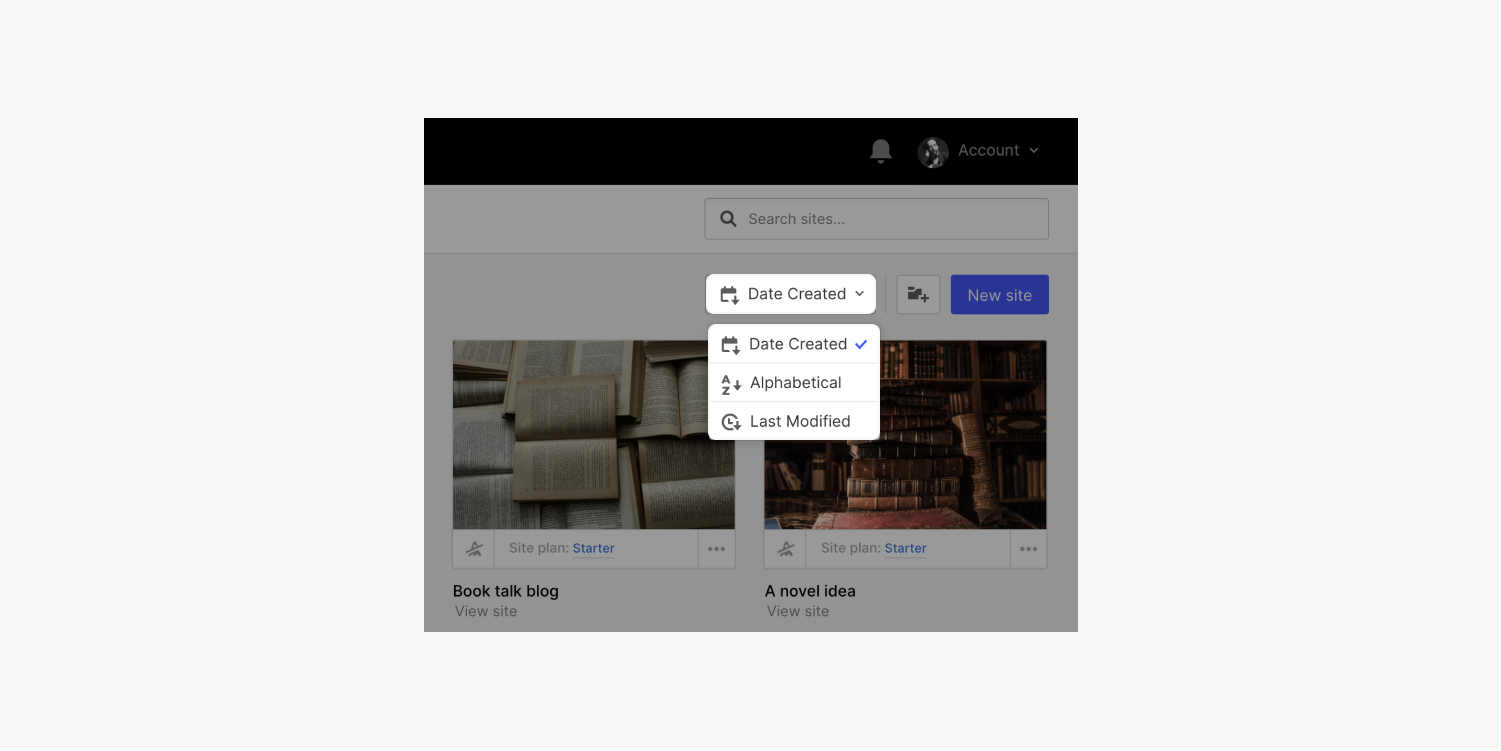
Sort sites
By default, your sites are sorted by date created. You can also sort them alphabetically or by last modified.
Organize sites in folders
You can also organize your sites within folders in your Dashboard. Let’s walk through how you can:
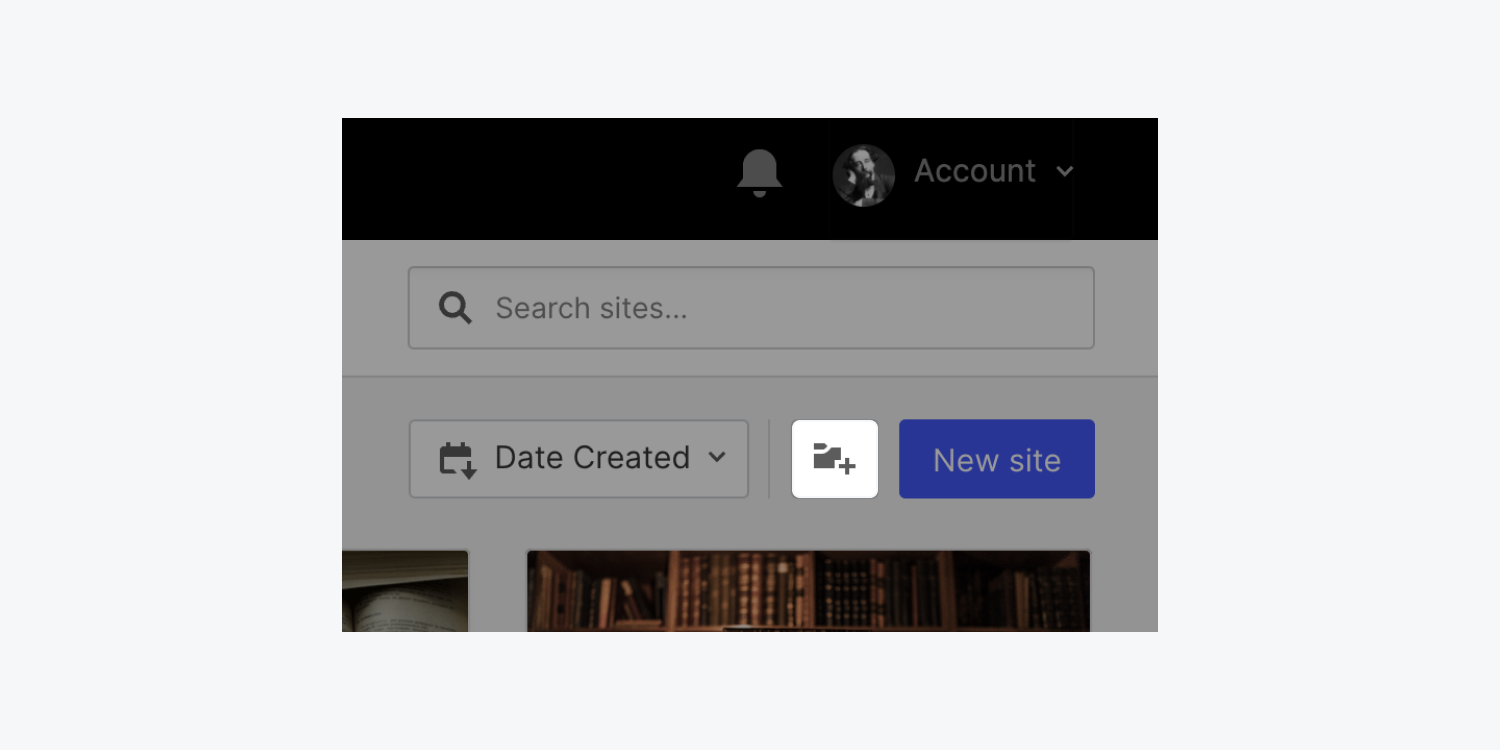
Create folders
You can create a folder by clicking the “folder” icon and giving the new folder a name.
Move sites to folders
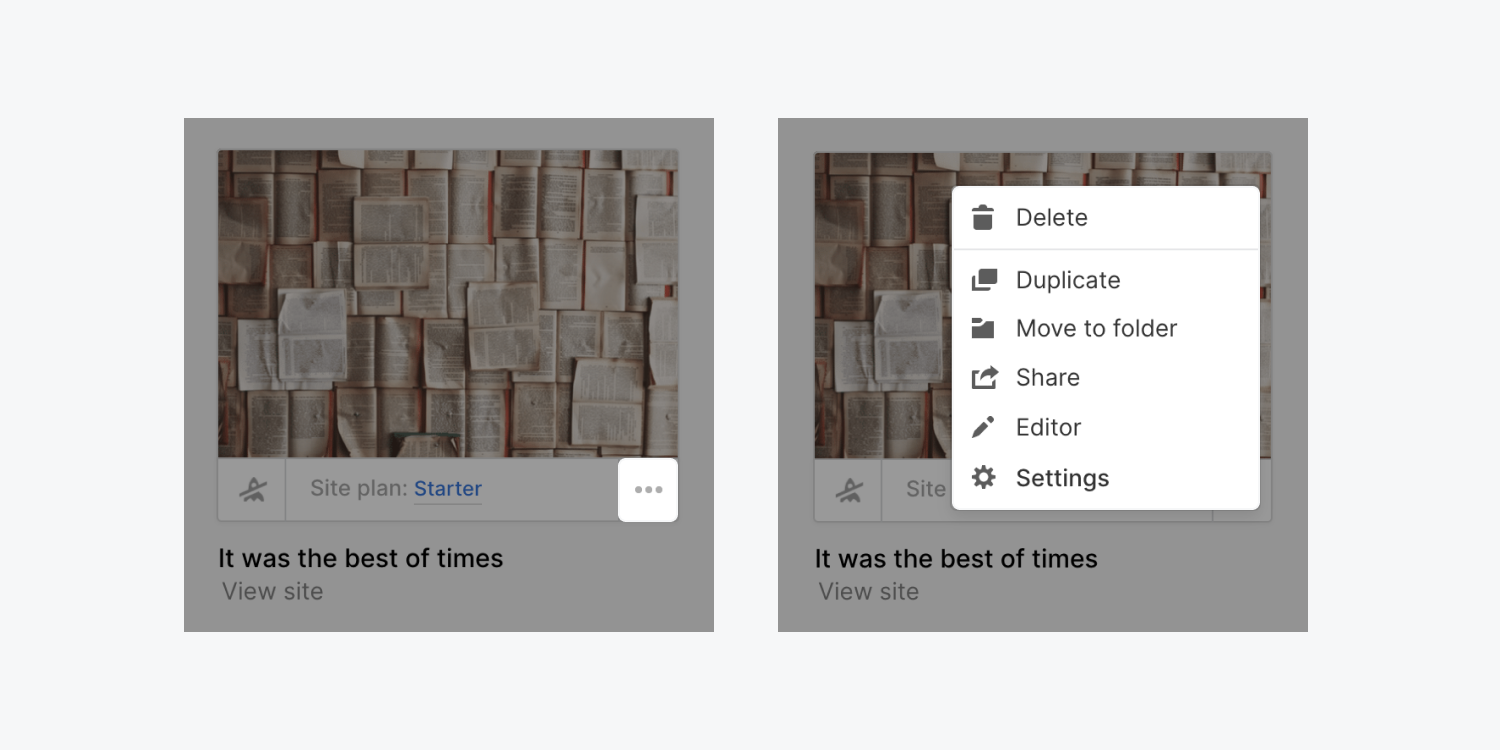
You can move your site into a folder from the site menu:
- Click the 3 disclosure dots on the site you want to move into a folder
- Choose Move to folder
- Select the folder you want to move the site to (or create a new folder)
- Click Move site
Good to know: You can also create sites right inside a folder. Click on the folder to open it, and create a new site. This will automatically add the site inside that folder.
Delete folders
You can delete any folder at any time by opening the folder and clicking the “trash” icon.
Don’t worry; your sites are safe! When you delete a folder, all sites within that folder move to All Sites, the main area of your Dashboard.
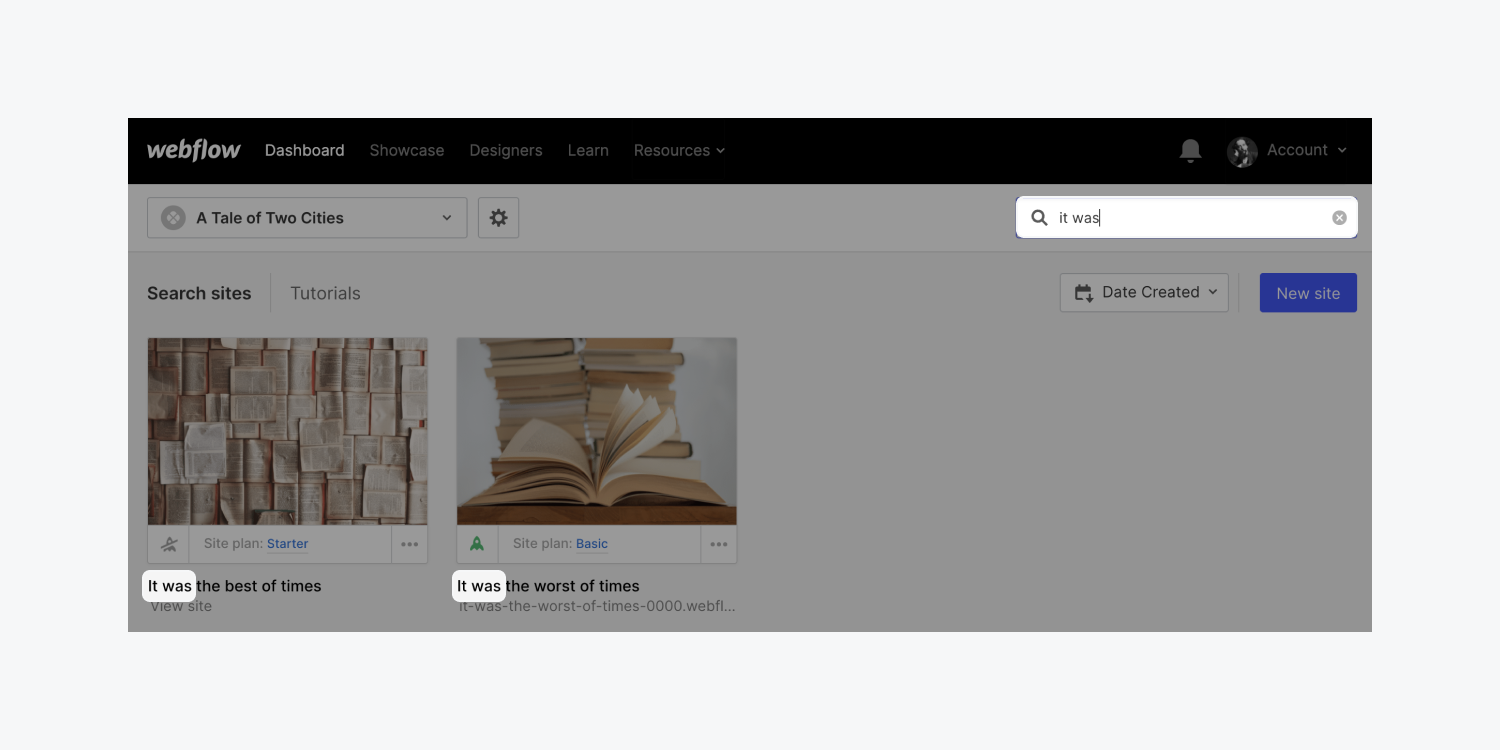
Search for a site
You can search within the Dashboard if you have a lot of sites. The search functionality also searches within folders.
Good to know: To search for sites within another Workspace you’re a part of, switch your Workspace first.
How to manage sites from the site thumbnail
In the Dashboard, each of your sites is represented with a thumbnail and some useful details about your site.
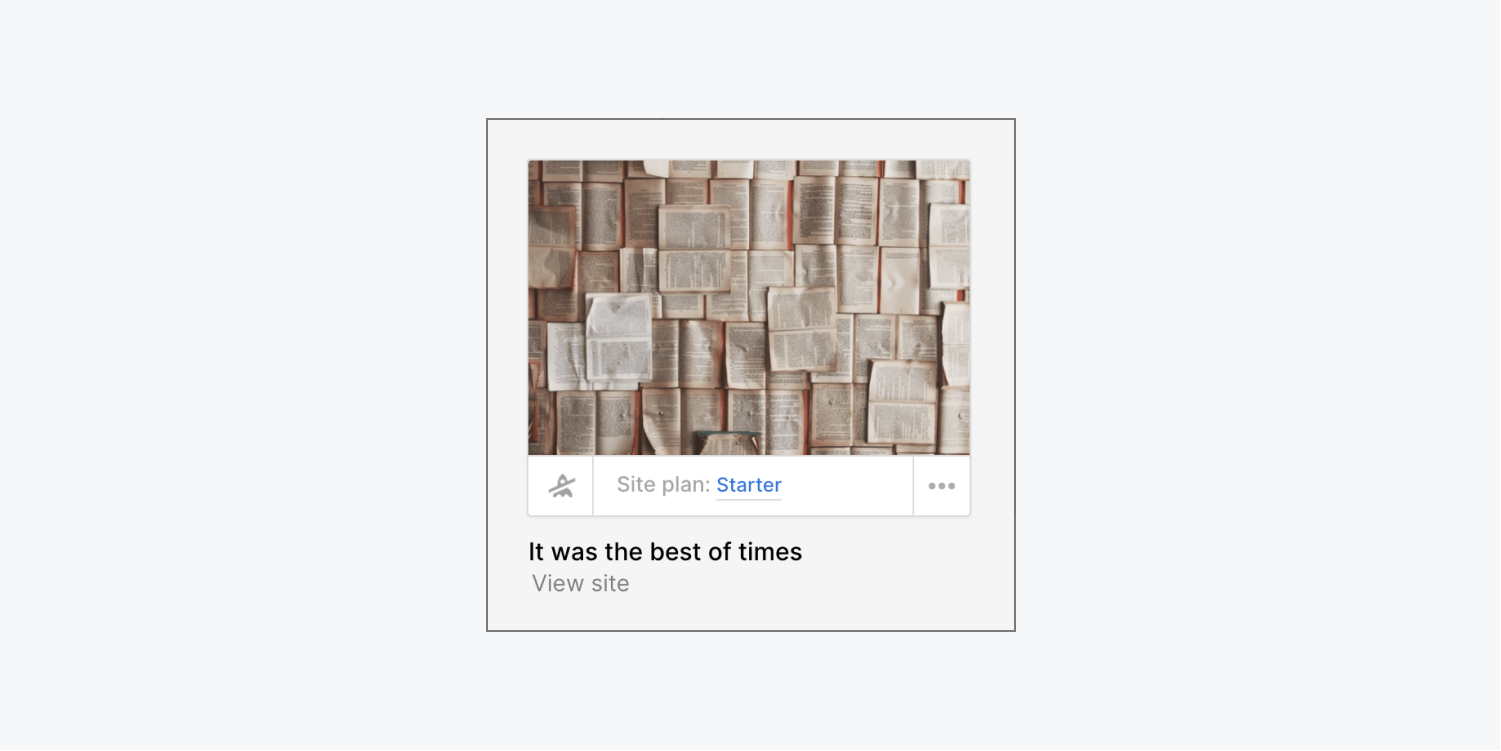
Good to know: The “rocket” icon under the site’s thumbnail lets you quickly see which sites are published or not. Hover over the icon to learn more about when the site was last published.
Open your site in the Designer
To open the site in the Designer, click on the thumbnail and get creative with your designs!
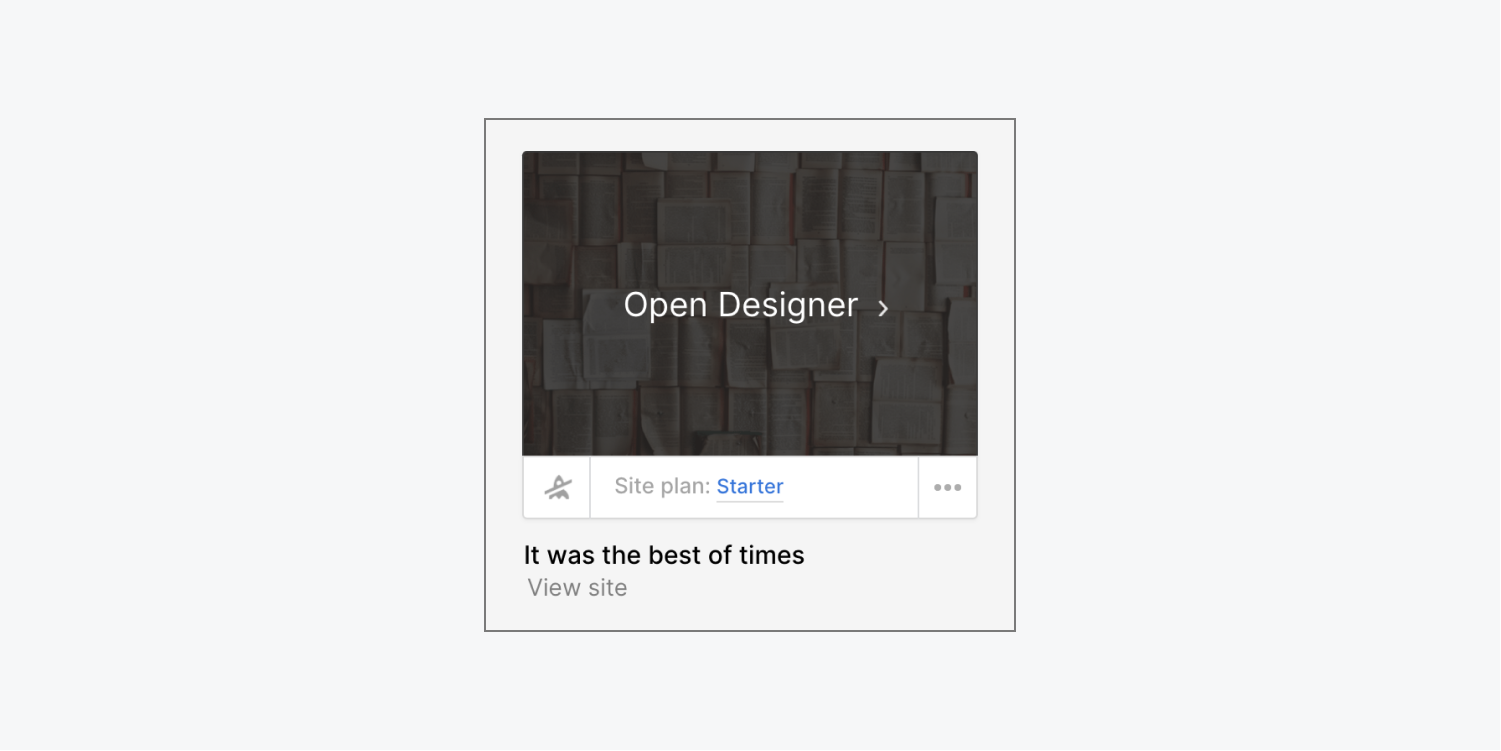
Pro tip: You can open a number of sites in the Designer at once. Command + click (on Mac) or Control + click (on Windows) to load up the Designer for each site in a separate browser tab, which is helpful if you want to compare sites, or copy/paste across them.
Manage your site from the site menu
The site menu lets you quickly:
- Delete a site
- Duplicate a site
- Move a site to a folder
- Share a site's read-only link
- Access the CMS Editor
- Access your site’s settings
Site thumbnails
Thumbnail images are automatically generated for your sites in your Dashboard. They are updated each time you publish your site to your .webflow.io subdomain.
Reset inaccurate site thumbnails
If your site’s thumbnail image is inaccurate, unpublish your site from the .webflow.io subdomain and publish it again. Hard-refresh the Dashboard to see the updated thumbnail — Shift + Command + R (on Mac) and Shift + Control + R (on Windows).


