Google Optimize lets you test variations of your websites and web pages for free so you can understand what works best for your site visitors. With Google Optimize, you can conduct A/B, multivariate, and redirect testing.
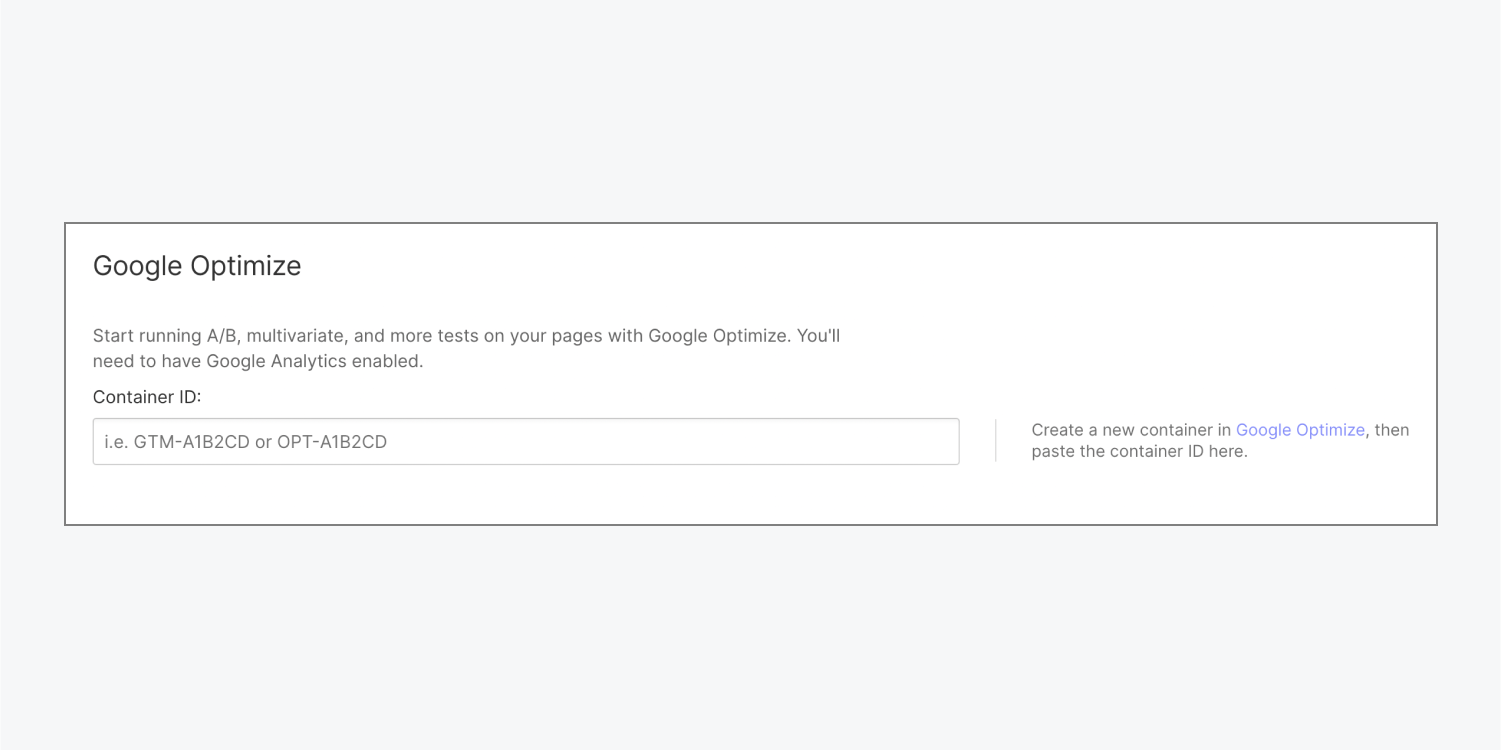
You can integrate Google Optimize into your Webflow site after you enable Google Analytics on that site.
Important: Slow site speed is a known issue when integrating Google Optimize (users generally experience a performance decrease of 50 percent). You can remove the integration and republish your site to prevent it from negatively affecting your site speed.
In this lesson, you’ll learn:
- How to generate a Google Optimize container ID
- How to integrate your Google Optimize container ID into your site
- How to remove Google Optimize from your site
- How to enable Google Analytics
- How to run tests
- How to troubleshoot your Google Optimize integration
Before getting started, check out these resources to learn more about Google Optimize:
How to generate a Google Optimize container ID
Visit the Optimize homepage, create a new container, and copy the container ID.
Learn more:
How to integrate your Google Optimize container ID into your site
To integrate your Optimize container ID into your site:
- Go to Site settings > Integrations tab > Google Optimize
- Paste your container ID into the Container ID field
- Click Save changes

How to remove Google Optimize from your site
To disable Optimize on a site:
- Go to Site settings > Integrations tab > Google Optimize
- Delete the container ID from the Container ID field
- Click Save changes
- Publish your site
How to enable Google Analytics
To use Google Optimize, you'll also need to integrate Google Analytics into your site. If you haven’t already integrated a Google Analytics Tracking ID into your site, you can do so in Site settings > Integrations tab > Google Analytics. Learn more about setting up Google Analytics on your site.
Note: It’s recommended, not required, to enable Global site tag (gtag.js) in Site settings > Integrations tab > Google Analytics.
The Google Analytics integration links your Google Analytics property to your Webflow site. You can also link the same Google Analytics property to Google Optimize to access data about running experiments in Analytics. Learn more about how to link Google Optimize to Google Analytics.
How to run tests
Now that you’ve integrated Google Analytics and Google Optimize into your site, you can start running tests using Optimize. Publish your site to get started.
More resources:
- Optimize first-time user guide: create your first experience
- Experiment types
- Example experiments
- Scheduling experiments
A/B testing
A/B testing is a method of running optimization tests on your website. To run an A/B test, create two different versions of a web page that differ in some way, such as having different headings. Then, split traffic between the two versions and monitor your analytics to see which version (A or B) produces better results. It’s important that you only change one element in version B. Otherwise, you won’t know which change led to better performance!
Learn more about creating an A/B test.
Split testing or redirect testing
Split testing, or redirect testing, is a different type of A/B testing. Redirect tests allow you to test two different landing pages (which have different URLs). For example, a redirect test allows you to test a redesign of your site’s homepage.
Learn more about creating a redirect test.
Create a multivariate test (MVT)
Unlike A/B testing, multivariate testing (MVT) allows you to test many elements on a page at the same time. This is helpful to understand if many sections of a page work well together.
Learn more about creating a multivariate test (MVT).
How to troubleshoot your Google Optimize integration
Google Optimize Diagnostics will notify you when there are potential issues with your integration. Google Optimize lets you know what the issue is so you can make the necessary changes to resolve it. Learn more about Google Optimize Installation Diagnostics.
If Optimize is not found on your site
- Go to your Site settings > Integrations tab > Google Optimize
- Make sure the Google Optimize container ID is saved in the Container ID field
- Visit Google Optimize to check that you’re using the correct container ID
- Re-publish your site and visit your site in a new window to test the integration
If the issue is related to Google Analytics
If Google Analytics tracking code is not found on your site, Google Analytics pageview is not detected, or an Unsupported Analytics tracking code is found on your site:
- Go to your Site settings > Integrations tab > Google Analytics
- Make sure your Google Universal Analytics Tracking ID is saved the Google Universal Analytics Tracking ID field
- Check your Google Analytics settings to ensure that the correct Tracking ID is being used on your site
- Re-publish your site and visit your site in a new window to test the integration
If the wrong Google Analytics tracker is used to load Google Optimize, it means you’re not linking the same Google Analytics property that you’ve integrated into your Webflow site to Google Optimize. To fix this issue, make sure you’re using the same property Tracking ID in your integration in Webflow as the one you’ve linked to in Google Optimize.
If there’s a snippet issue
If the issue is none of the above, and Google Optimize tells you that there’s an issue with how Optimize is installed on your website (e.g., a code or snippet issue), please contact the Webflow customer support team.


