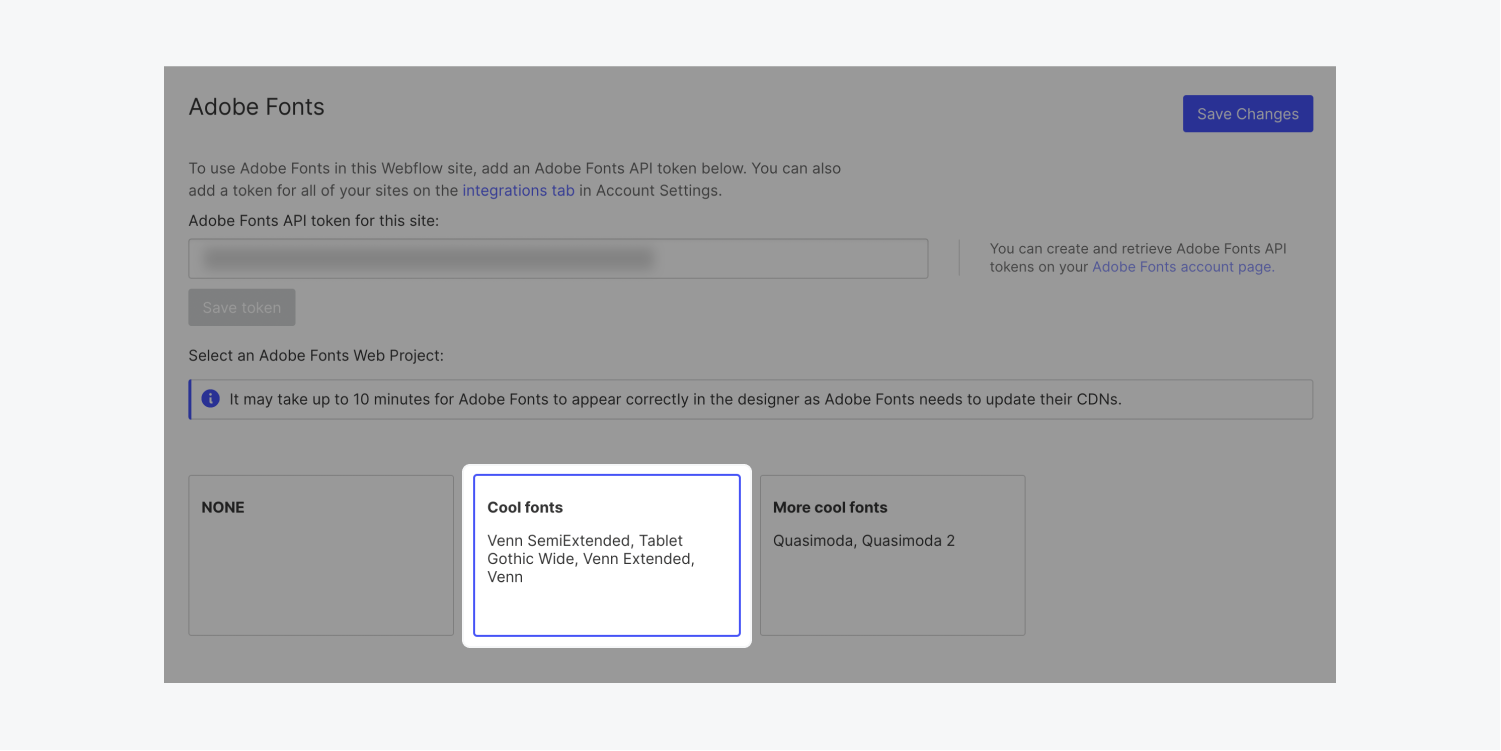
In a separate lesson, we show you how to integrate Adobe Fonts into your Webflow Workspace to make your Adobe Fonts available in all your sites. But, if you’re building a website for a client and you want to use Adobe Fonts for that particular site, it’s wise to create an Adobe Fonts API token specifically for the client and integrate it into the site.
There are two reasons to adopt this approach:
- Adobe began requiring clients to have their own Adobe accounts starting in 2020. Learn more about Adobe Font licensing.
- Your client will own their own font kits, and if they want their site transferred, the transfer will be much easier
Note: To integrate Adobe Fonts into any site, you’ll need a paid Workspace plan or paid site plan.
In this lesson, you’ll learn:
- How to get an Adobe Fonts API token
- How to integrate your API token into your site
- How to remove your API token from your site
- How to connect an Adobe web project to your site
- How to disconnect an Adobe web project from your site
- How to test your fonts in the Designer
- How to troubleshoot issues with the integration
How to get an Adobe Fonts API token
If your client has a Creative Cloud account (Adobe ID), ask them to send you their API token. If they don’t have a Creative Cloud account, ask them to set up their own free account, then send you their API token.
Alternatively, you can offer to set it up for them using their own credentials and then hand it over to them. This way, they’ll keep control of their fonts and you won’t have to manage those fonts within your own Creative Cloud account.
Set up the account yourself and get the API token
If you want to set up the account yourself:
- Create an Adobe Fonts account
- Create web projects with the fonts you want to use for your client’s site
- Visit the Adobe Fonts API tokens page and make a new API token
- Copy the API token
Ask your client to provide their Adobe Fonts API token
If you want your client to set up their own account and send you the API token, you can send them the following instructions:
- Create an Adobe Fonts account (if you don’t have one)
- Create web projects with the following fonts: [Provide the name of the fonts you want to use in their site]
- Visit the Adobe Fonts API tokens page and make a new API token
- Copy the API token and send it to me
How to integrate your API token into your site
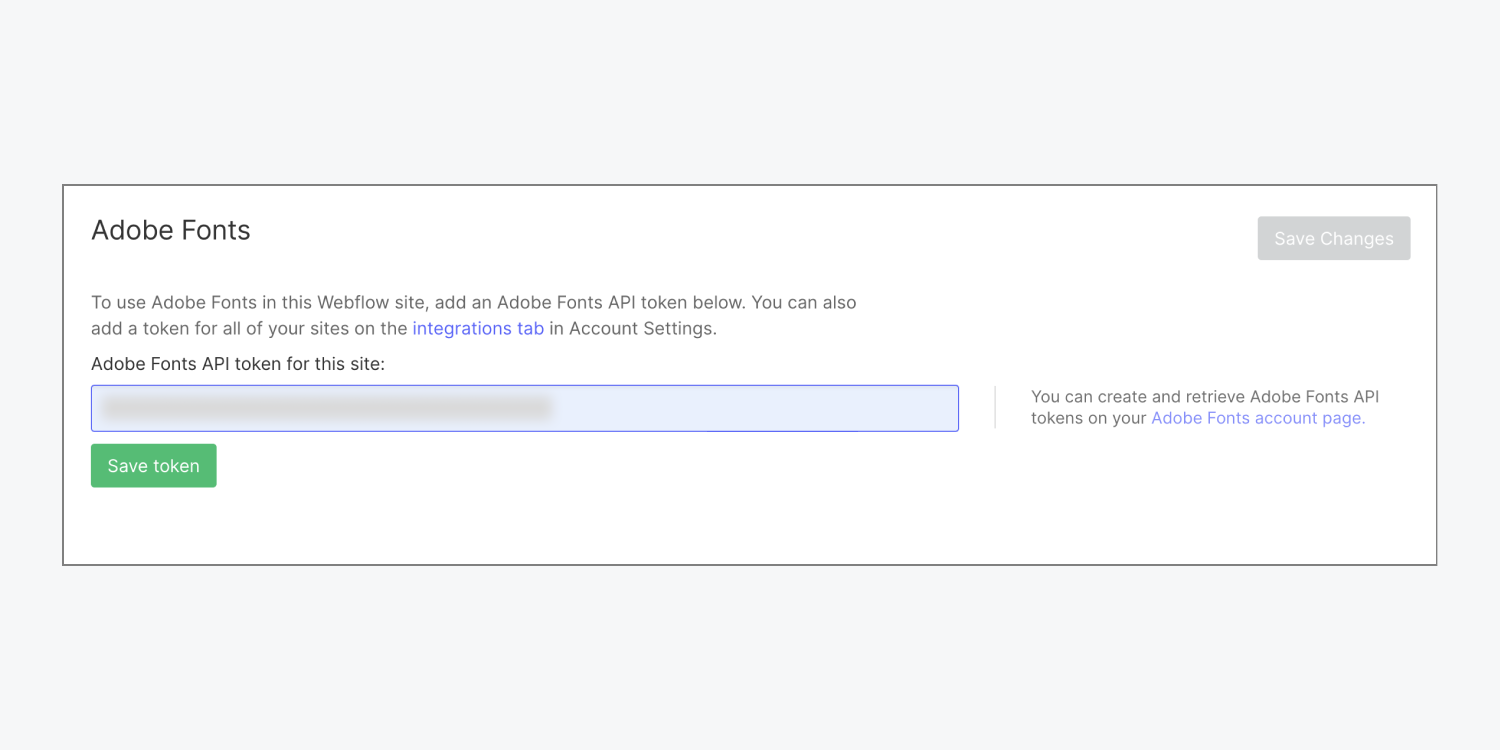
Now that you have the API token, you can paste it into your Webflow site’s Adobe fonts settings. To add your API token to your site:
- Go to Site settings > Fonts tab > Adobe fonts
- Paste your Adobe Fonts API token into the field
- Click Save token
How to remove your API token from your site
If you want to remove an API token from your site:
- Go to Site settings > Fonts tab > Adobe fonts
- Delete the token
- Click Save token
How to connect an Adobe web project to your site
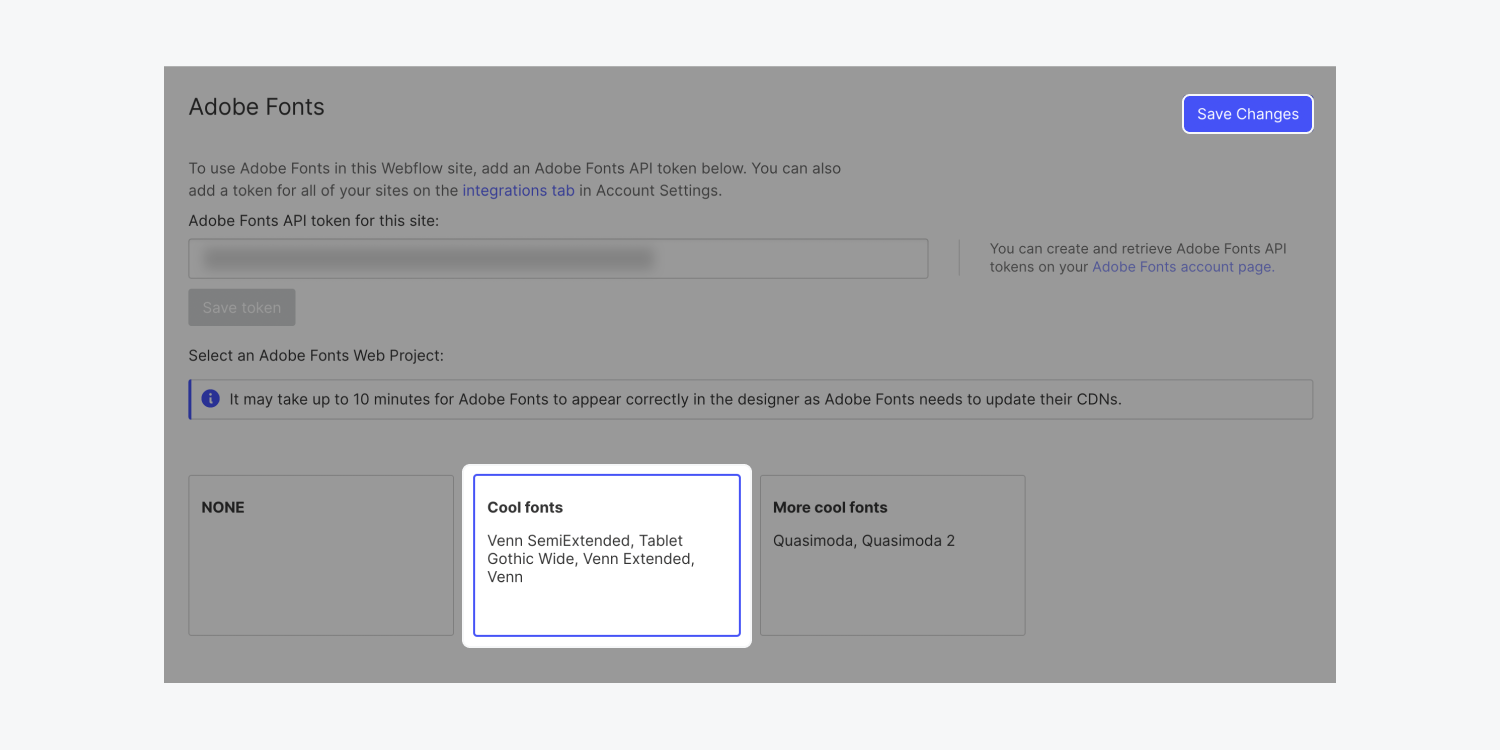
Once you’ve connected your Adobe account to your site through the API token, the Adobe web project that has all the fonts for your site will appear below the Adobe fonts section in Site settings.
To connect an Adobe web project to your site:
- Go to Site settings > Fonts tab > Adobe fonts
- Select the web project you’d like to connect
- Click Save changes
How to disconnect an Adobe web project from your site
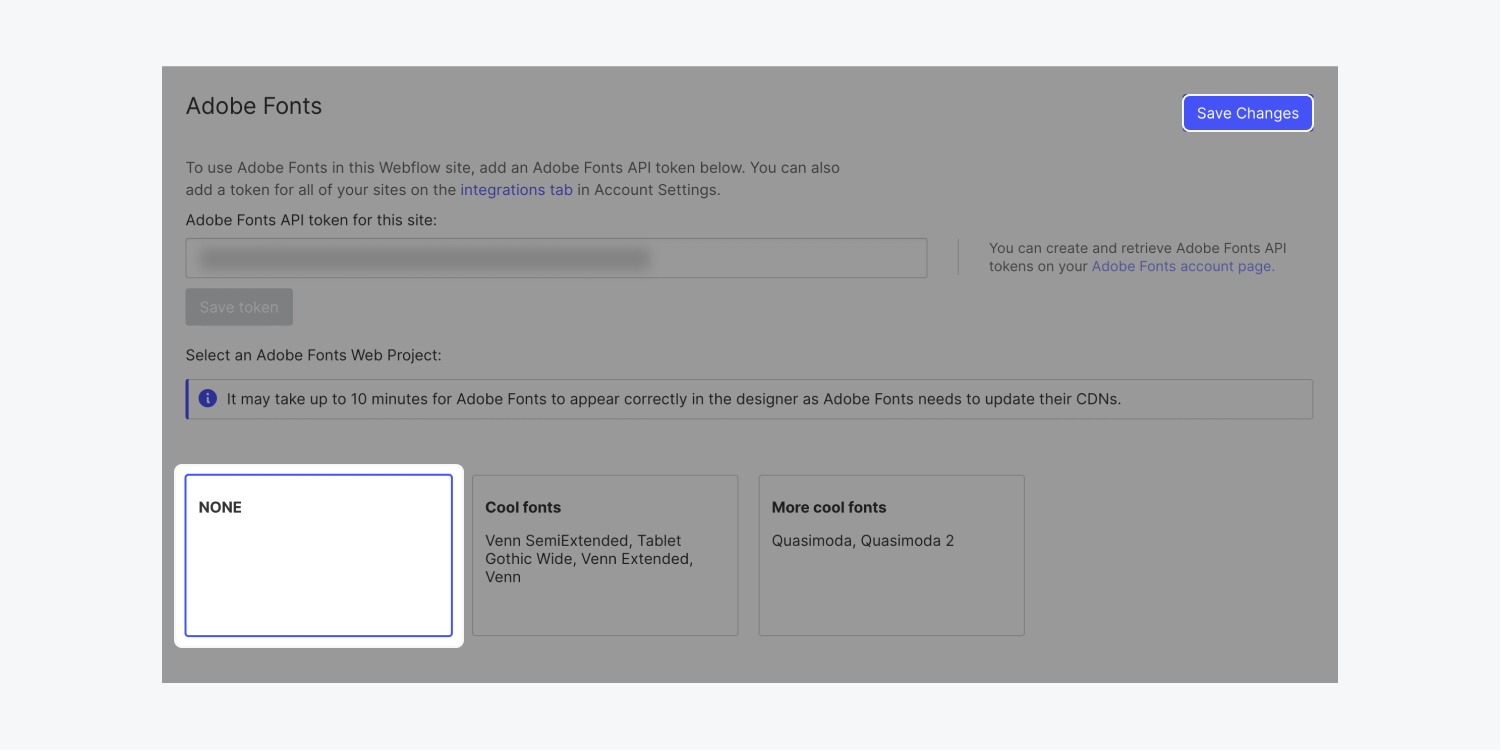
To remove an Adobe web project from your site:
- Go to Site settings > Fonts tab > Adobe fonts
- Select “None”
- Click Save changes
How to test your fonts in the Designer
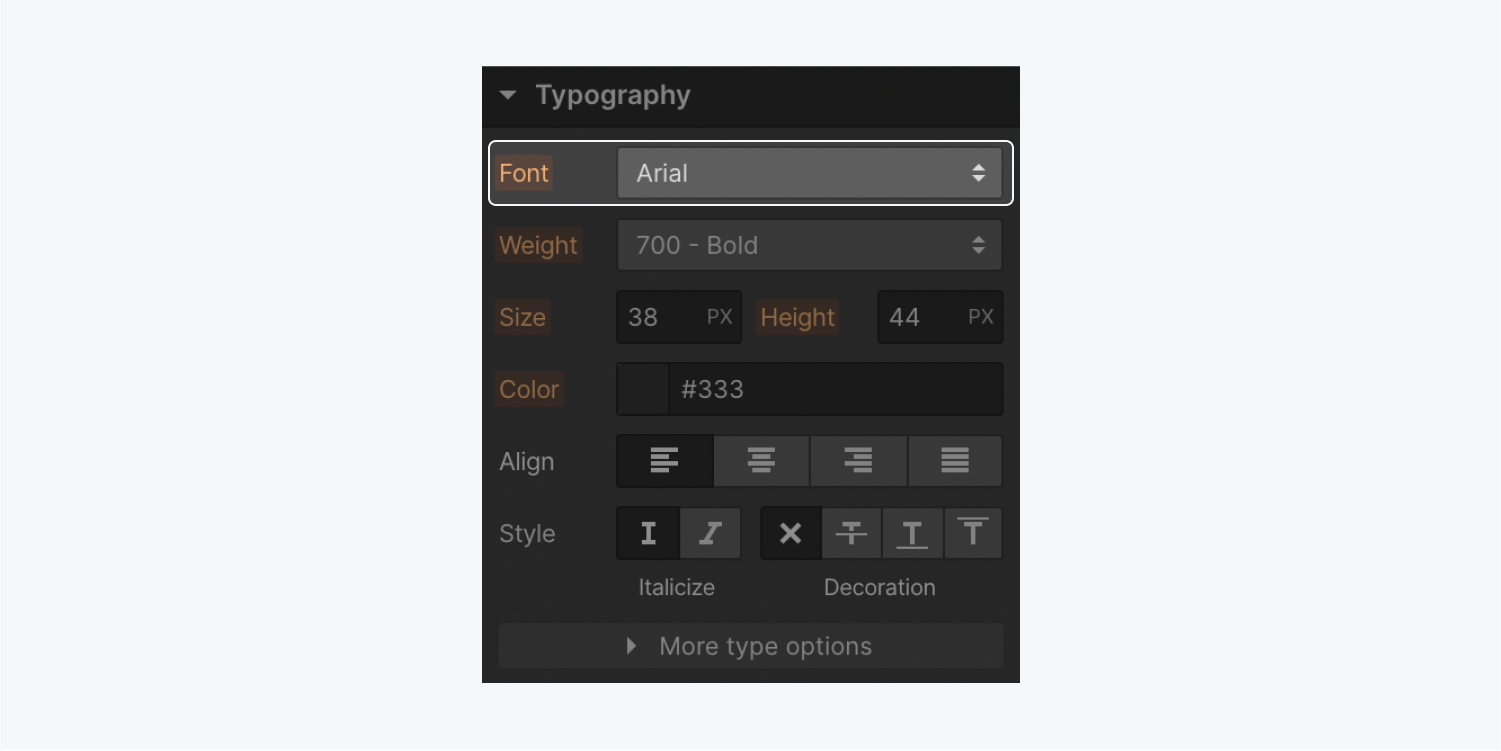
In the Designer, you’ll have full access to any fonts and font weights you added through your Adobe web project.
You can find your Adobe fonts in the Style panel > Typography > Font. Your Adobe fonts can be found at the bottom of the fonts list, ordered alphabetically.
How to troubleshoot issues with the integration
Sometimes the Adobe Fonts integration fails to sync with Webflow. This can usually be resolved in a few small steps.
Some common issues include:
- Fonts aren’t loading correctly in the Designer
- Web projects aren’t loading correctly in Site settings
- Web projects aren’t loading at all in Site settings
Important: Adobe Fonts are licensed through your Adobe Creative Cloud subscription. If you remove your web project from your Adobe Fonts library, or your Adobe account becomes inaccessible, your font selection might not load.
Note: Adobe’s network can take up to 10 minutes to update, so if you don’t see your web project, or updates in your web project, check back and refresh the page later. You can also disconnect the web project and reselect it to load the most updated information from Adobe’s network.
To troubleshoot these issues, check the following:
- Verify that both Adobe and Webflow systems are up and running
- Verify that you’ve integrated the API token in the correct place
- Verify your Adobe Fonts API Token
- Verify that the correct web project is selected in your Site settings
Verify that Adobe and Webflow systems are up and running
Verify that you’ve integrated the API token in the correct place
Make sure you’ve added your Adobe Fonts API token to your site.
Verify your Adobe Fonts API token
- Locate your Adobe Fonts API Token in Site settings > Fonts tab > Adobe fonts
- Visit the Adobe Fonts API tokens page
- Confirm that your Adobe Fonts API Token matches the API token you connected to your site
Verify that the correct web project is selected in your Site settings
- Go to Site settings > Fonts tab > Adobe fonts
- Check that the currently selected web project (the one with a border) is the correct one
