In this lesson:
- Copy the embed code from Airtable
- Paste the code into your site
Copy the embed code from Airtable
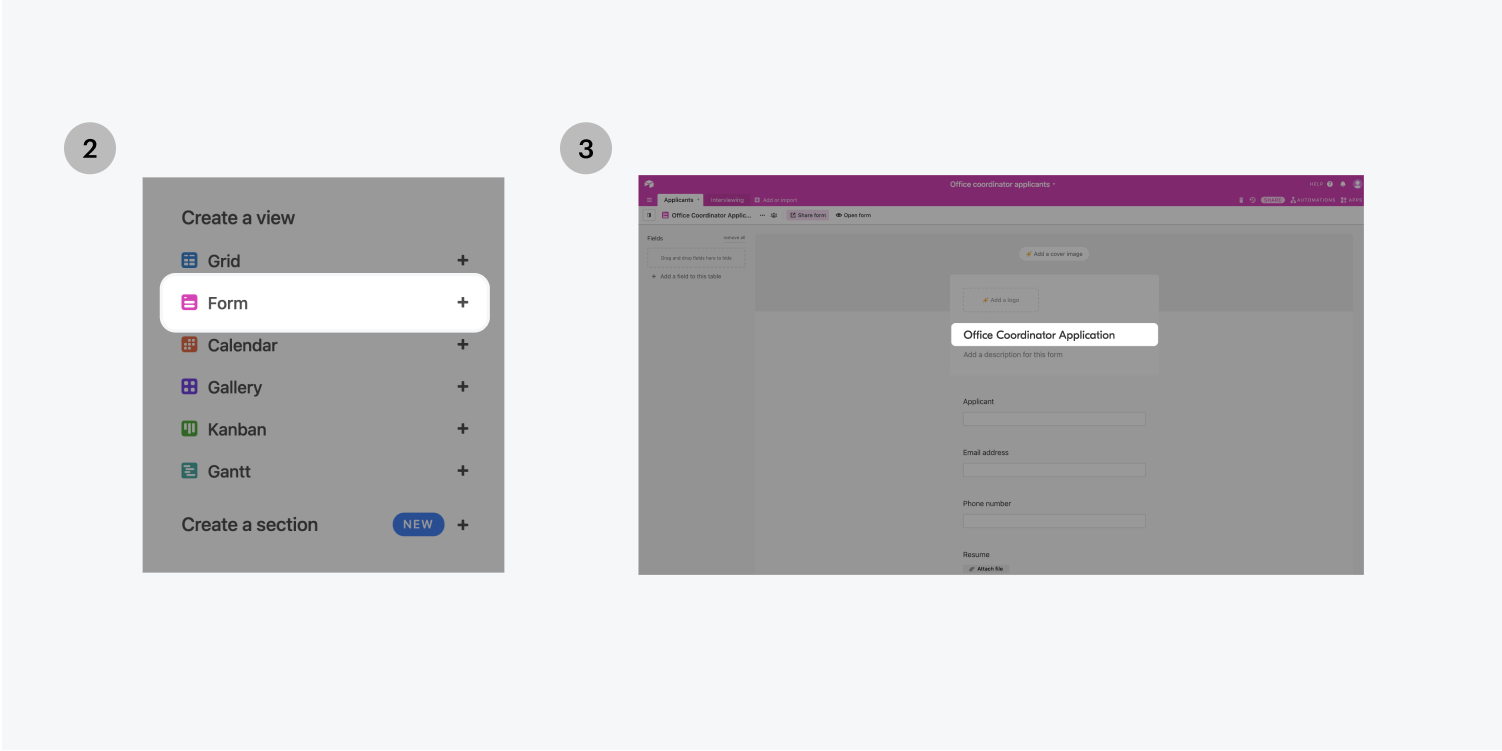
In your Airtable spreadsheet in the top left, click on the Grid view. Under Add a view, choose Form, and from here you can customize your form. Keep in mind that the name you give the form will show up on your site.


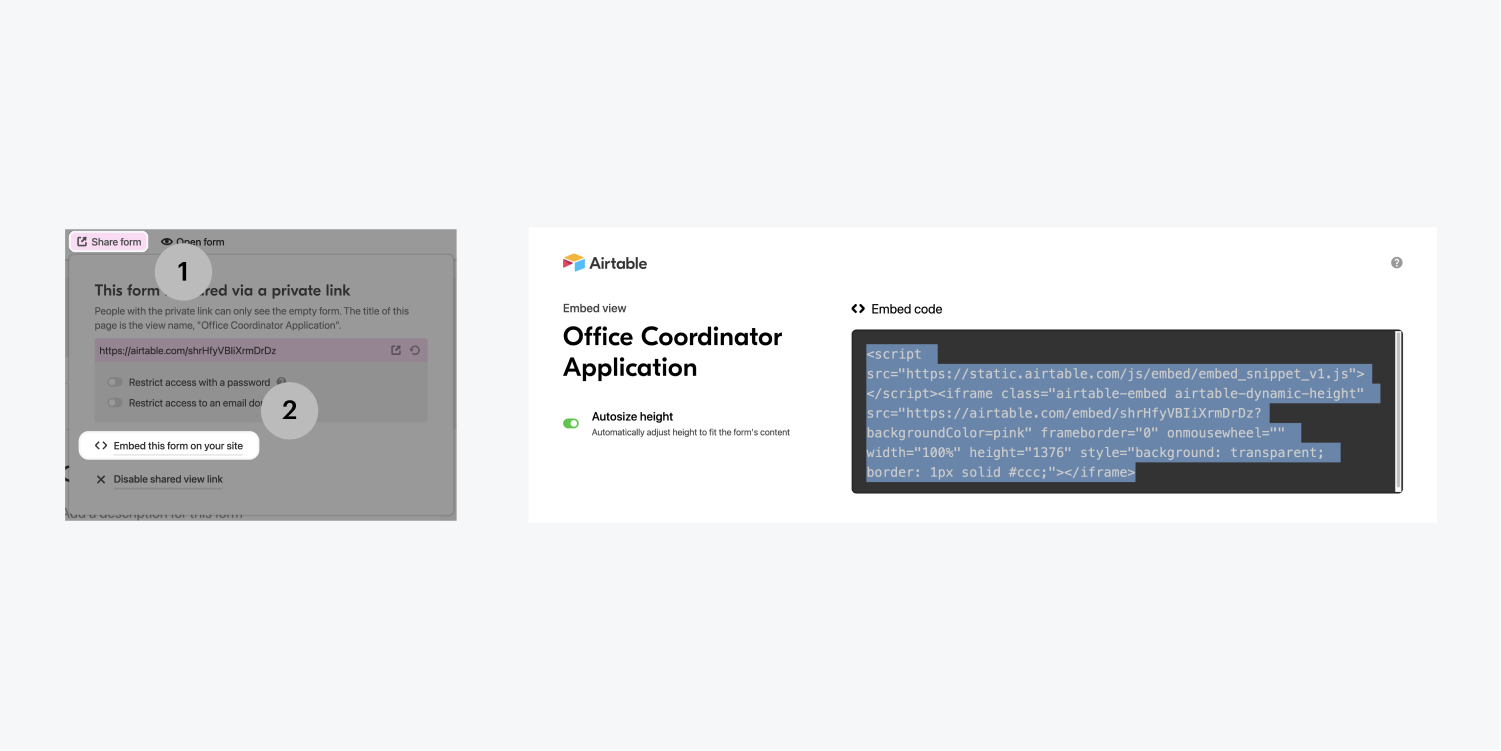
Click Share form > Embed this form on your site to open a new tab with the code snippet. Before you grab the code snippet, toggle the Autosize height switch to on. Then select and copy the Embed code to your clipboard.

Paste the code into your site
In the Designer of your Webflow project, click the plus sign from the left toolbar.
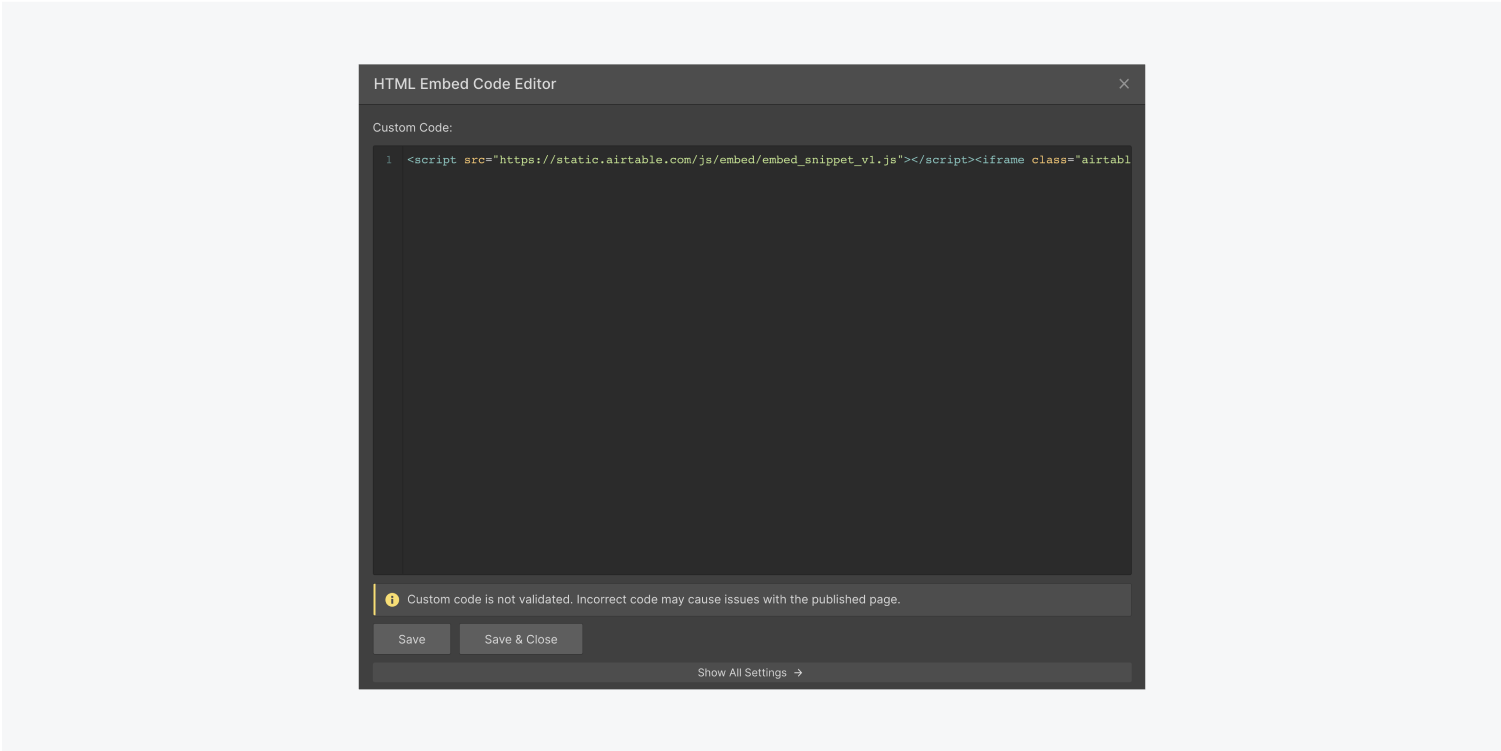
Under Components, drag an Embed element into your existing design. Use Command (Control) + V to paste the code snippet from the previous step into the HTML Embed Code Editor that pops up. Click Save & close.

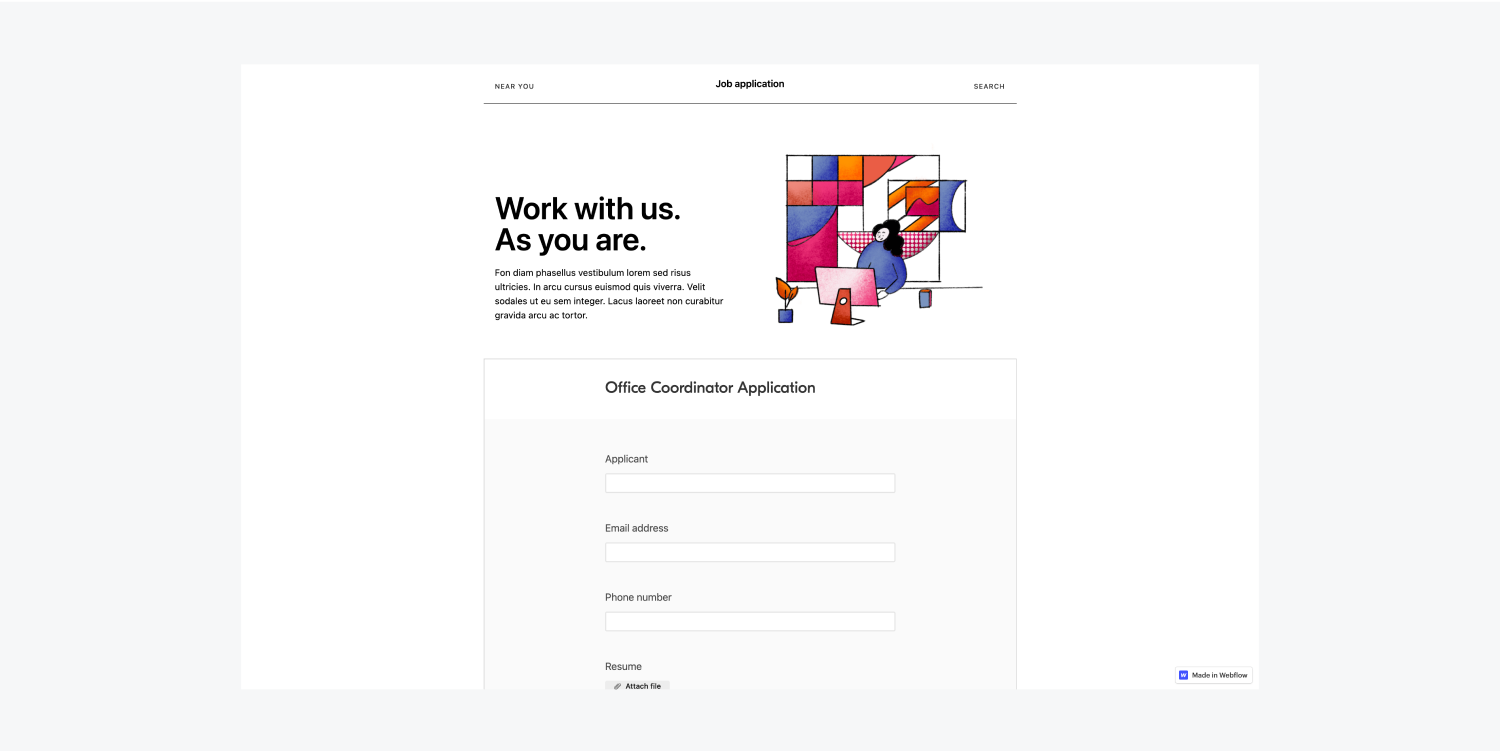
From the top right click Publish > Publish to Selected Domains and check out the published result.

Take a minute to test your form — the data from your submission should show up in the Grid view back in your Airtable spreadsheet.
Nice work!


