Avoid middleware connection tools and handwritten CSS for form embeds by mapping your Webflow form fields to your setup in HubSpot. When customers submit their information on your website’s forms, the integration automatically routes those details over to HubSpot.
Note: This feature is only available to Webflow Enterprise customers. If you or a client are interested in learning more, please contact our enterprise team.
In this lesson you’ll learn:
How to connect HubSpot to Webflow
First, you’ll need to add the HubSpot integration to your Workspace. To access your Workspace:
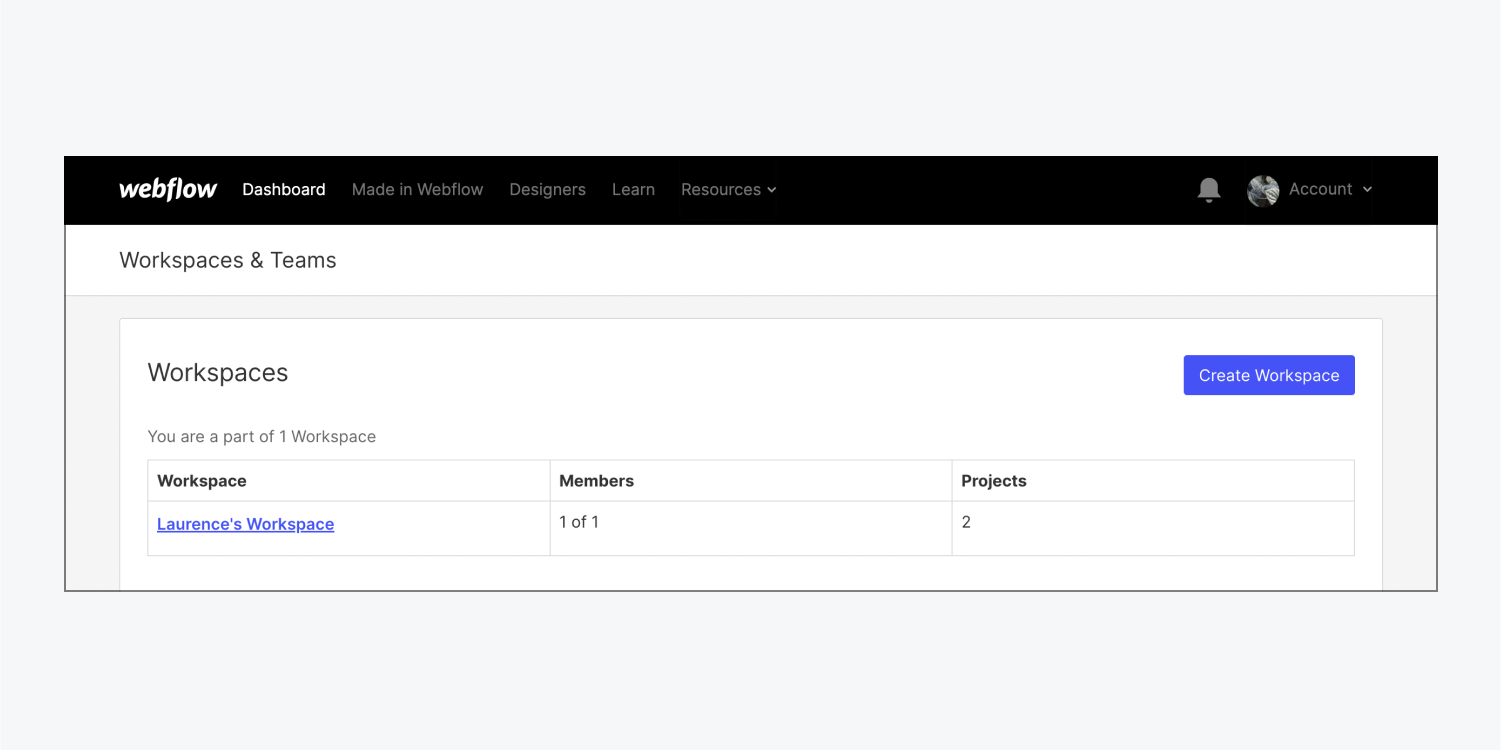
- Open the Account dropdown in the navbar
- Click Workspaces
- Select a Workspace to connect the HubSpot integration to
To add the HubSpot integration:
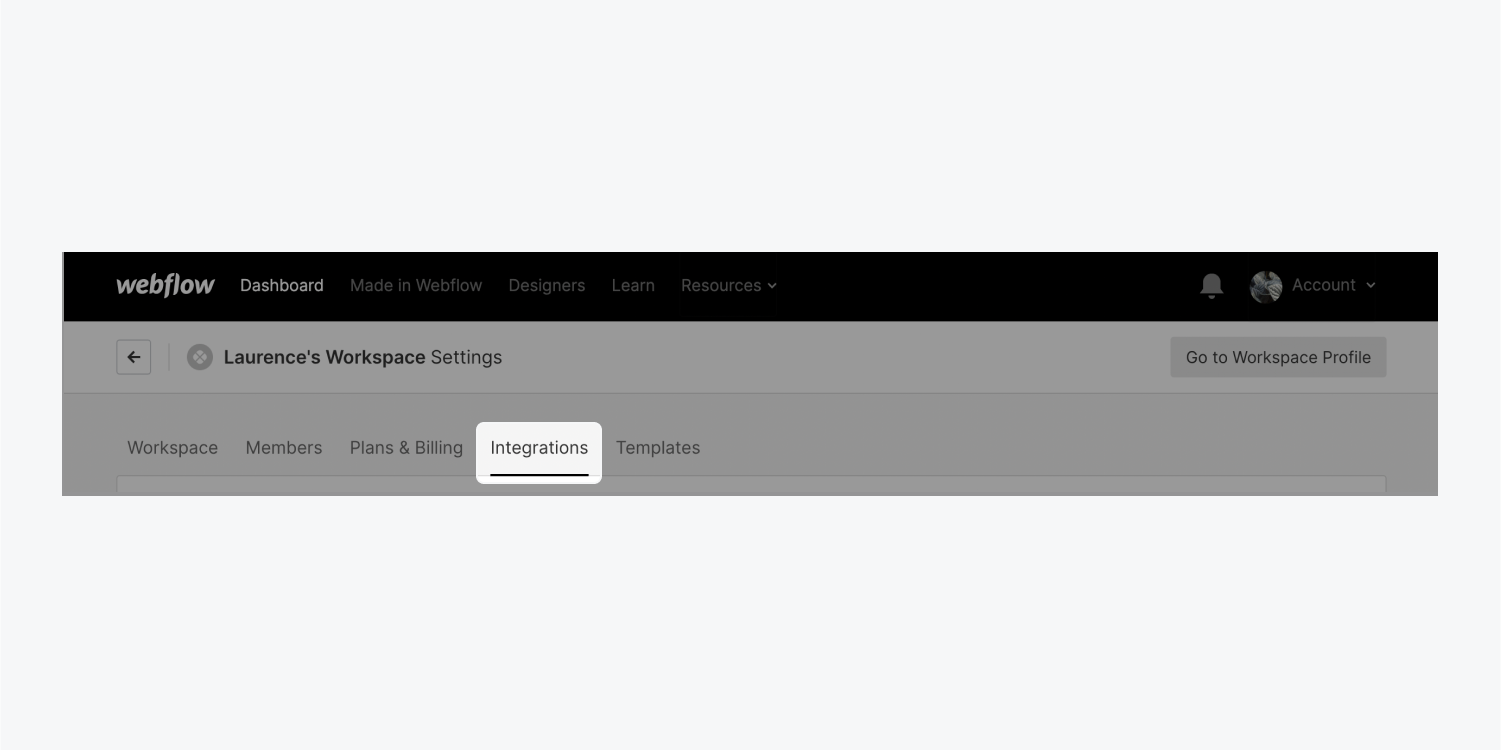
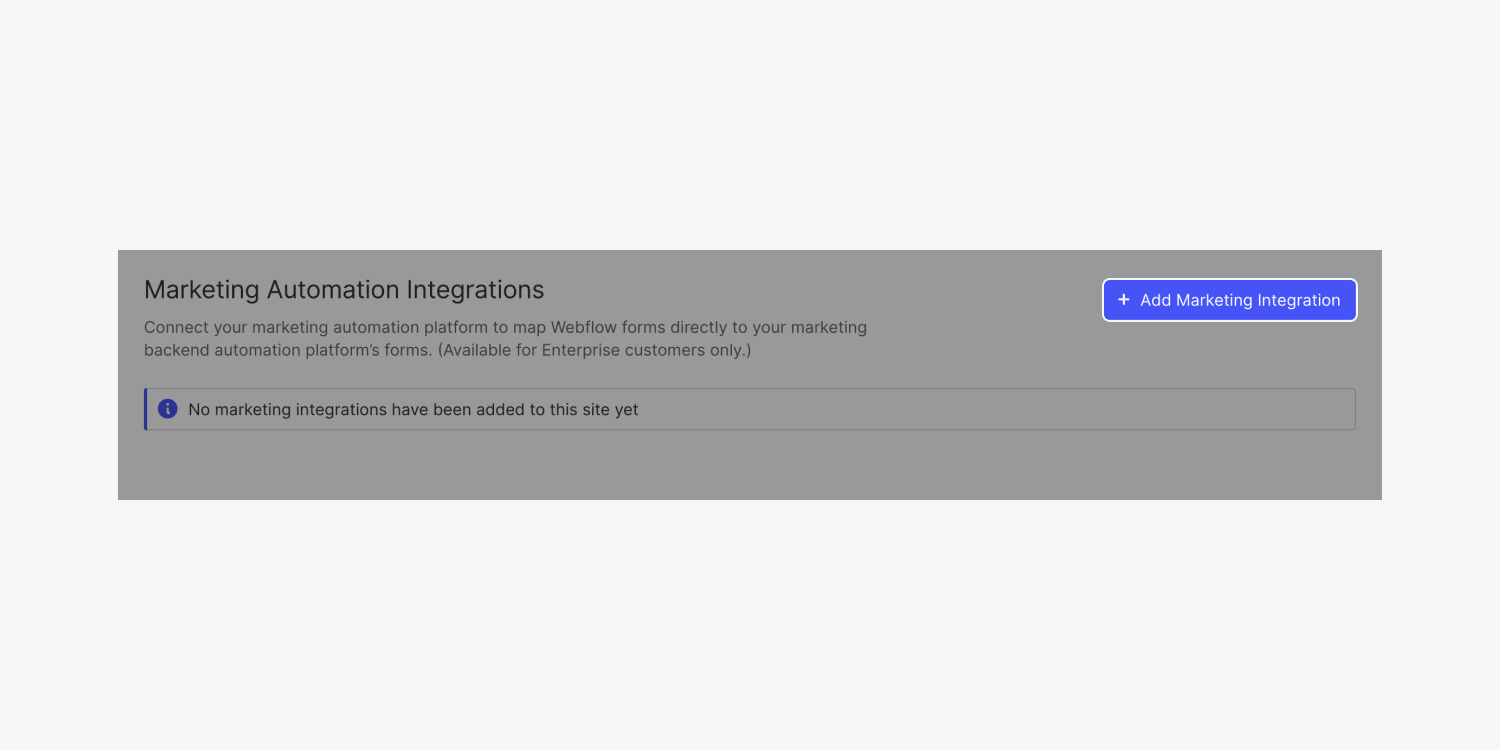
- Go to Workspace settings > Integrations tab > Marketing automation integrations
- Click Add marketing integration
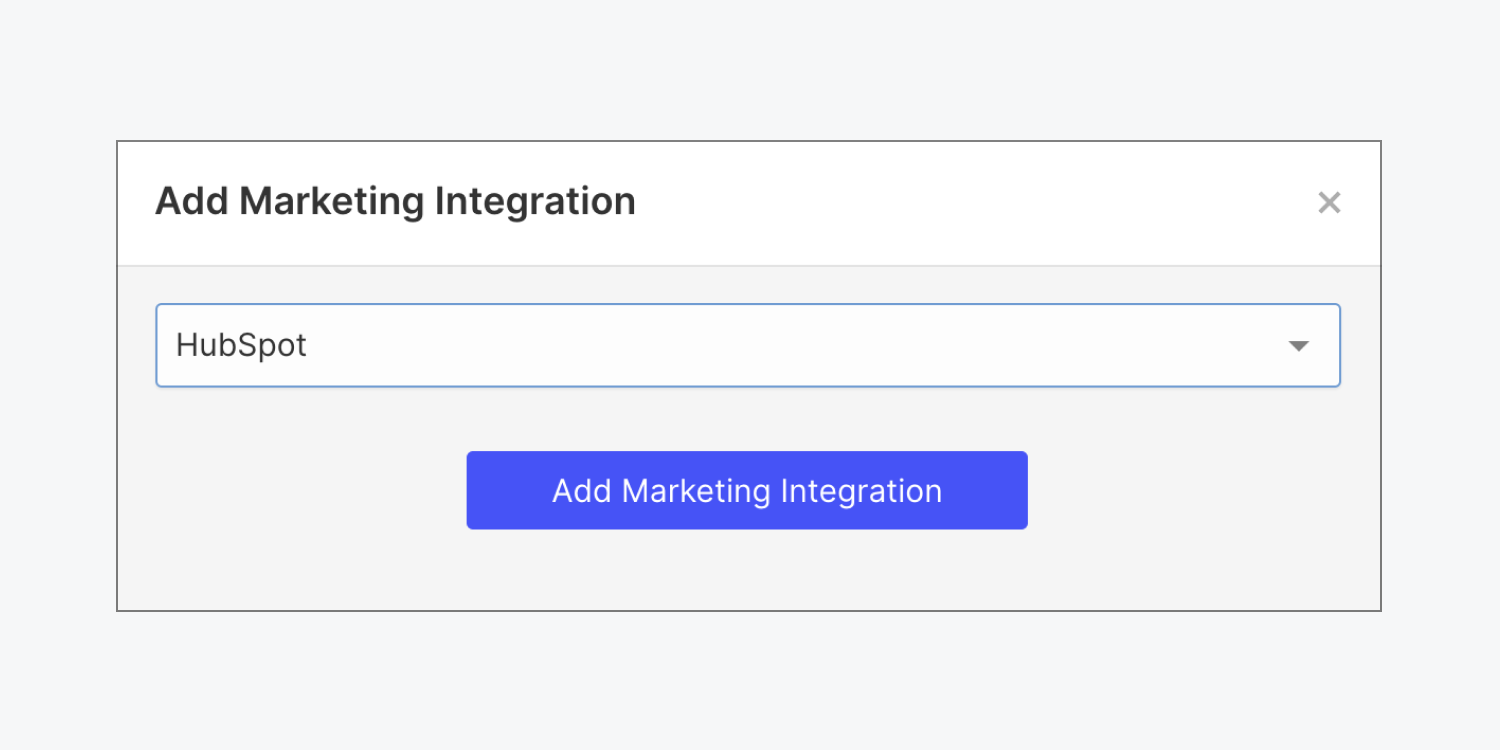
- Choose HubSpot from the dropdown
- Click Add marketing integration (you’ll be routed automatically to HubSpot so you can connect the 2 applications together)
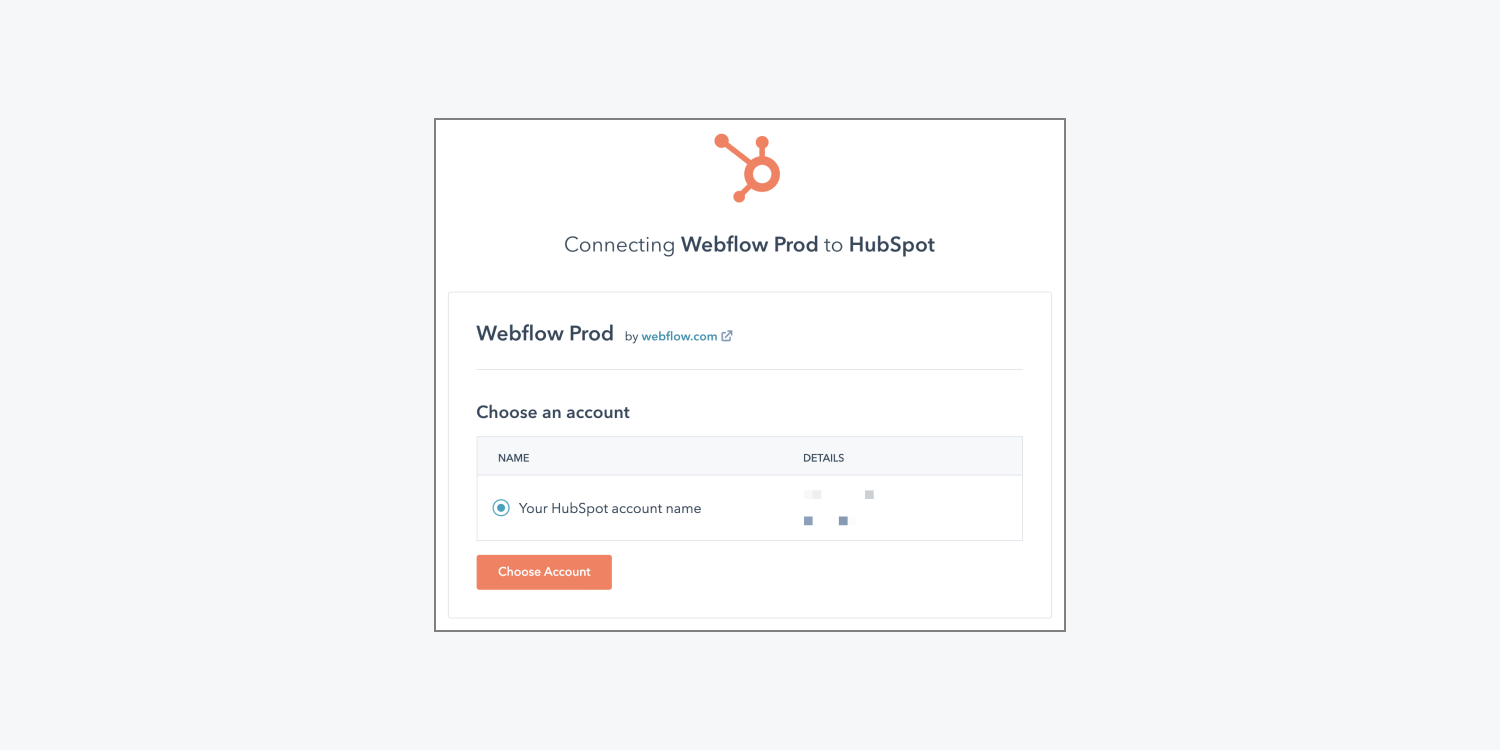
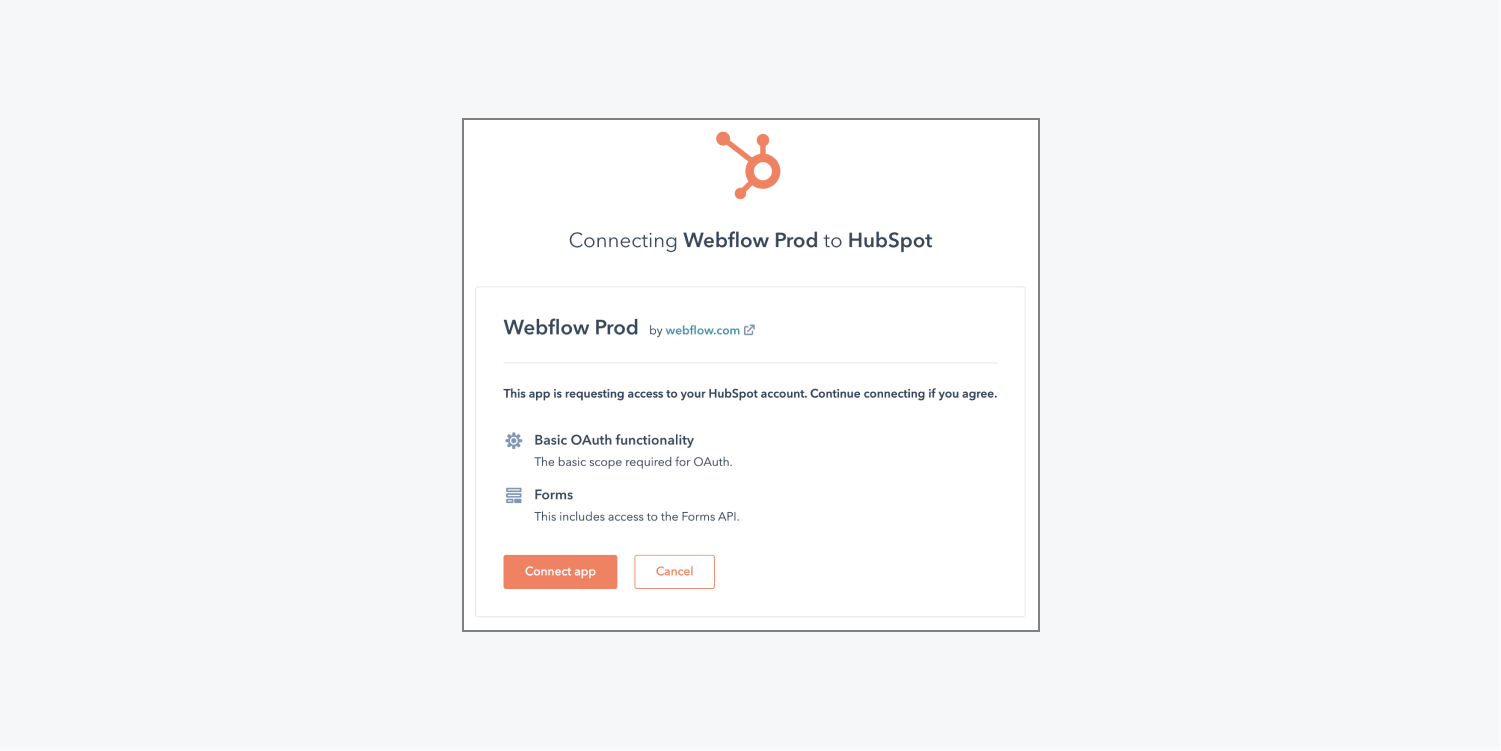
- Select your HubSpot account in the “Connecting Webflow Prod to HubSpot” page and click Choose account
- Click Connect app to give Webflow access to your HubSpot account (you’ll then be routed back to the Integrations tab in your Webflow Workspace)
Note: To update your integration, you'll need to delete and replace it.
Delete your HubSpot integration
To delete your HubSpot integration, first go to your Workspace:
- Open the Account dropdown in the navbar
- Select Workspaces
- Select the Workspace you want to remove the HubSpot integration from
Then, delete the HubSpot integration:
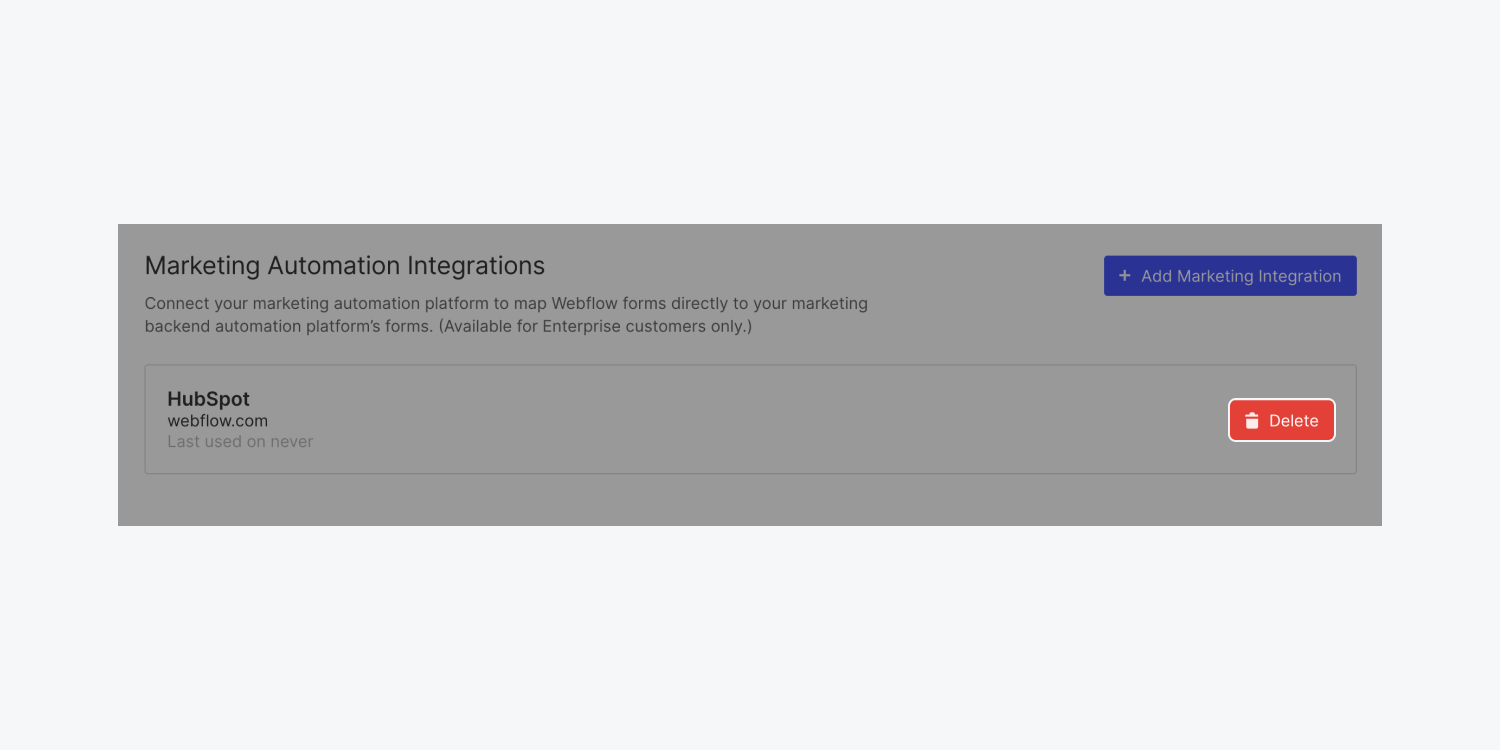
- Go to Workspace settings > Integrations tab > Marketing automation integrations
- Click Delete next to the integration you want to remove
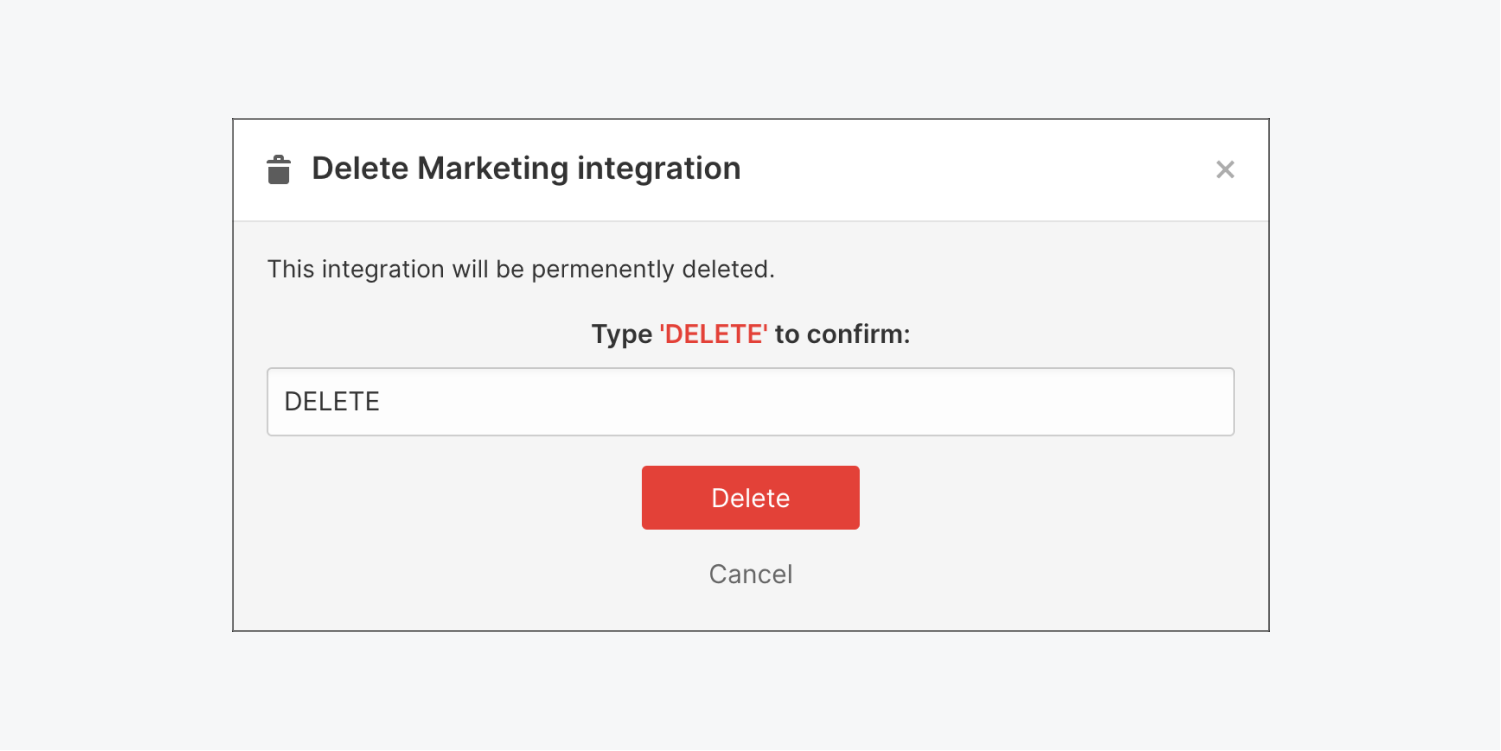
- Type “DELETE” to confirm and click the Delete button
Important: If you delete your Workspace’s HubSpot Marketing automation integration and re-add it at a later time, you will also need to delete any previous HubSpot form integrations in your sites and re-add them to ensure they function as expected.
How to map individual forms to HubSpot
When somebody fills out a form on your Webflow site, each Webflow form field that you’ve mapped to a HubSpot form field automatically pulls the submitted form data into your corresponding HubSpot fields’ values. In other words, this integration shares mapped fields’ submitted data between your Webflow form and your HubSpot form. You can map your form and manage it with the following steps:
- Publish your form and create a test submission
- Map your Webflow form to HubSpot
- Test your mapped form
- Edit your form integration settings
- Delete your form integration
Publish your form and create a test submission
Before you can map your dynamic Webflow forms to a global HubSpot form, you need to make your form in Webflow, publish your site (or republish it if you already have a form in use), and create a test submission:
- Make your form in Webflow if you don’t have one already
- Publish (or republish) your site containing the form you want to connect to HubSpot
- Fully fill out and submit your form on your live site
Remember, each Form block in your site needs to have a unique Form name. If 2 or more forms use the same name, this can cause issues with Webflow's API and how it fetches mappable form fields. By default, our API fetches forms with the most recent submission, and if 2 forms use the same name, this can disconnect or break the expected mapping between Webflow and HubSpot. Multiple forms with the same name can also cause other issues (e.g., multiple forms submitting to HubSpot when you wanted only 1 to submit).
Important: Even if you have already published your form, you will need to republish it to have the integration function as intended.
Learn more about forms.
Map your Webflow form to HubSpot
After you have created a test submission from the form you want to connect to HubSpot, and after you have added the HubSpot integration to Webflow, you can map the form to HubSpot.
- Go to Site settings of the site that contains the form you want to connect to HubSpot
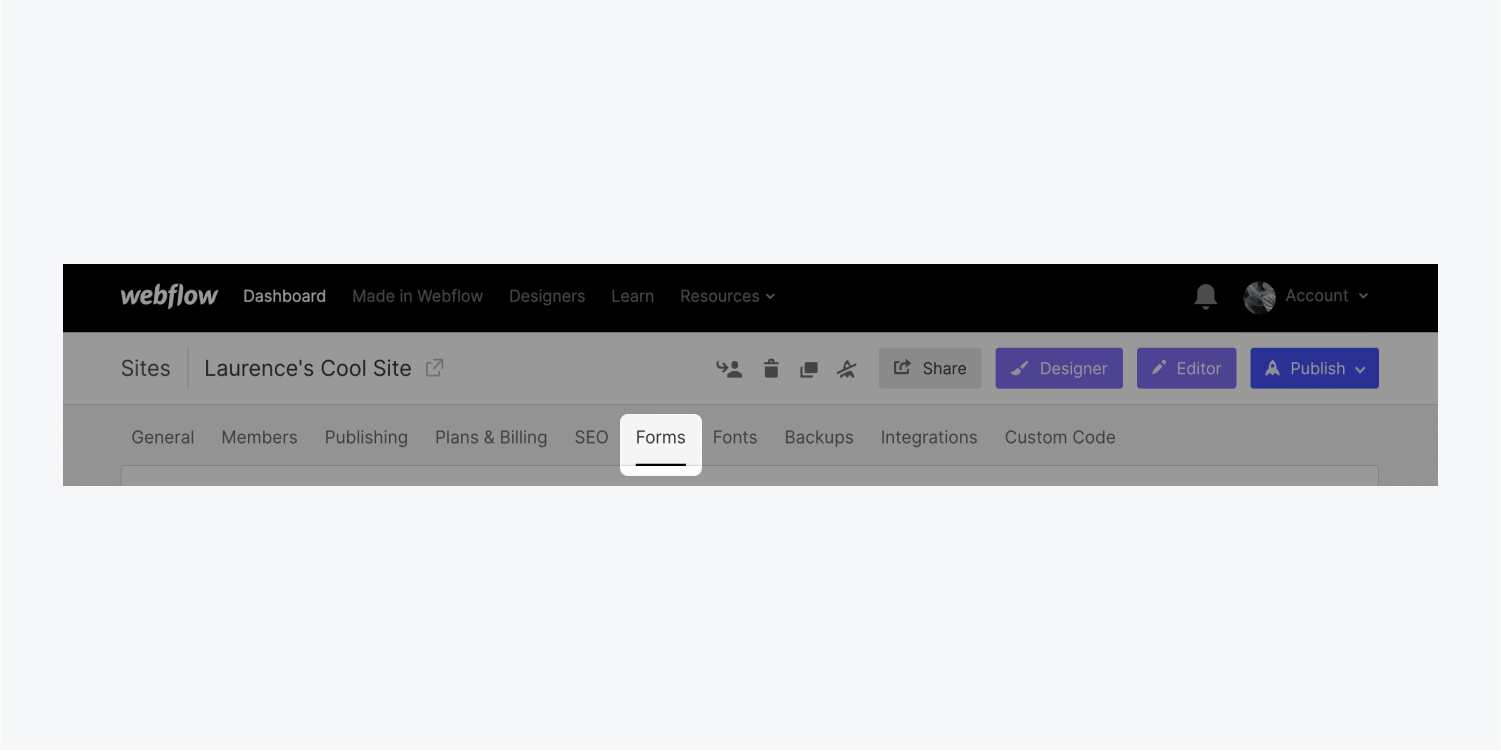
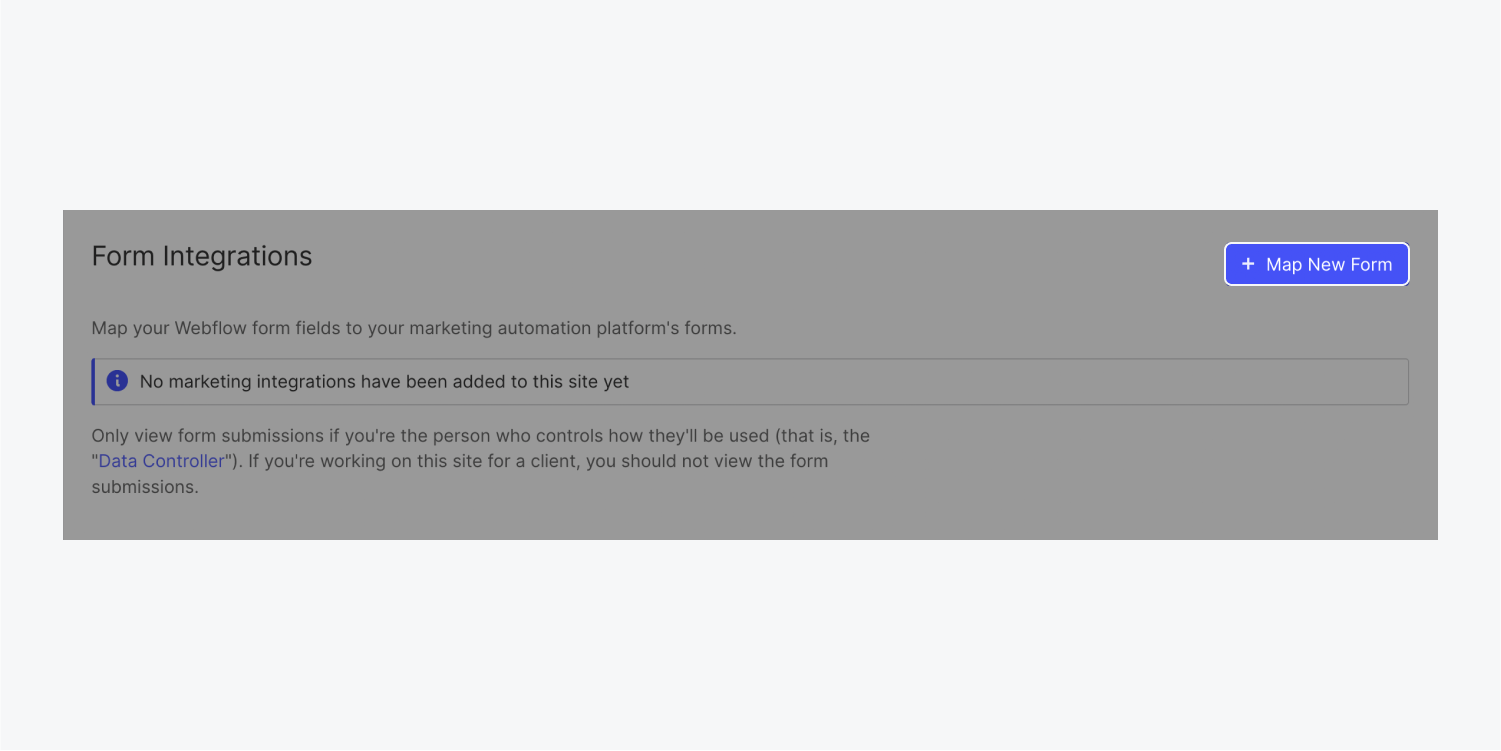
- Go to Forms tab > Form integrations
- Click Map new form
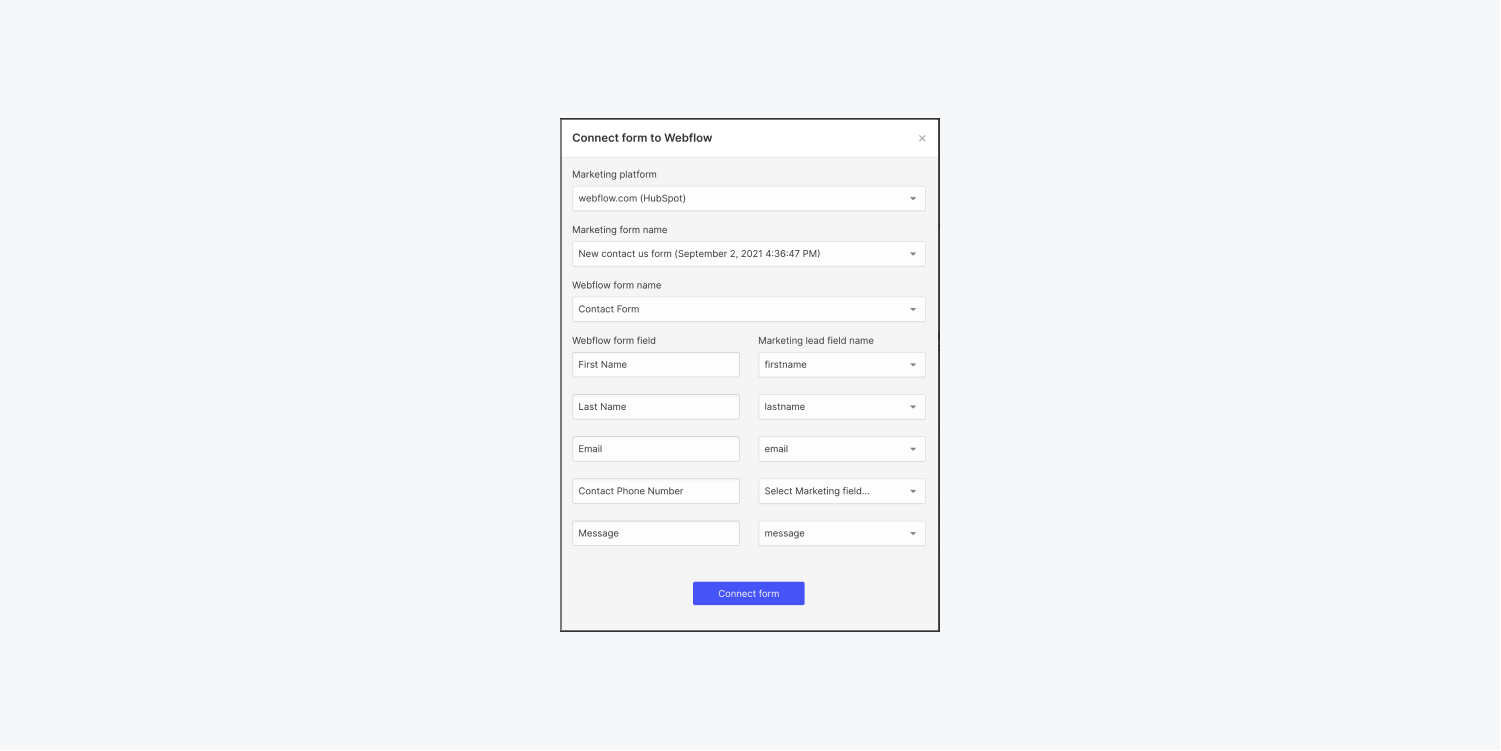
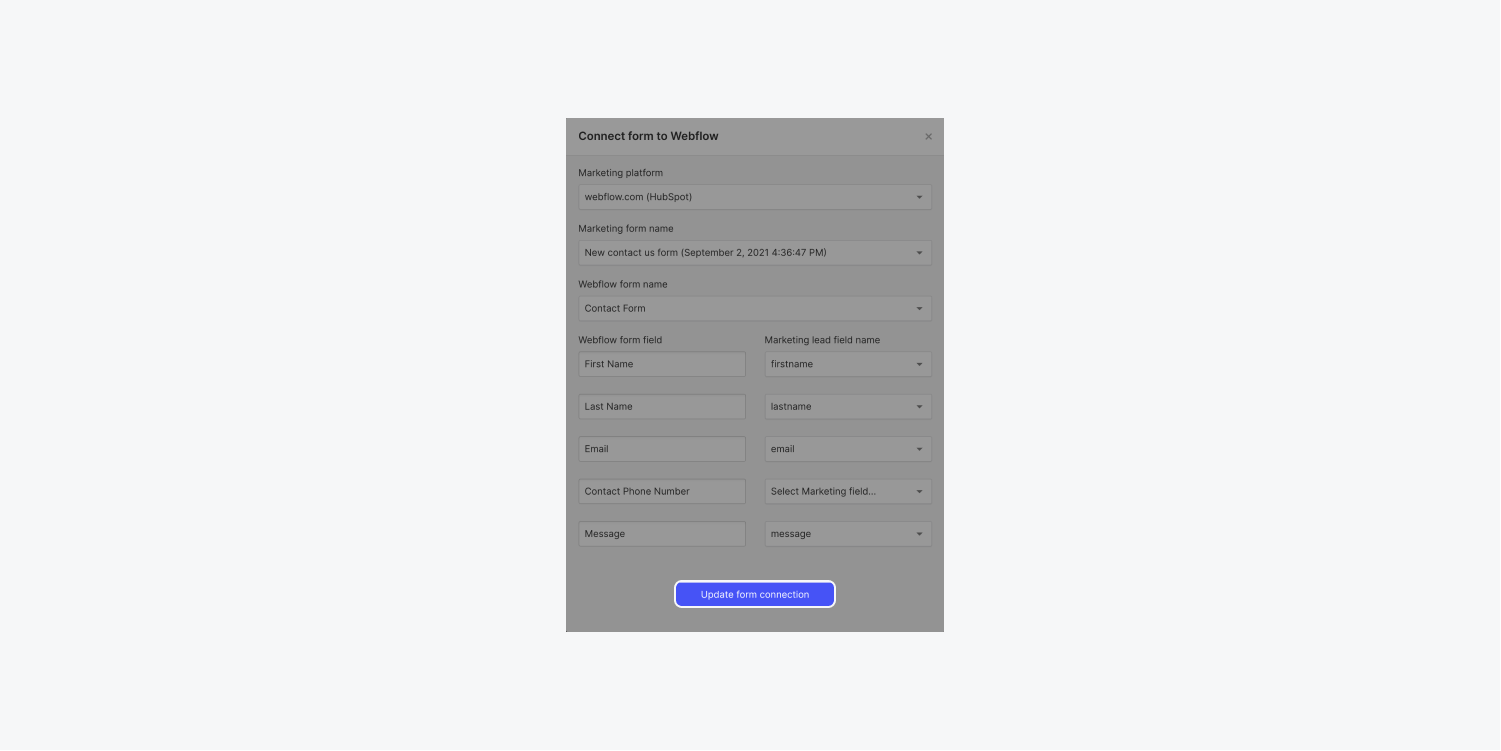
- Choose webflow.com (HubSpot) from the Marketing platform dropdown menu
- Select your form from the Marketing form name dropdown menu
- Choose your corresponding Webflow form from the Webflow form name dropdown menu
- Map your Webflow form fields to Marketing lead fields (e.g., a “FirstName” field in Webflow maps to a “firstName” field in HubSpot — you don’t have to map all your fields if you don’t want to)
- Click Connect form to connect your Webflow form to HubSpot
Good to know: When mapping form fields, you’ll need to make sure your HubSpot form contains any Webflow form field as a corresponding field in the HubSpot form itself. You can add these corresponding fields in your HubSpot form by selecting your matching HubSpot form, opening it up, editing it, and adding any necessary fields to your HubSpot form.

Test your mapped form
You can test your integration after you’ve mapped your Webflow form to your HubSpot form to make sure it’s pulling data into HubSpot as you’d like:
- Open your live site, fully fill out, and submit your form
- Log in to HubSpot
- Check the submission log in HubSpot to confirm your form information was pulled into HubSpot correctly
Edit your form integration settings
If you want to update your form integration settings, you need to create a form test submission:
- Publish your site that contains the form you want to connect to HubSpot
- Fill out your form
- Submit it
After you have created a test submission from the form you want to connect to HubSpot, you can update your form fields in your current form integration:
- Go to Site settings of the site that contains the form integration you want to update
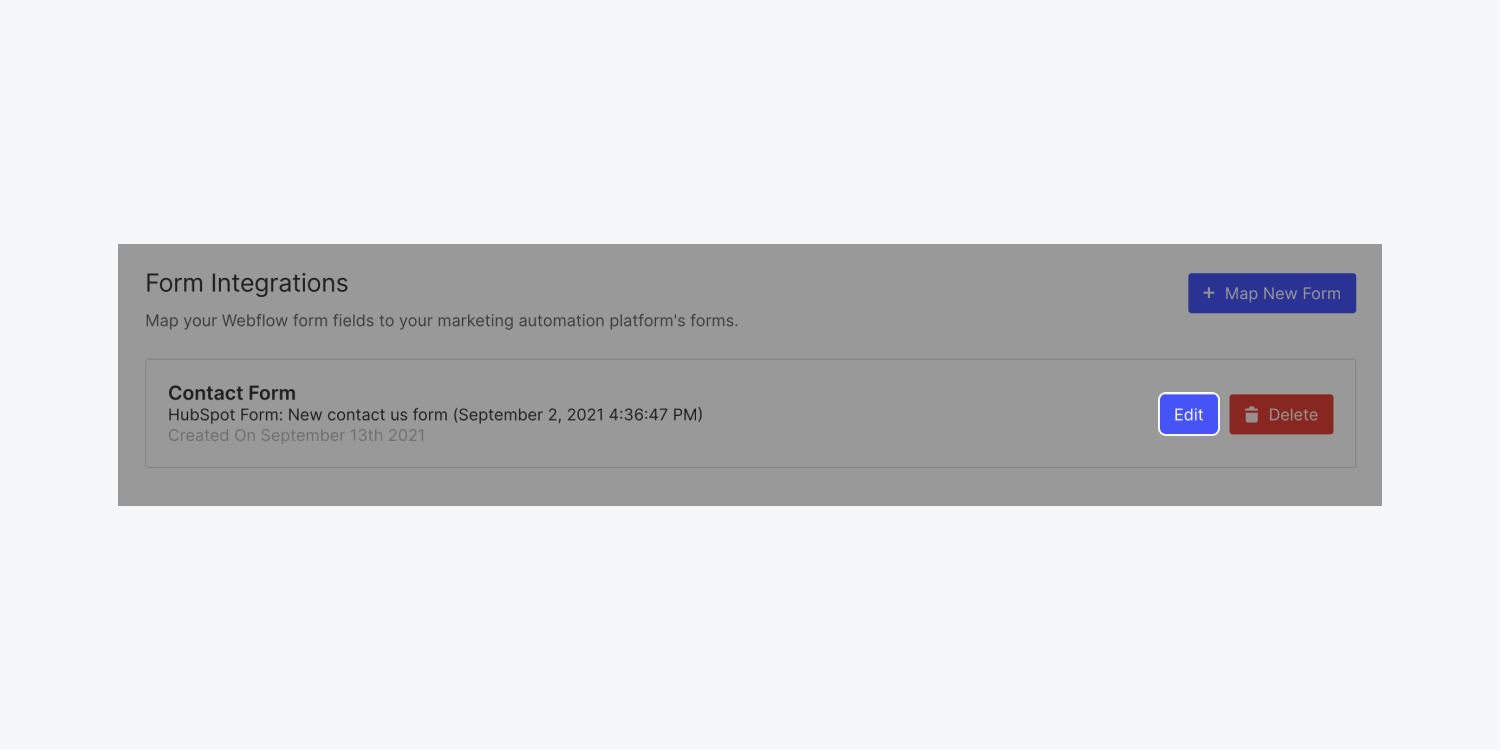
- Go to Forms tab > Form integrations
- Click Edit next to the form you want to update
- Make any changes to your fields as needed
- Press Update form connection to save your changes
Delete your form integration
If you need to delete a form integration:
- Go to the Site settings of the site that contains the HubSpot form integration you want to delete
- Go to Forms tab > Form integrations
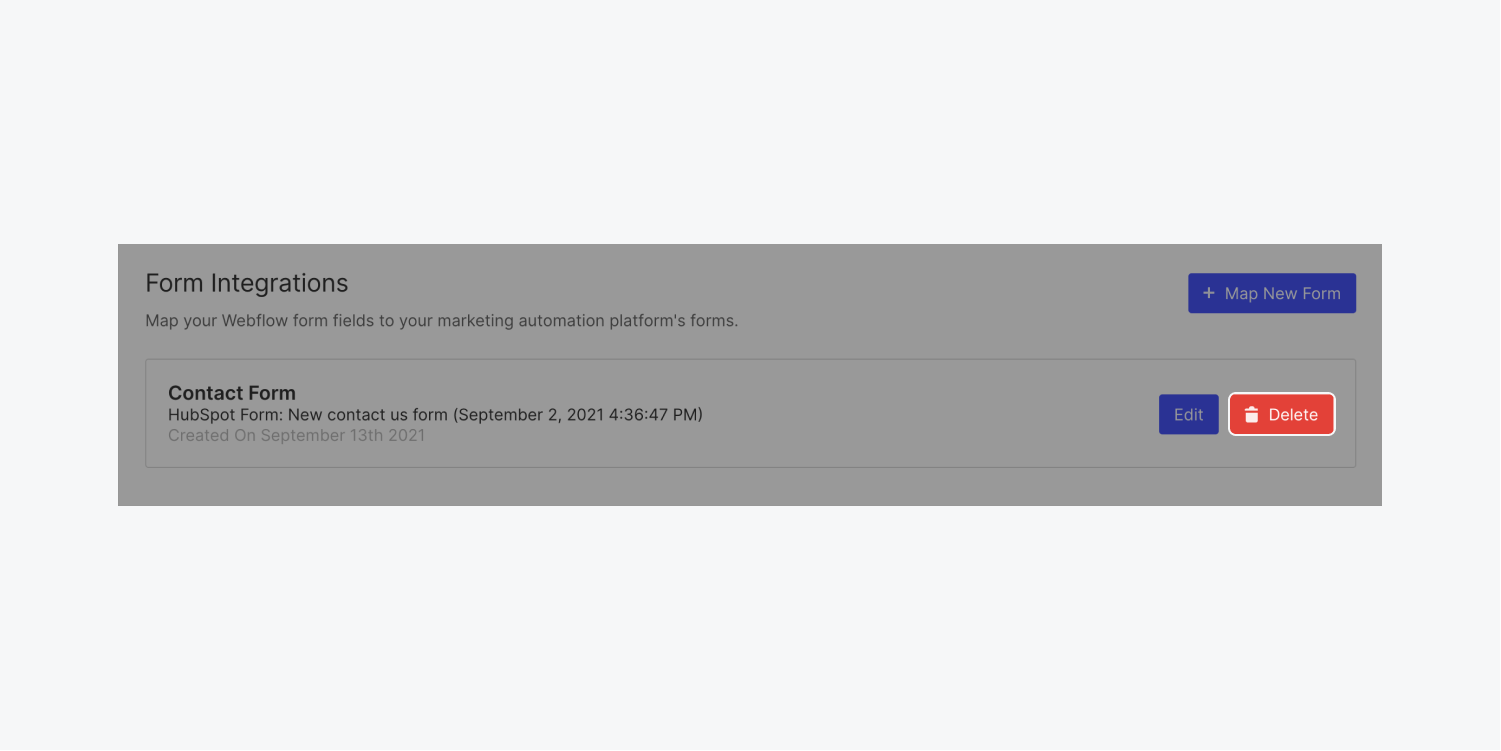
- Press Delete next to the form integration you want to remove
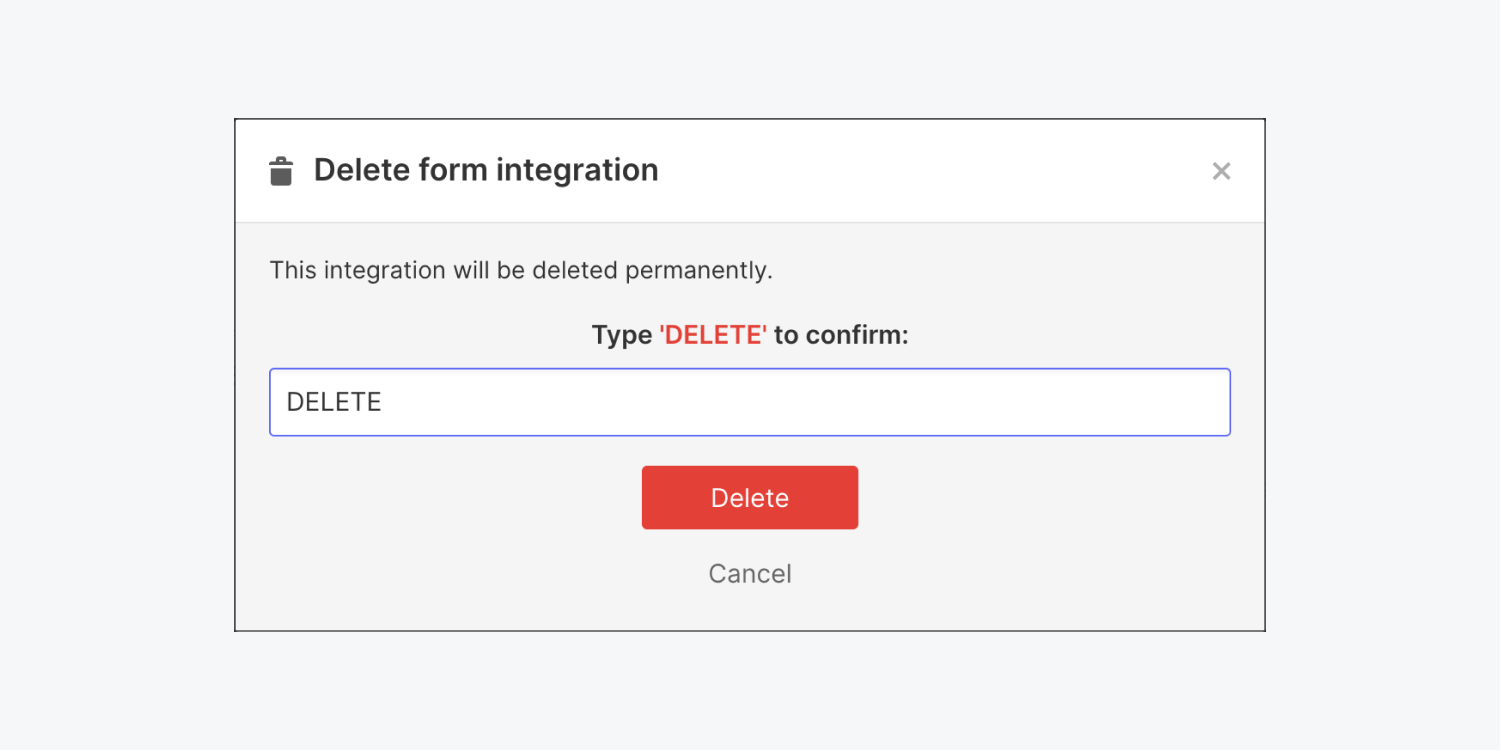
- Type “DELETE” to confirm and press the Delete button
