Enter the next dimension — or half dimension — and learn how to layer 2D images in 3D space using the Webflow Designer. We’ll use transforms to create the feeling of 2.5D by adding depth to the elements in your project.
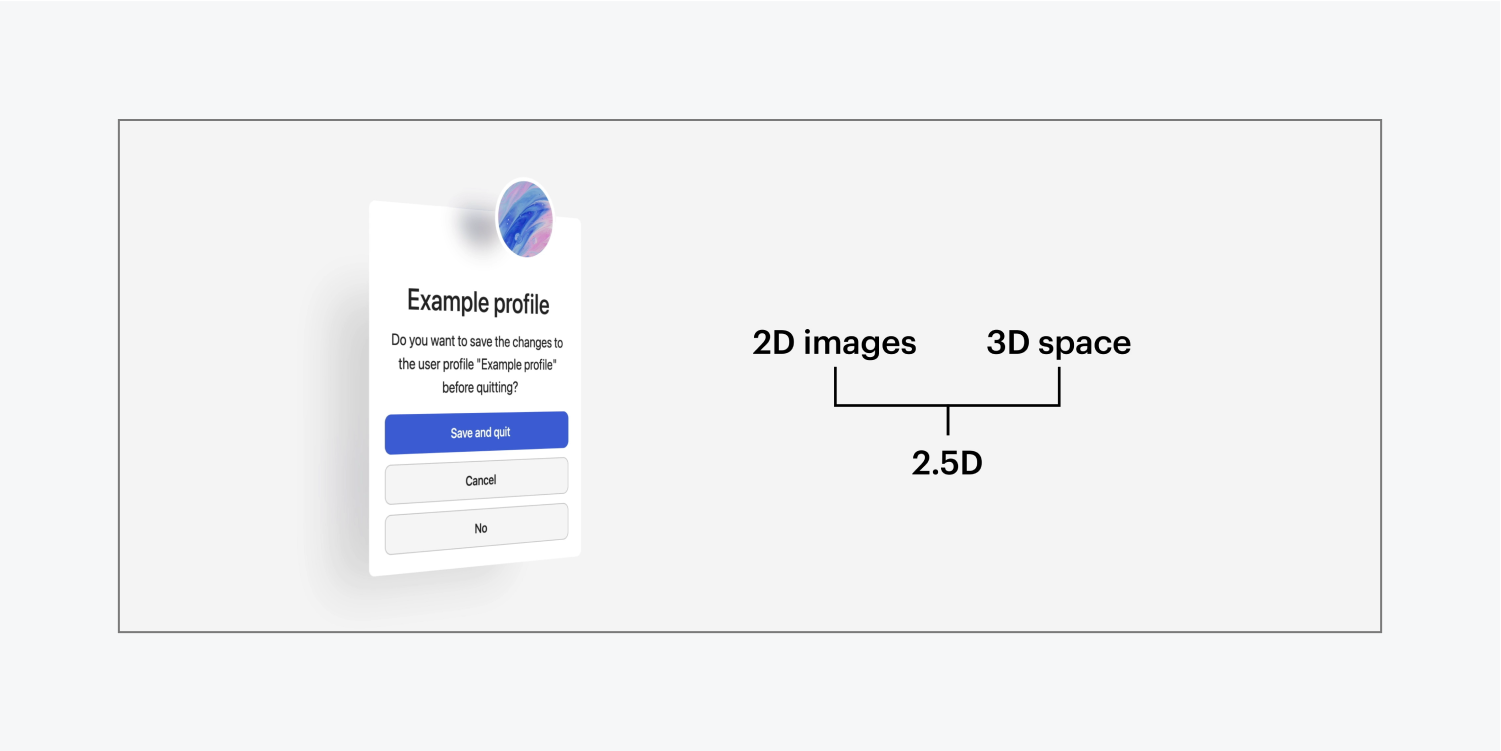
In this lesson you’ll learn:
How to turn a Section into a camera
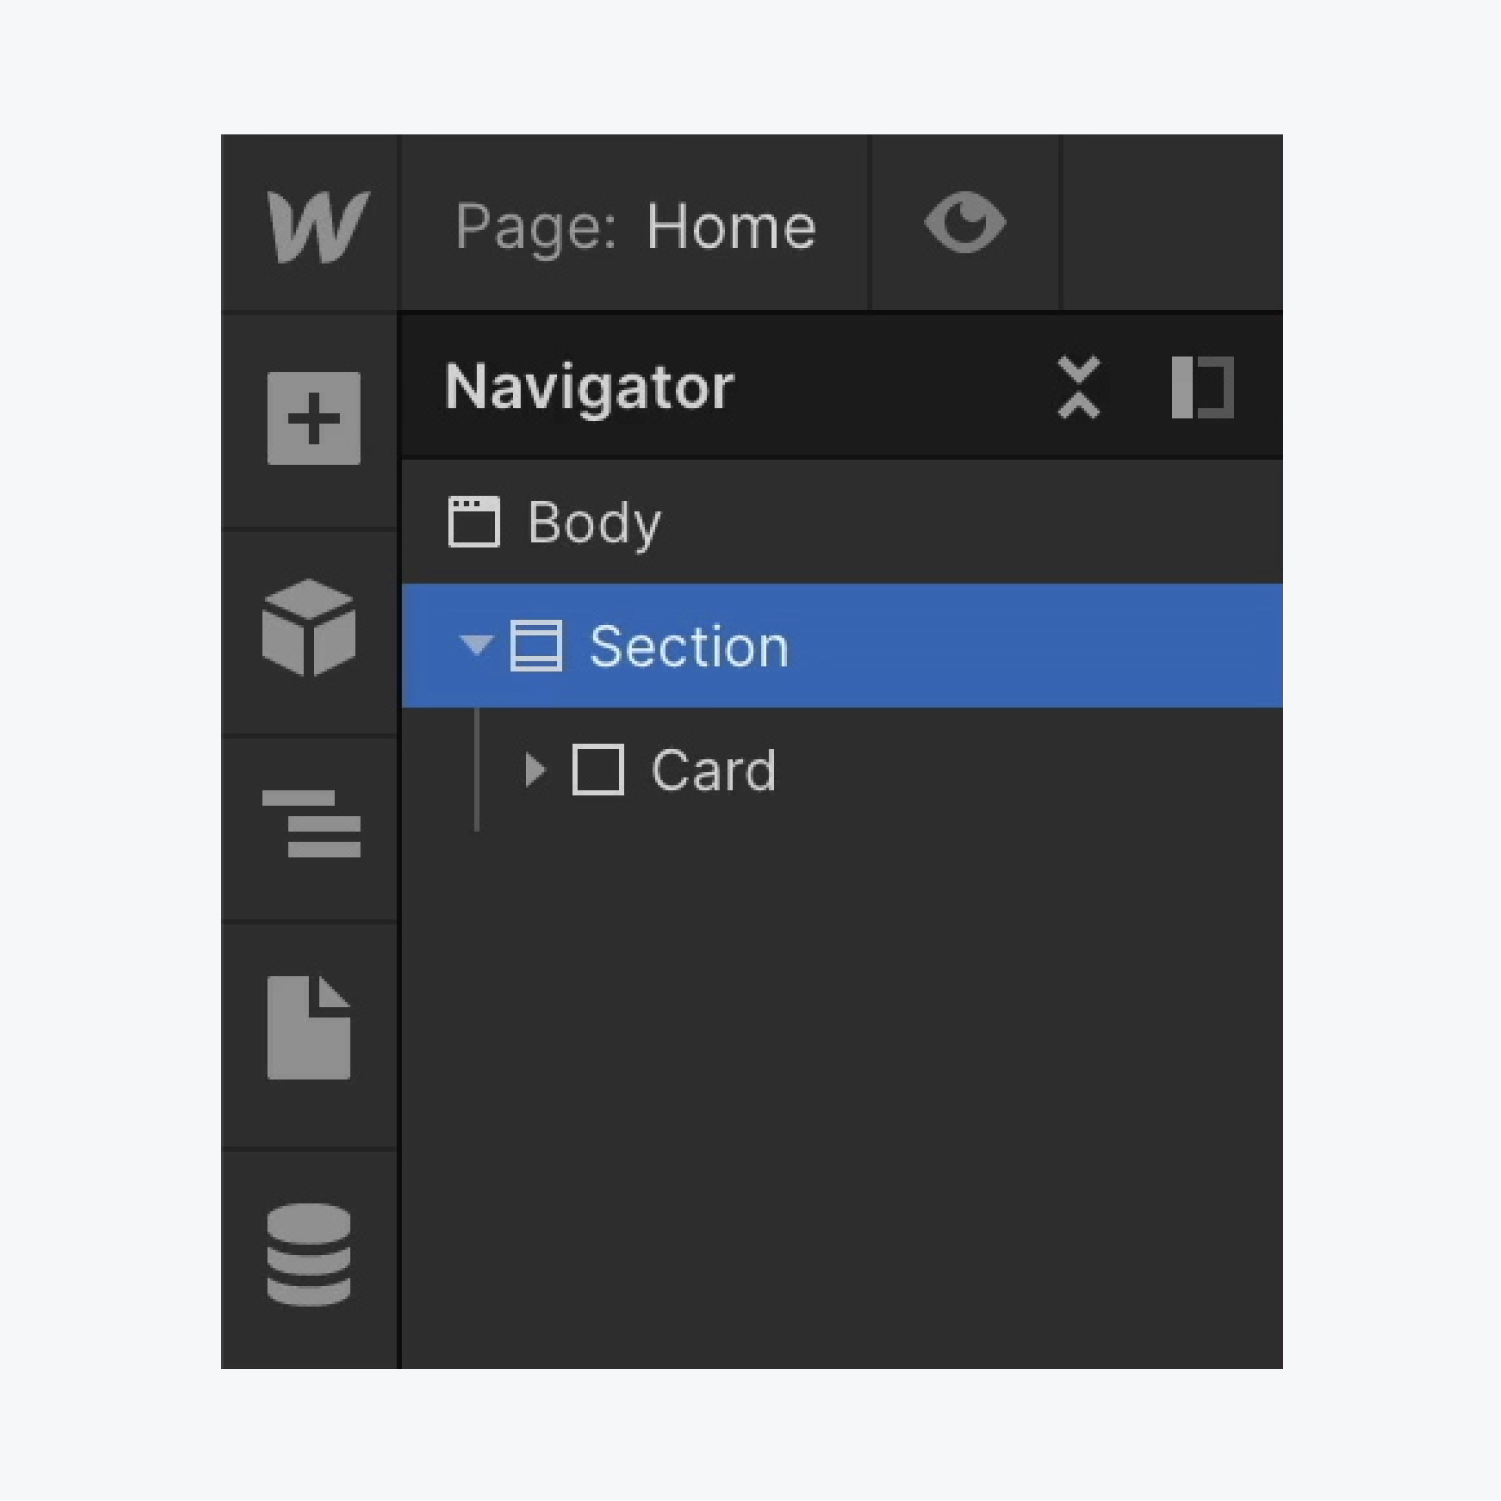
Let’s turn a Section into a camera so we can see our 2.5D effect on any of its children:
- Select your Section
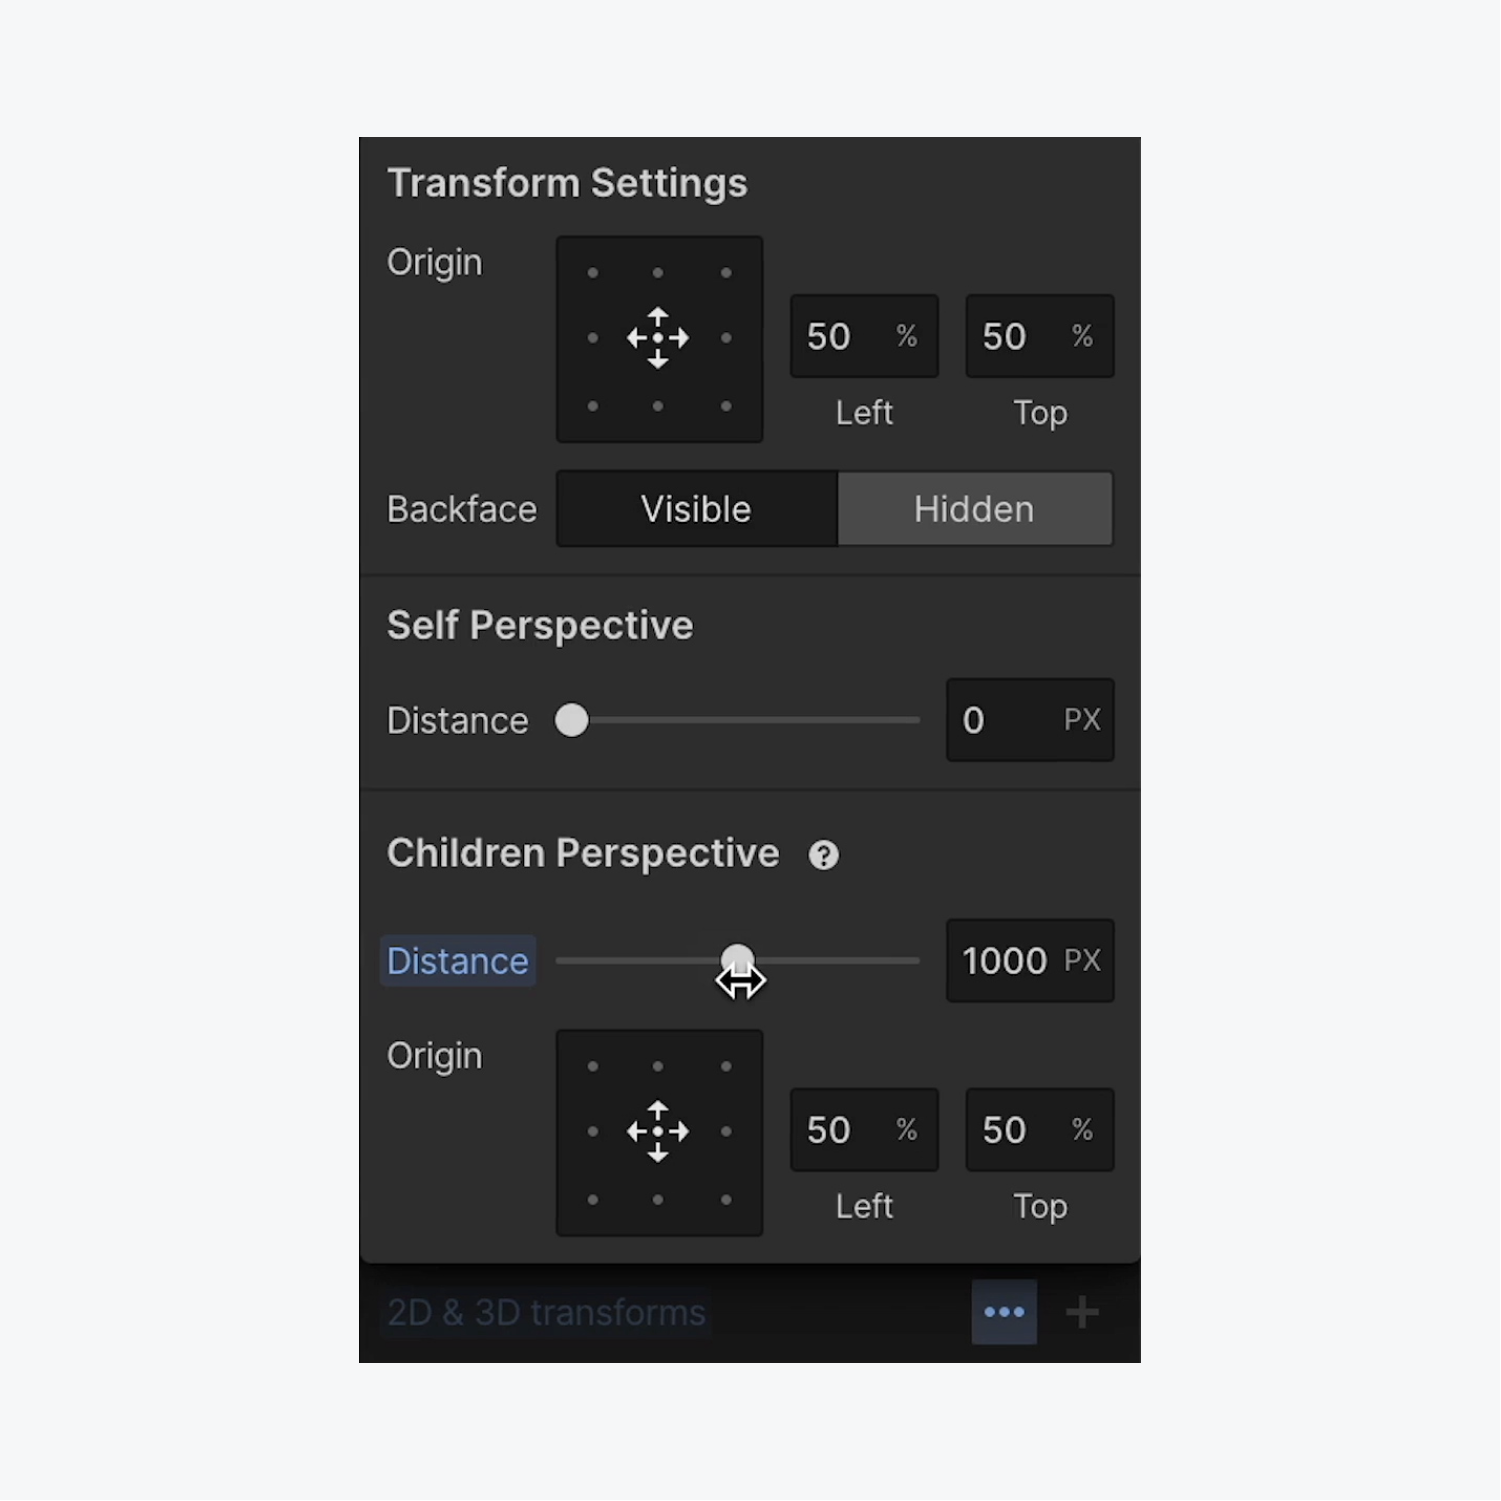
- Open Style panel > Effects
- Click 2D & 3D transforms’ 3 disclosure dots to open Transform settings
- Add a Children perspective by setting a Distance (e.g., 1000 pixels)
How to make objects 3D
Now that our Section is acting as a camera for any objects inside it, let’s add a 3D effect to an object in the Section:
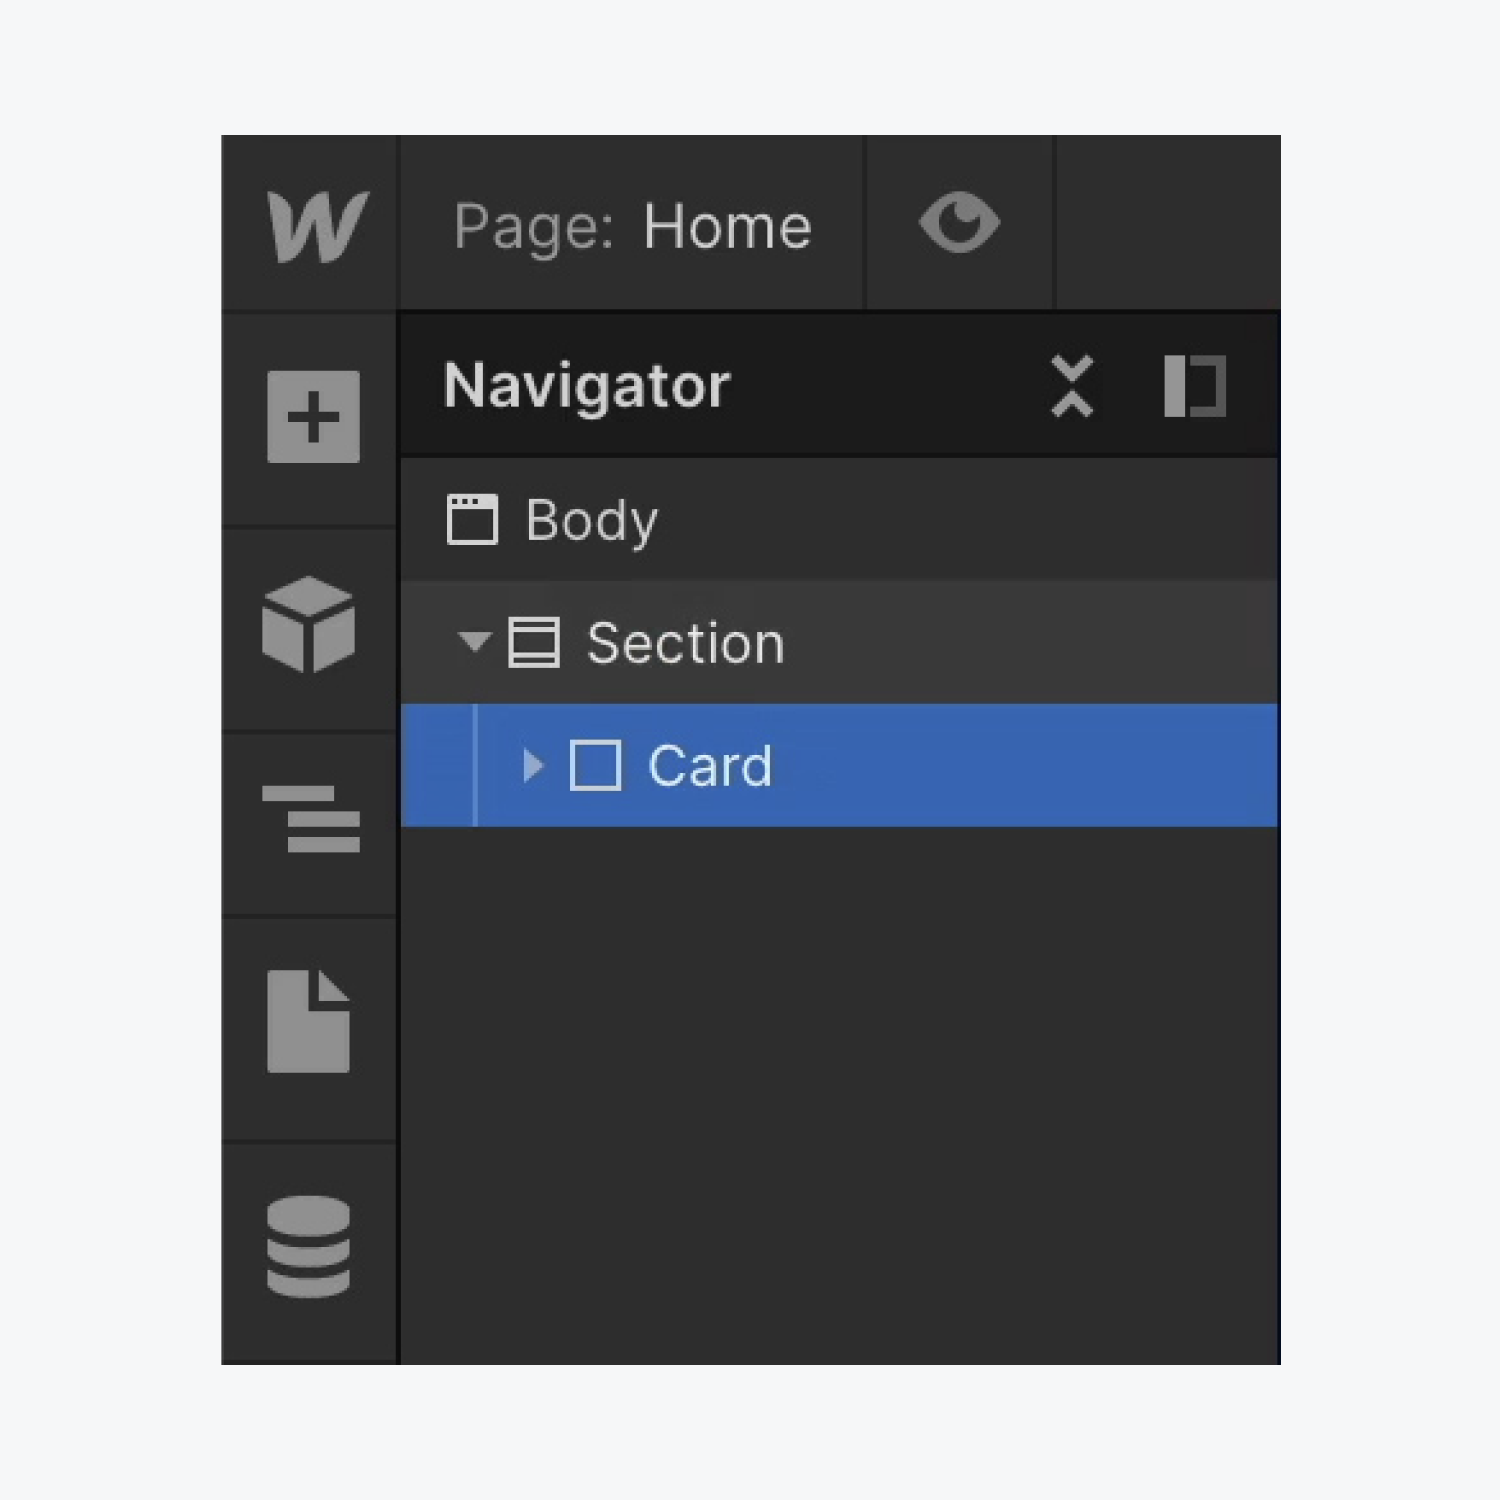
- Select an object inside the Section (e.g., a “Card” Div block)
- Open Style panel > Effects
- Click the 2D & 3D transforms “plus” icon to open Transform settings
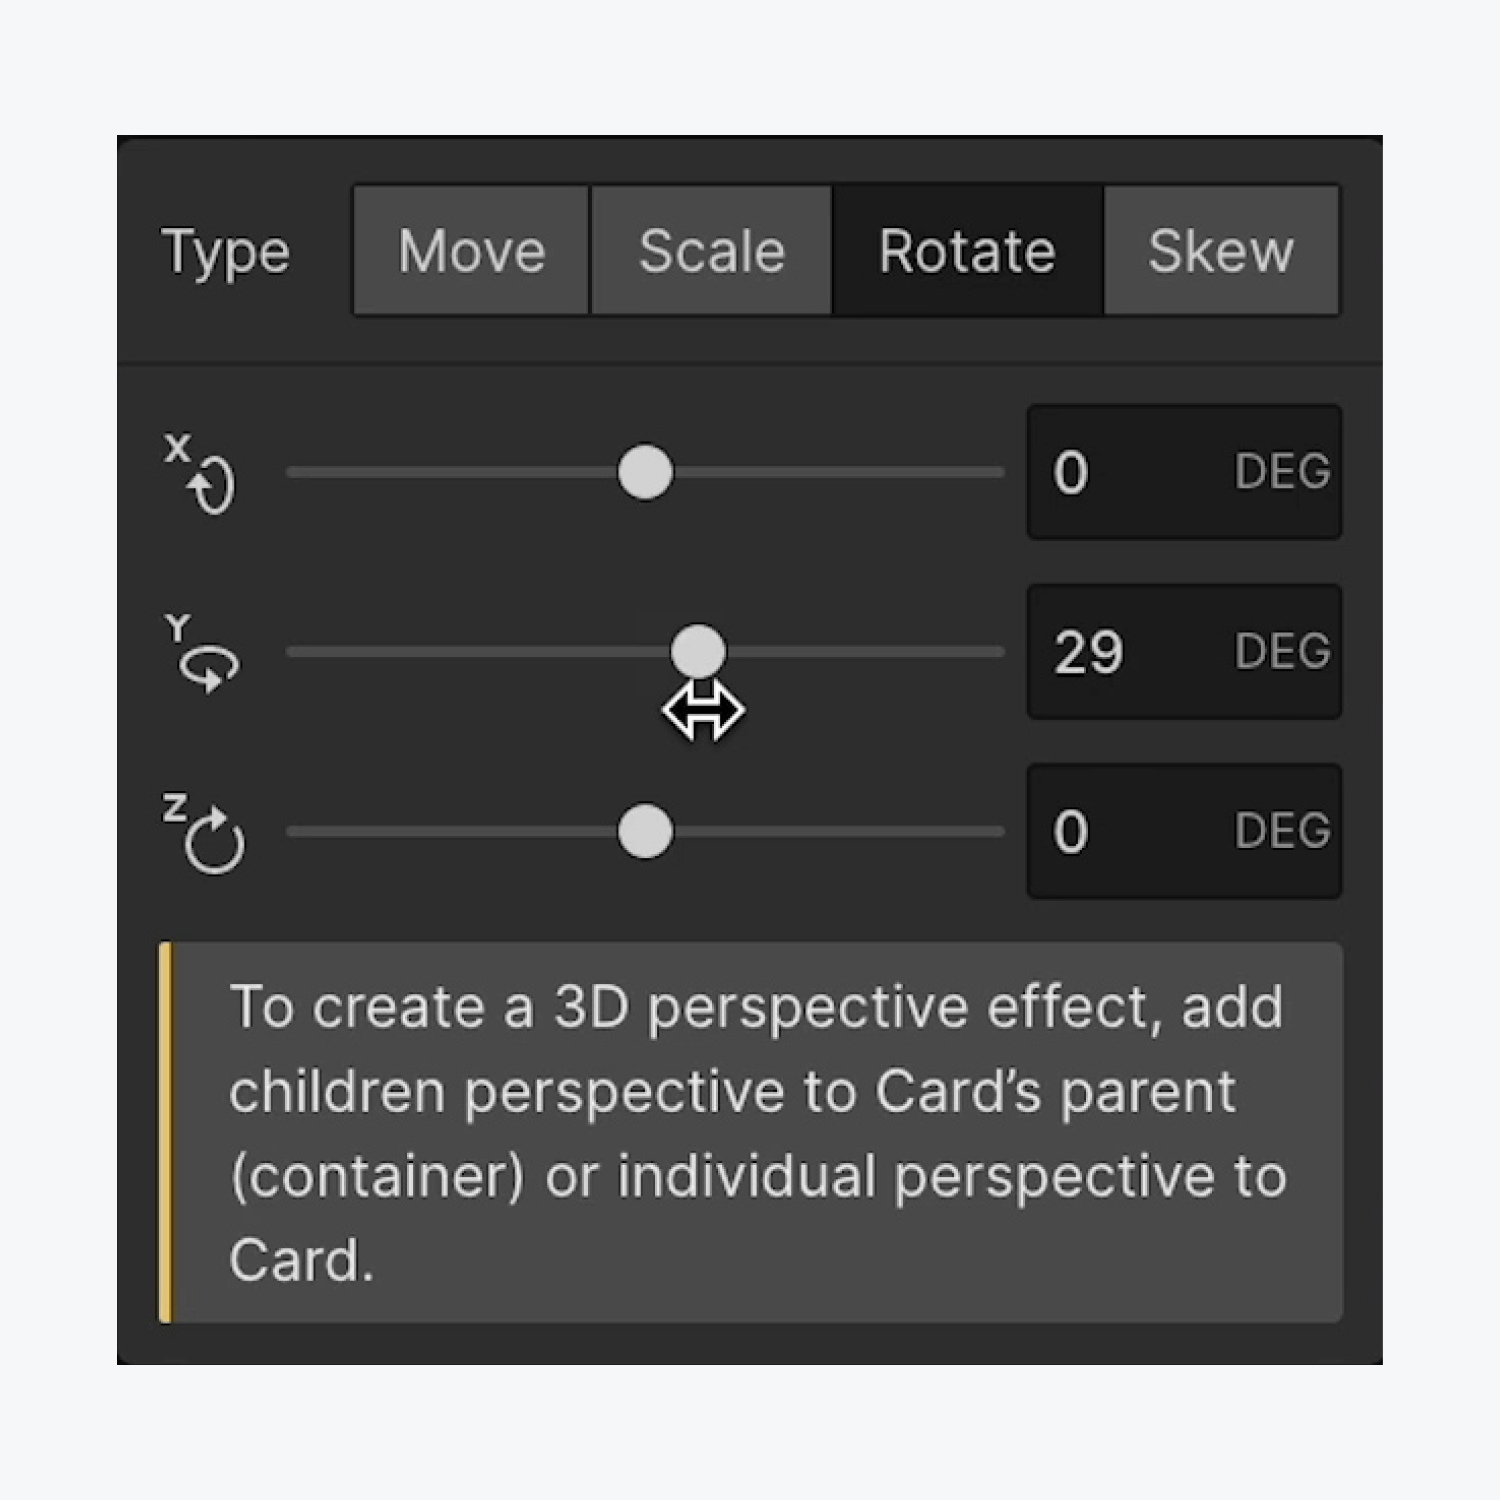
- Choose Rotate as the type and rotate the object about the Y-axis (e.g., 29 degrees)
How to add depth to objects
Let’s give our object a 2.5D effect by adding depth to child objects of the “Card” Div block:
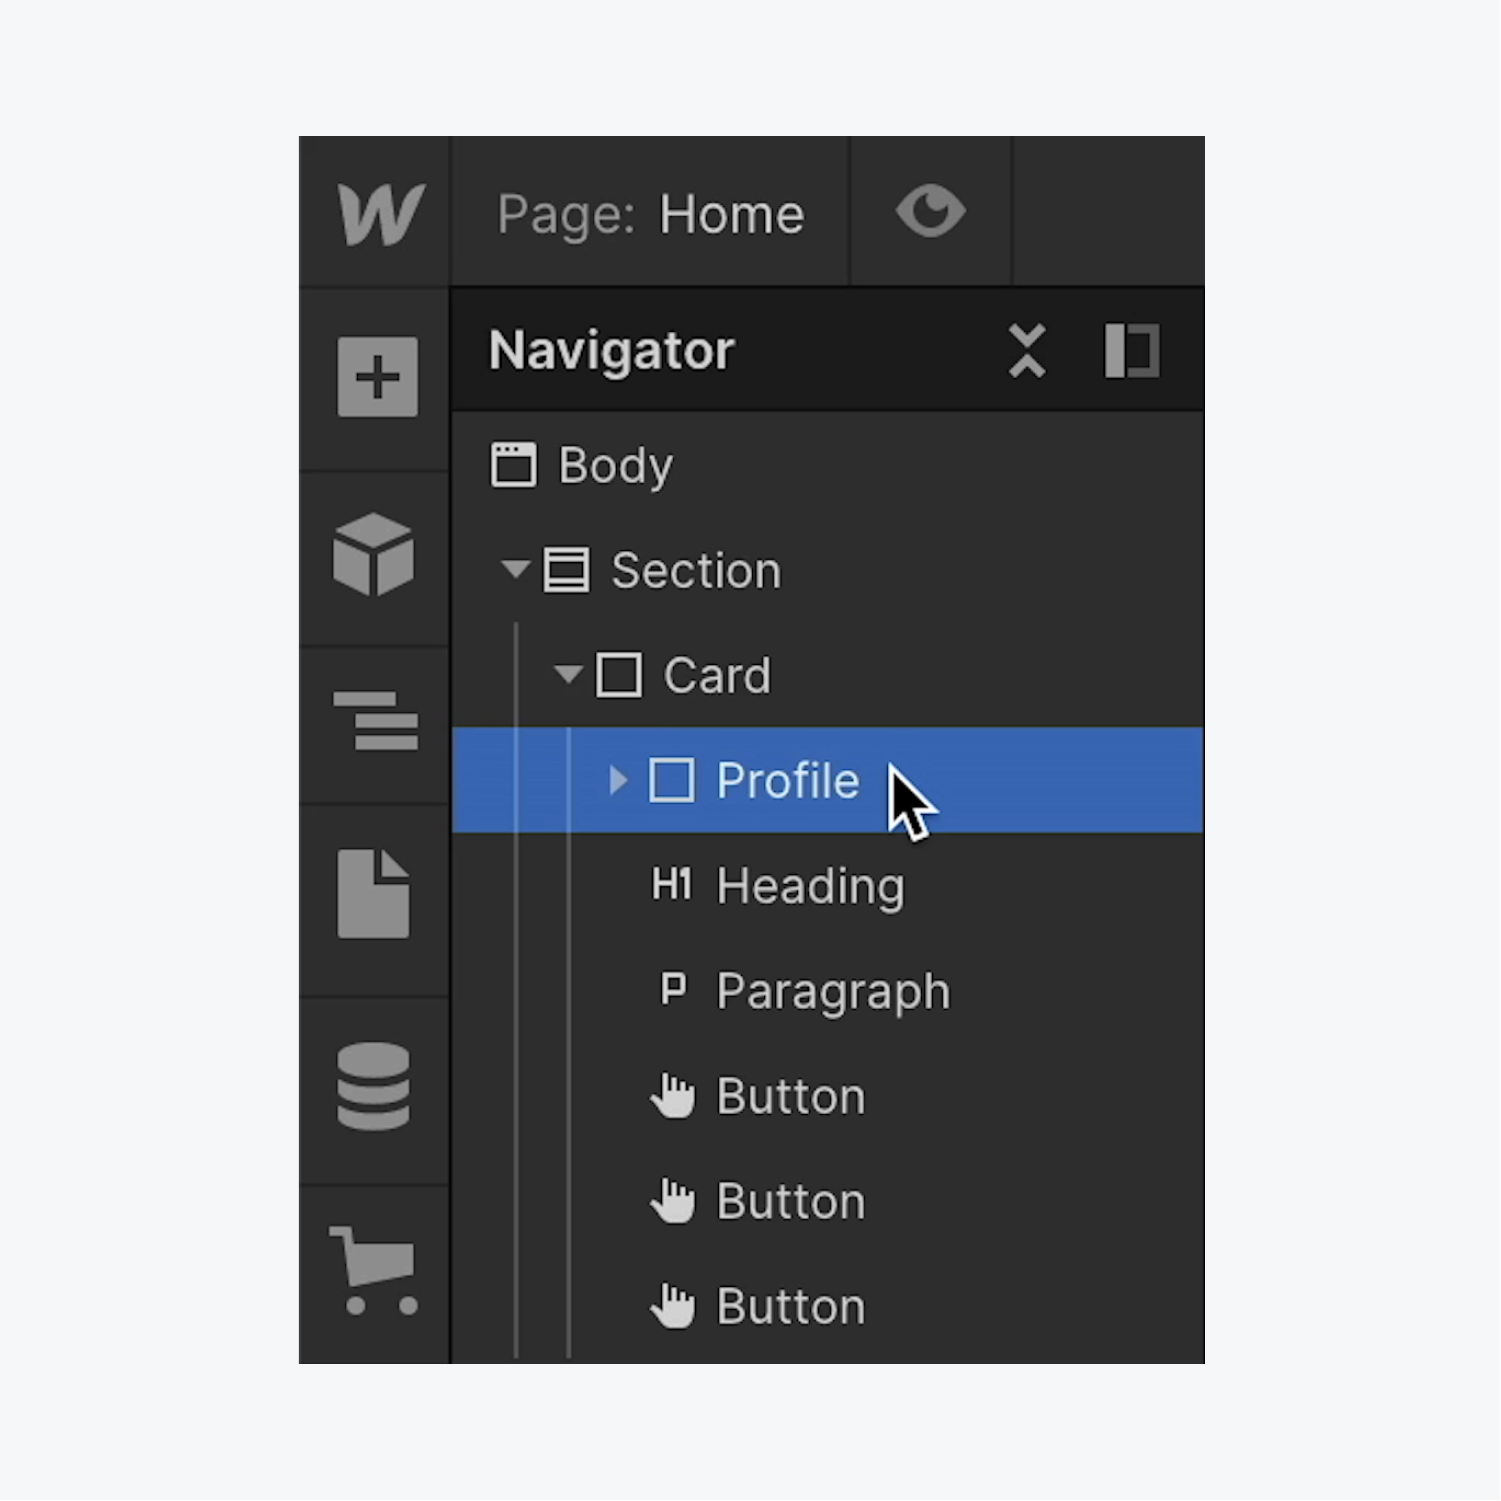
- Select an object inside the “Card” Div block (e.g., “Profile” Div block)
- Open Style panel > Effects
- Click the 2D & 3D transforms “plus” icon to open Transform settings
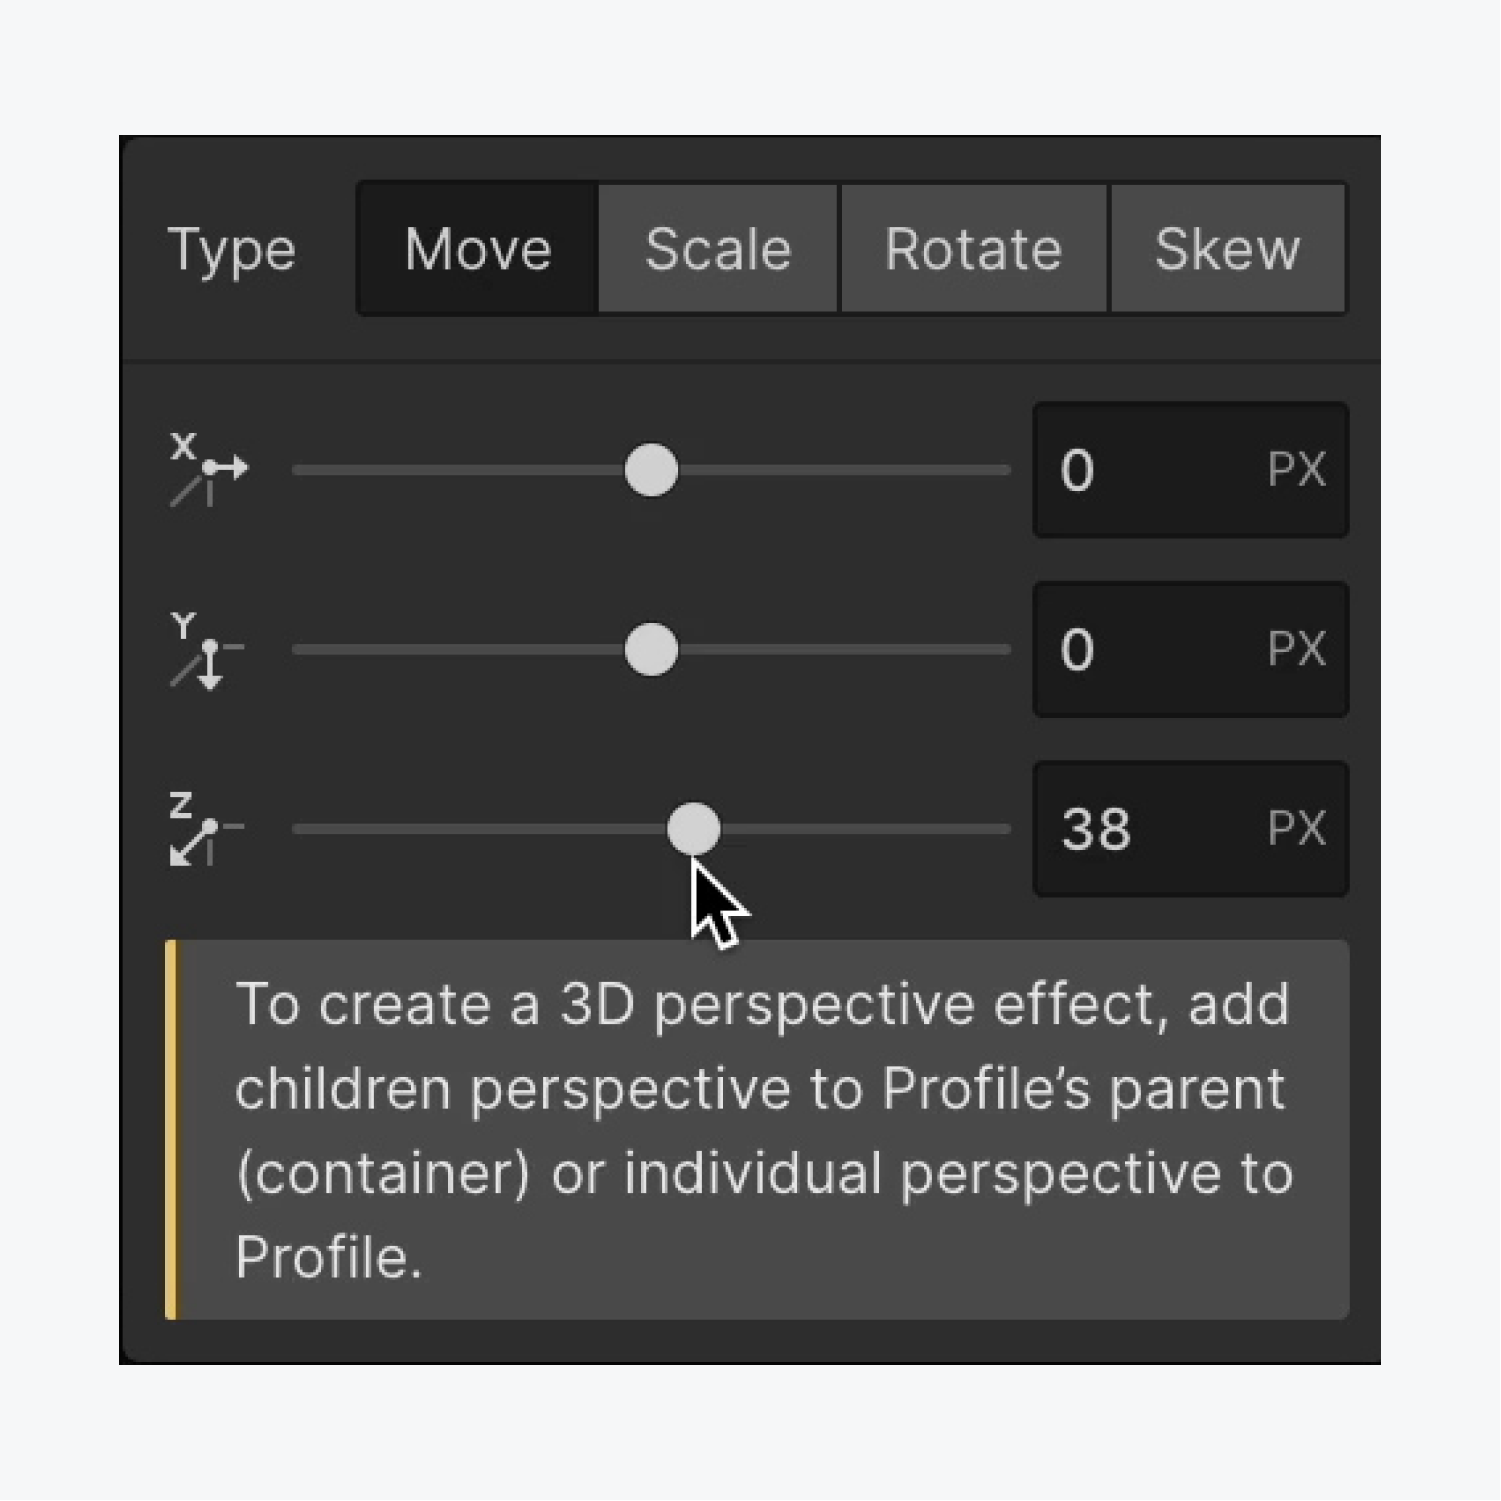
- Choose Move as the type and shift the “Profile” Div block along the Z-axis (e.g., 38 pixels)
- Select the “Card” Div block again
- Open Style panel > Effects
- Click the 2D & 3D transforms Rotate setting you previously added
- Rotate the object about the X and Y-axis as you’d like to show off the 2.5D depth effect you just created
There you go — you’ve entered the next dimension!

Create more fun interactions using our credit card example and our scrolling mountain feature. Or take your learning up a notch and enroll in our entire Interactions & Animations course.


