Think of your hero section as the cover of a best-selling novel — grab your visitor’s attention with bold text and eye-catching imagery to entice them to learn more about your unique brand.
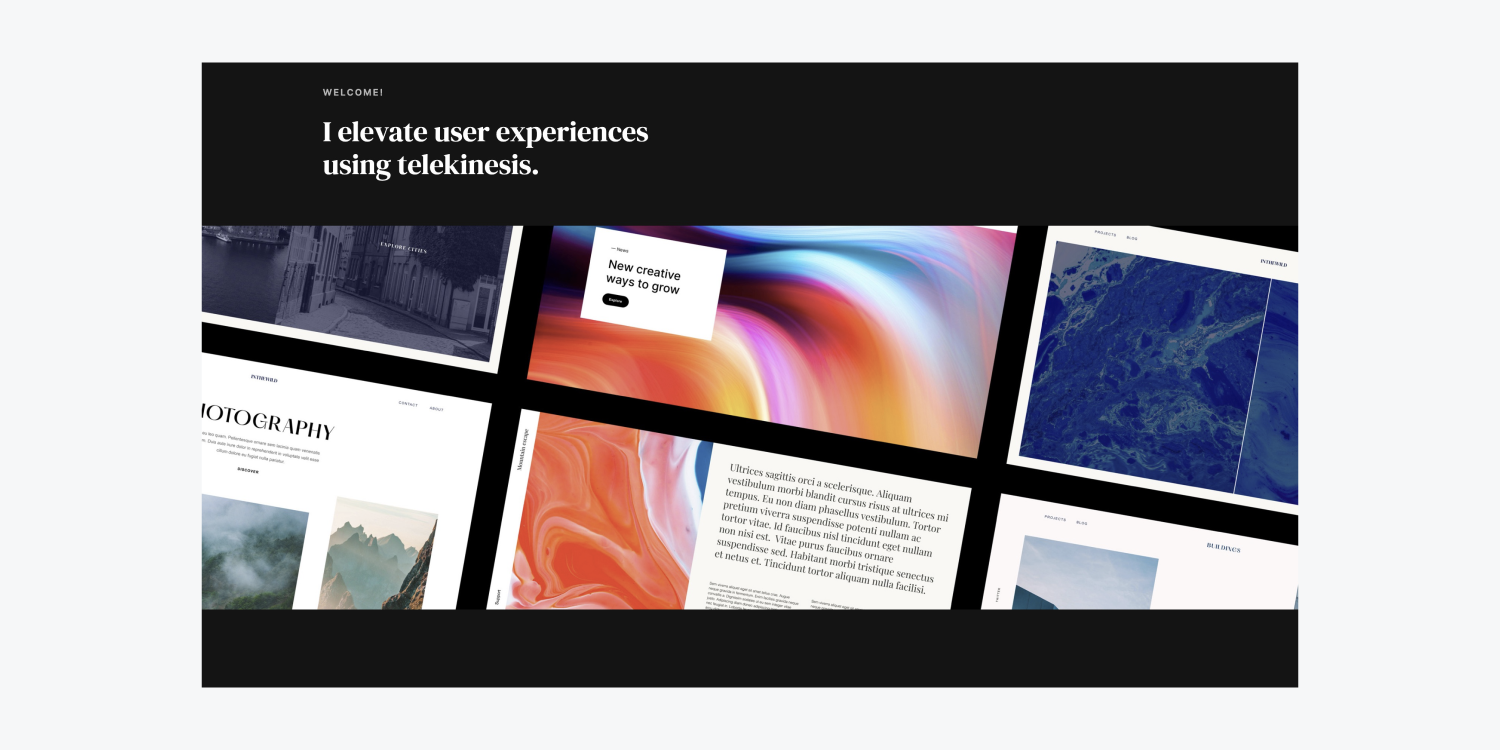
In this lesson, you’ll learn how to design your hero section using the following:
Follow along and download the assets for this lesson.
Structure the hero section
Before adding any elements to the page, drag your assets — your image files — into the Asset panel:
- Select the assets on your computer
- Drag the assets directly into your project (they’ll automatically be added to the Asset panel)
Let’s create the primary structure of the hero section — a Container inside a Section:
- Drag a Section element from the Add panel onto the page (the Section is 100% width by default)
- Drag a Container into the Section
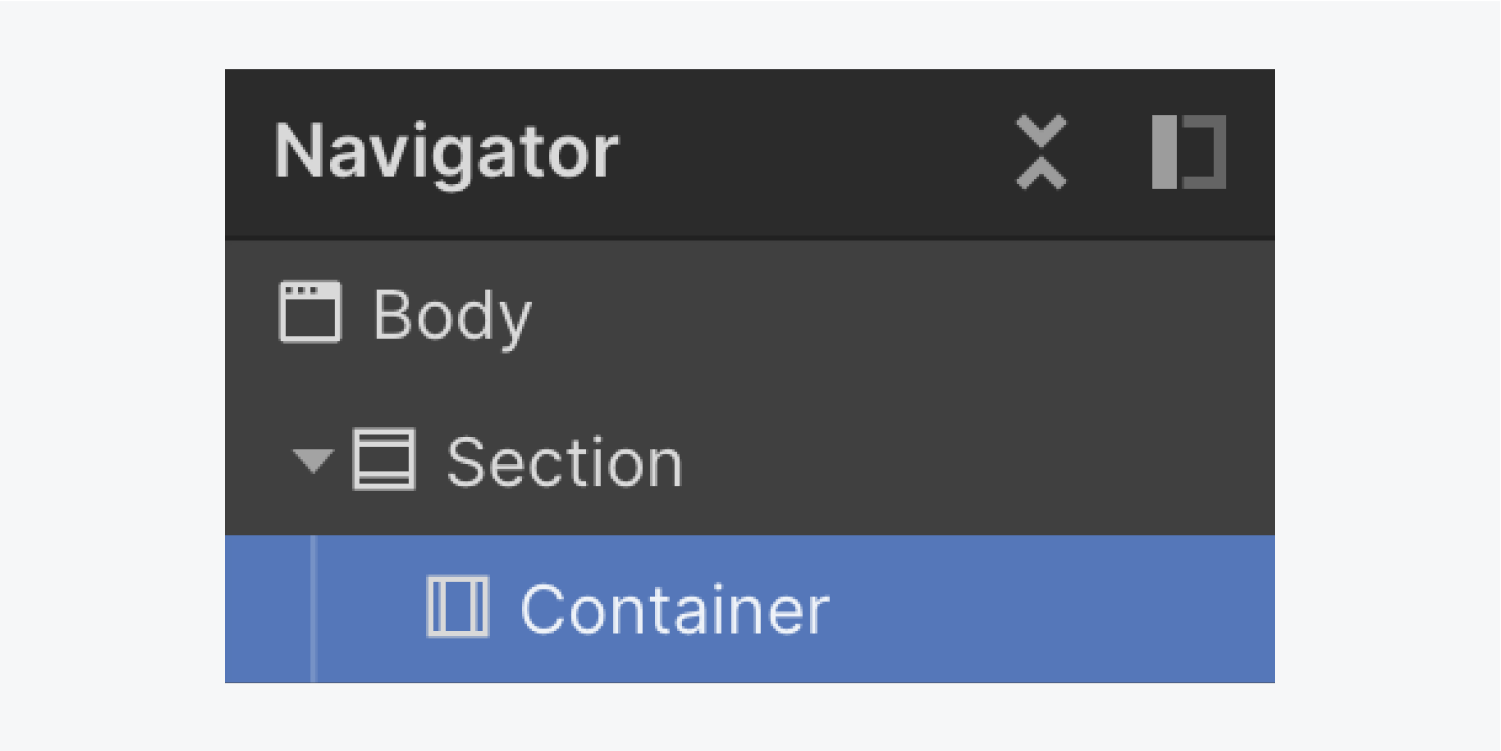
The Container keeps everything neatly bound inside that Section, so you’ll be dragging a lot of your added elements into that Container.
Add the text elements
Let’s add our first text element:
- Drag a Text block from the Add panel into the Container
- Double click the default text to change it (e.g., “Welcome!”)
Let’s add our second text element:
- Drag a Heading from the Add panel into the Container underneath the Text block
- Double click the default text to change it (e.g., “I elevate user experiences using telekinesis.”)
The text elements you’ve added to the Container affect the height of the Container, and therefore, the height of the Section.
If you select the Section and look at its Spacing in the Style panel to the right, by default there’s no padding — the space inside an element’s boundary. And there’s no margin — the space outside an element’s boundary. The text pushes right up to the edge of the Section.
You can control the spacing around the Section using margin and padding to give your Section and the text inside it more breathing room.
Let’s do this by changing the Section’s default Spacing values to add padding on the top and bottom:
- Select the Section
- Open Style panel > Spacing
- Add top and bottom padding of 60 pixels

Note: You can quickly add margin or padding to opposing sides of an element by holding down Option (on Mac) or Alt (on Windows), and dragging one of the margin or padding controls.
Update the Body (All pages) tag
Updating the Body (All pages) tag allows you to set default styles that end up being inherited throughout your project. For example, you can set a default font, add new fonts, etc.
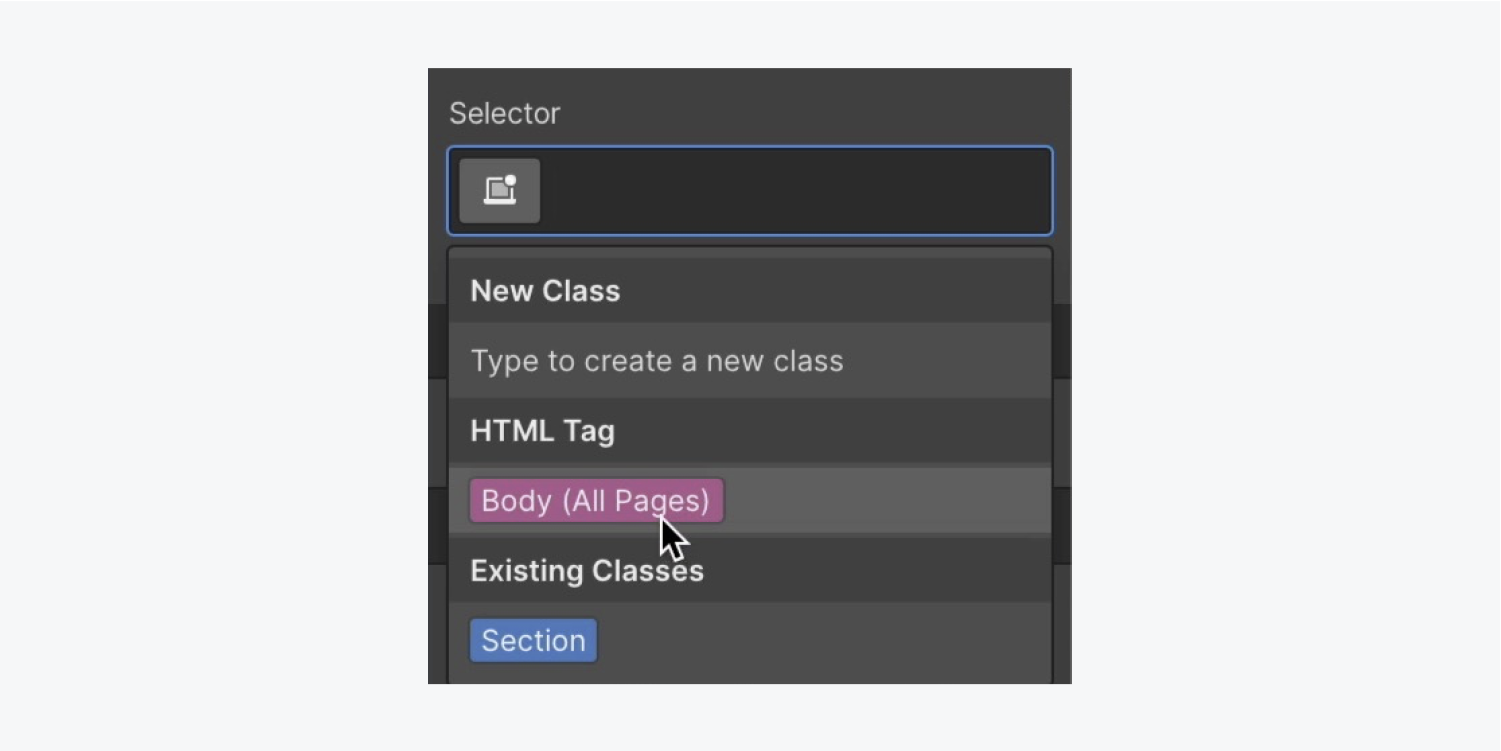
Let’s first select the Body (All pages) tag to be able to update it:
- Select the Body element from the Navigator
- Click into the Selector field in the Style panel
- Click the Body (All pages) tag from the dropdown
Let’s add some new fonts to our project:
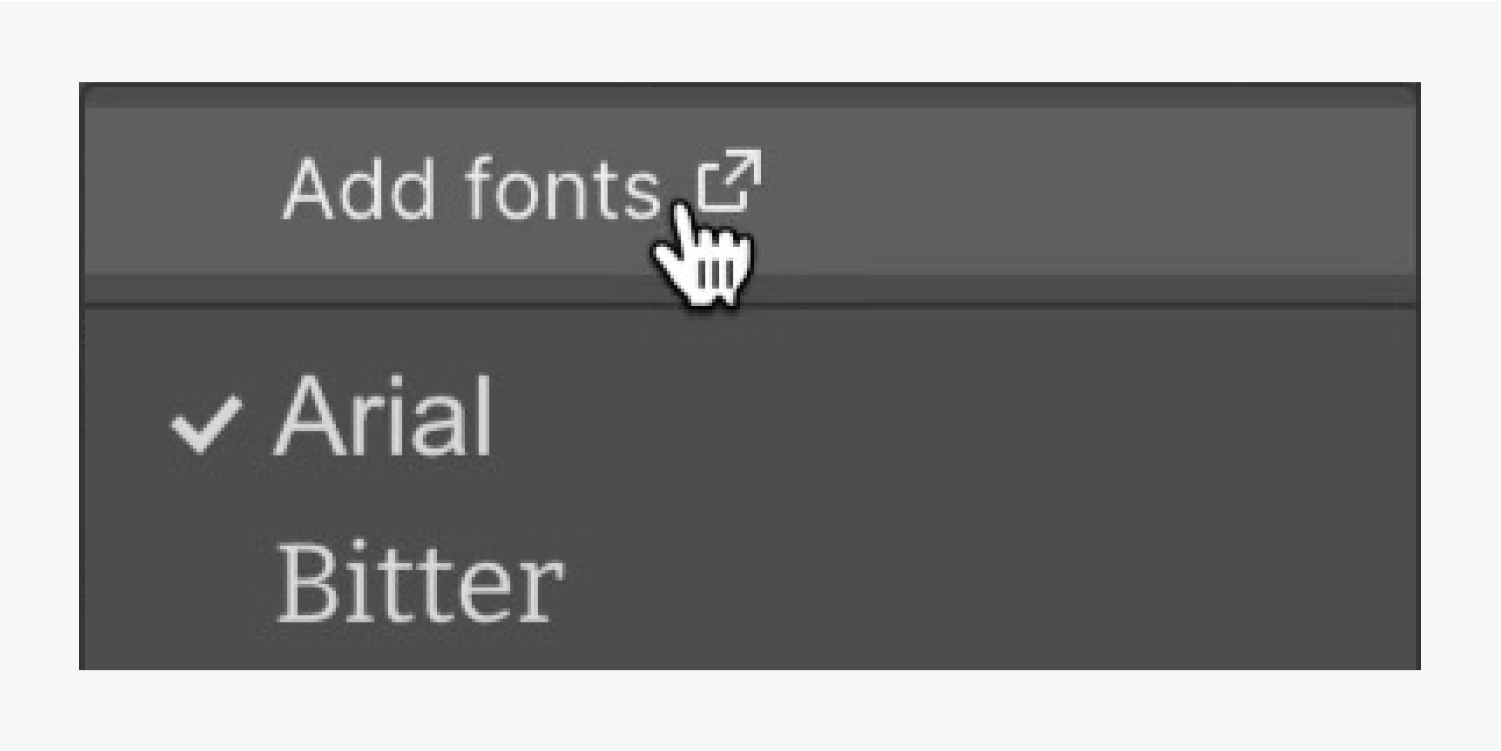
- Open Style panel > Typography and click the current font to open the Fonts menu
- Click Add fonts
Choose the 2 fonts you want to add to your project:
- Add Inter from the Google Fonts list
- Check Regular and 600 as variants to include
- Press Add font
Repeat the steps above to add the second font to your project, DM Serif Display with Regular as the variant.
Press the Designer button in your dashboard to return to your project.

Now that you’re back in the Designer, choose the Body element again and select the Body (All pages) tag in the Selector field to continue styling your project’s default styles.
Let’s update your default project font to the one you just added:
- Open Style panel > Typography
- Click the current font to open the Fonts menu
- Choose a new font (e.g., “Inter”)
Let’s also change the background color:
- Open Style panel > Backgrounds
- Click the default color swatch to open the color picker
- Set the color to a dark gray color (e.g., “#141414”)
Because the default font color is also a dark gray, the current text on top of the dark gray body isn’t very legible. With the Body (All pages) tag still selected, let’s change the default font color to something more legible:
- Open Style panel > Typography
- Click the default color swatch to open the color picker
- Increase the contrast between the background color and the font color and choose a lighter font color (e.g., “white”)
Now that you’ve updated some of the Body (All pages) tag default styles, which will be inherited throughout your project, you can style some of the individual elements you’ve added.
Let’s style the Heading with a different font:
- Select the Heading
- Open Style panel > Typography
- Choose a new Font (e.g., “DM Serif Display”)
- Select a Weight of 400
Let’s also set a maximum width on the Heading:
- Select the Heading
- Open Style panel > Size
- Set the Max W (maximum width) to 450 pixels
Note: when adjusting width or height of an element, you can quickly jump up or down 10 pixels by holding down Shift plus the up or down arrows.
Let’s also change the font styles of the Text block at the top of our design:
- Select the Text block
- Open Style panel > Typography
- Select a Weight of 600
- Press the “More type options” disclosure button and choose Capitalize
- Set Letter spacing to 2 pixels
- Decrease the Size to 12 pixels
- Click the default color swatch to open the color picker
- Decrease the Opacity (the Alpha) to 70

Create the hero image
Let’s add the hero image to our project:
- Open the Assets panel
- Drag the hero image into the Container under the text
Let’s adjust the maximum width of the Container to make our content on the page look better:
- Select the Container
- Open Style panel > Size
- Set the Max W (maximum width) to 1200 pixels
Because our hero image is inside the Container, it’s contained by the width of that Container. To make the hero image take up the full width of the browser, let’s drag the hero image out of the Container and into the Section:
- Select the hero image
- Drag the image into the Section
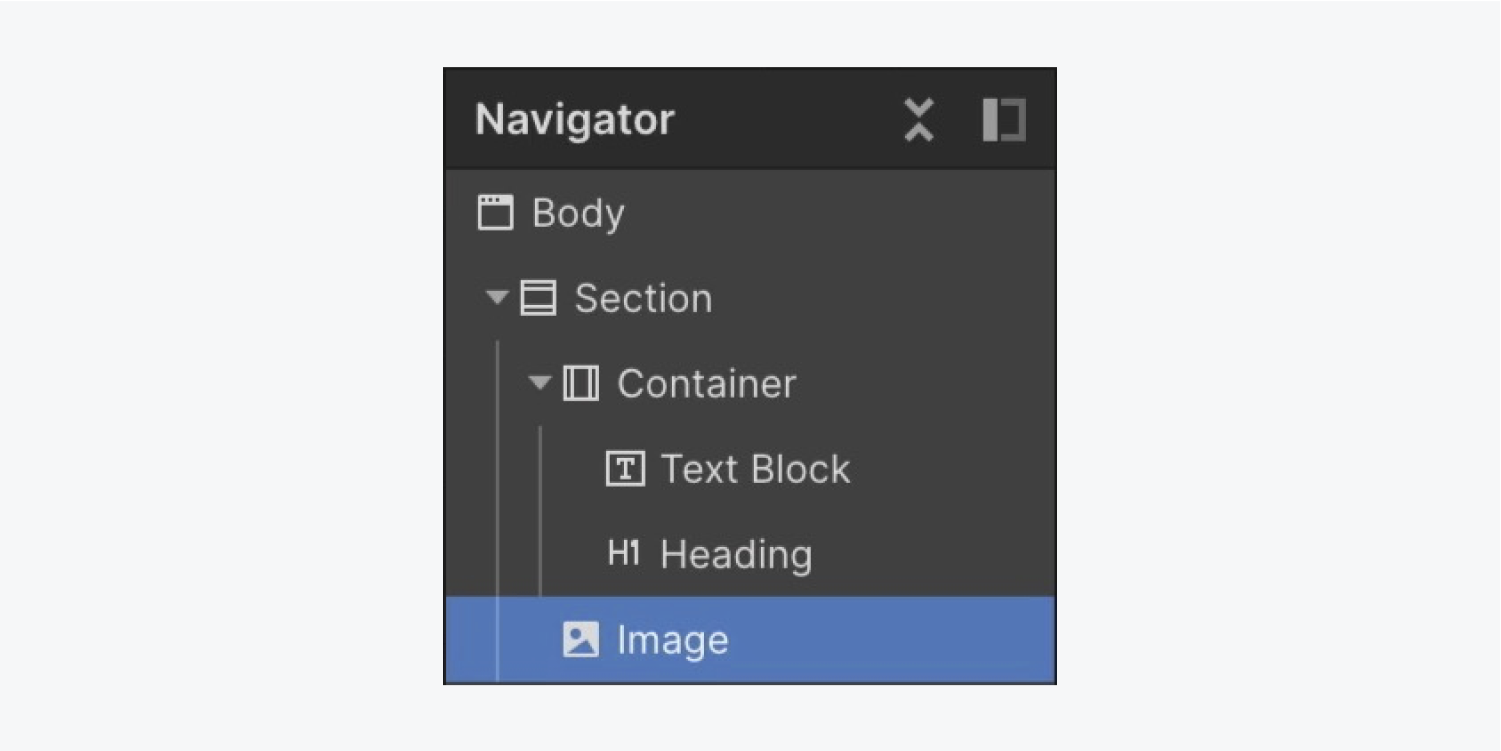
Note: you can grab the edge of the canvas and resize it left or right to see what your design would look like on various screen widths.
Let’s adjust the spacing between the Heading and the hero image to give it some breathing room:
- Select the Heading
- Add bottom margin of 60 pixels

That’s it — you’ve got the basic structure of your section set up! Nice work!


